I’m so excited to share with you the final reveal of the laundry room!
My main mission was to make this space more functional for our family!
Here are the two things I wanted to address with this renovation:
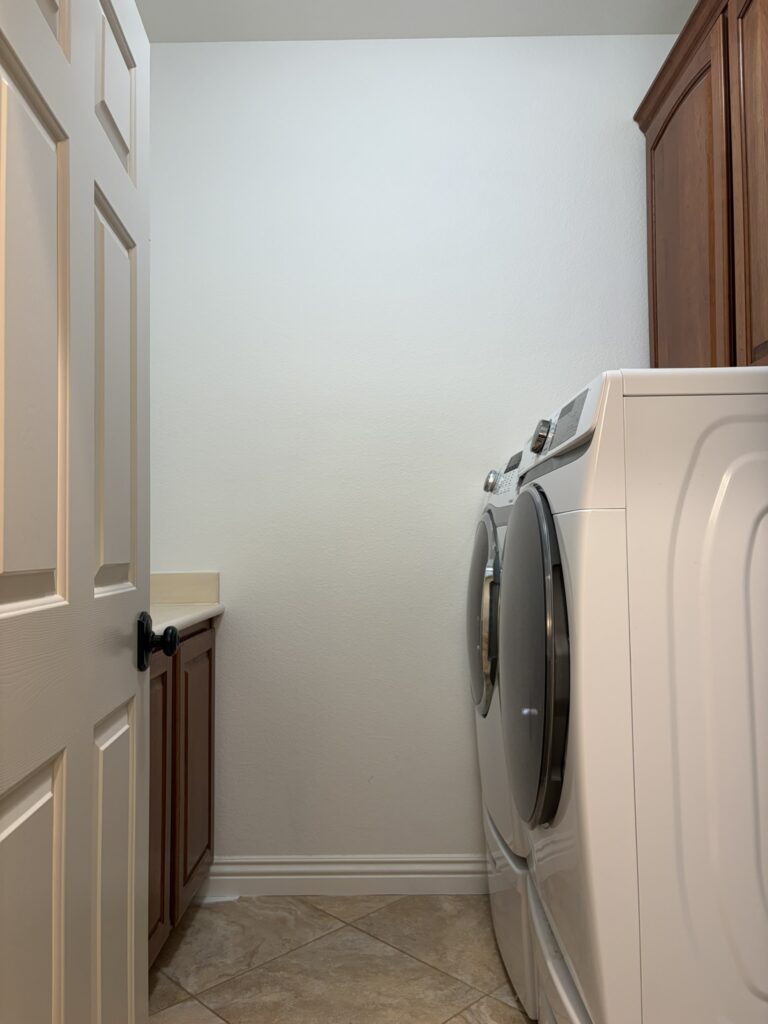
- Bulky washer and dryer: Whenever the washer door was even slightly open, our laundry room door would not open. It keep hitting the washer so we wanted to solve this by replacing our side by side washer and dryer with a stacked wash tower.
- No sink: We didn’t have a sink in our laundry room and wanted to have a place to rinse off clothes (actually, mainly the kids’ bibs, haha!), pre-soak clothes and to have another sink closer to the garage. Going with a stacked washer and dryer would create enough space for a sink in our laundry room!
And while working on improving the functionality of this space, I thought we might as well improve the aesthetic!
Note: This post may contain affiliate links, you can find more information in my disclosures here.
Before I share the final result, let’s take a look at what we started with!
Our Laundry Room Before
This is what our laundry room looked like before:
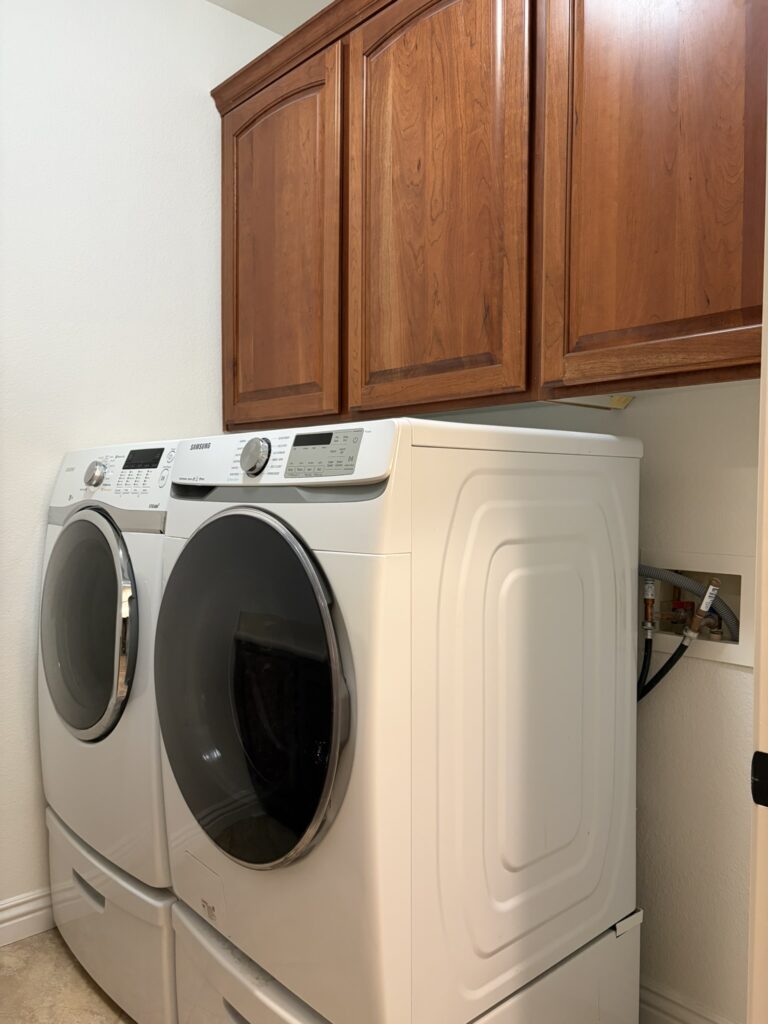
This space is 6’x8′ so not tiny but it felt smaller because of the bulky washer and dryer!
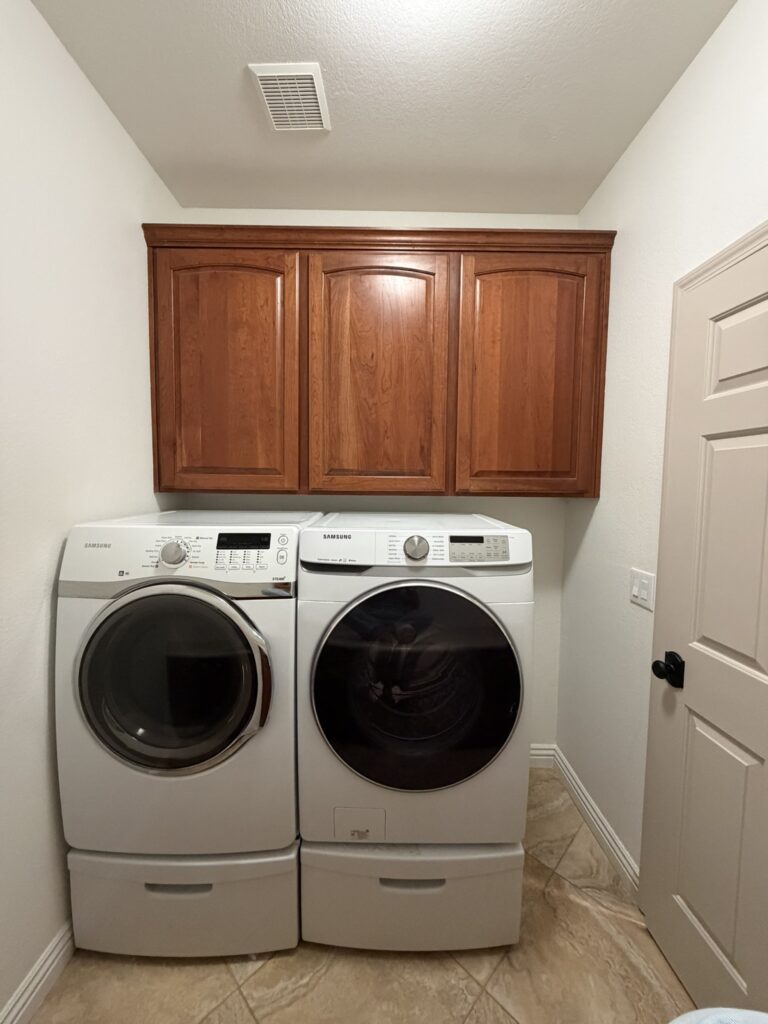
I think the pedestals were the main reason these felt so huge in this space.
The cabinets above the washer and dryer were also really hard to reach because the appliances were so deep.
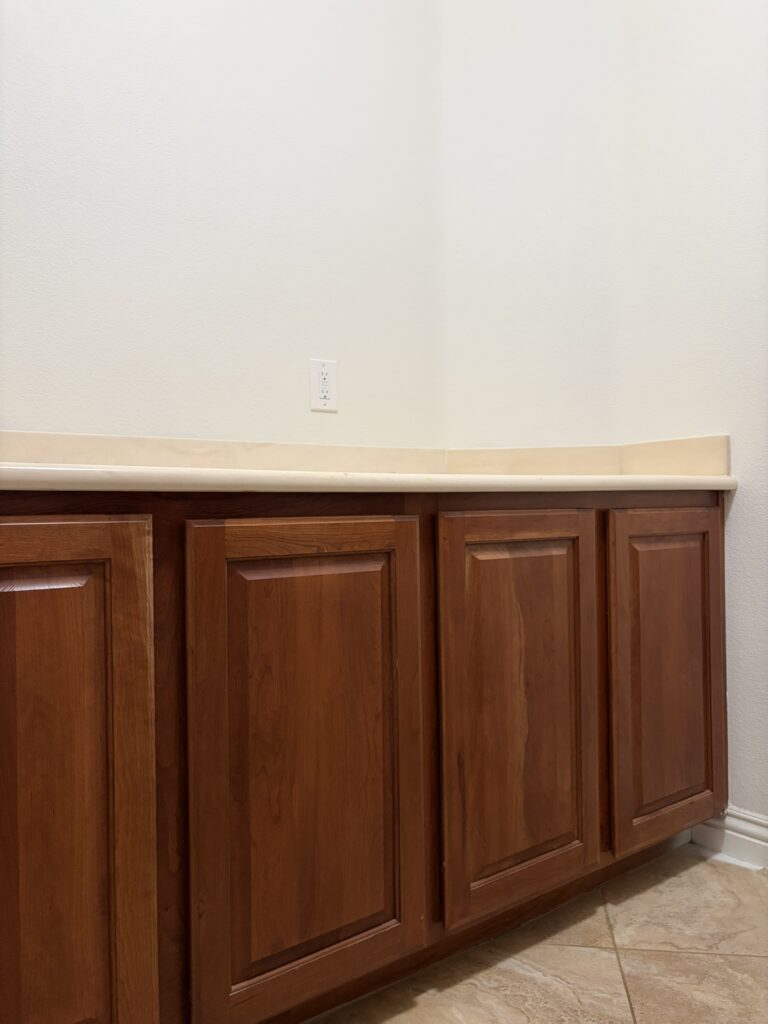
Overall, the cabinets were still in decent shape so I knew I wanted to preserve them all if possible!
My Inspiration
I’ve been loving the butter yellow trend and thought that the laundry room would be a great space to try this color in!
I especially like the cozy and charming cottage elements that go so well with the butter yellow like:
- vertical shiplap or beadboard
- an apron sink
- more intricate open shelving
- a curtain instead of cabinet doors
I’d been saving some inspiration on my laundry room Pinterest board for months so the design came together pretty easily when it was time to make decisions!
My Laundry Room Makeover
If you were following along on Instagram or Facebook, you know that I started by moving the upper cabinets to the opposite side:
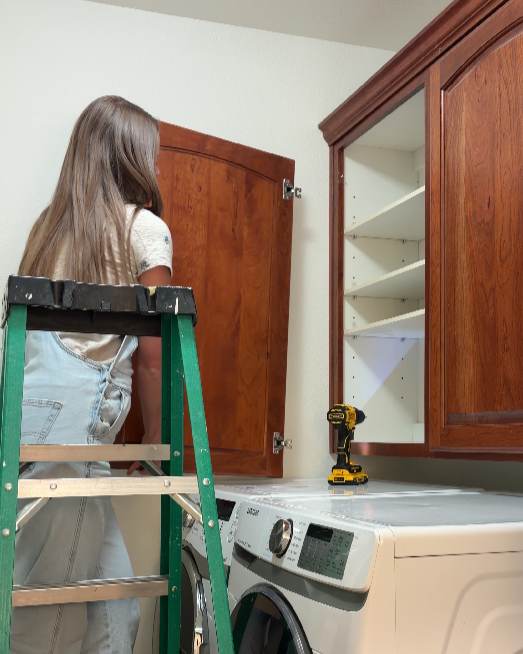
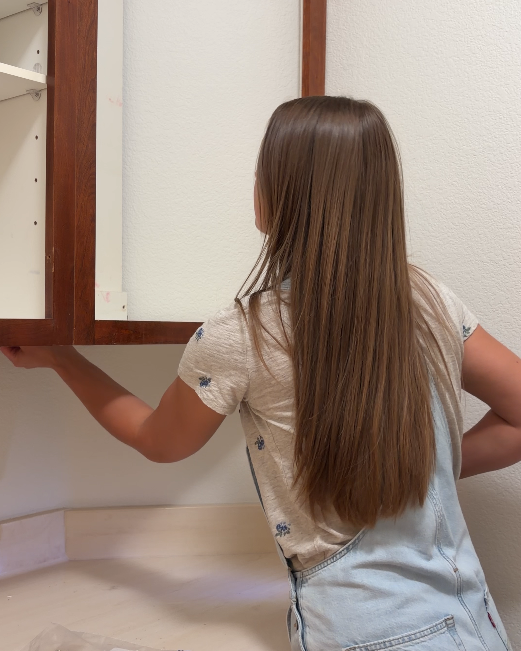
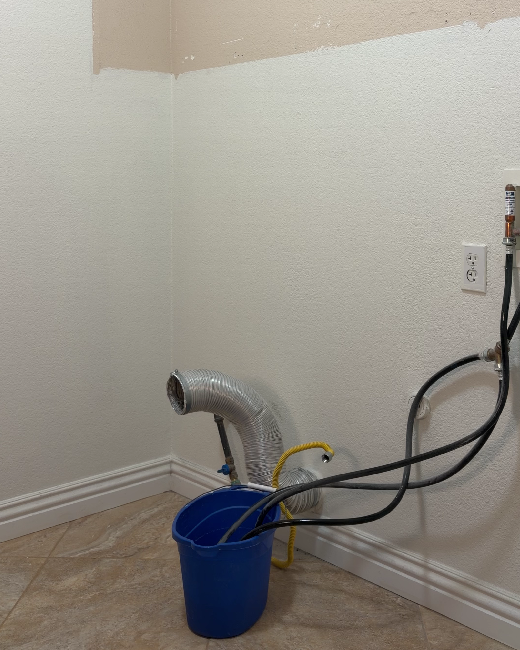
This is what it looked like once the upper cabinets were moved to the other side of the room and the old washer and dryer were out of the way:
Then, we got our new Samsung laundry hub delivered:
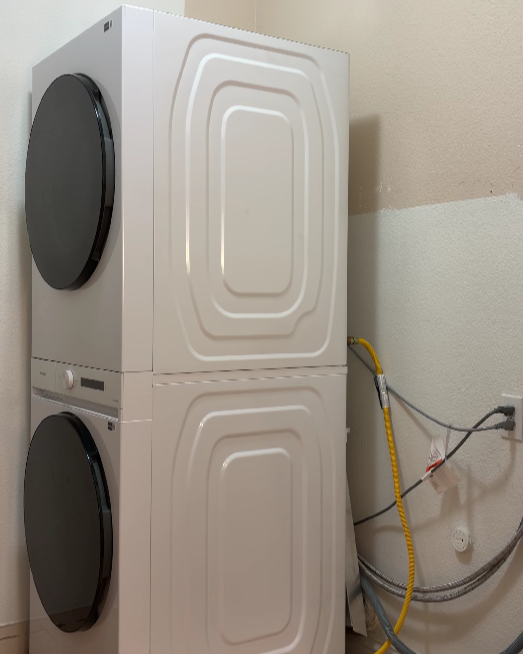
At that point, the difference already felt like night and day. The laundry hub was saving so much space and just made a lot more sense for this space.
This change also created enough space for a sink to go where the previous washer was:
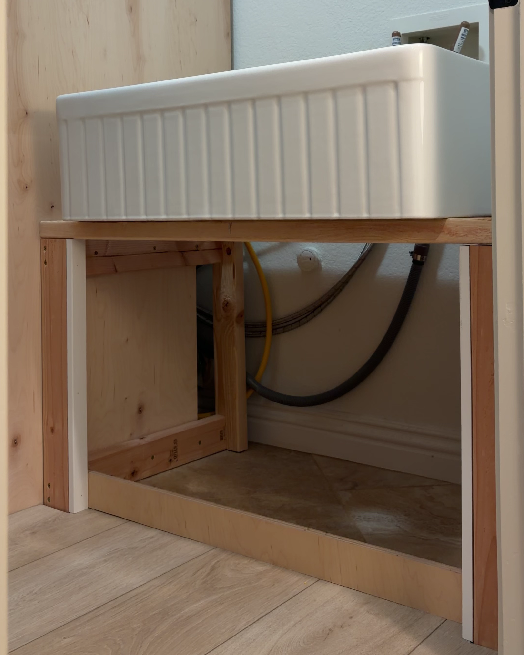
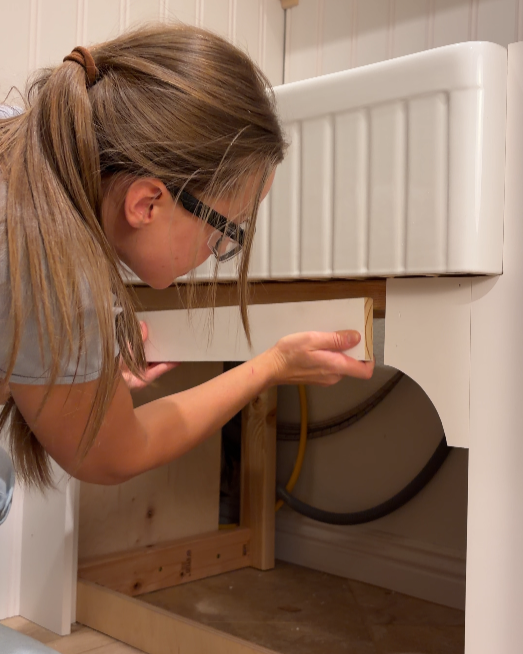
I added cute detailed trim to the cabinet front to make it look truly custom:
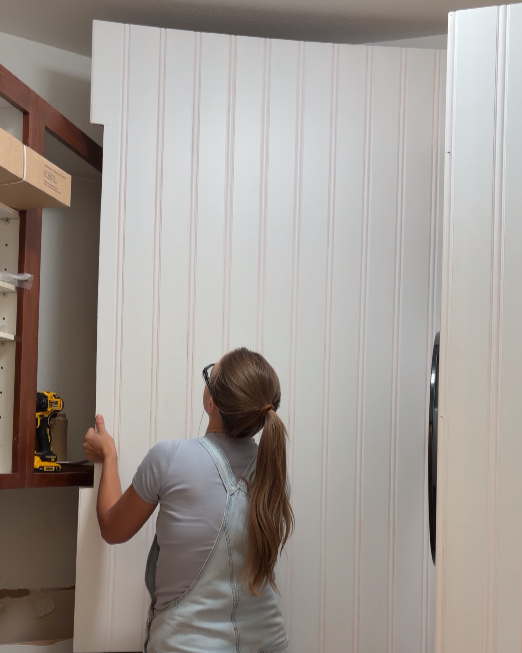
Next, I added beadboard on all the walls…
…and crown moulding along with shelving above the sink for additional storage:
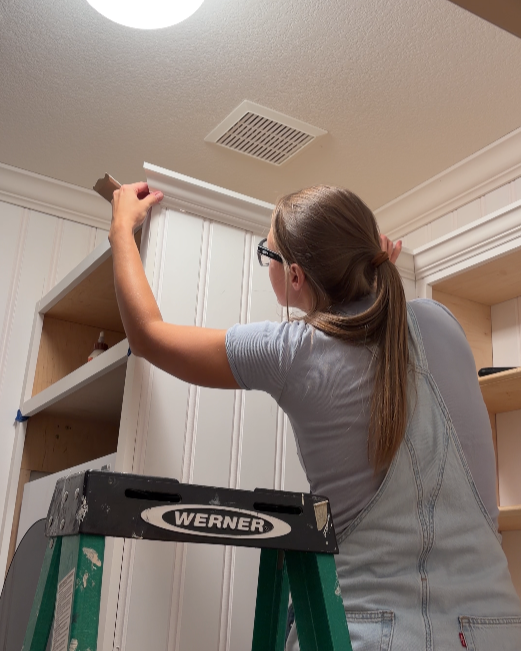
I love how all the details made this space feel charming and cozy already!
For the color, I was going for a butter yellow that leans more creamy than greenish.
These were the colors I considered:
- Sherwin Williams Cottage Cream
- Sherwin Williams Honeypot
- Sherwin Williams Banana Cream
- Sherwin Williams Morning Sun
- Sherwin Williams Butter Up
- Sherwin Williams Friendly Yellow
- Sherwin Williams Convivial Yellow
Ultimately, I ended up getting samples of three yellows:
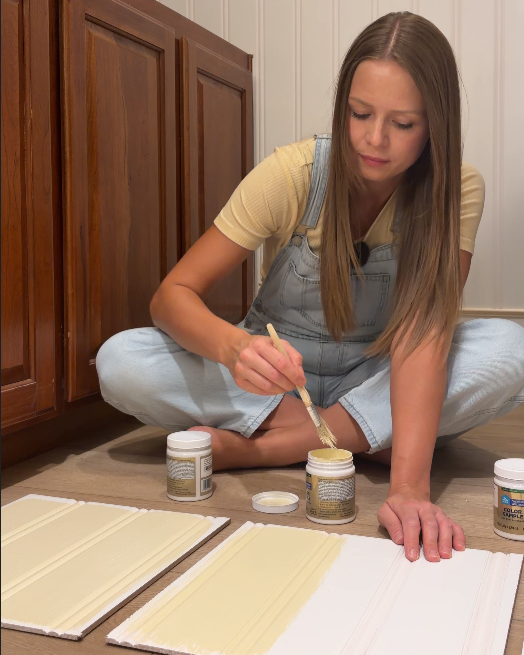
I immediately knew that Cottage Cream was the one:
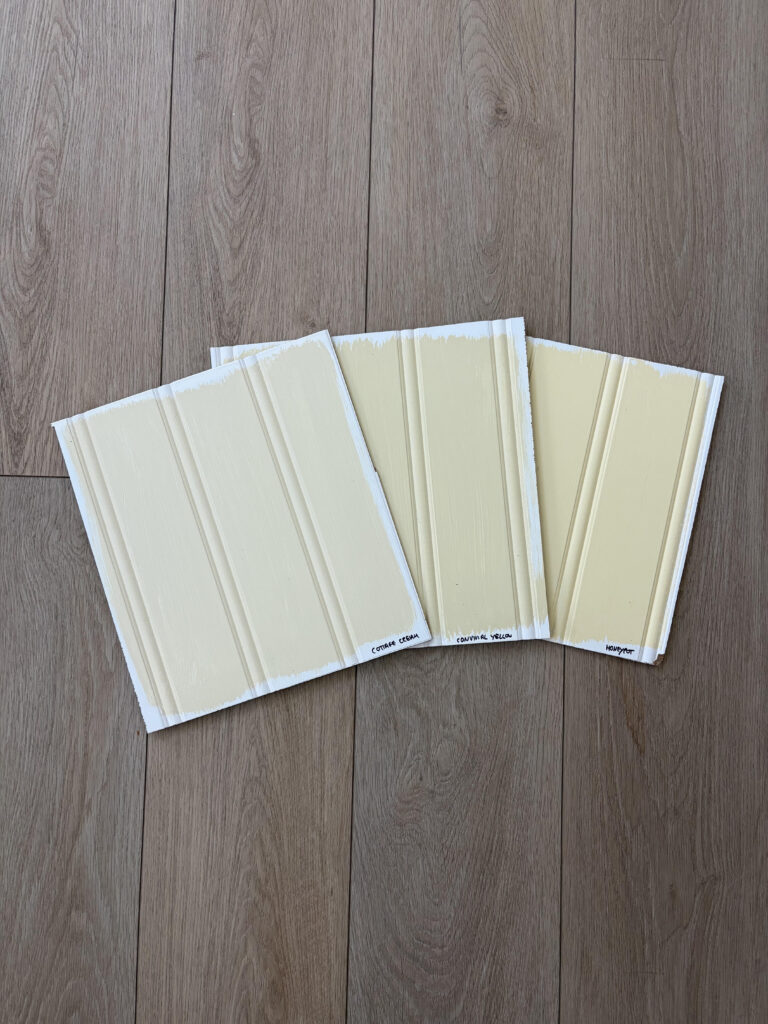
It’s the perfect creamy yellow I was looking for!
Our Laundry Room After
I’m so excited to share what our laundry room looks like now, here it is!
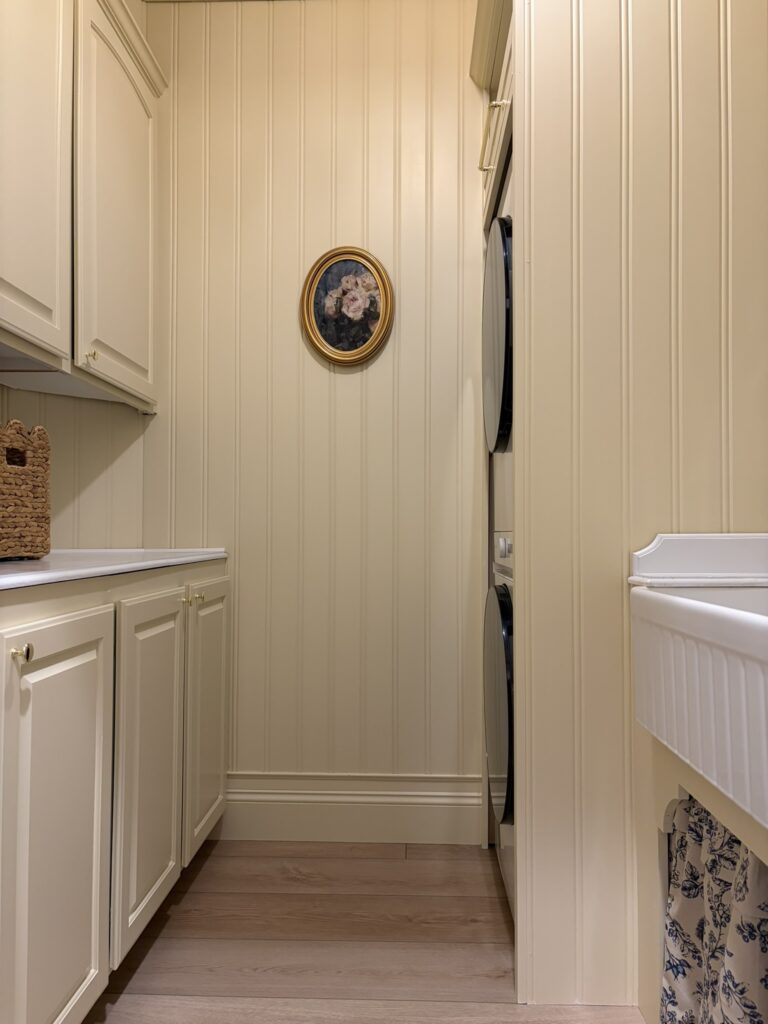
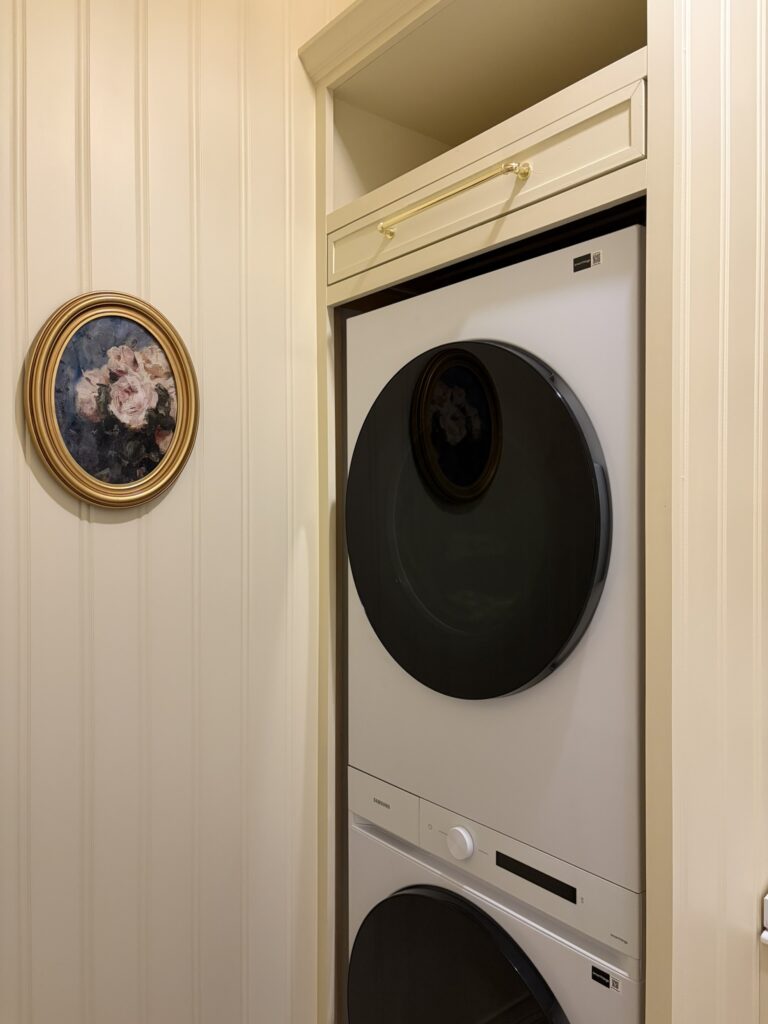
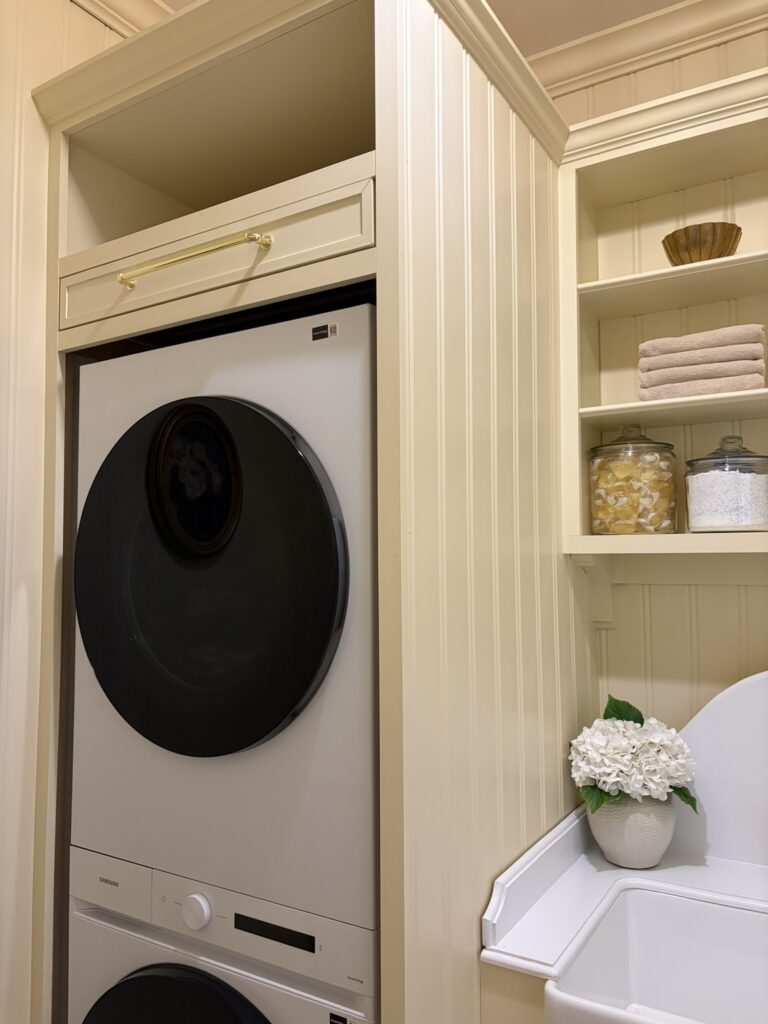
I love the new laundry hub, especially with the cabinet around it. It looks so nice!
The other thing I’m so excited about in this laundry room is the sink area:
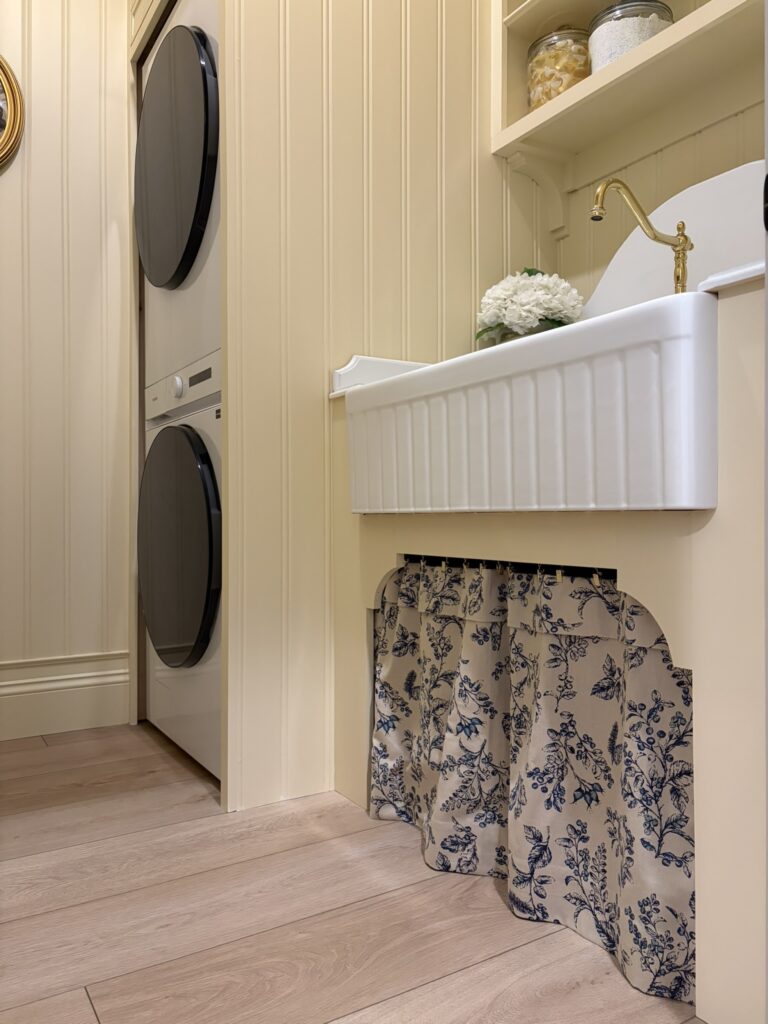
I can’t believe we were able to fit a large apron sink simply by reconfiguring the layout!
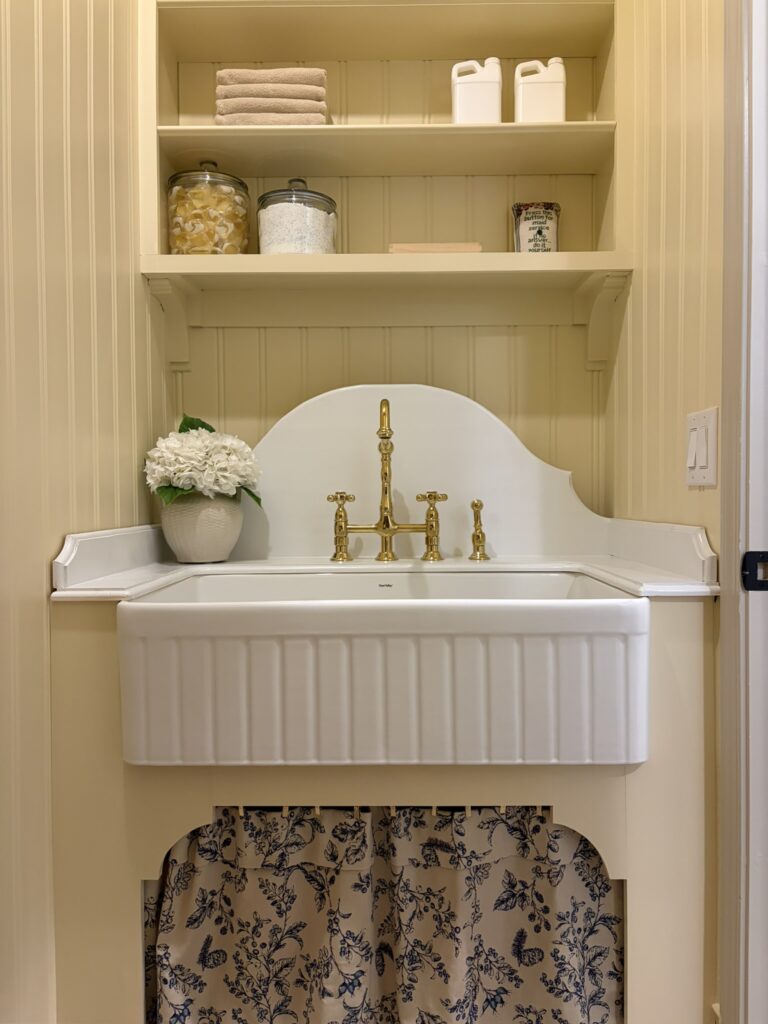
I’m so glad I put in the extra time and effort into the detail around the sink cabinet, I think it makes a huge difference and makes it look really custom and charming!
The wood countertop is not perfect but more on that later!
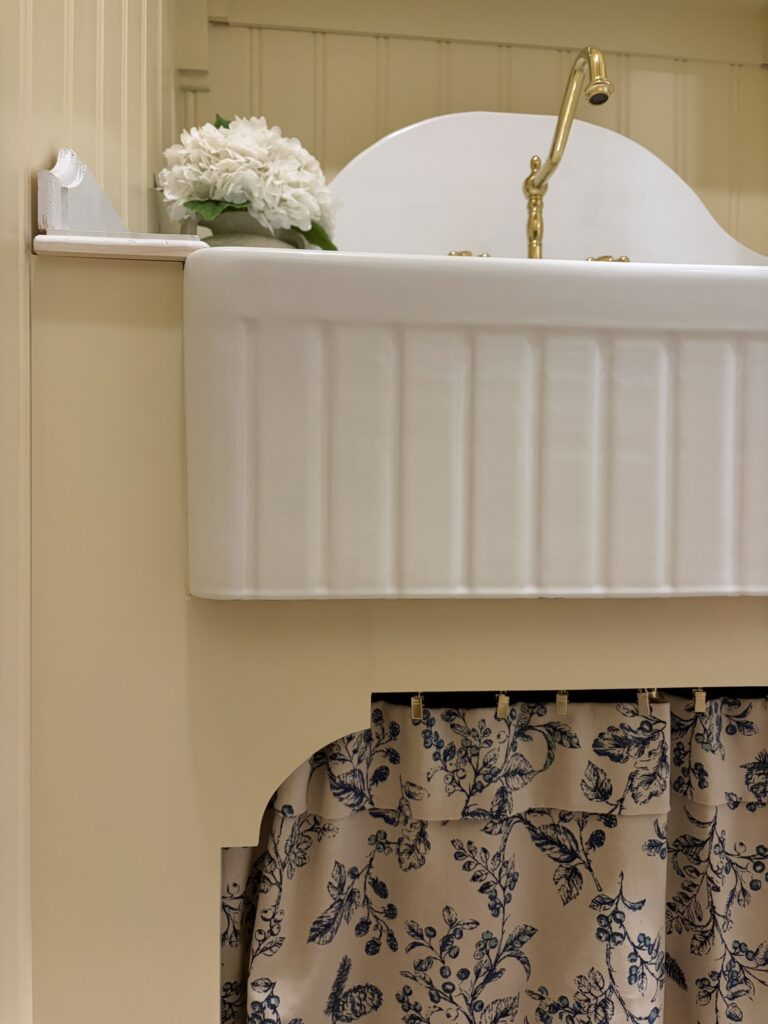
If you’ve been around for a while you know I love cute little whimsy details so I couldn’t resist adding these corbels to the shelves:
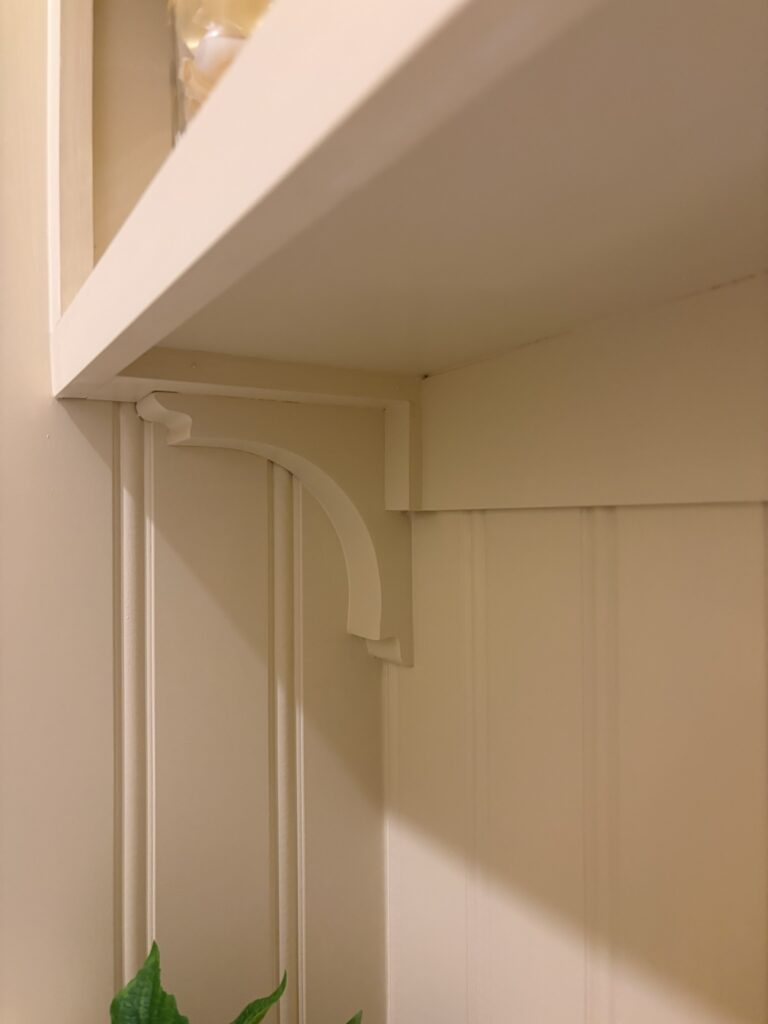
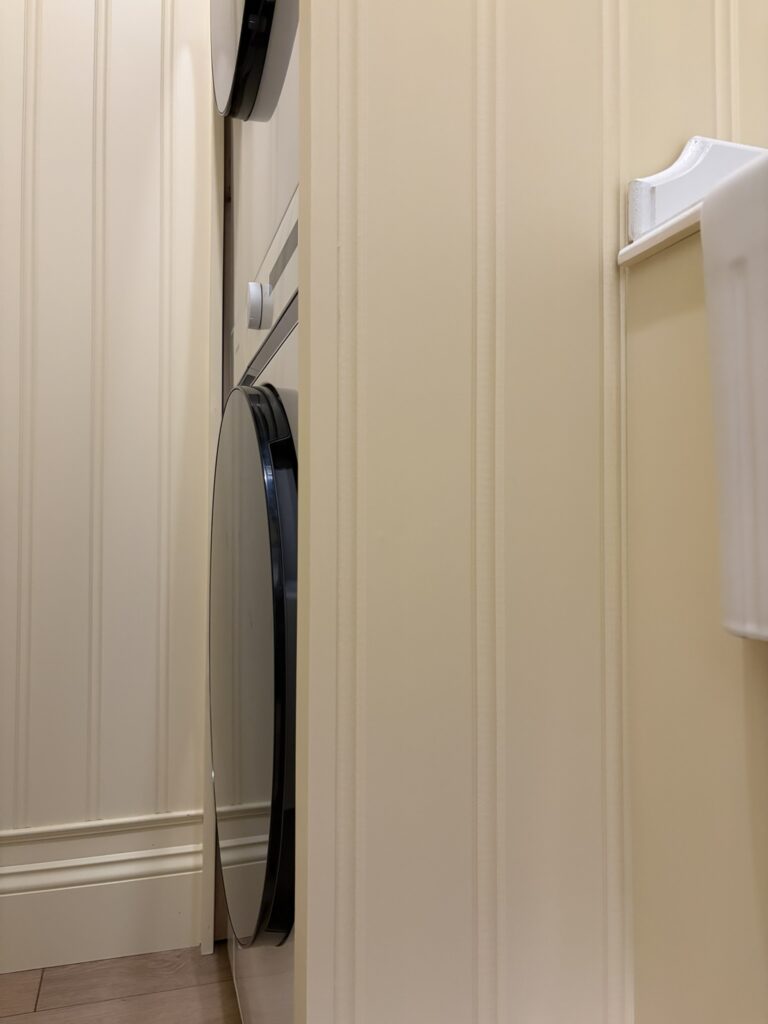
The beadboard adds another layer of coziness to this space. I did have to think about how to solve the problem of the beadboard only coming in 8’x4′ sheets when our ceilings are 9′ tall. Here’s what I did:
I added crown moulding at the top and this little ledge to “extend” the baseboard just enough to cover the gap at the bottom.
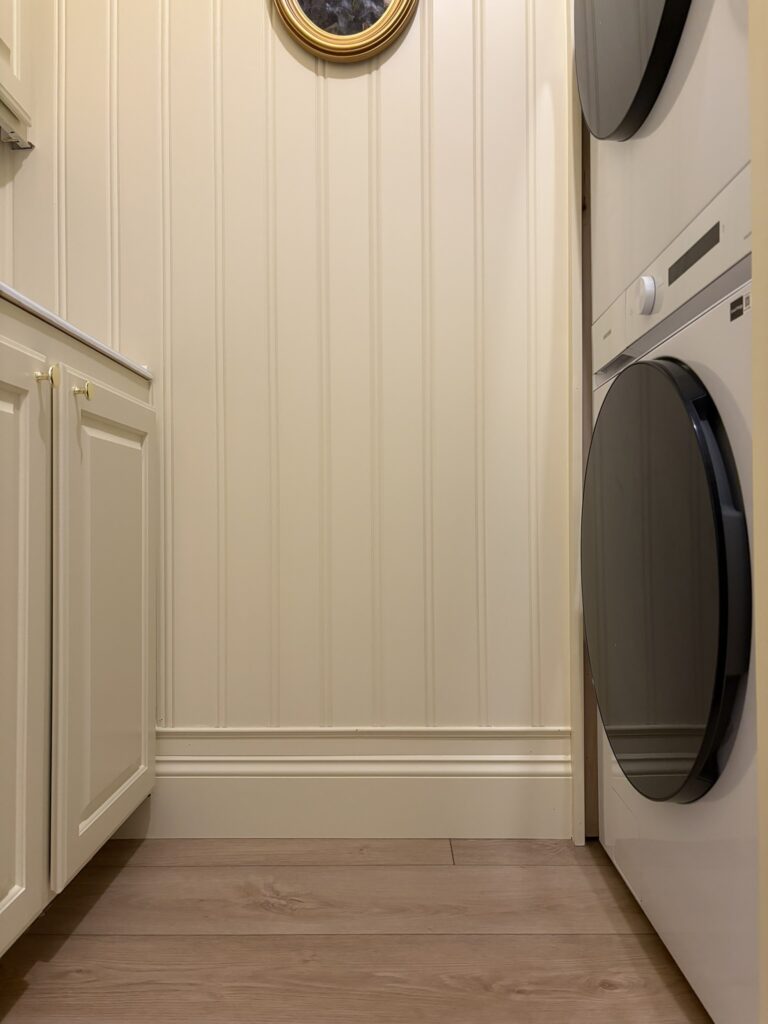
Here’s another close up of the beadboard:
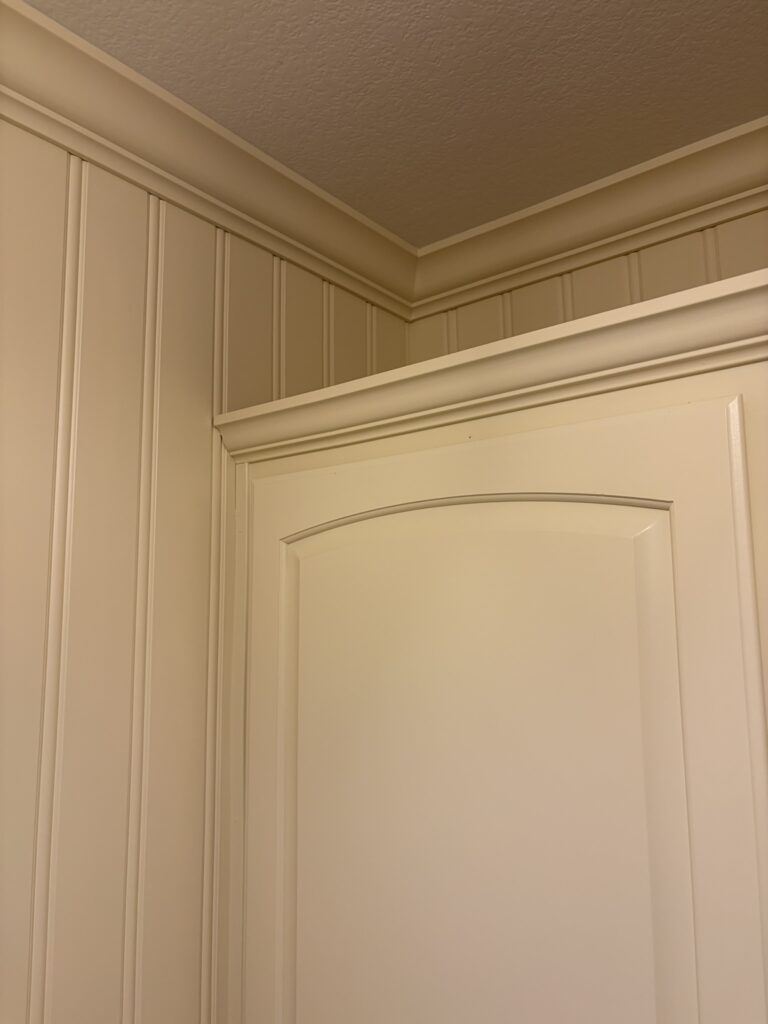
I originally planned to extend the cabinets to the ceiling but realized that I wouldn’t be able to do that above the laundry hub because the vent sits right above that cabinet. I decided to just add crown moulding to the top of the cabinets and the ceiling.
I’m so glad I ended up being forced into this decision because I love how it turned out!
I also added this fun little hidden feature to the custom cabinet:
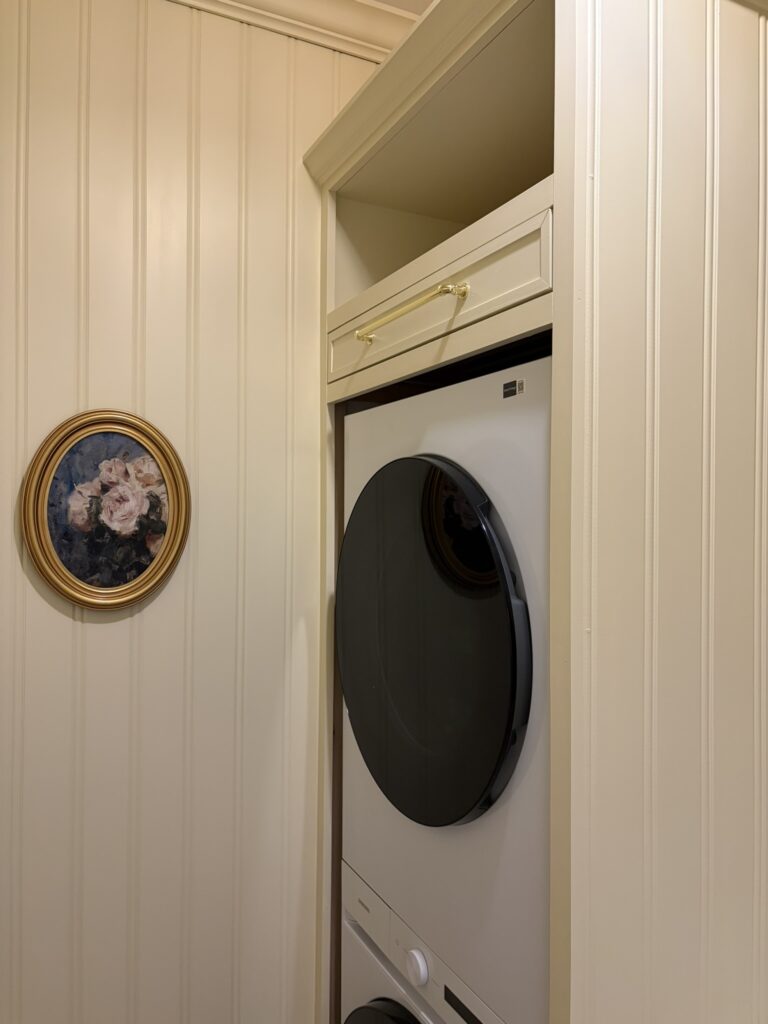
A DIY drying rack!
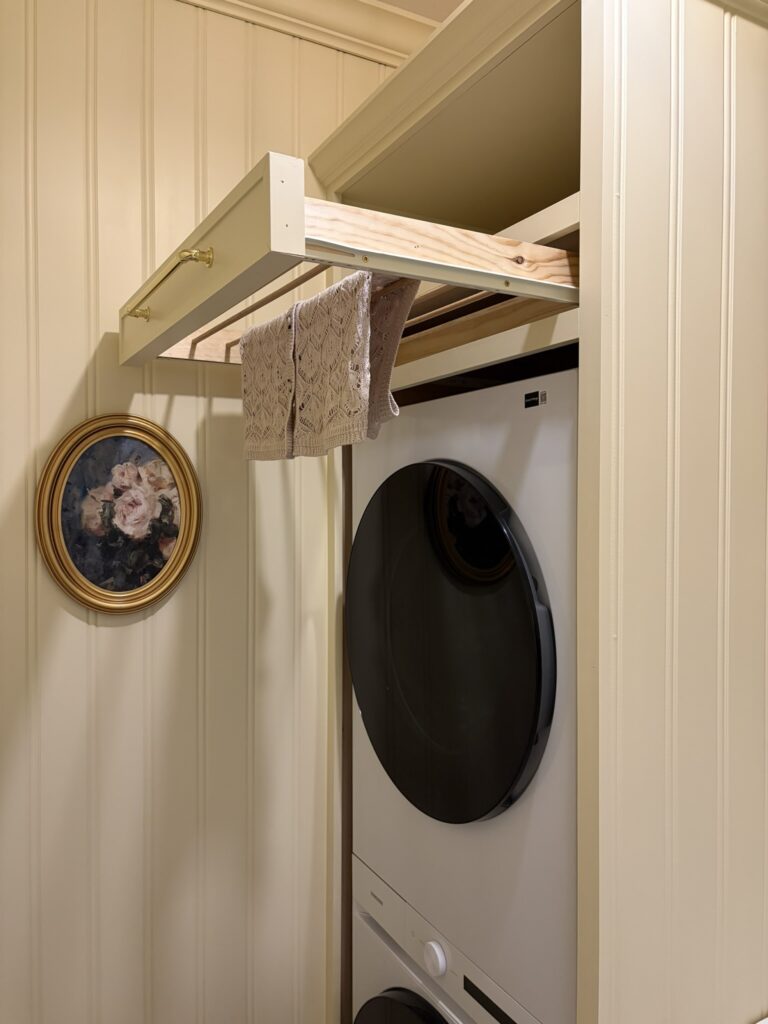
There’s always a few clothes I don’t want to put in the dryer so this is perfect:
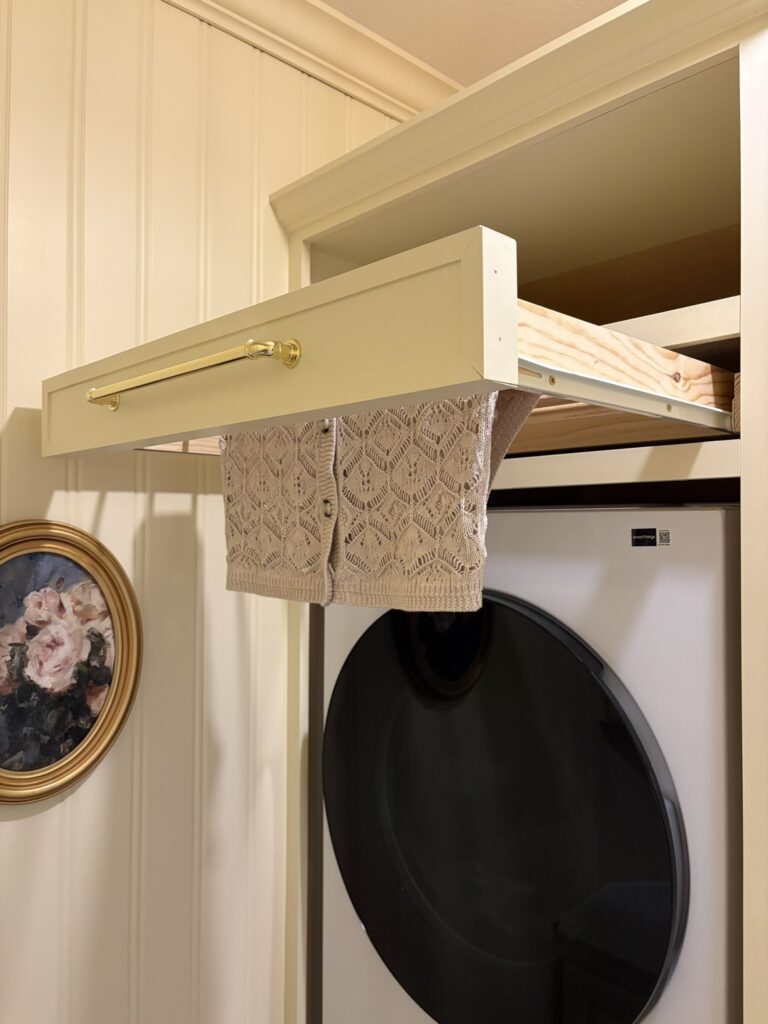
I love that it’s completely hidden whenever we’re not using it:
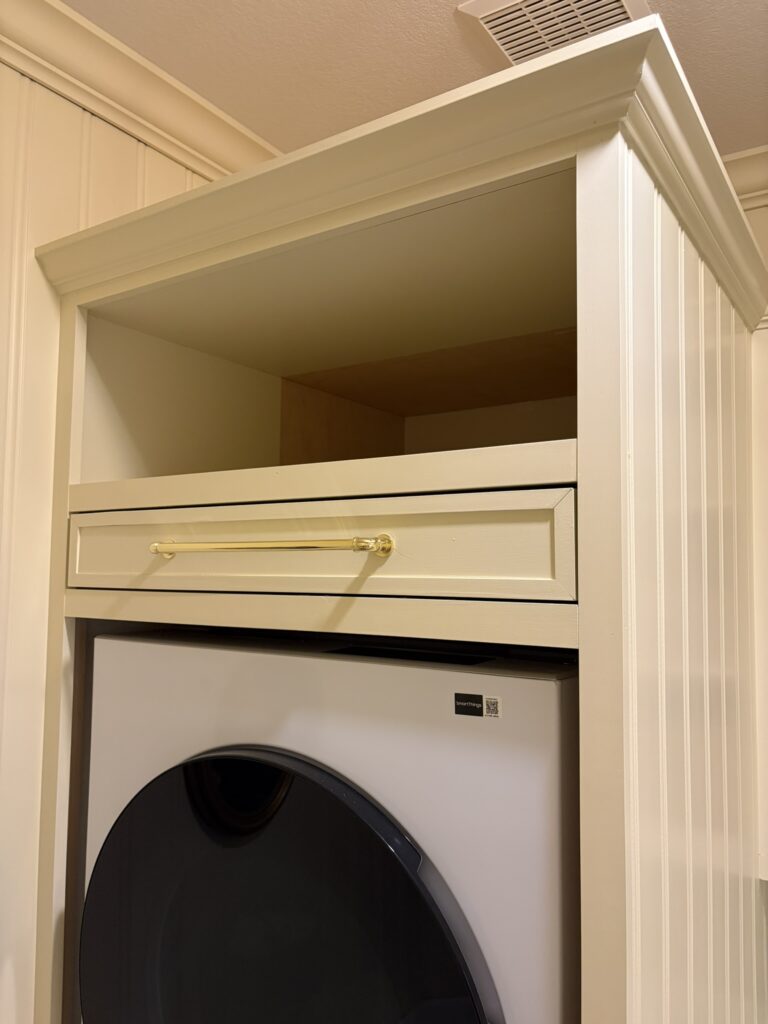
Here’s a closer view of the upper cabinets that were previously on the opposite wall:
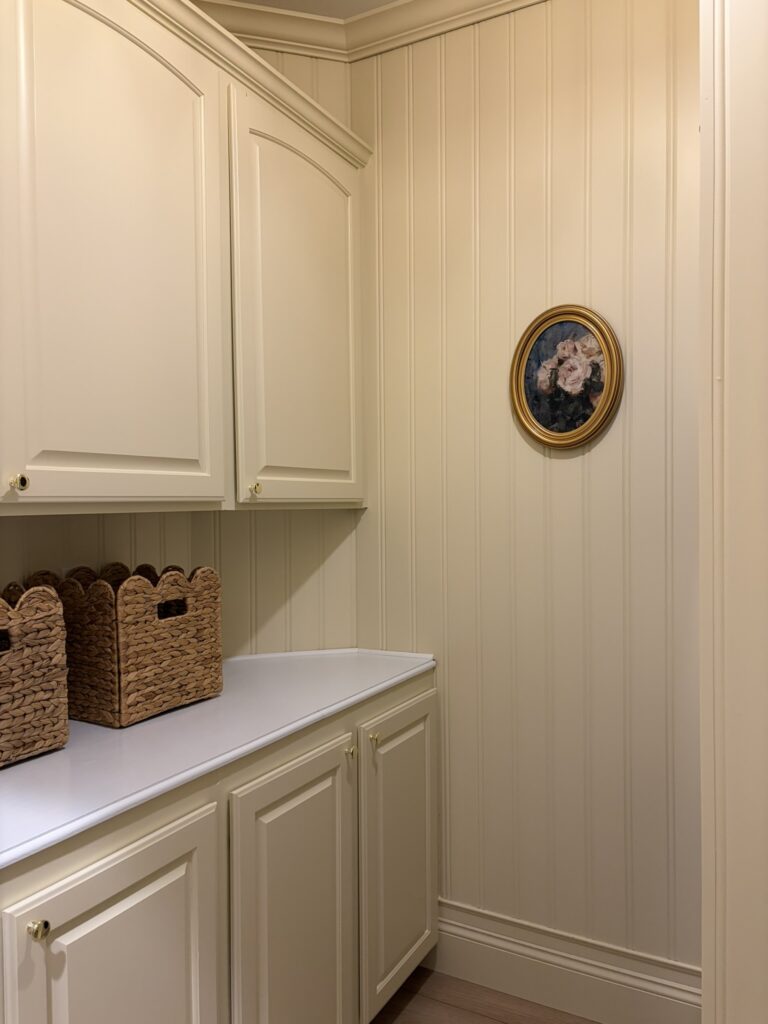
I’m so glad I was able to preserve them and they make so much more sense on this side!
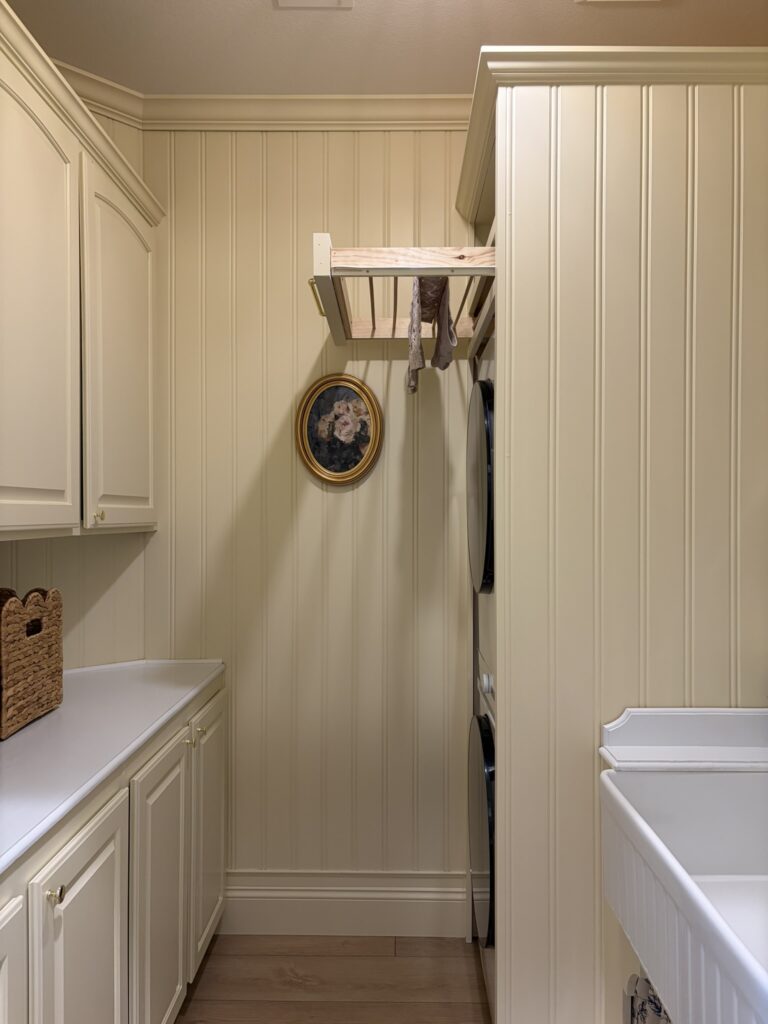
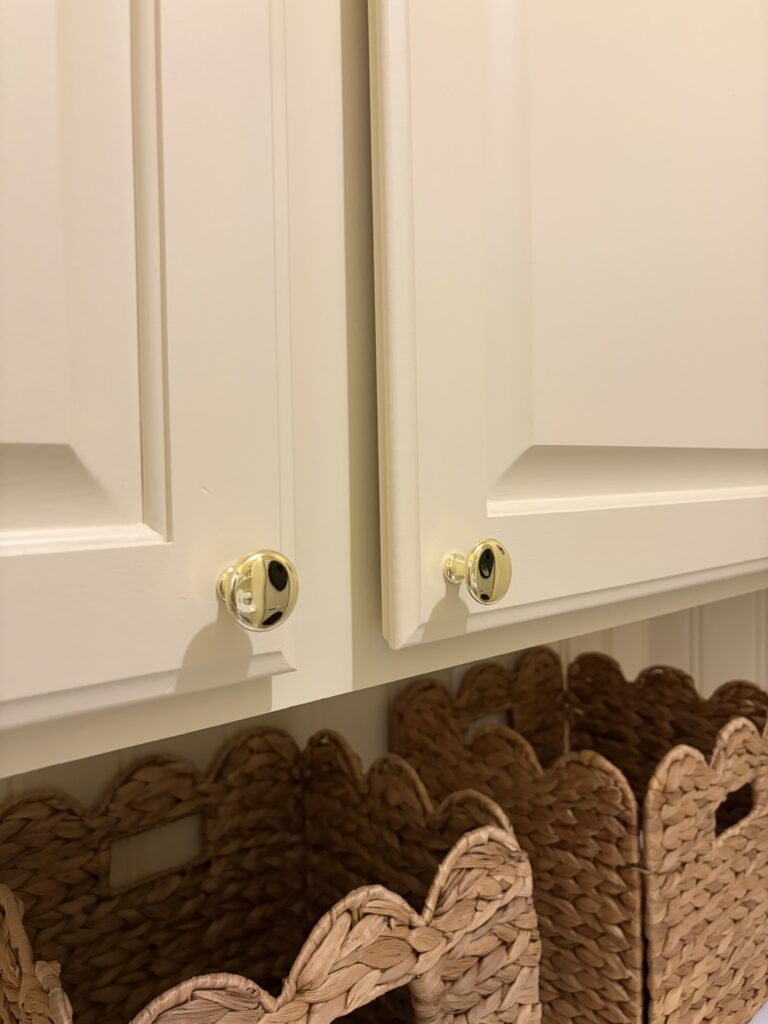
I’m so happy with the paint color I picked: Cottage Cream! I think it goes really well with all the brass accents throughout like these knobs:
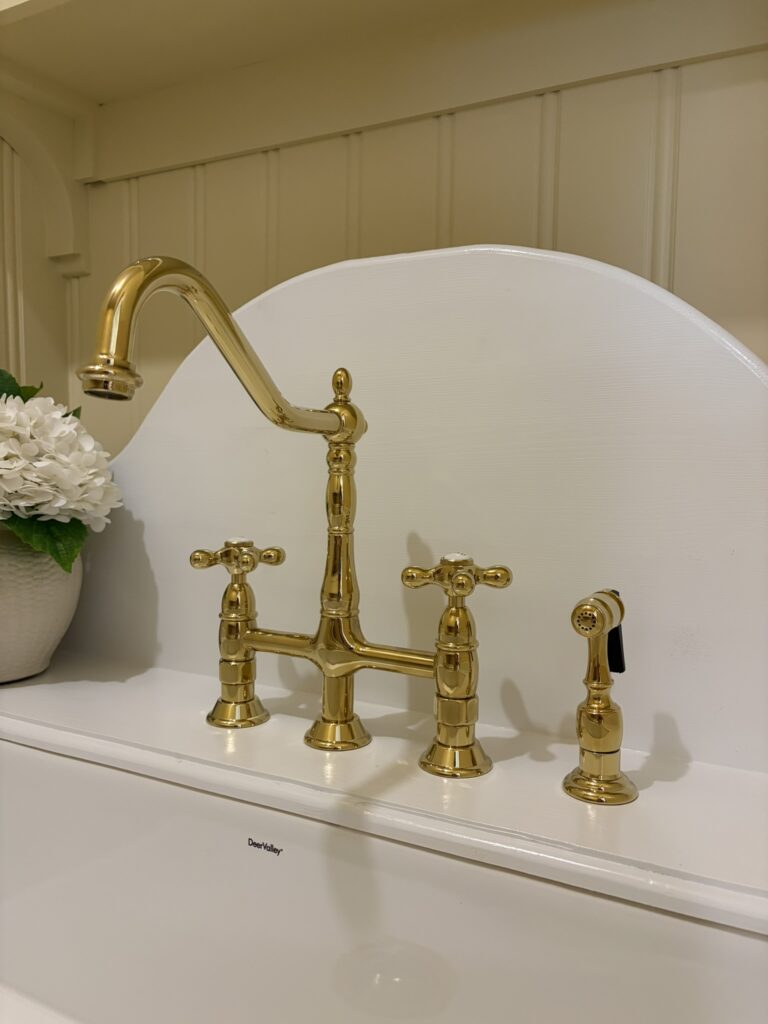
I also got the brass faucet that I loved so much at our last house:
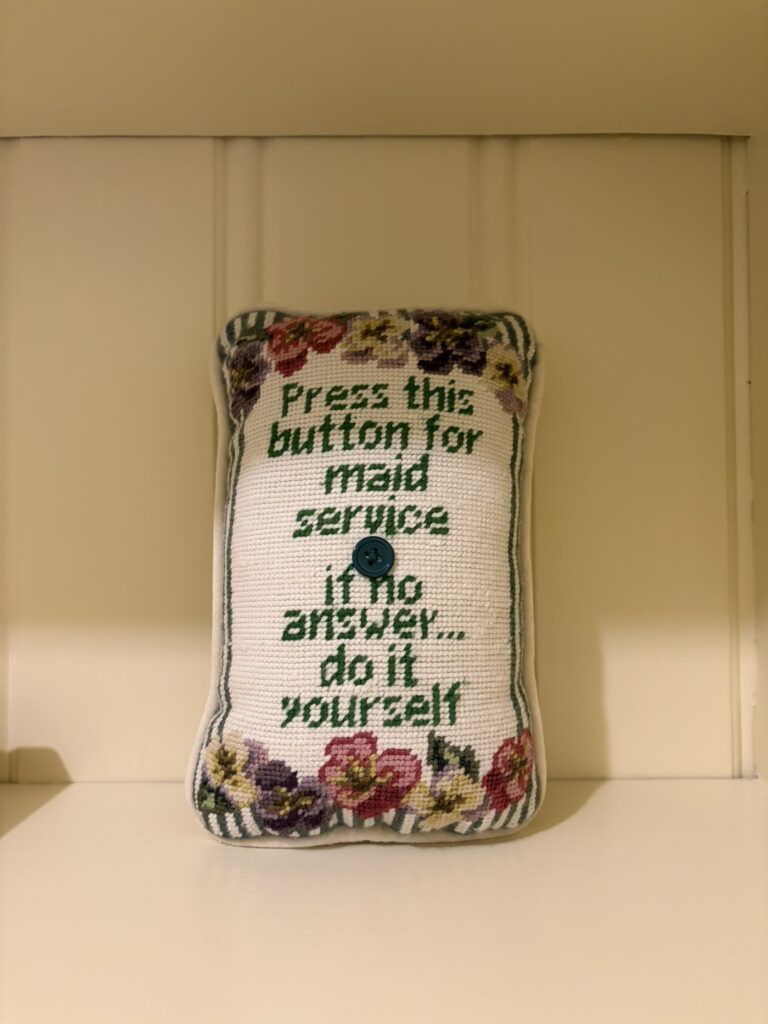
The laundry room was also the perfect place for this cute little estate sale find:
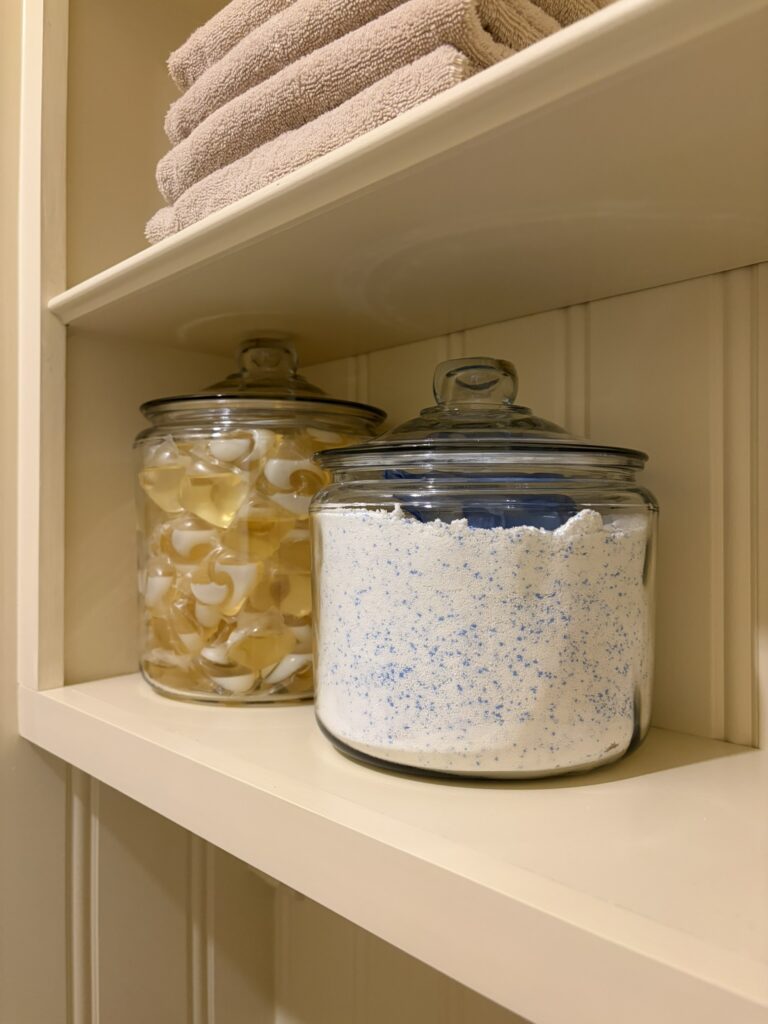
I also decided to fill up these beautiful canisters with laundry detergent:
I love how this laundry room turned out and I’m thrilled about how much more functional it is now!




Soon, I would like to replace the white wood counters with a quartz countertop with an ogee edge. Stay tuned for an update!
I hope you enjoyed this detailed reveal, let me know if you have any questions at all about this project.
Tina
Leave a Reply