I’m so excited to share with you how I made the DIY drying rack in our laundry room! It was such a fun and pretty easy project.
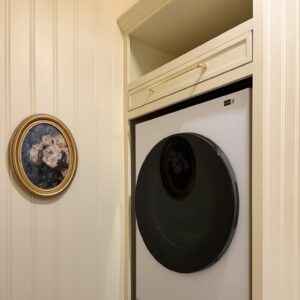
I’ve always wanted a hidden drying rack for those few clothes I don’t want to/can’t put in the dryer. While planning our new laundry room layout, I decided to add a little pull out drawer with a drying rack to the custom washer and dryer cabinet I was already going to build.
Let me show you how I built my custom DIY drying rack!
Note: This post may contain affiliate links, you can find more information in my disclosures here.
Materials
- Oak dowels
- 1×2 pine boards
- Drawer front (I built mine but you could also buy one if your cabinet size matches as common size)
- Drawer slides
- Wood glue
- Brad nailer
Tools
Step 1: Measure the cabinet
The first step was to measure the opening I had available for the drawer.
First, I built the custom washer and dryer cabinet based on the actual size of our washer and dryer.
Once the cabinet was in place, I measured the exact opening that I had available for my DIY drying rack:
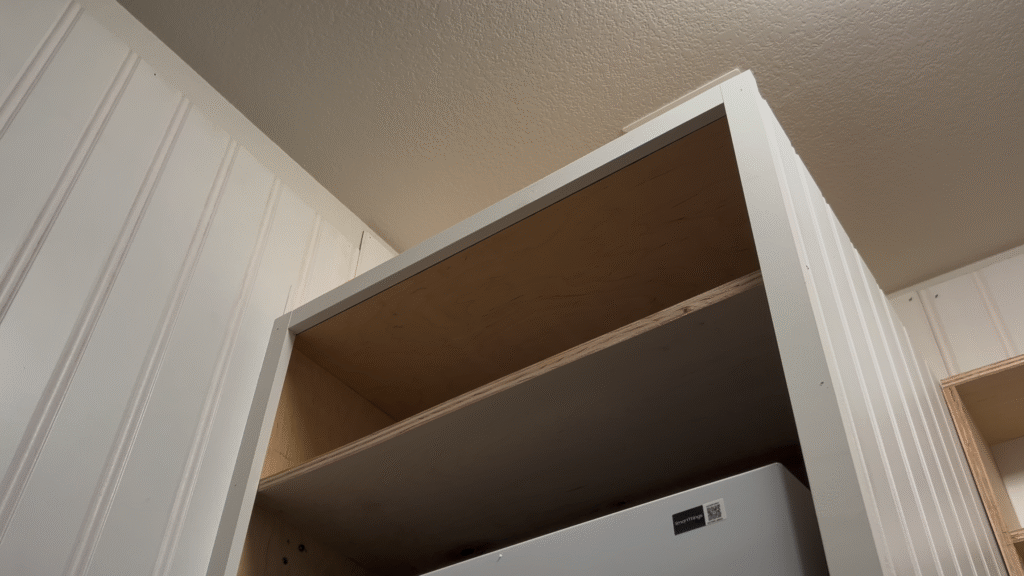
Then, I considered the clearance needed for the drawer slides on each side and came up with the width of the drying rack from there. I decided to make the depth of the drying rack roughly the same as the width so that it wouldn’t be too heavy.
Step 2: Cut wood to size
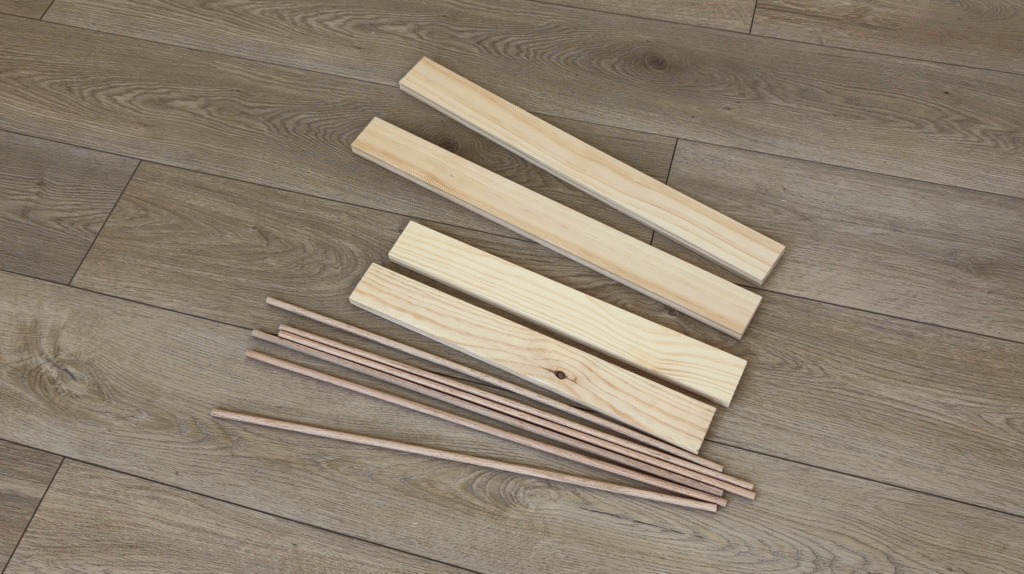
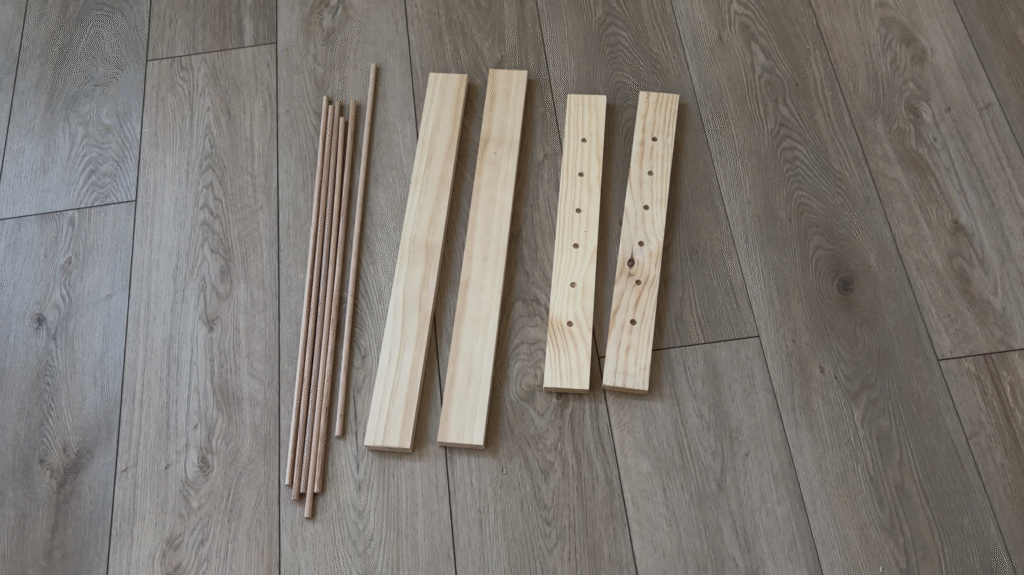
Next, I cut the 1x2s to size to build the frame.
Step 3: Drill dowel holes
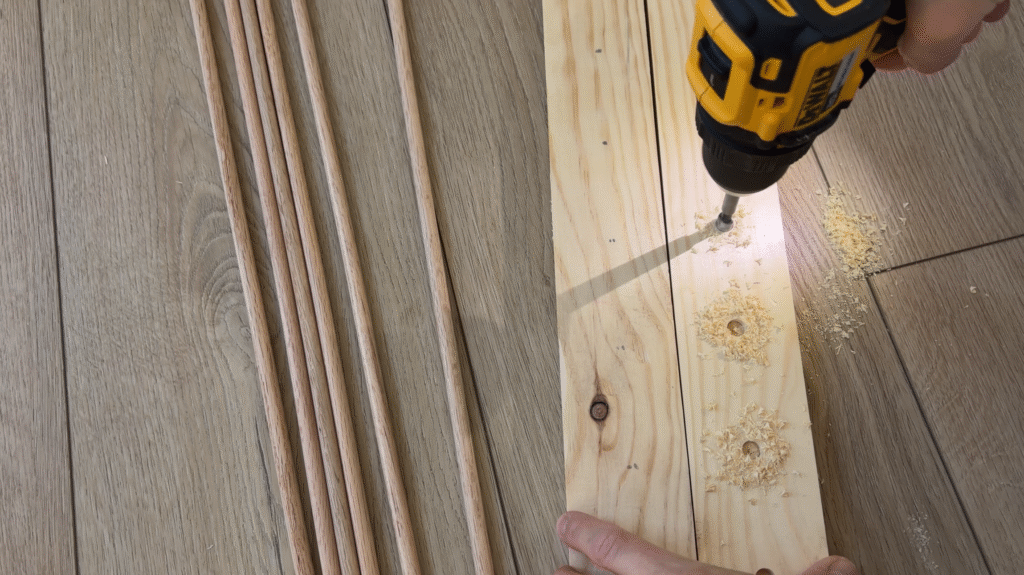
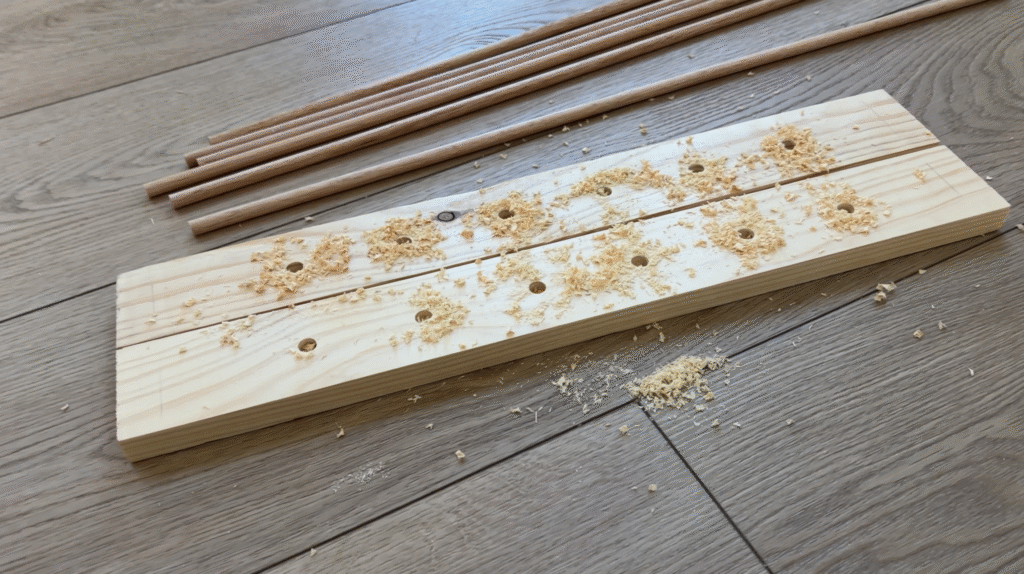
Then, I decided how many dowels I would need to add based on the distance I wanted between each dowel. I went with about 2 1/2 inches between each dowel. This allows enough room to hang clothes easily.
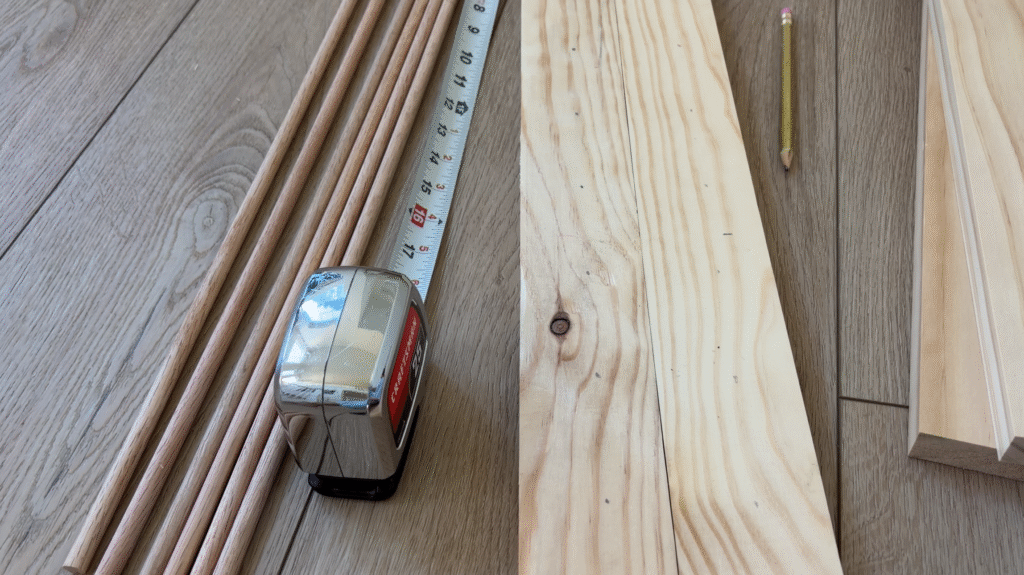
Once I knew how many dowels I would be including, I drilled the holes for them on the left and the right side of the drying rack. I made the holes pretty deep to make sure the dowels would be placed in them securely.
Step 4: Cut dowels to size
Then, I cut the dowels to size based on the exact length I needed them to be.
Step 5: Assemble drying rack
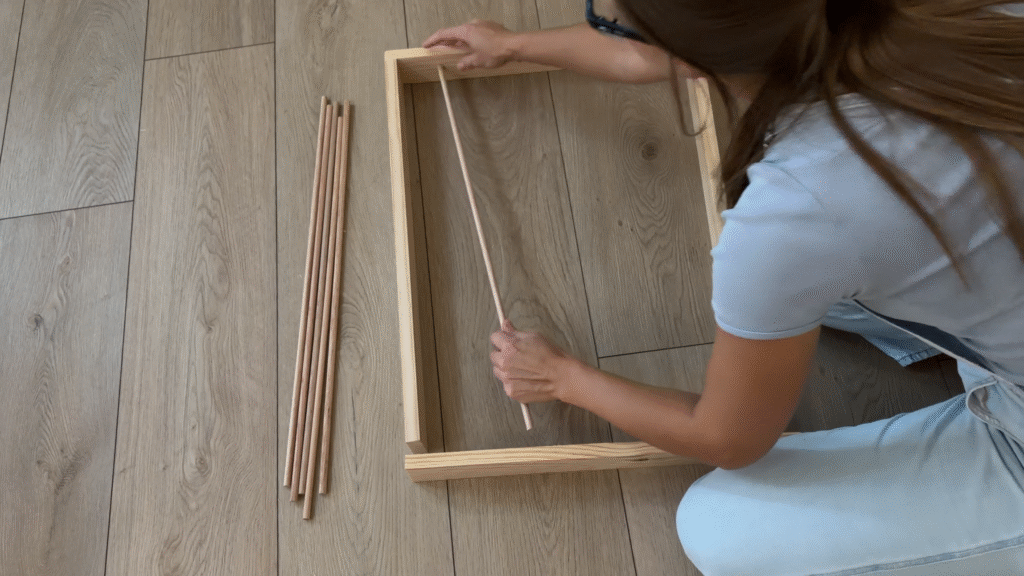
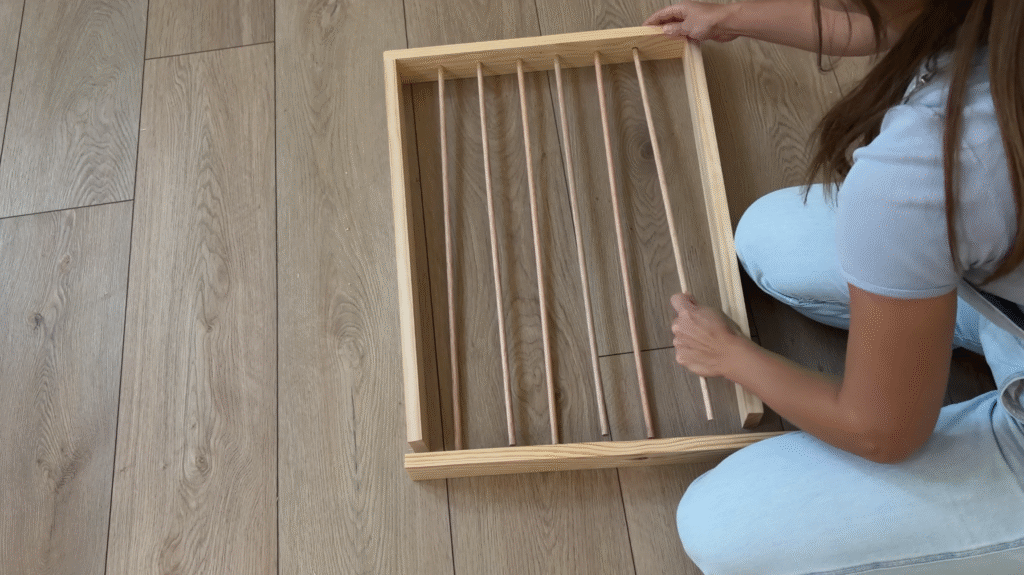
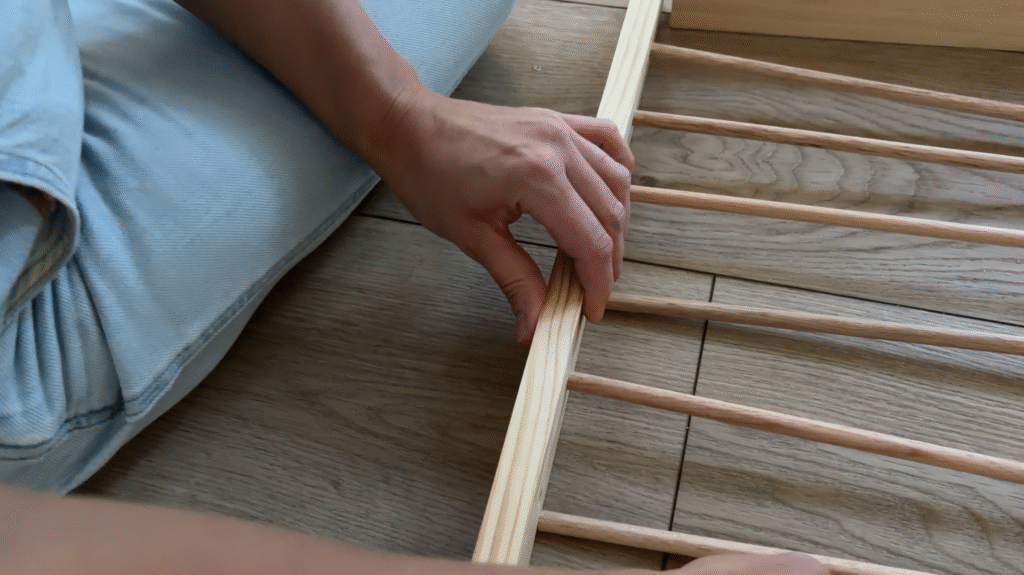
After that, I put the drying rack together by building a square frame using the 1x2s I cut and my brad nailer.
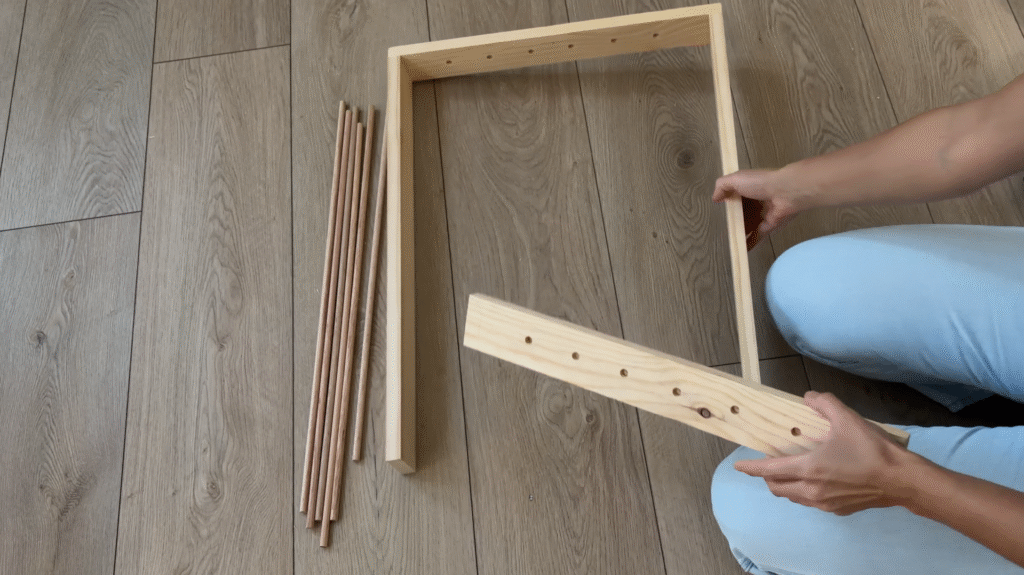
I used wood glue on the ends of the dowels and placed them into the holes I drilled.
Step 6: Mount drawer slides
Next, I mounted the drawer slides based on the instructions that were provided. This part was easier than I expected!
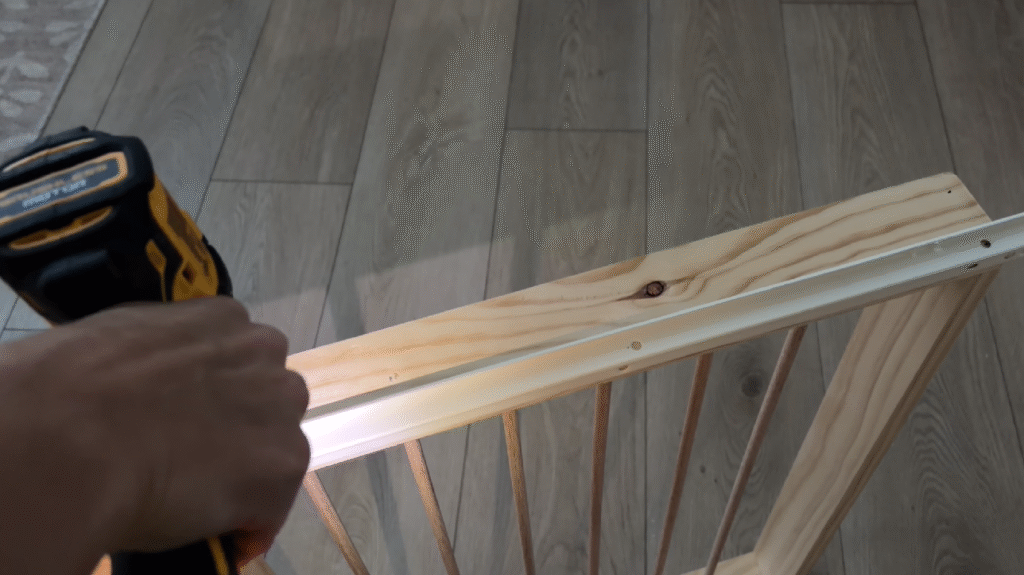
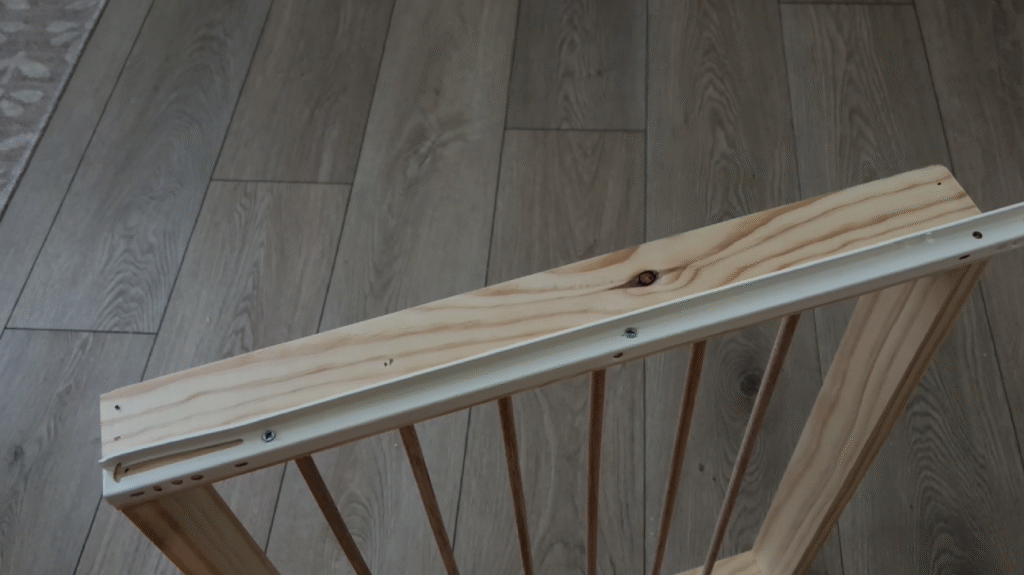
The drawer slides I bought came with four pieces: two pieces that needed to be attached to the drying rack and two pieces that need to be attached to the cabinet surrounding it.
From there, all I had to do was slide the new drying rack into the cabinet:
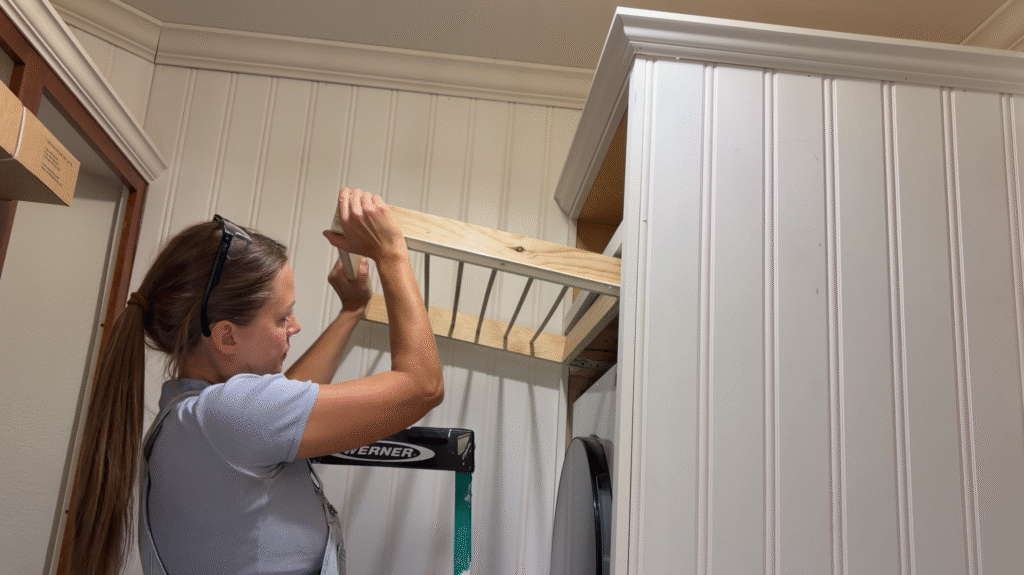
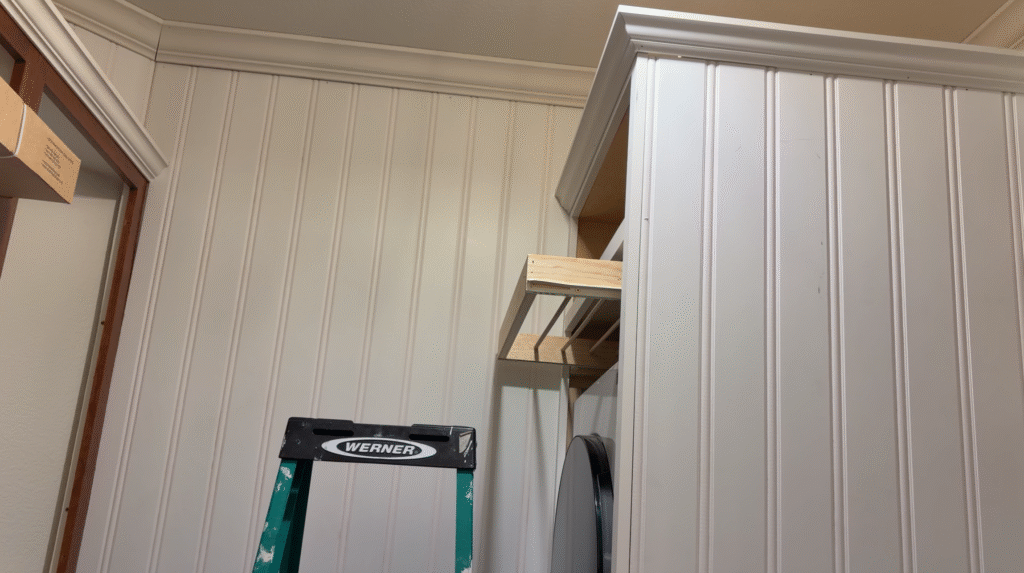
I was so thrilled to see it slide right in!
Step 7: Attach drawer front
Because I wanted the drawer front to be an inset drawer front, I decided to wait to attach it to the drying rack until everything was in place.
Once the drying rack was in its final spot, I held up the drawer front to ensure an even gap between the drawer front and the cabinet face frame all around. After figuring out the perfect spot, I attached the drawer front to the drying rack!
Finished DIY drying rack
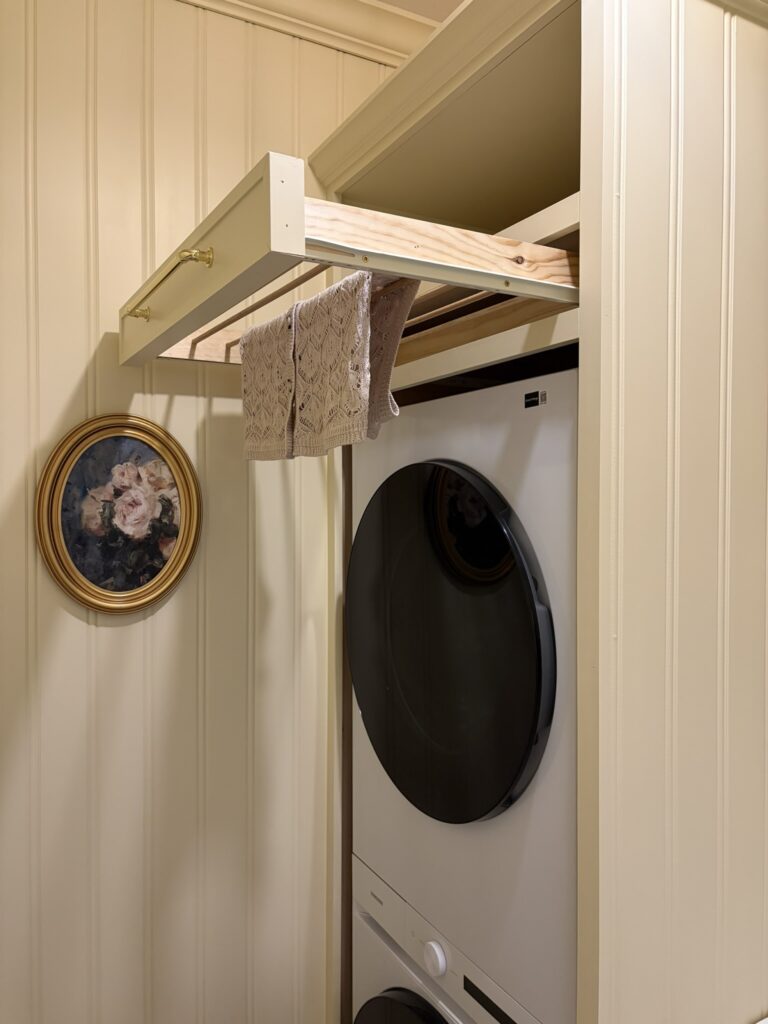
Here’s my DIY drying rack, I’m so excited about how this turned out!
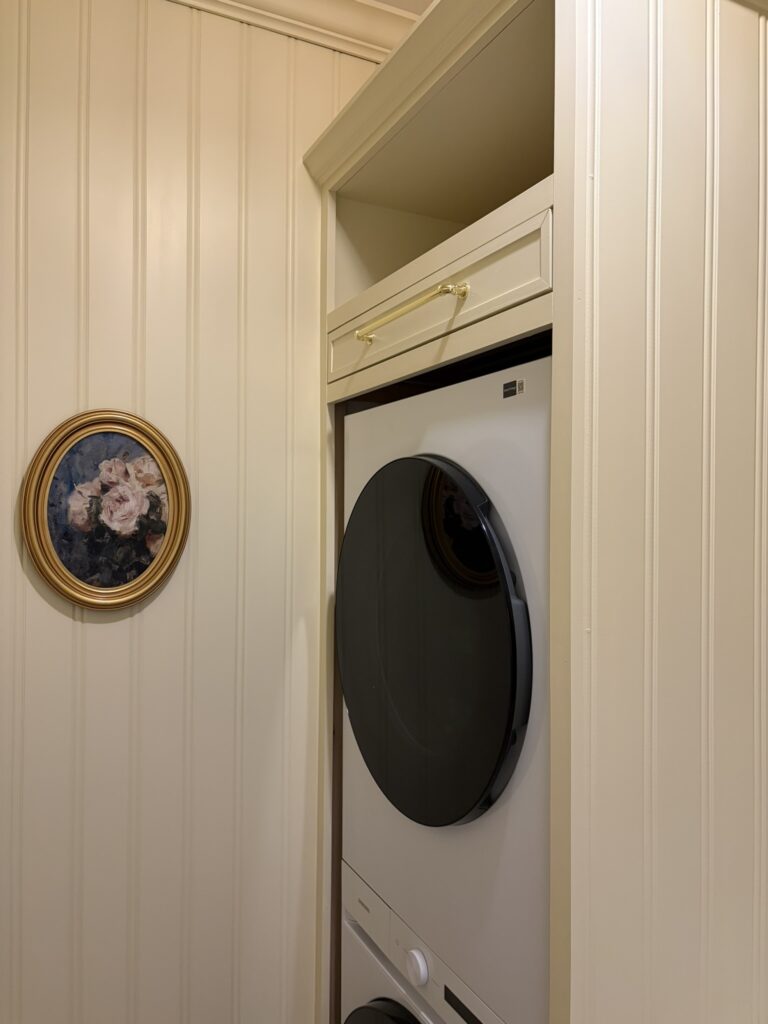
I love that’s it’s something useful that I’ve wanted for a long time but it’s also hidden when it’s not being used.
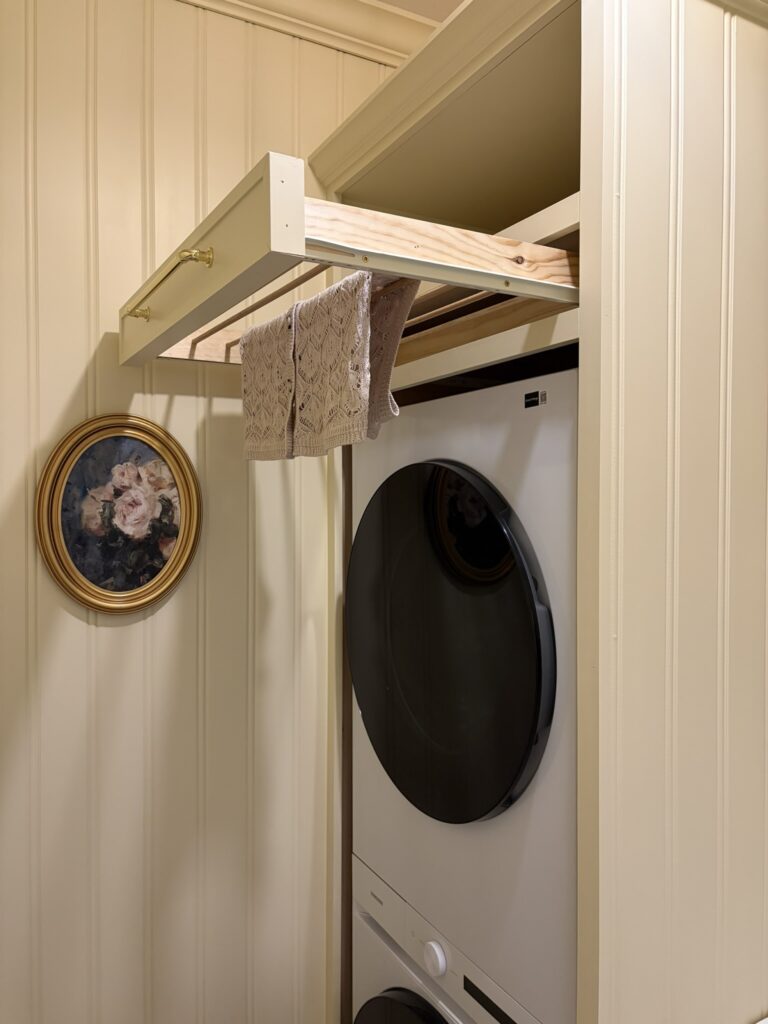
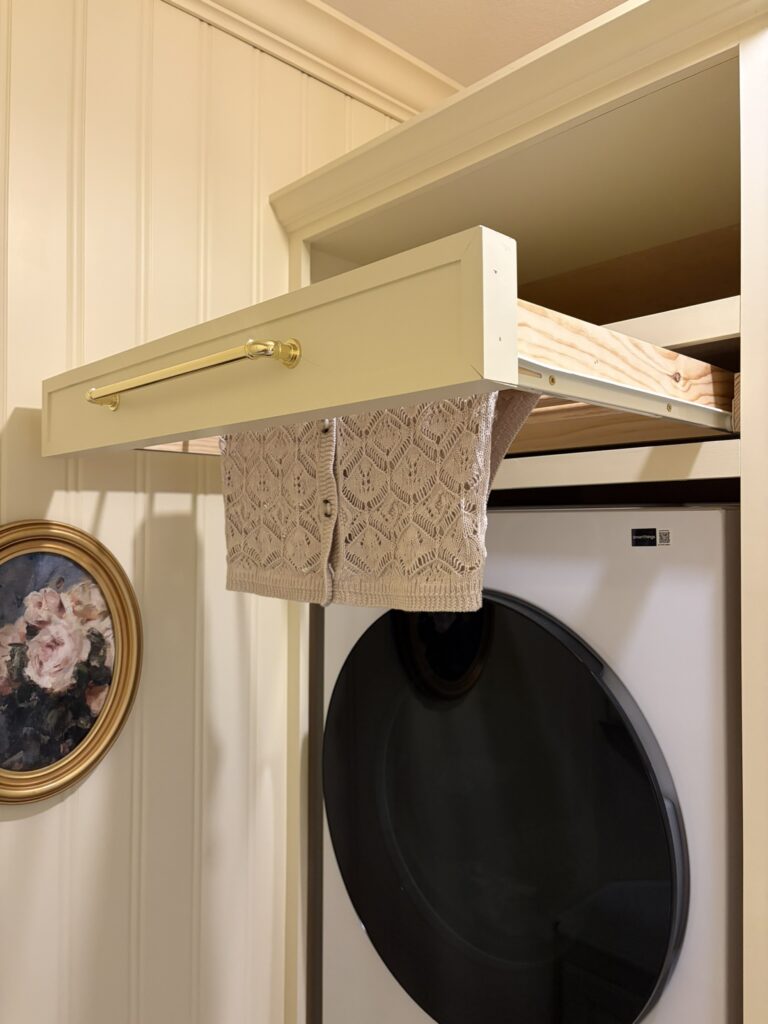
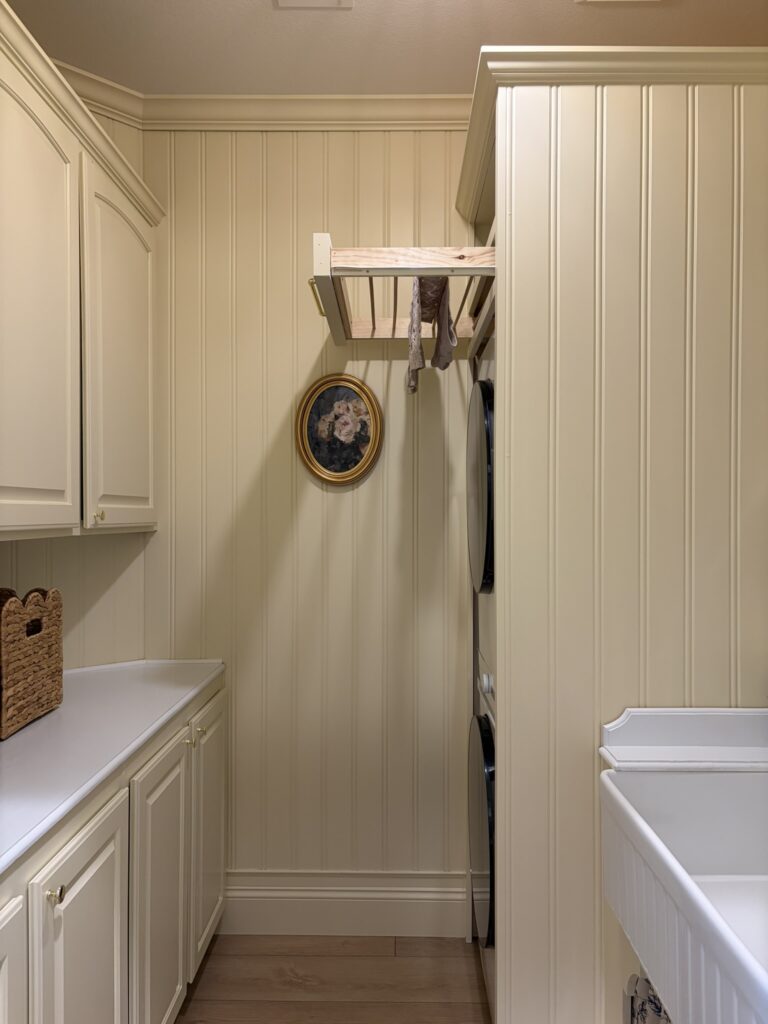
I’ve been using this after almost every wash and I’m so excited about how this turned out!
This was my first time building a sliding drawer from scratch and it was easier than I expected, yay!
Let me know if you have any questions at all!
Tina

Leave a Reply