Here’s how you can make an adorable DIY doormat that matches your home‘s exterior colors without using a Cricut or buying stencils! A DIY doormat is a great way to spruce up your outdoor entry space on a budget. This example will show you how quick, easy and cheap it is to create your own doormat using supplies you might already have around your house.
Note: This post may contain affiliate links, you can find more information in my disclosures here.
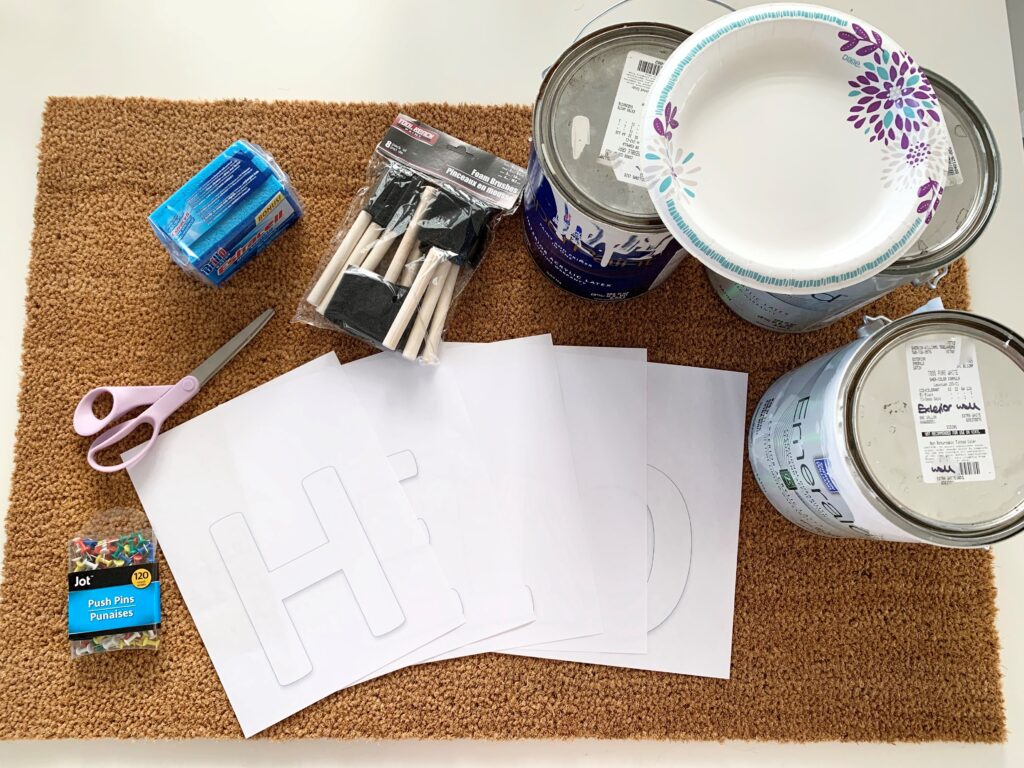
Materials
- Coir doormat (you can buy a new one but you could also use an old plain one)
- A few sheets of paper with letters printed on them (I used the word Hello)
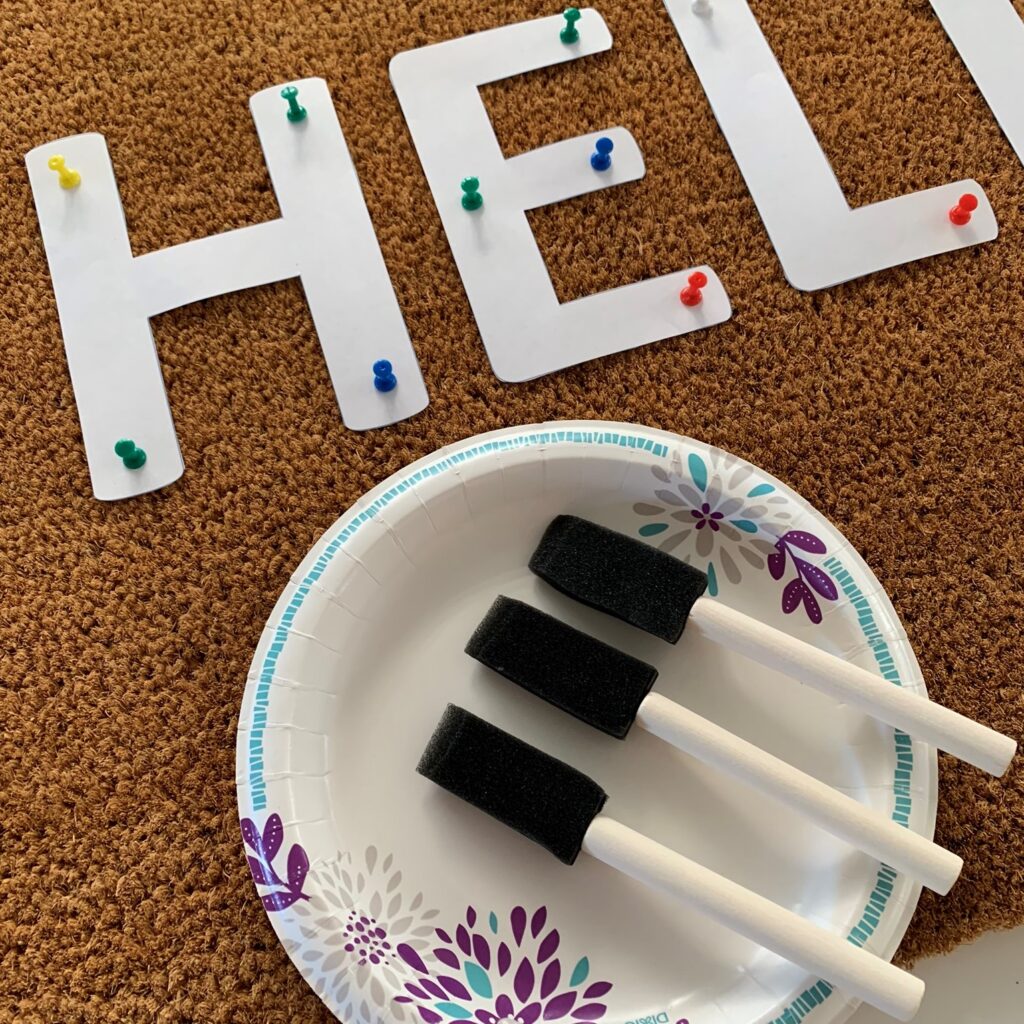
- Kitchen sponges
- Foam brushes
- Scissors
- Push pins
- Paint (I used leftover house paint from when we painted the exterior of our house, colors are SW Extra White and SW Oyster Bay)
- Paper plates
I was inspired by Regan at the Blooming Nest on Instagram to create my own floral DIY doormat. We had just painted the exterior of our house so I thought it would be cute to have a personalized doormat that matched the new exterior colors!
Let me show you how to DIY a doormat without any fancy tools like a Cricut or stencils almost for free! This doormat with a floral design and the word “Hello” is the perfect crafts project for a fun afternoon:
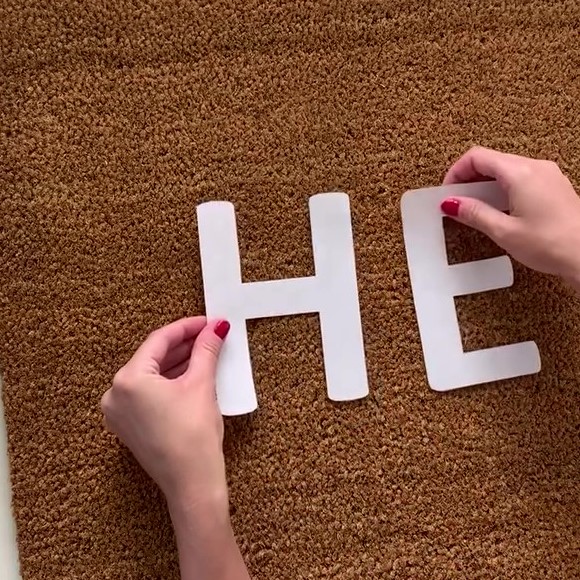
Step 1: Cut out and arrange the letters
The first step in making this DIY door mat was to cut out the printed letters for the word “Hello”:

Note: If you don’t have a printer, you could also use painters tape instead to outline the letters. That’s what Regan did.
Next, I arranged the cut out letters on the doormat:
Tip: I wanted the word to be perfectly centered on the doormat so I measured the position of the letters:
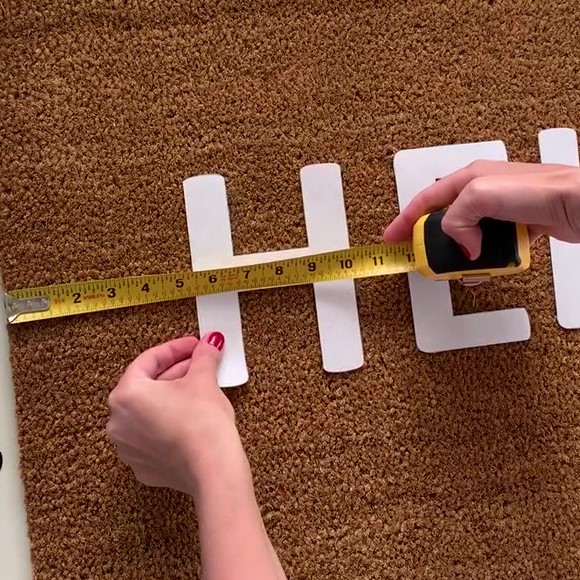

Once I was happy with the position of the letters, I secured them with push pins:

Step 2: Cut out floral shapes
The next step was to cut out four different little floral shapes out of the kitchen sponges:
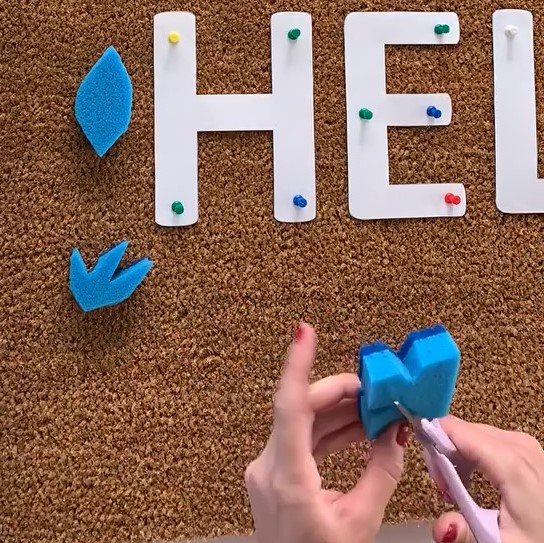
This step created little custom floral stamps!
Note: These shapes didn’t need to be cut out perfectly because the outlines of the shapes would look a little blurry anyway on the doormat once stamped!
Step 3: Apply paint and use stamps
This was the fun part! I used paint that we had left over from when we painted the exterior of our house to start painting and stamping the DIY doormat.
Letters
To outline the letters of the word “Hello”, I used foam brushes:
I poured some paint onto a paper plate to get started.
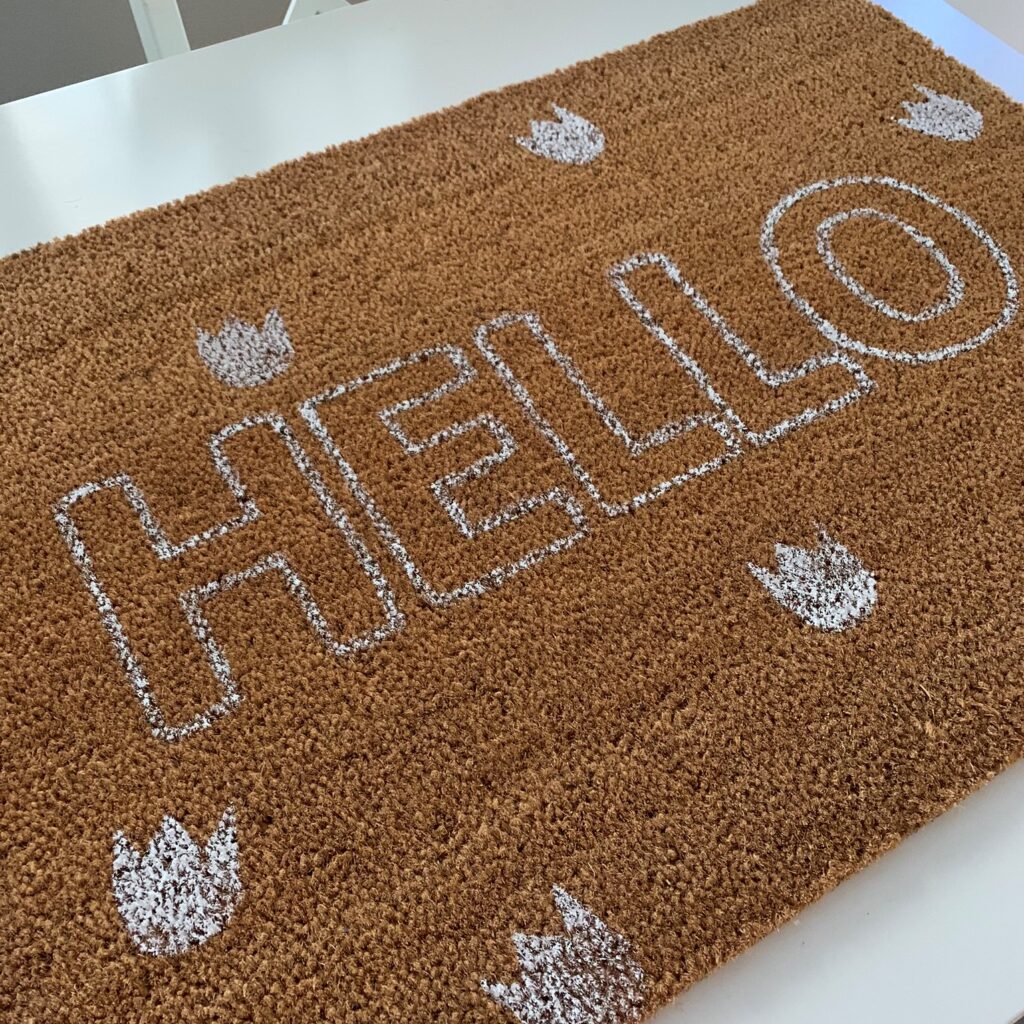
To outline each letter, I dipped the tip of the foam brush into the paint and then pressed the foam brush onto the doormat near the edge of each letter like this:
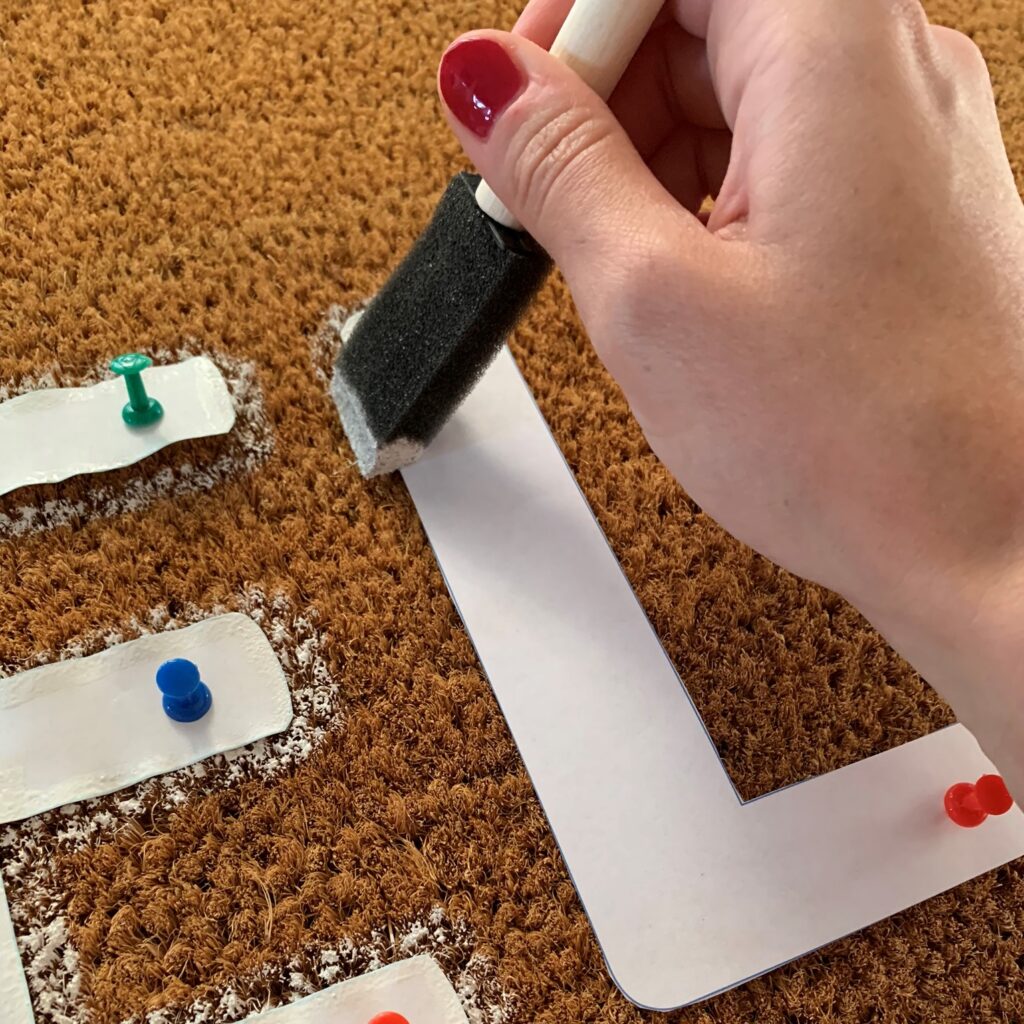
I went over each spot a few times until I felt that there was enough paint to visibly outline the letters.
Then, I carefully removed the paper letters to let the paint dry.
Floral shapes
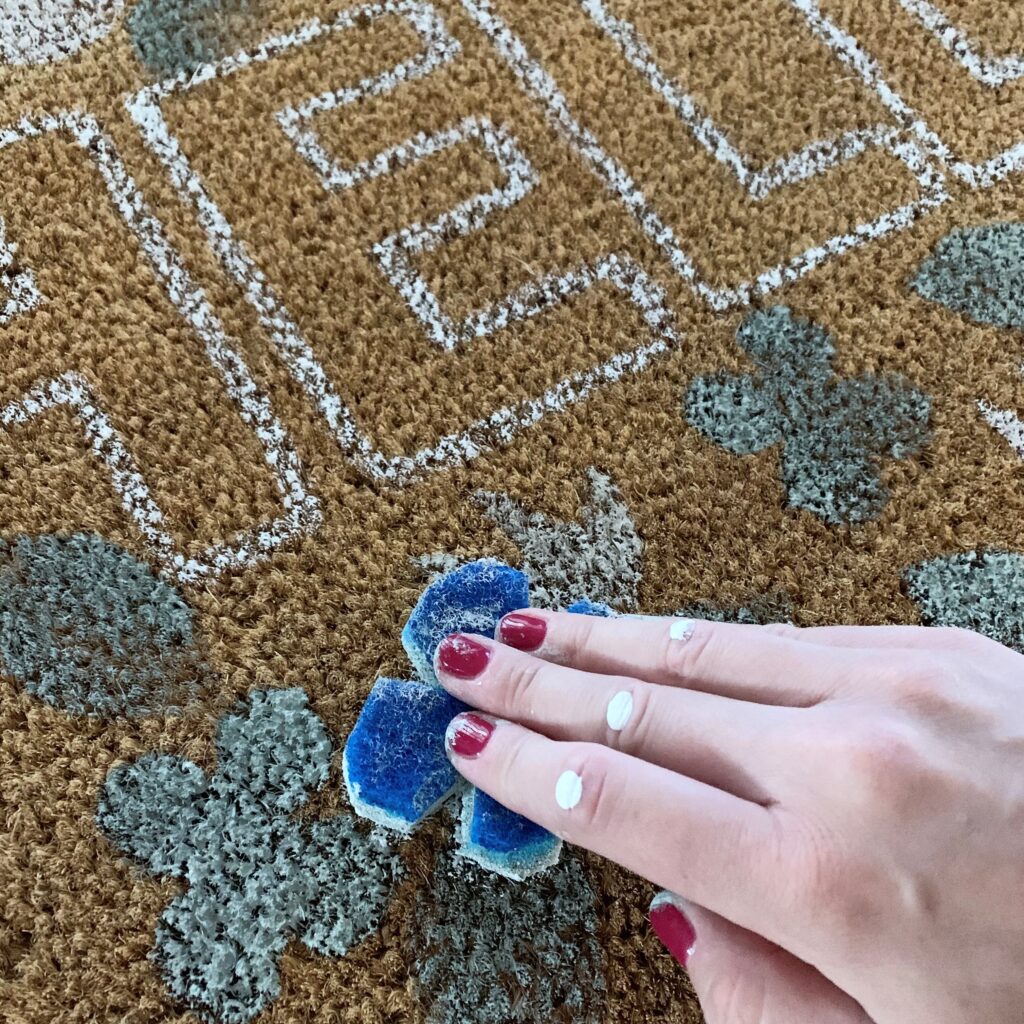
The next step was to use the floral sponge stamps:
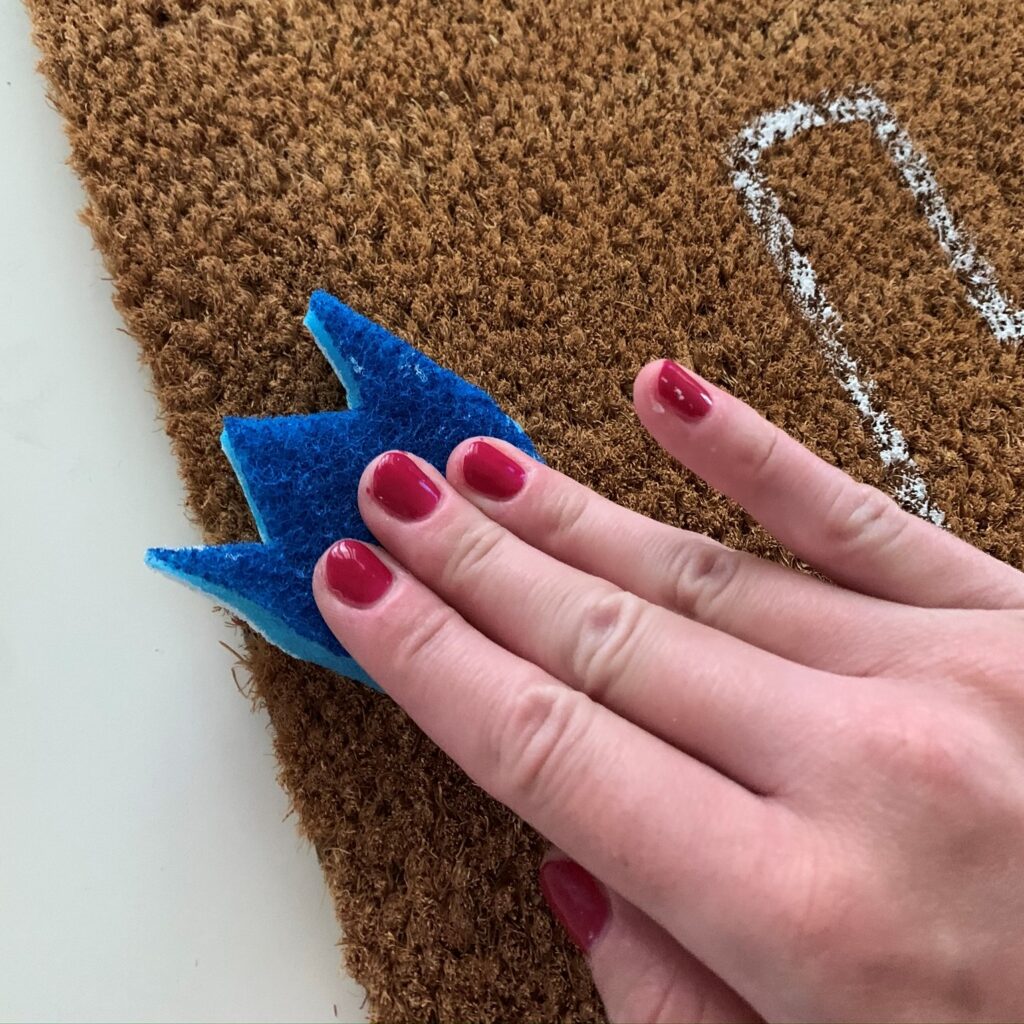
I dipped the stamp into the white paint that was still on the paper plate and started stamping the first shape onto the door mat:
Then, I used some green paint (SW Oyster Bay) we had left over and added some green flowers. I also mixed some white paint with the green paint to add light green flowers for some additional color variation!
This is the fun part where you can get creative with colors and spacing!
Tip: I stepped away a little bit to view my doormat from a distance to see if and where I wanted to add more flower shapes.
Step 4: Let your DIY doormat dry
Once I was happy with the design, I let my doormat dry for about a day before using it!
Optional: You could also add a sealing spray like Flex Seal to finish your doormat. Our doormat was protected from the rain by a little covered porch so I never sealed ours with Flex Seal spray and it held up great!
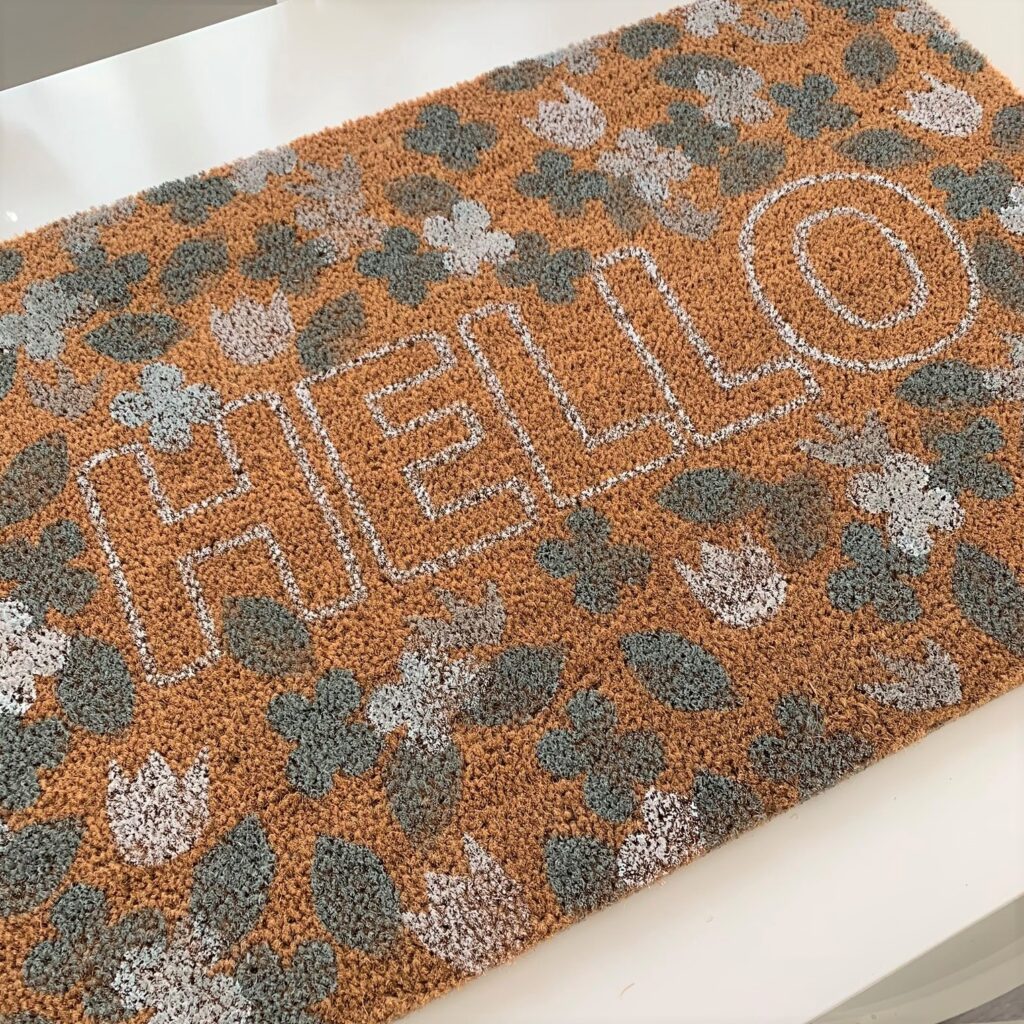
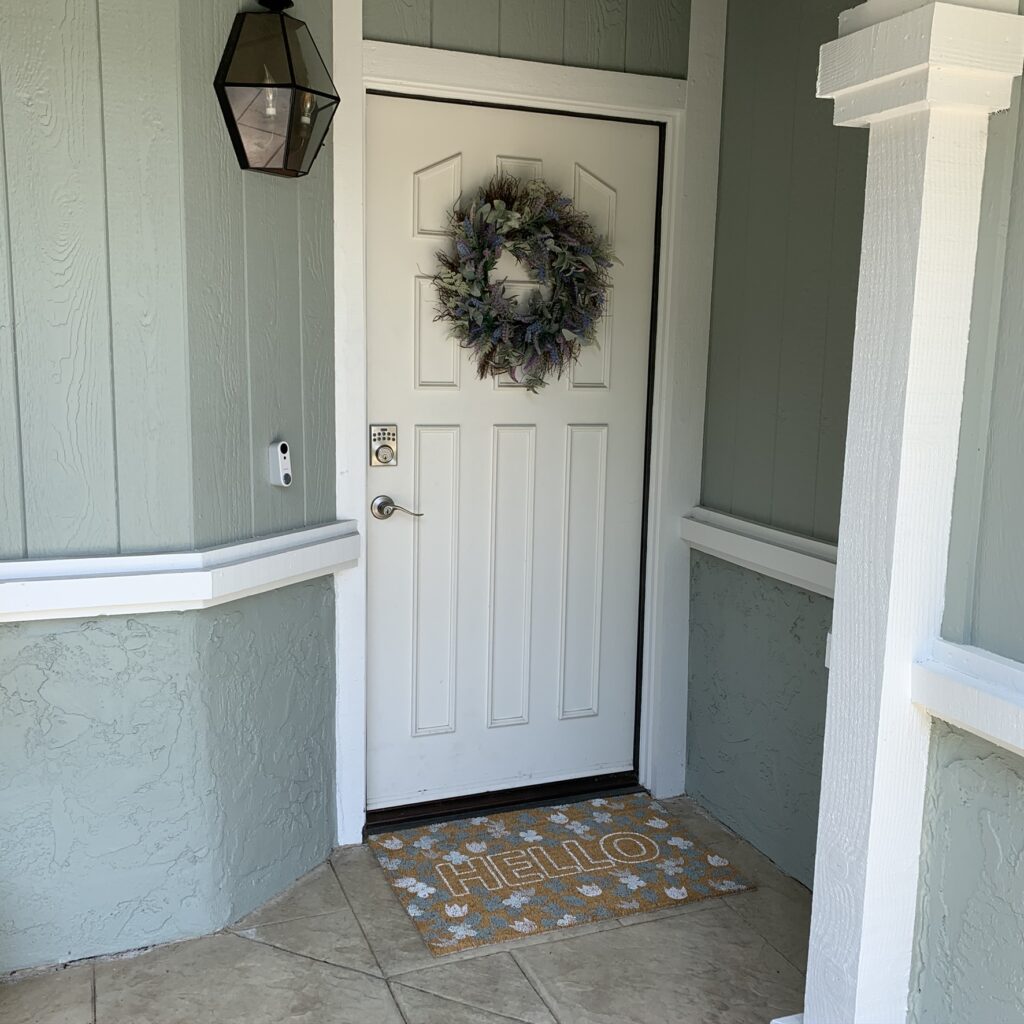
Finished doormat
Here’s the finished DIY doormat!
I love how it turned out:
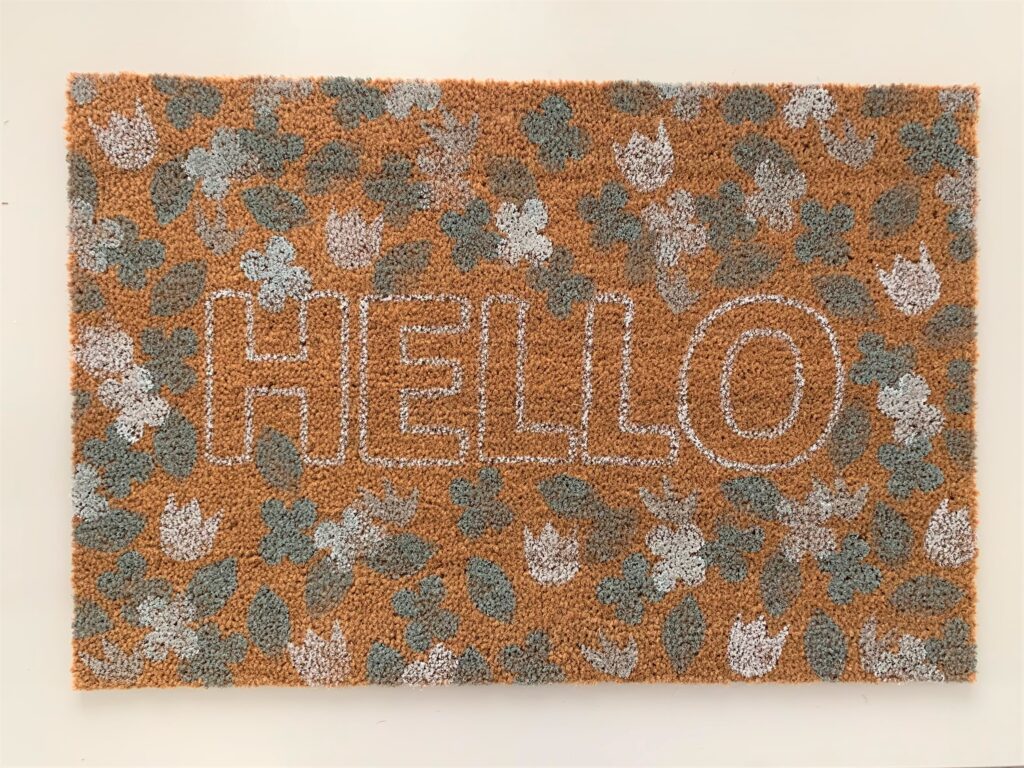
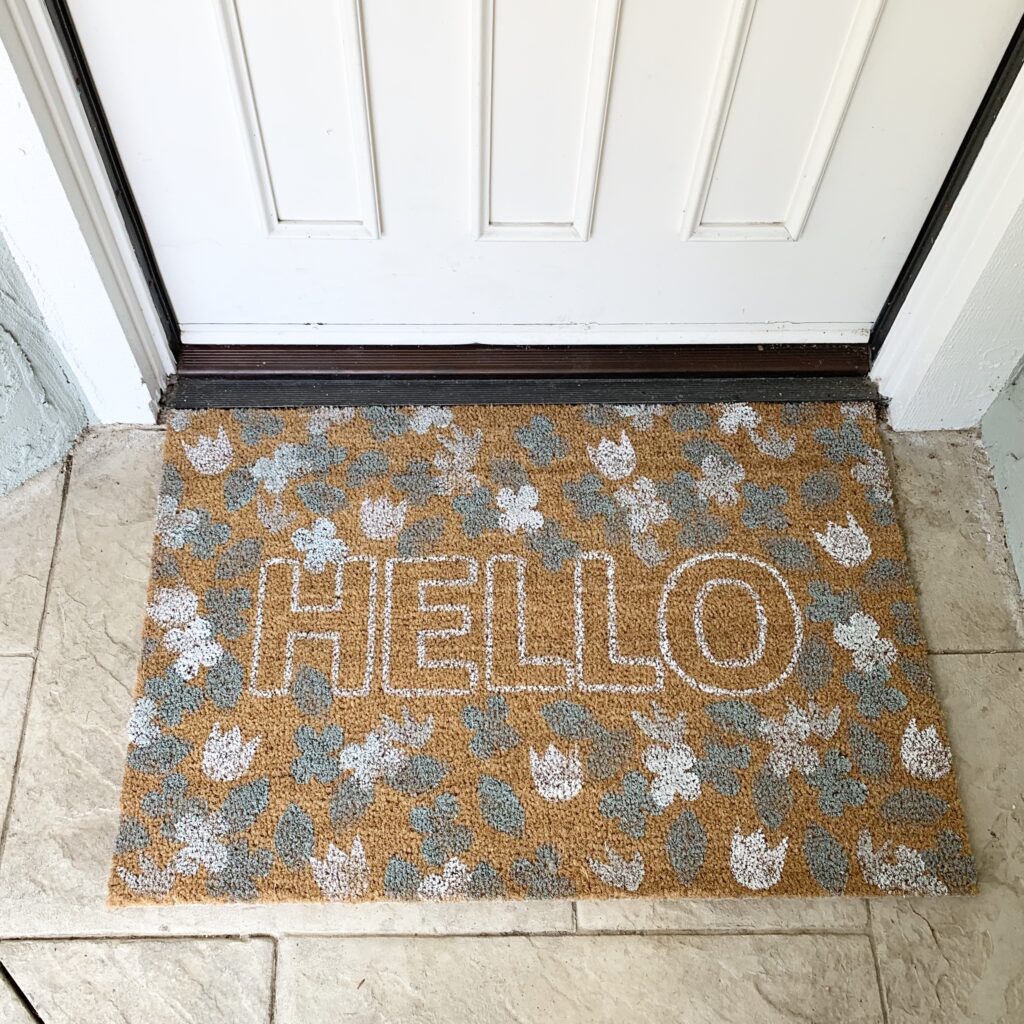
How cute is it that it perfectly matches the exterior colors of our house?
This was such a fun home decor project!
I actually just made a custom welcome mat for the new house and changed the design a little bit. The new doormat says “Welcome”. I love how it completes my painted front door!
Let me know if you end up making your own quick and easy custom do it yourself doormat without a Cricut or store bought stencils!
Tina

Leave a Reply