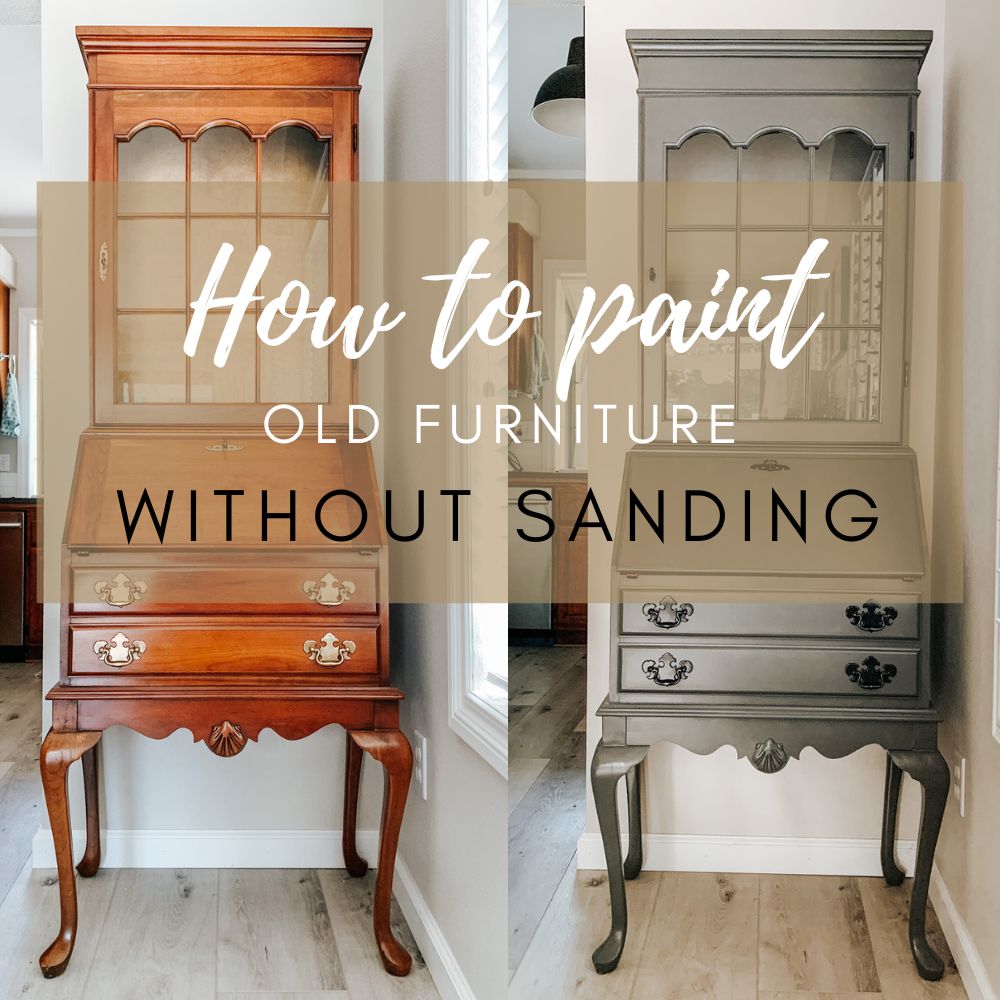
Today I want to share with you how to paint old furniture without sanding – the easy way!
Have you hesitated to paint a piece of furniture because you thought it would take too much time with all of the sanding that would be required to even begin painting? Same here, until I discovered a few years ago that there is a way to paint furniture entirely without sanding: primer!
Primers will provide excellent adhesion even to glossy surfaces without sanding and they help block stains and odors (hello, old furniture!). They’re designed to resist blistering and peeling as well as mold and mildew growth aka they’re the perfect barrier between an old piece of furniture and your fresh coat of paint!
I really love buying inexpensive used furniture and completely changing the look with some paint. I recently bought a used secretary and took pictures along the way. I’ve pretty much used the same paint method for all the furniture I’ve painted.
So Here’s How I Paint Furniture the Easy Way:
Materials
- Paint roller (I really love the Sherwin Williams Mohair Mini Rollers for a smooth finish)
- Paint brush (my favorite one is the Wooster Shortcut)
- Primer (I prefer the Zinsser 1-2-3)
- Paint (I used either Sherwin Williams Emerald Urethane Trim Enamel or Behr Urethane Alkyd Enamel)
- Set of old clothes
- Painter’s tape (optional)
- Spray paint (optional)
- Painter’s pyramids (optional)
- Plastic paint tray (optional)
- Paint gloves (optional)
Step 1: Prep
With dry times in between coats, my project took about two days so it’s important to pick a good time to tackle a paint project. For me, weekends are usually a good time to start. Next, I decided which parts I wanted to paint. For this secretary I decided to only paint the outside because I knew we wouldn’t be using it frequently and the inside compartments are really narrow and still in great condition. To me, it wasn’t worth the additional work to paint the inside. However, there have been projects were I’ve painted every single spot like our bedroom dresser since I knew we would be putting clothes inside and I wanted a fresh interior. So it’s really up to you if you want to paint everything or just part of it!
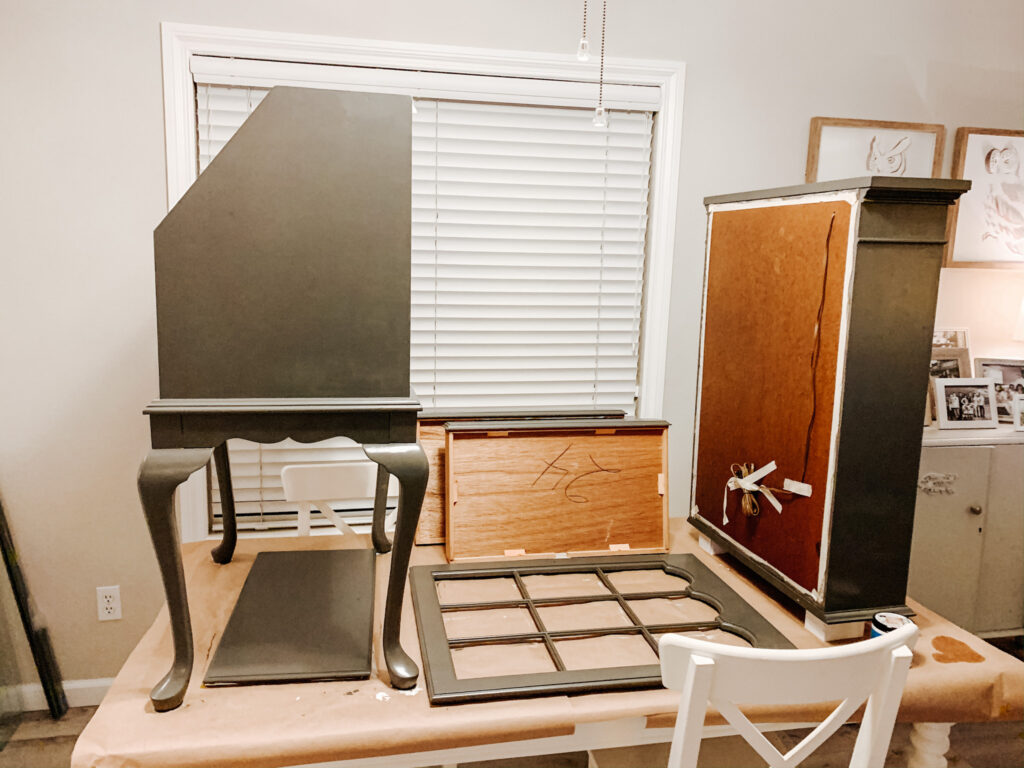
Next, I prepared my work space and took all of the hardware off which included disassembling part of the secretary. After that, I cleaned the entire secretary thoroughly. I usually use disinfecting wipes because I find that they just clean everything reaaally well. I am one of those people who literally uses them on everything!
Lastly, I taped any areas off that I didn’t want to paint.
Step 2: Prime
This part is fun because you can see the first major change. It looks a little scary but I promise it will look better as we keep going!


I use both my paint brush and roller and try use the roller on as many parts as I can because it tends to leave a smoother finish than the brush. I painted on two coats of primer for this secretary because it had such a glossy surface. The nice thing about this primer is that you don’t have to wait too long for it to dry in between coats.
Step 3: Paint
Time for the real transformation!

For the actual paint, I used the same paint roller and brush combo as for the primer, trying to use the paint roller as much as I can for a smooth finish.
The great thing about alkyd urethane paint is that once it’s dry it has a lacquer-like finish so there really isn’t a need for a finishing product like polycrylic.
Step 4: Paint hardware (optional)
I decided to spray paint the hardware for this secretary to complete the new color scheme.
Step 5: Enjoy
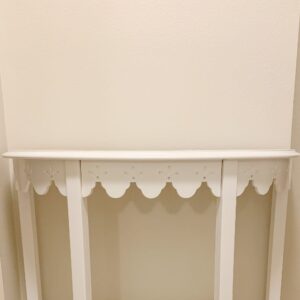
That’s it, time to put it all back together and enjoy the new look! Here is a before and after:


I hope this helped inspire you and show how easy it can be to paint an old piece of furniture. Let me know if you have any questions or end up painting one in your home!
Tina
Leave a Reply