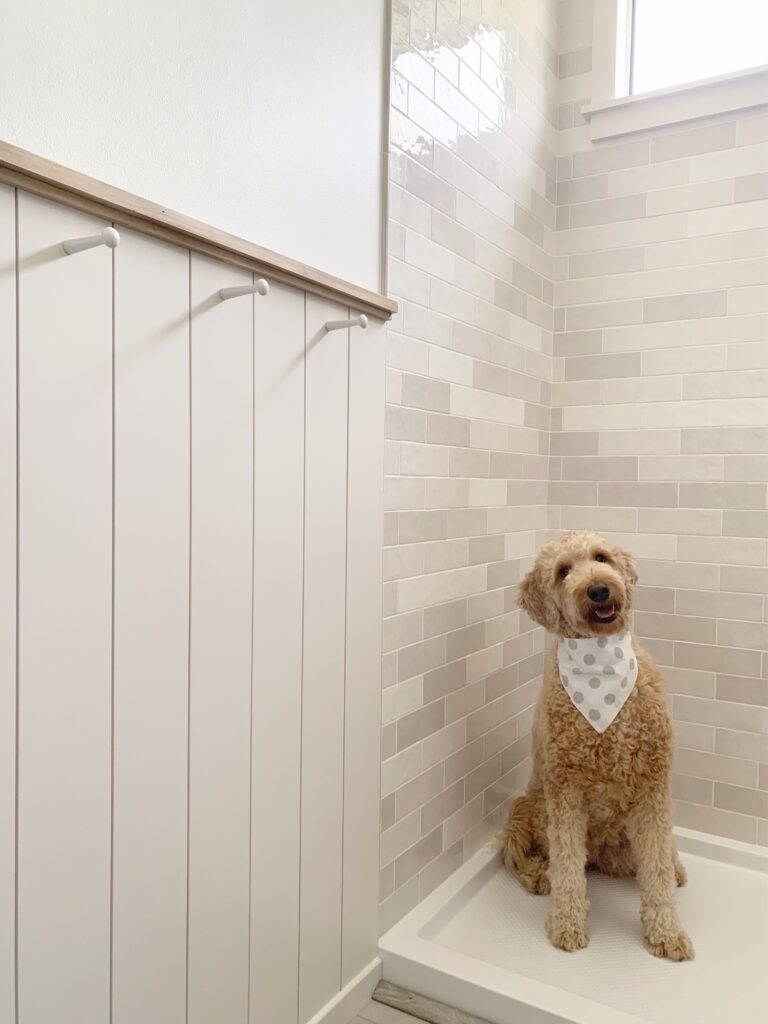
Learn how to install DIY vertical shiplap on your walls! This is the perfect beginner DIY project to add character on a small budget.
I really loved how the scalloped shiplap turned out in our guest bathroom and wanted to do something similar but different in our primary bathroom. I decided to install DIY vertical shiplap but this time with a wood trim.
This post will show you step by step how you can do the same, it’s an easy and inexpensive way to spruce up your space!
Note: This post may contain affiliate links, you can find more information in my disclosures here.
Materials
- 1″ x 6″ x 8′ primed MDF shiplap cut in half (my local Lowe’s cut the boards in half for me for free!)
- primed MDF baseboards
- 1″ x 2″ wood trim
- 1″ x 1″ wood trim
- Behr Alkyd Satin Enamel paint (color matched to Sherwin Williams Incredible White)
- caulk
- wood filler
- wood pegs with screws
Tools
- paint brush (this is by far my favorite one!)
- paint roller
- brad nailer
- miter saw
The walls in our bathroom were in pretty bad shape, especially after tearing out the old vanity and counter. Installing the shiplap wall actually saved me a lot of work, imagine the amount of work if I wanted to fix the mismatching texture instead!
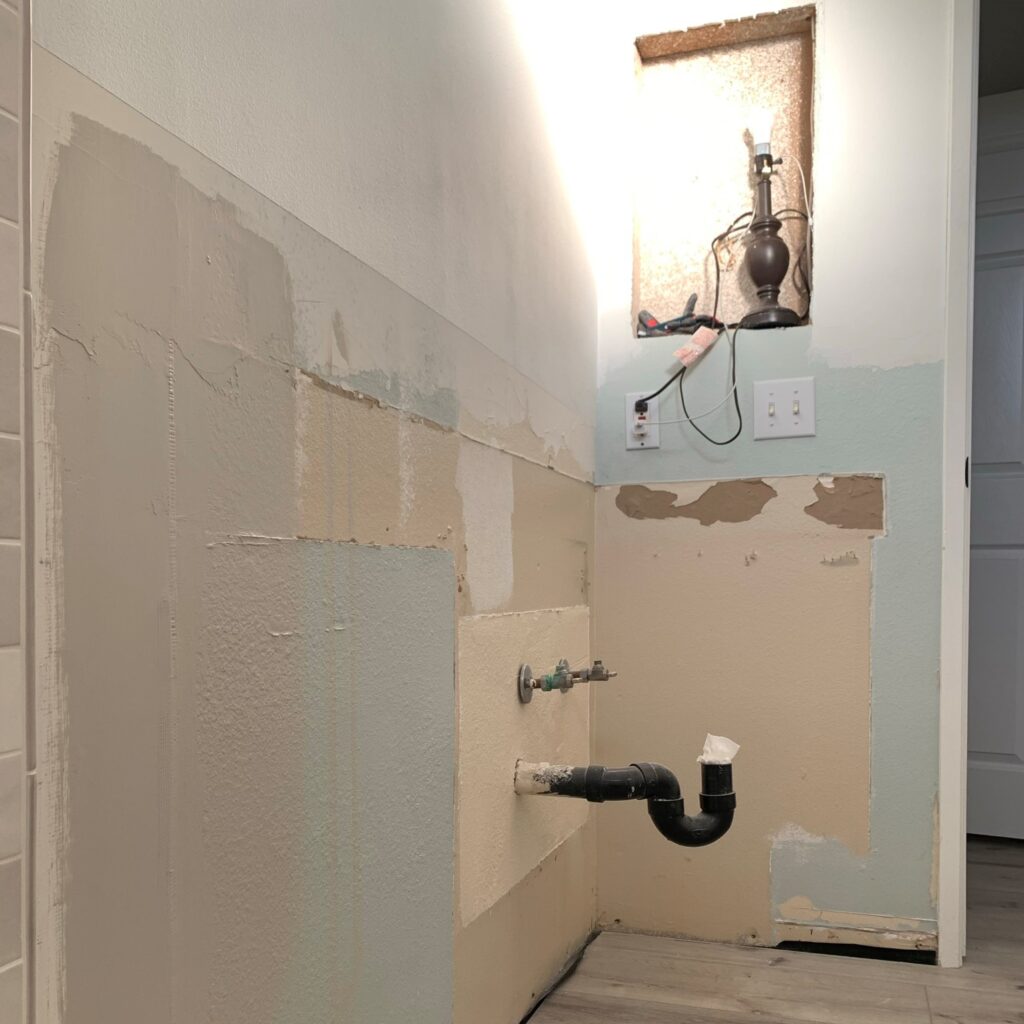
The shiplap covered this wall perfectly, let me show you how!
Step 1: Attach shiplap boards to wall
Draw a level line and install first shiplap board
Start out by drawing a horizontally level line:
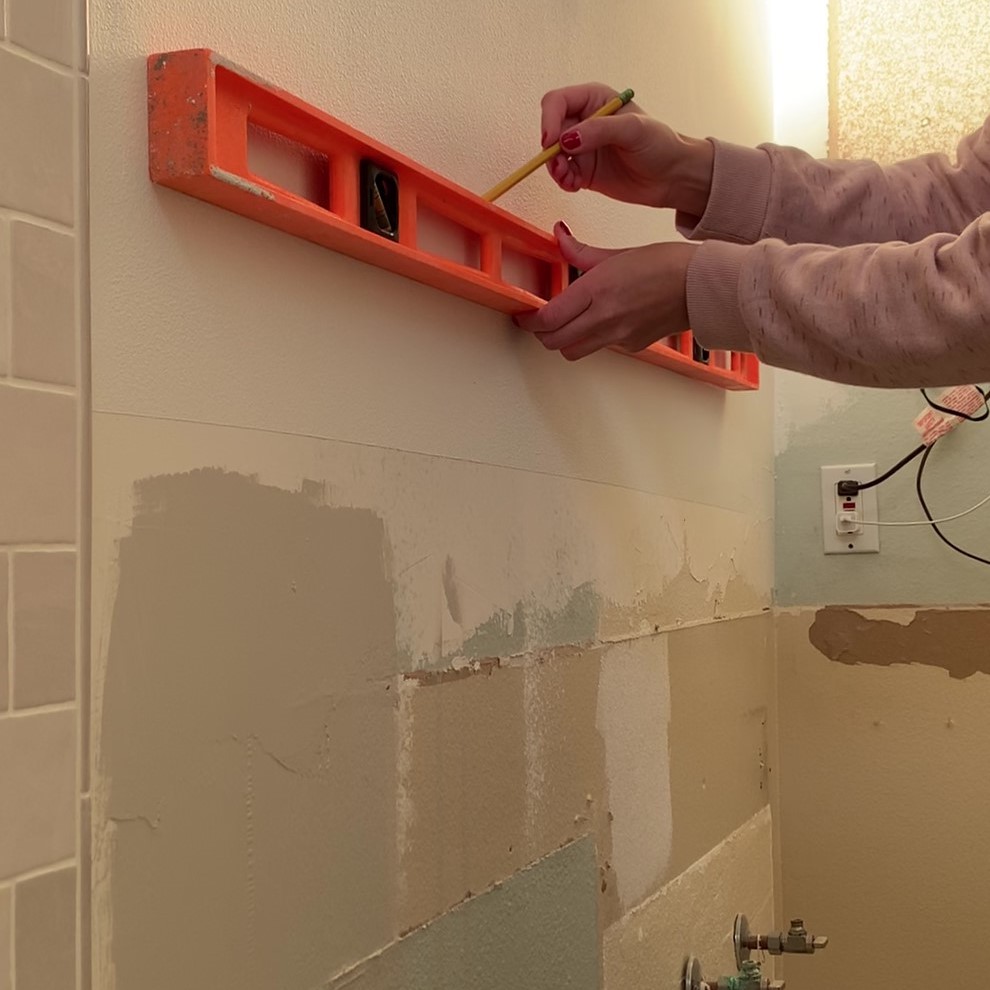
Then, take your first shiplap board and hold it up to the wall, making sure it’s vertically level:

This first board is the most important one because it will dictate the position of the remaining boards on the wall. Once you have it levelled, nail in that first board using a brad nailer:
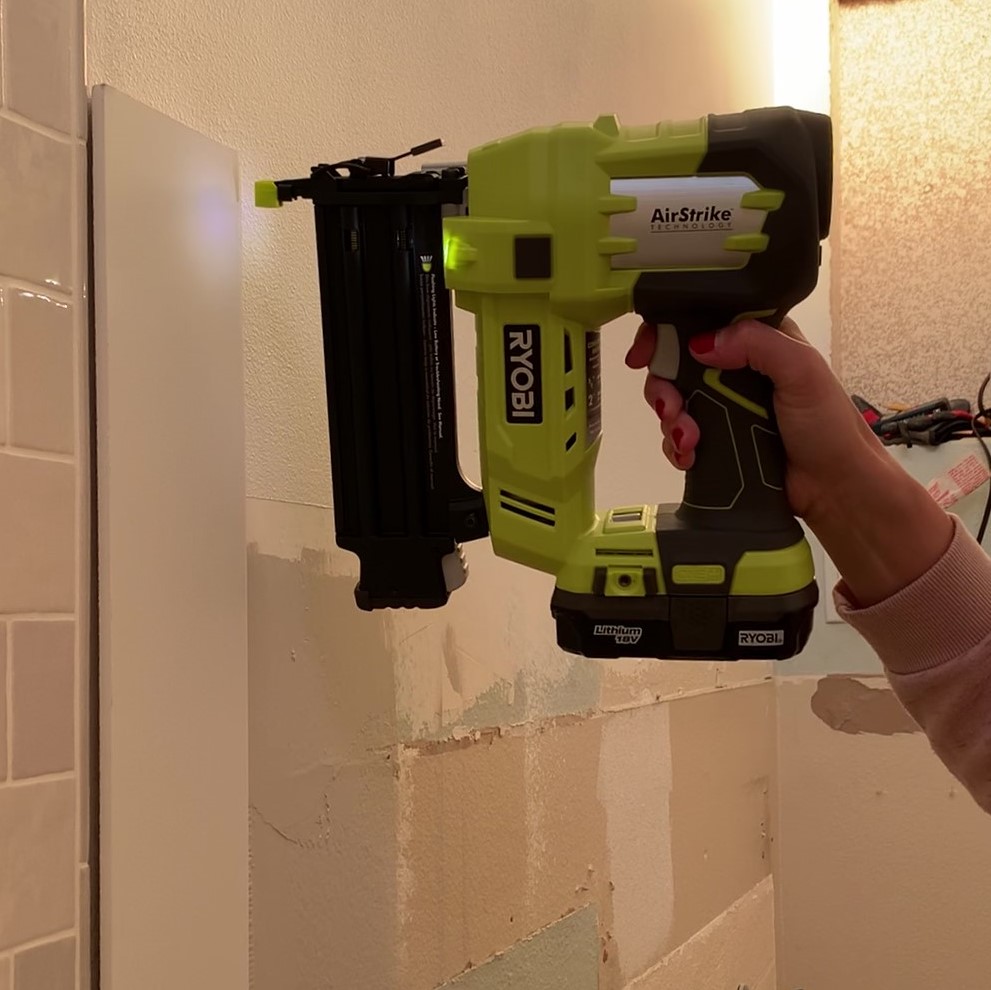
Install remaining boards and cut around obstacles
Next, attach the remaining boards to the wall. I love these MDF shiplap boards because they come with a lip that ensures a perfectly even gap between all the boards:

You can use a jigsaw to cut out the shiplap around any obstacles (such as pipes or outlets) but I prefer using my miter saw and then using a wood chisel:
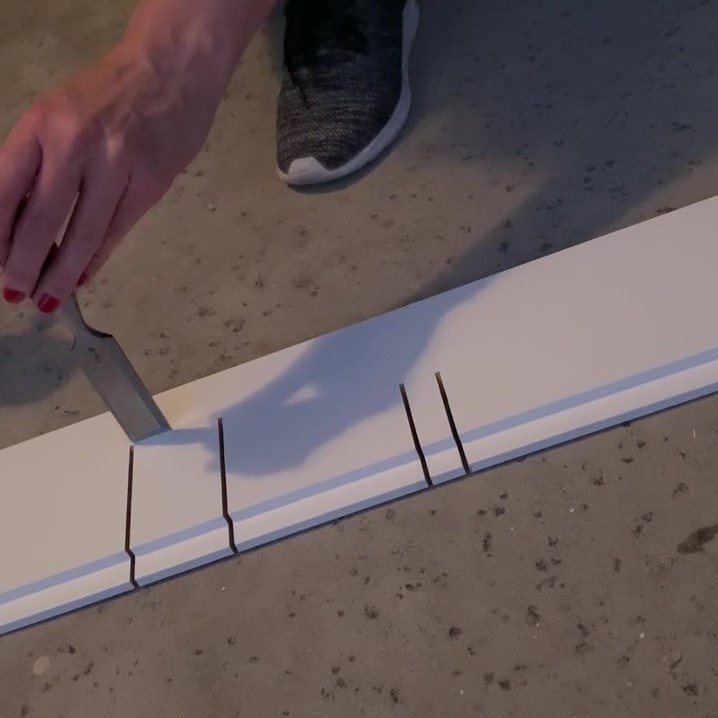
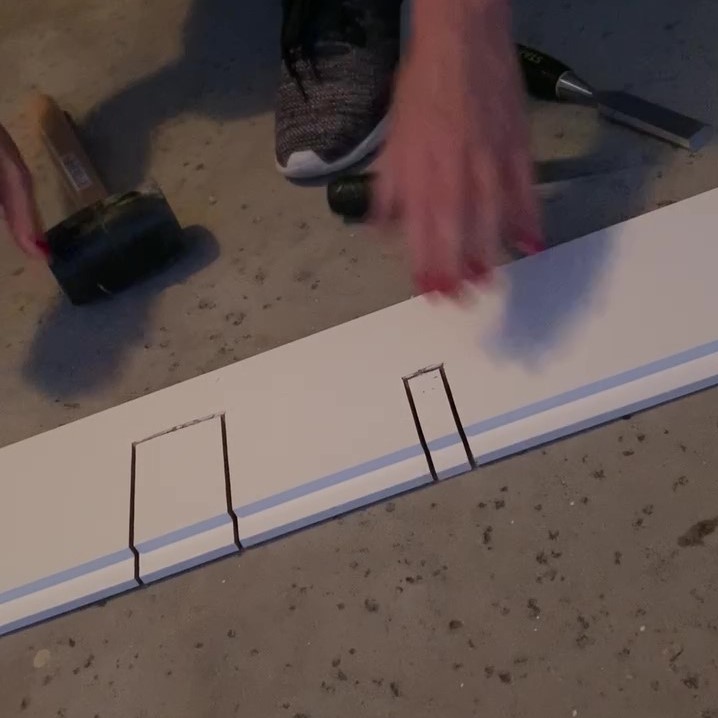
Once you have the outline scored, you can snap the two pieces off:
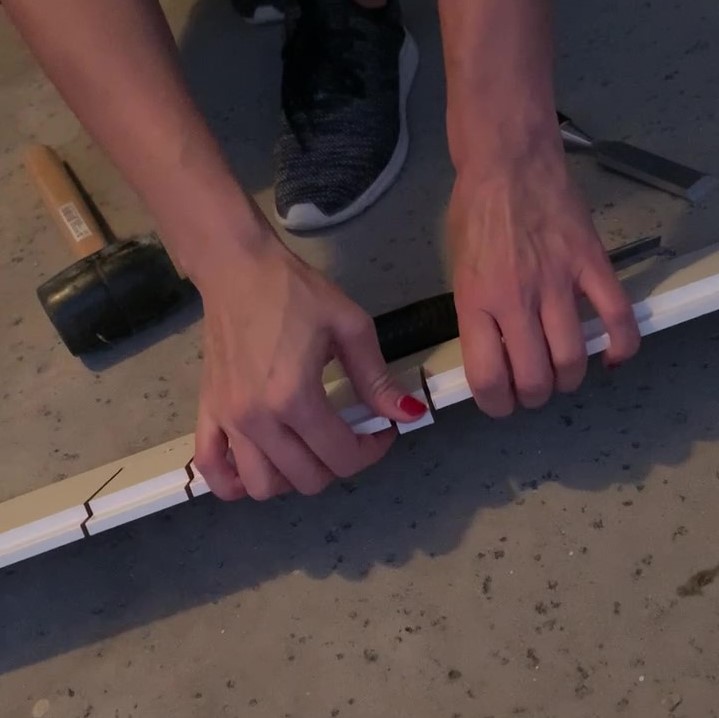
And clean off the rest:
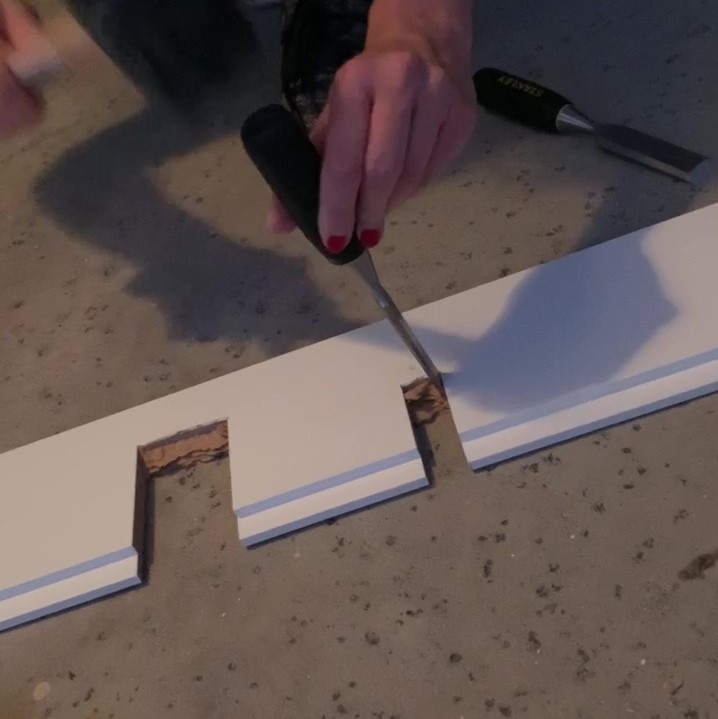

In my case, these cuts didn’t need to be perfect because they were going to be covered by the vanity:
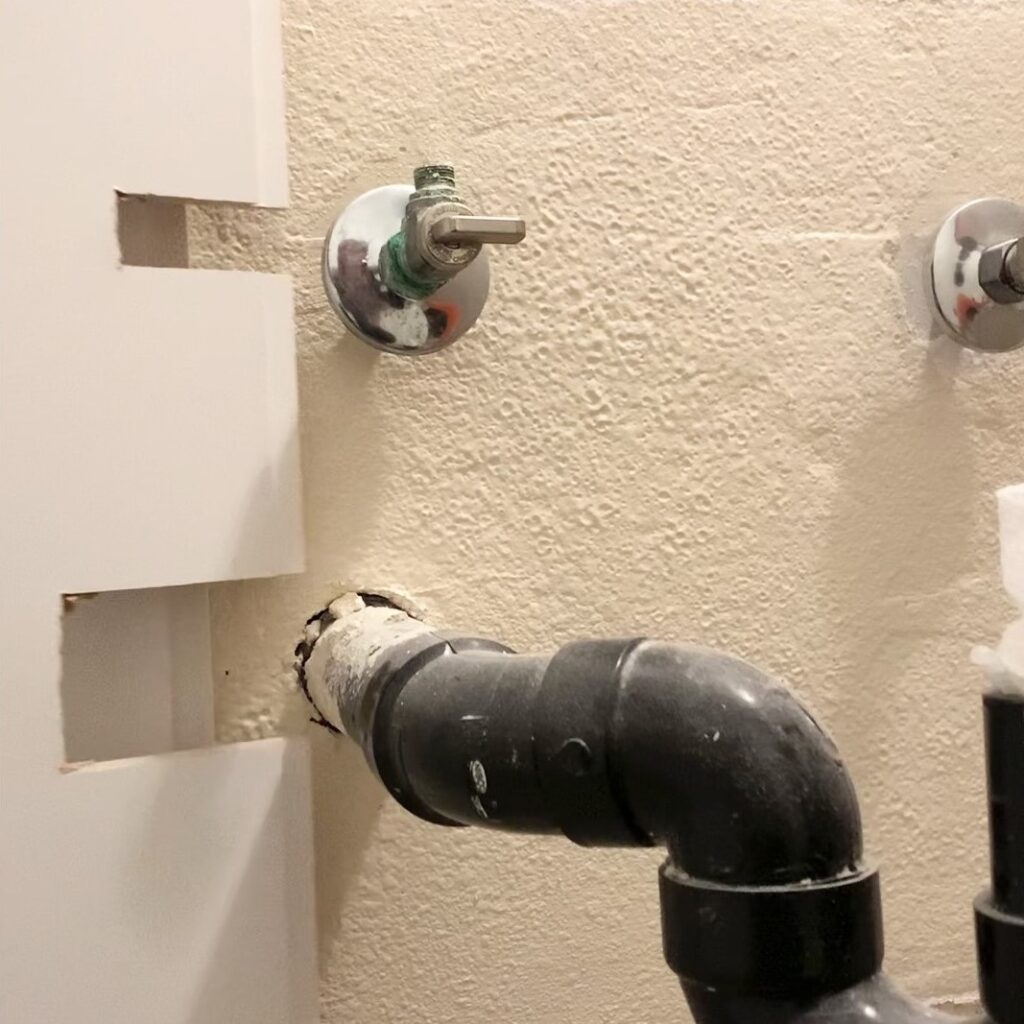
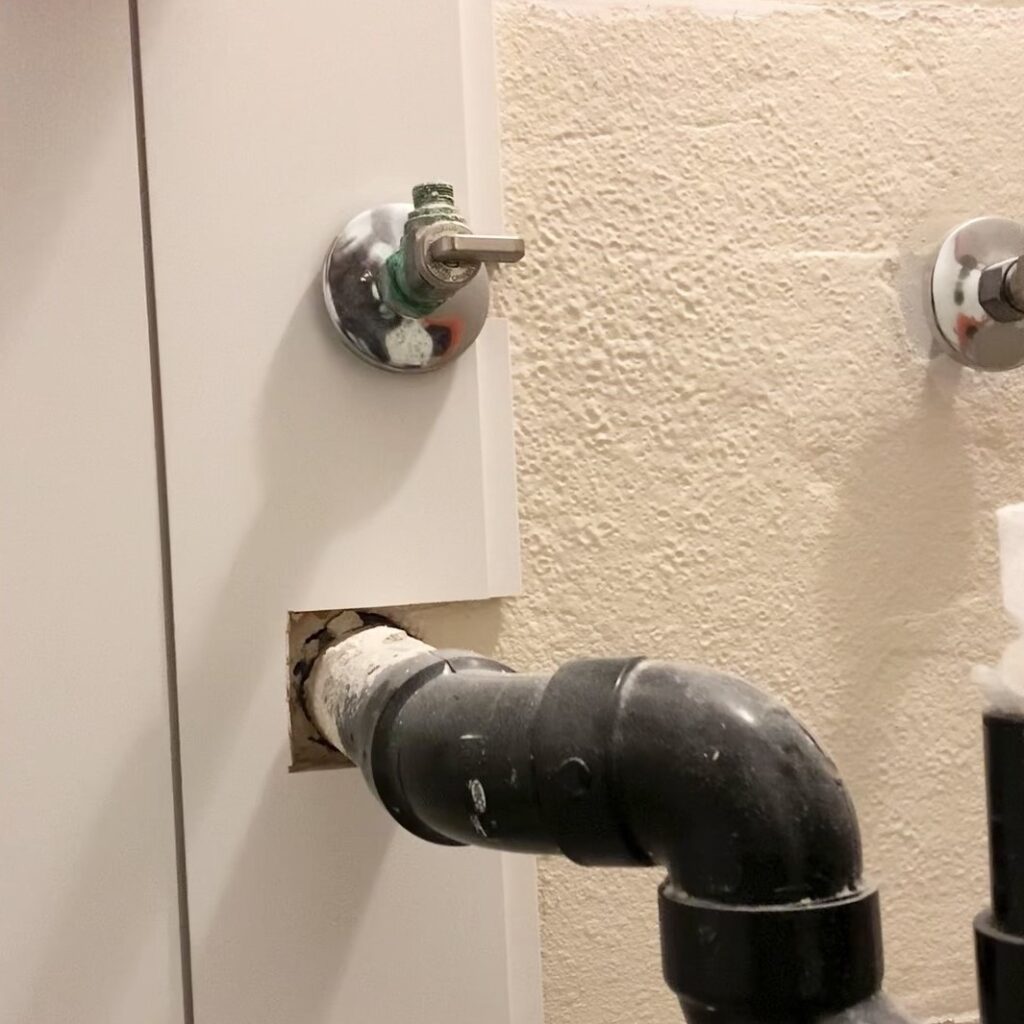
Once the shiplap was installed, you couldn’t even guess that the wall underneath was in bad shape at all!
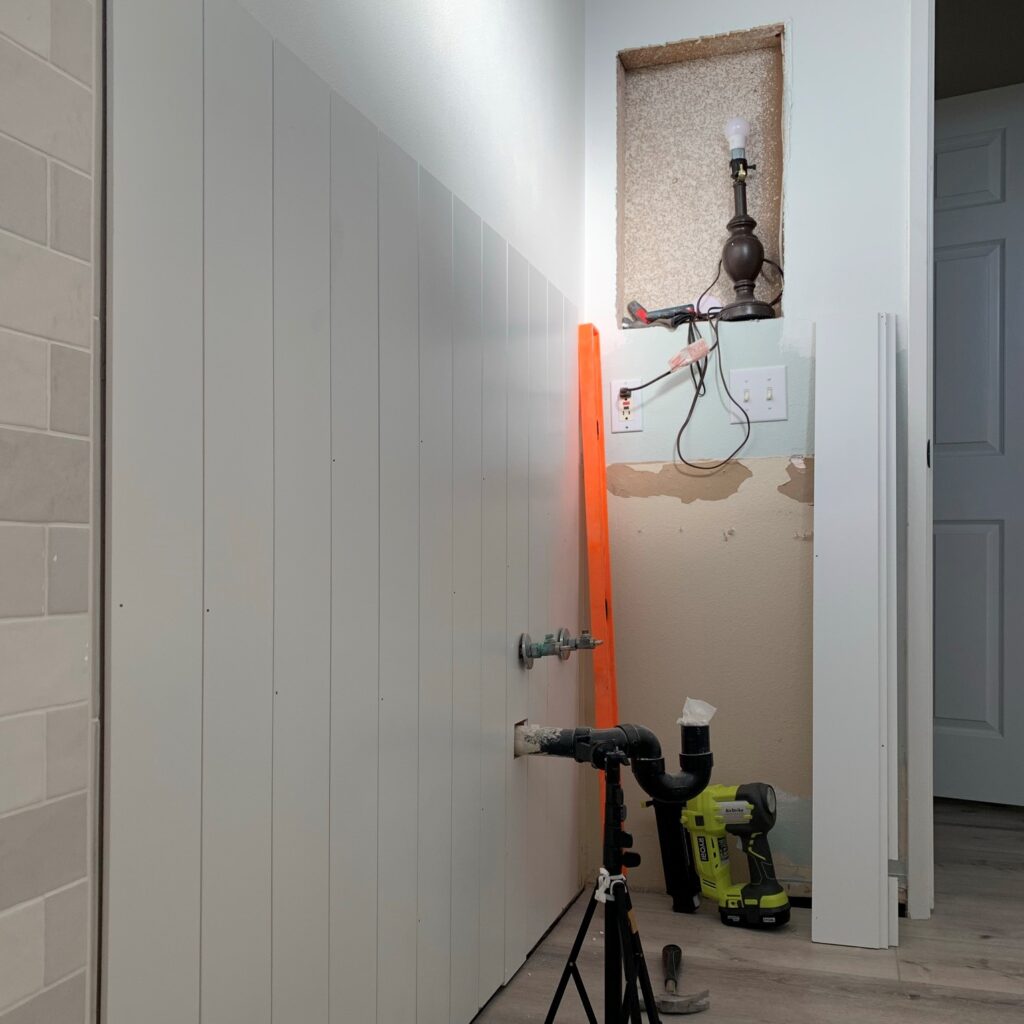
Lastly, I installed baseboards.
Step 2: Fill nail holes and caulk
This part is always tedious but so worth it and it really helps make your project look professional.
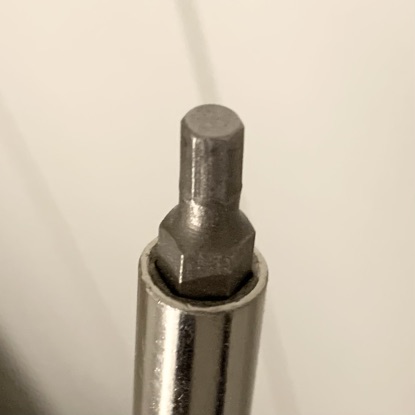
First, I make sure that all the nails are flush. If they aren’t, you can use a screwdriver with this bit to hammer them in:

Then, use wood filler or spackle to cover the nail holes:

I usually fill the hole and then rub the excess off:

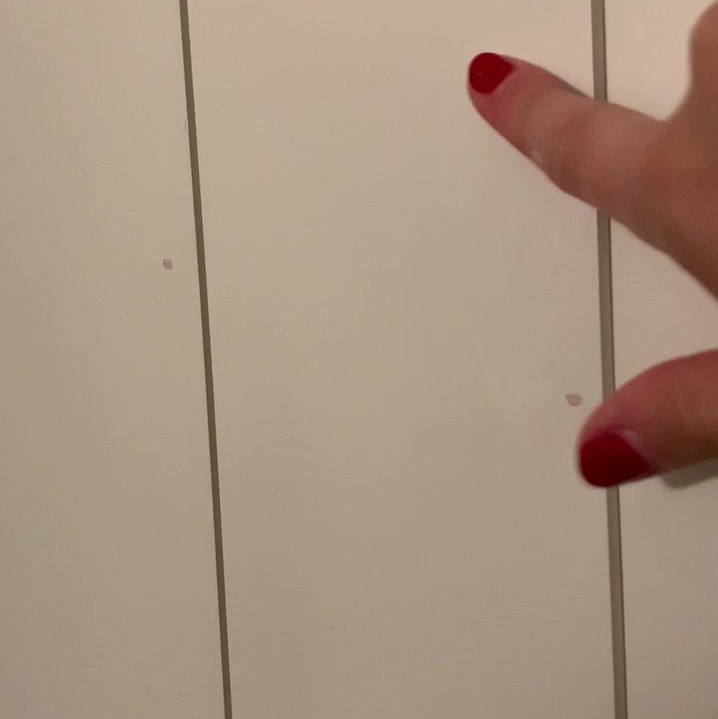
You can use caulk to fill any gaps in the corners:
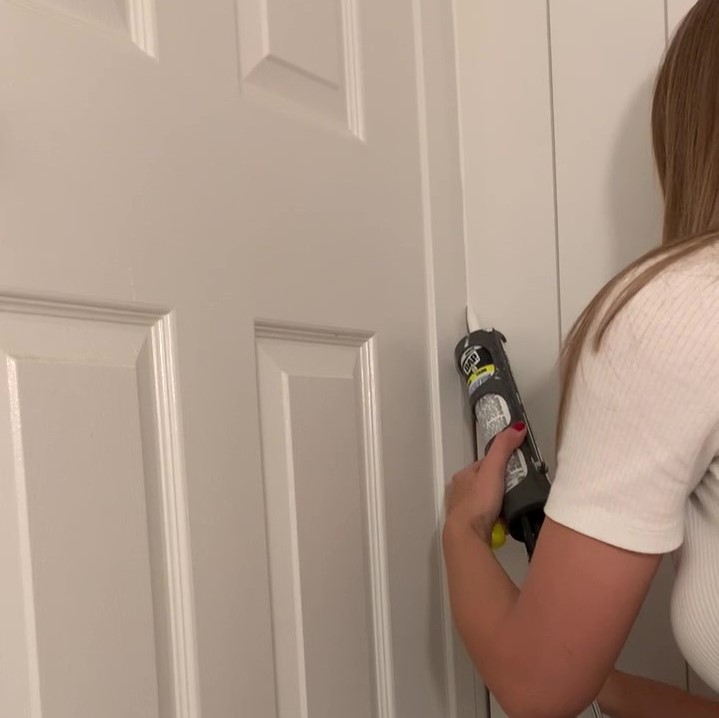
You can use baby wipes to wipe the excess off:

Look at the difference between the before and after:


You can also use caulk to fill the gap between the shiplap and the baseboards:
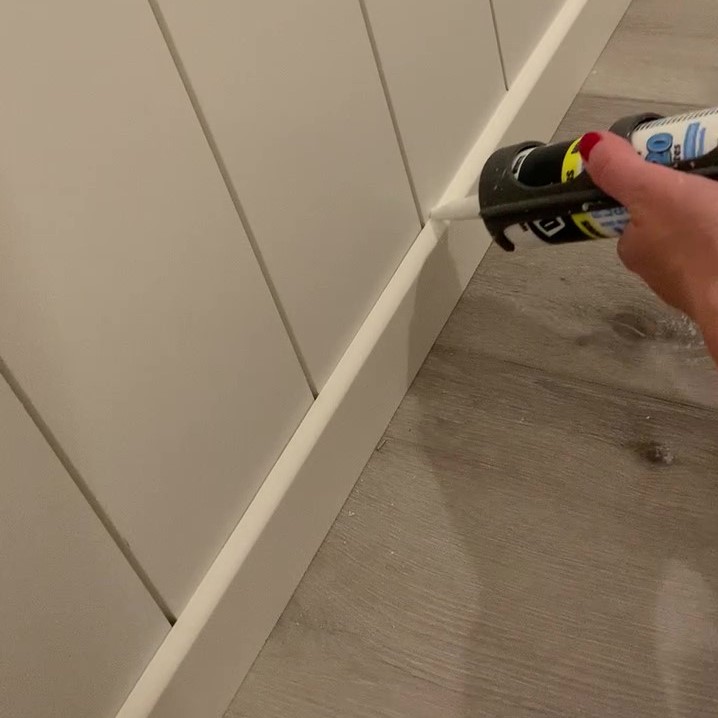
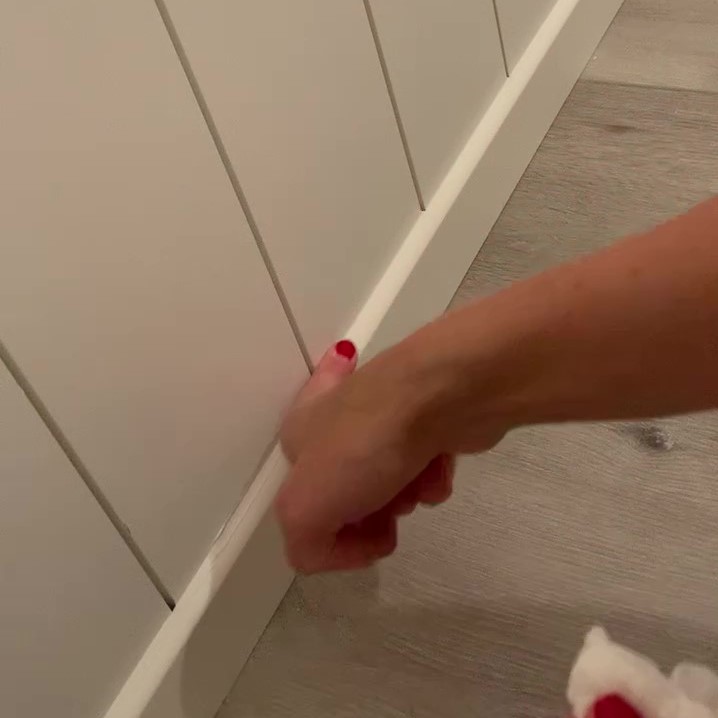
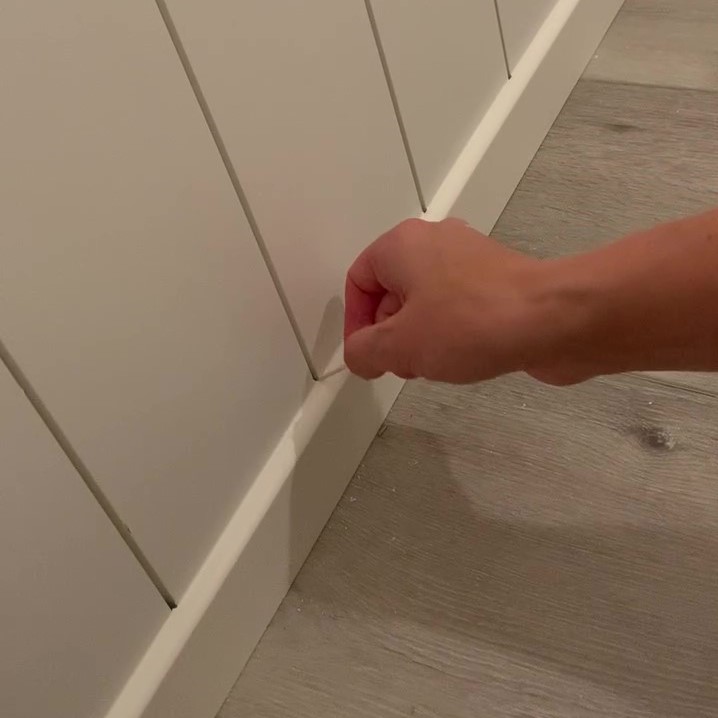
I recommend using a toothpick to get any caulk out of the shiplap gaps:
Step 3: Paint the shiplap
The next step is painting. I found that you really don’t need a paint sprayer for a smooth finish, you just need the right brush, roller, paint and technique! Here are my favorites for a smooth finish:

Lining the roller cup with aluminum foil and wearing paint gloves is definitely optional but it helps with the clean-up!
As for the technique, I recommend working quickly and in sections. I painted 2-3 shiplap gaps with a brush at a time:

Then, I painted the surface with a roller as soon as possible to prevent any brush strokes from drying:

Step 4: Add wood trim
Once the paint is dry, it’s time to add the wood trim! Start out by measuring the exact length needed of the 1″x1″:

And the 1″x2″:

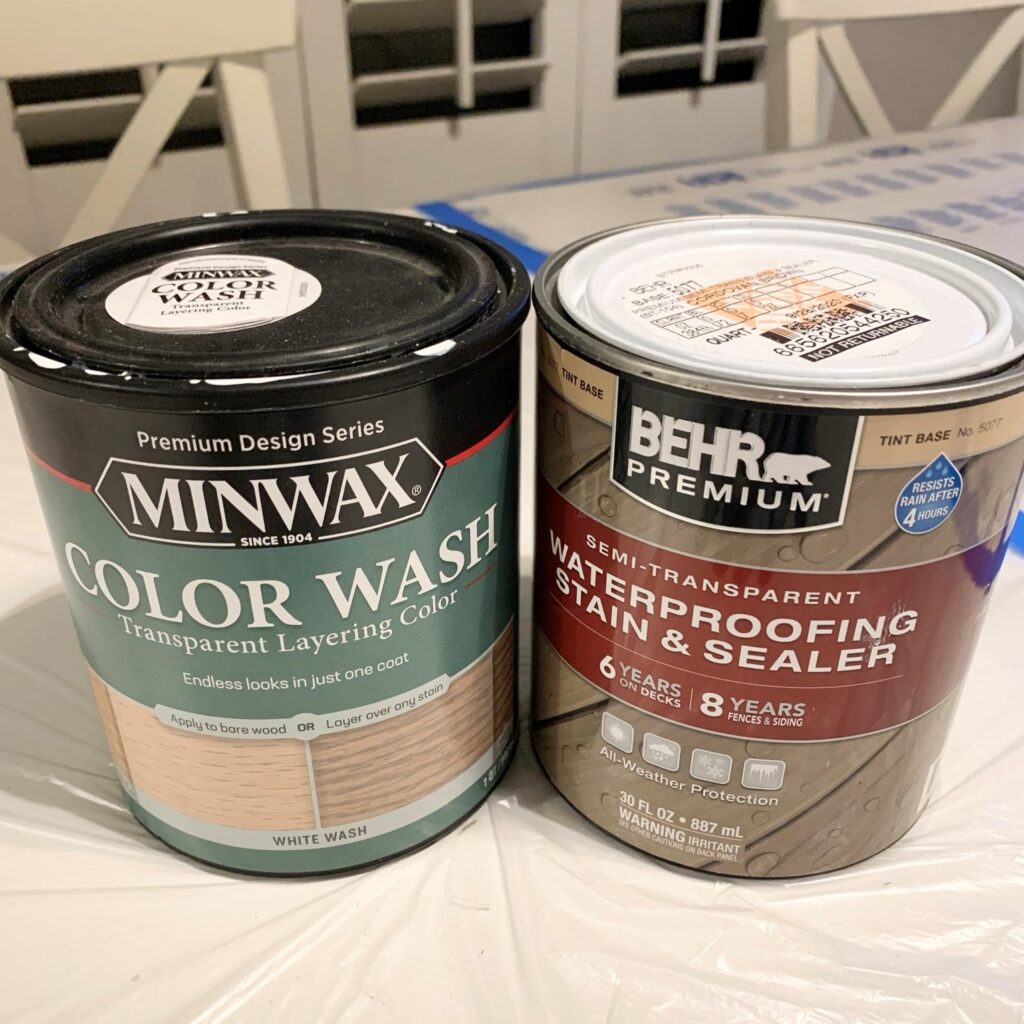
Once you have the pieces cut to size you can stain them:

I used Minwax White Wash and Behr Cordovan Brown:
Once the stain is dry, you can seal the wood with Polycrylic. I really like the one in the spray can, it’s so easy to apply!

I decided to make custom floating shelves and match the stain.
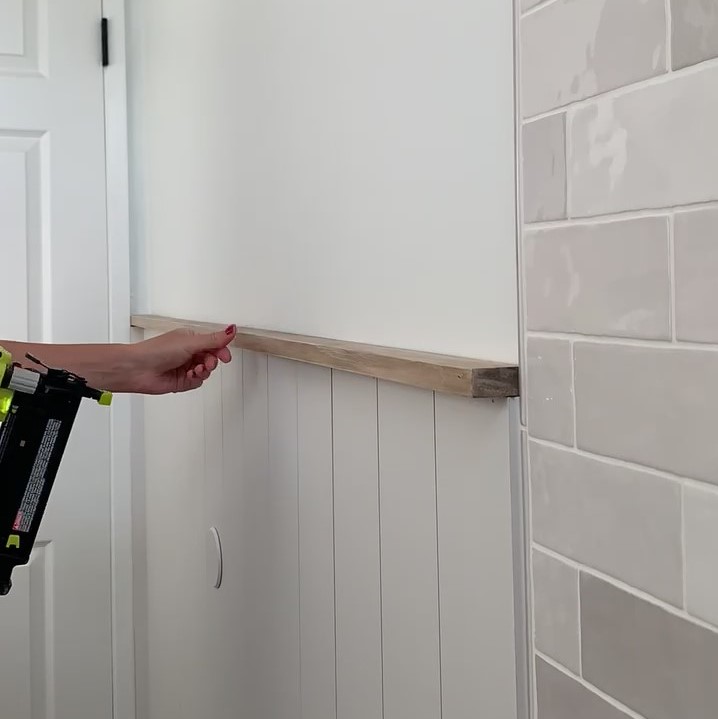
Once the wood is dry, you can install the trim:


Step 5: Attach wood pegs (optional)
I decided to add cute wood pegs like I did in our guest bathroom. This time, I painted them to match the shiplap:

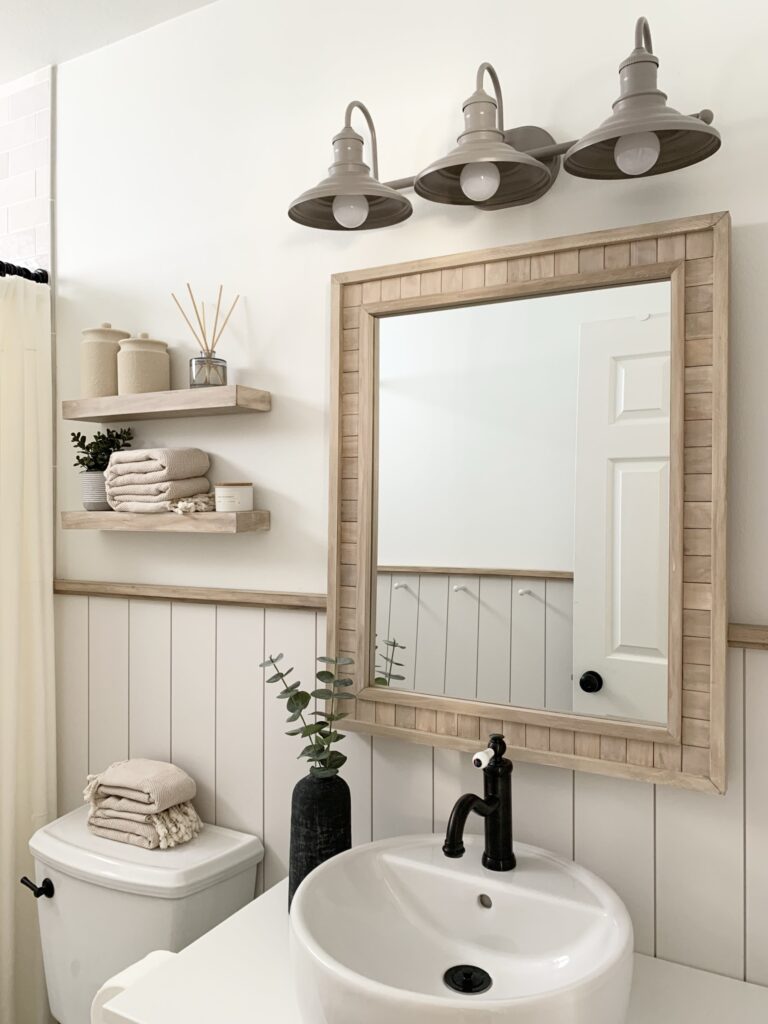
Finished DIY vertical shiplap
I really love how this shiplap turned out in our primary bathroom and I think Leia likes it, too!

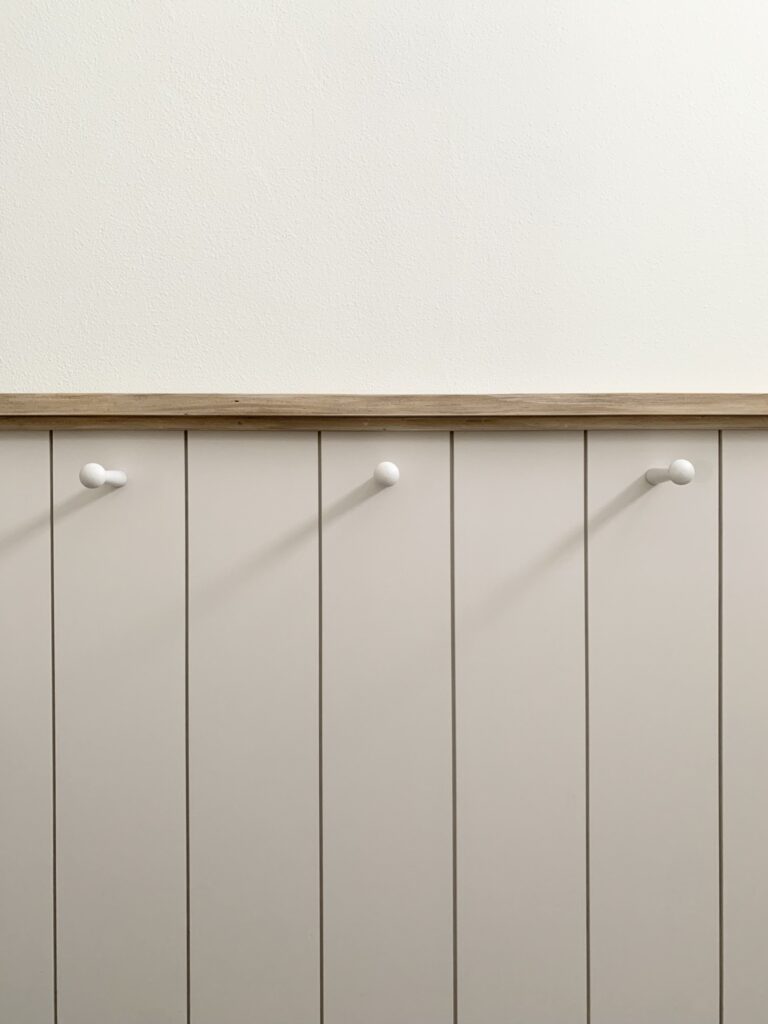
The pegs are perfect to hang towels!

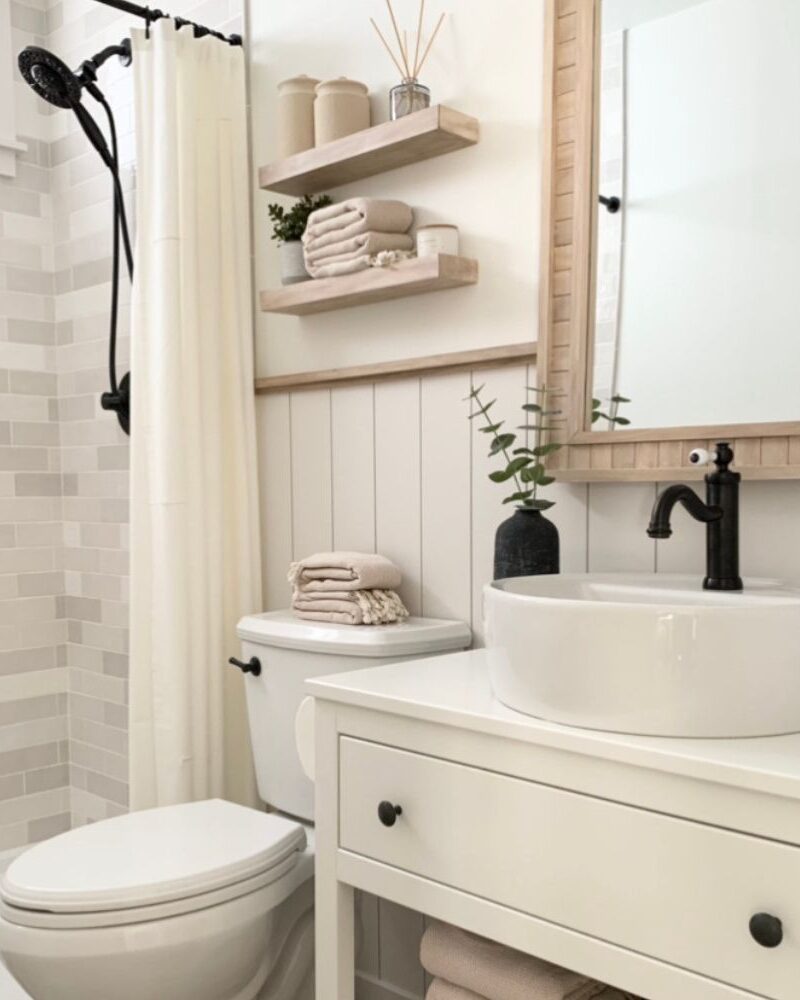
I used the same stain combo on the wood trim, the DIY floating shelves and the DIY wood mirror so they all match, which I love!

Bathroom sources: Beige towels, tile, potted faux plant, shower curtain, black wire basket, candle, eucalyptus stem, oil diffuser, bath canister
Let me know if you end up trying this project or if you have any questions!
Tina

Hi!! I really love this!! We are contemplating doing this same thing to our full bathroom but I am wondering how it holds up to humidity? Have you had any issues with the wood bowing in the bathroom? Thank you!
Hi Allison,
Thank you so much and how exciting! We haven’t had any issues with the wood, I think if you add it in a spot there water won’t get to it (other than steam) it should work out great!
Tina
I’ve considered a half wall of vertical shiplap too, but since it’s vertical you can’t hit a stud when you nail every board. How did you do that?
Hi Sharon! The MDF shiplap I used has overlapping edges so the boards hold each other to a certain degree. You can also run two brad nails into each piece and have one of them aim slightly down and one of them aim slightly up so it’s almost like a cross that holds the board. That being said, from my experience just running the brad nails into the drywall holds them up fine especially because they’re really light. Let me know if you have any other questions!
Hi! Love the light fixture. Can you tell me where to find it?
Much appreciated!
Thank you so much! I just linked it here for you. I spray painted it a different color!