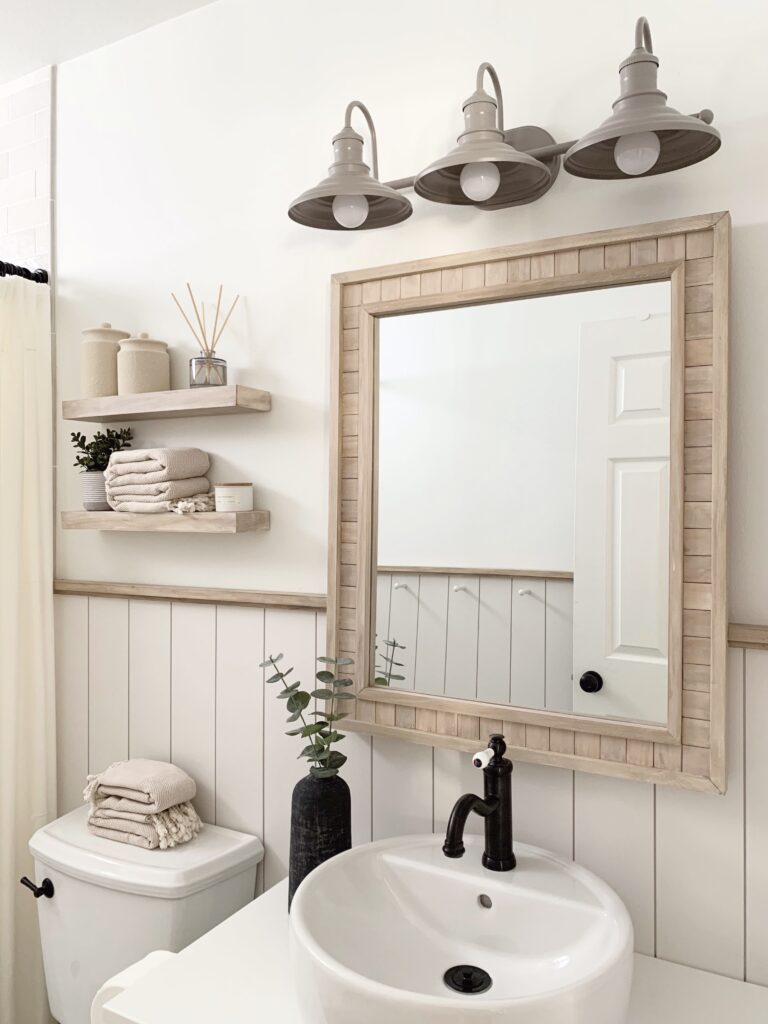
I’m so excited to share the DIY mirror I made for our primary bathroom with you! I really wanted the mirror to match the wood trim above the shiplap and the floating wood shelves so I knew this was the perfect opportunity for another project: a custom DIY wood bathroom mirror built from scratch to hang above the vanity!
The original inspiration for this mirror came from a mirror I saw about a year prior in a fitting room in a boutique in Carlsbad, CA. I took a picture of it back then and knew I’d like to recreate something like it but put my own twist on it. The bathroom was the perfect opportunity!
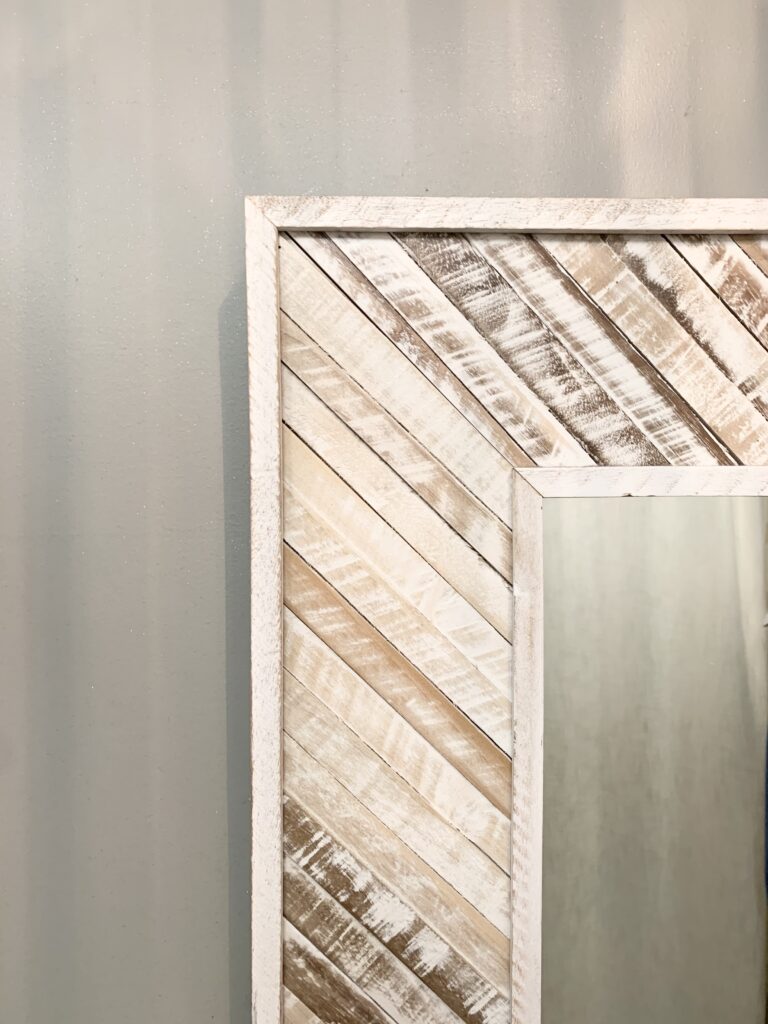
Materials:
- 1×2 (10 feet total)
- 1X1 (10 feet total)
- 1/2×2 craft boards (10 feet total)
- 24×30 mirror
- scrap wood/wood trim
- wood stain
- wood glue
- liquid nails
- brad nails
Step 1: Build wood mirror frame
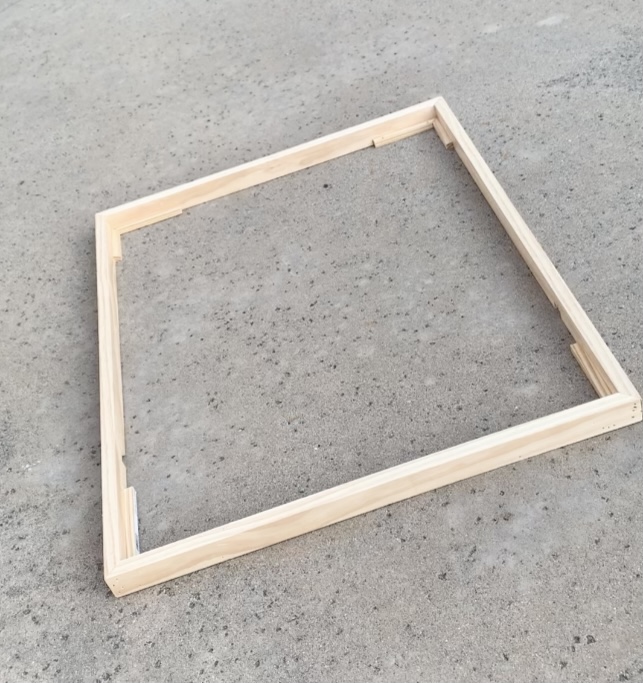
I started by assembling the wood frame made of the 1x2s around the mirror and used wood glue and brad nails to secure it. I also added supports in the corners made of scrap wood for the mirror to sit on and secured those with wood glue and brad nails as well.
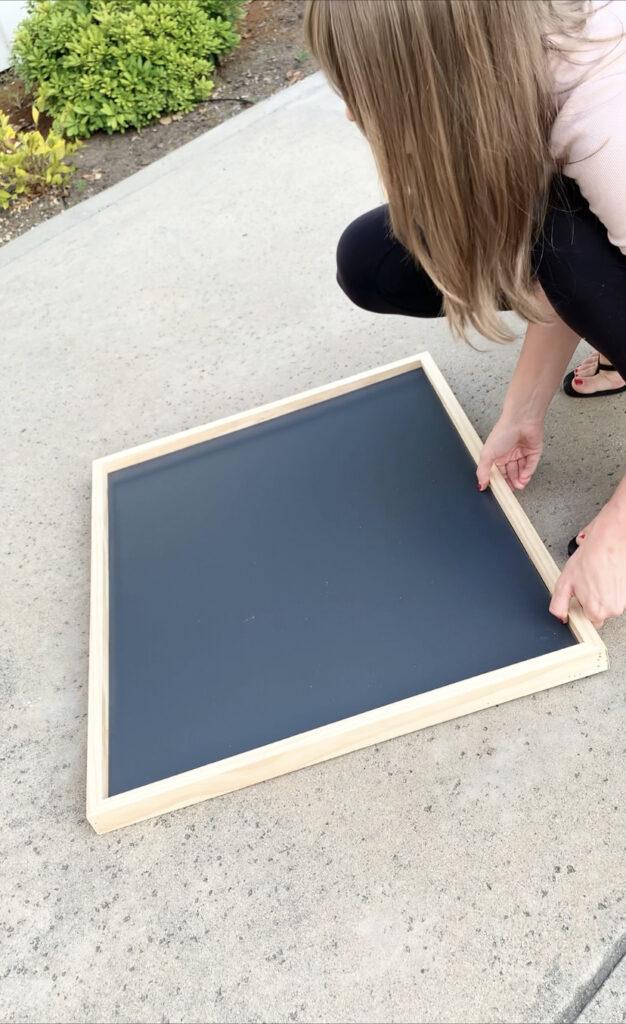
Next, I placed the mirror inside the frame (mirror side down to avoid awkwardly starting at myself in the mirror, haha!) to ensure the fit was right.
Step 2: Plan out decorative wood pieces
Next, I started planning out the decorative wood pieces!
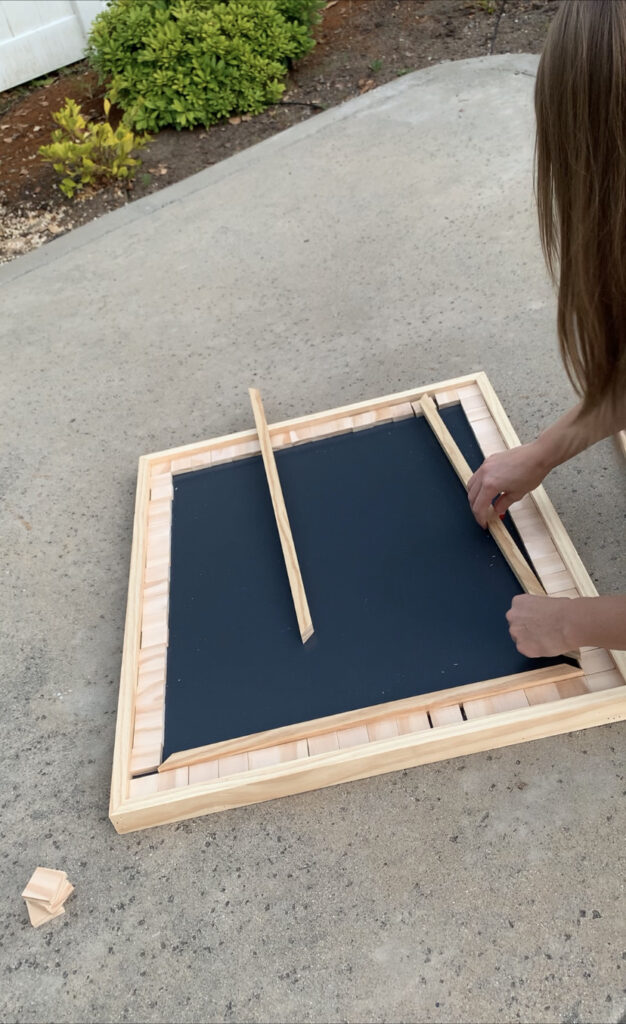
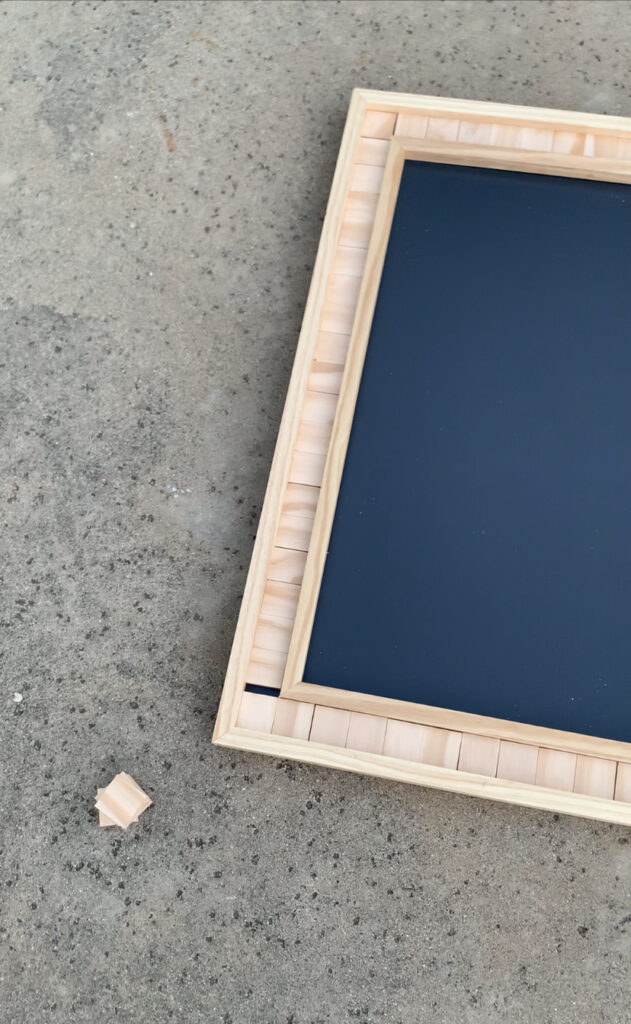
I cut the 1/2x2s into squares and placed them around the parameter of the mirror before adding the 1×1 frame in the center. I found it helpful to hold those center pieces up to where they should go and then mark where to cut them vs. measuring them. Doing it this way helped me get more accurate cuts to ensure a tight fit!
Step 3: Stain the wood and paint the mirror
Once I had all the pieces cut and sanded, I stained them using the Minwax White Wash and Behr’s Stain & Sealer in Cordovan Brown.
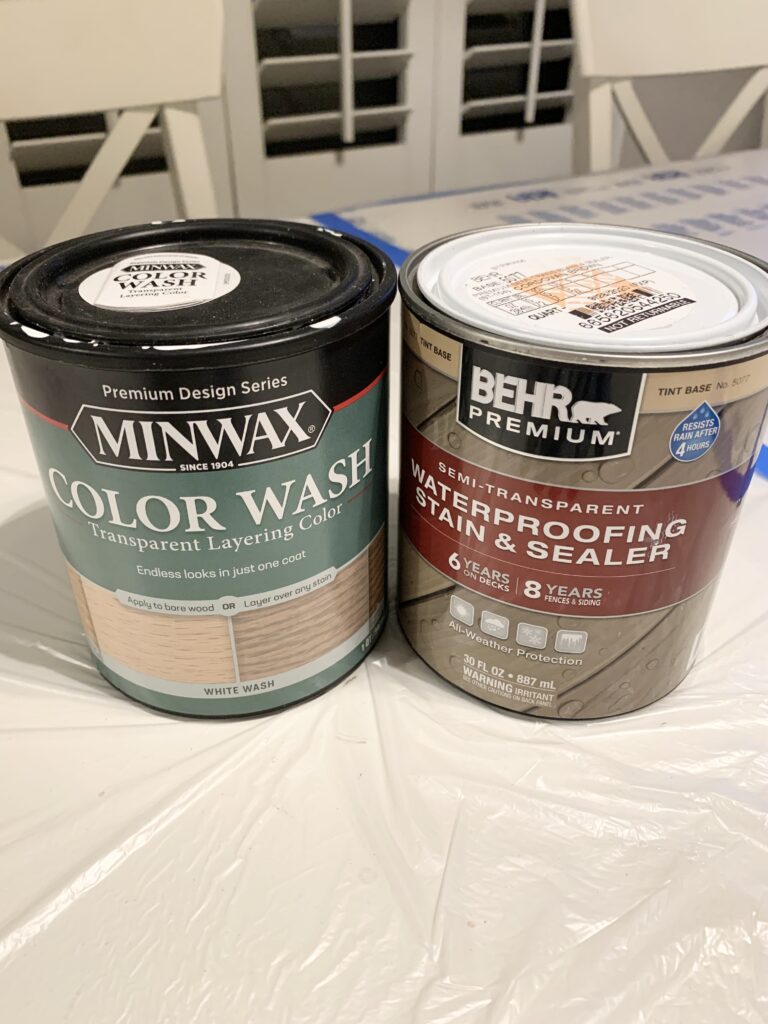
After staining them, I actually lightly sanded the edges for a more distressed/beachy look.
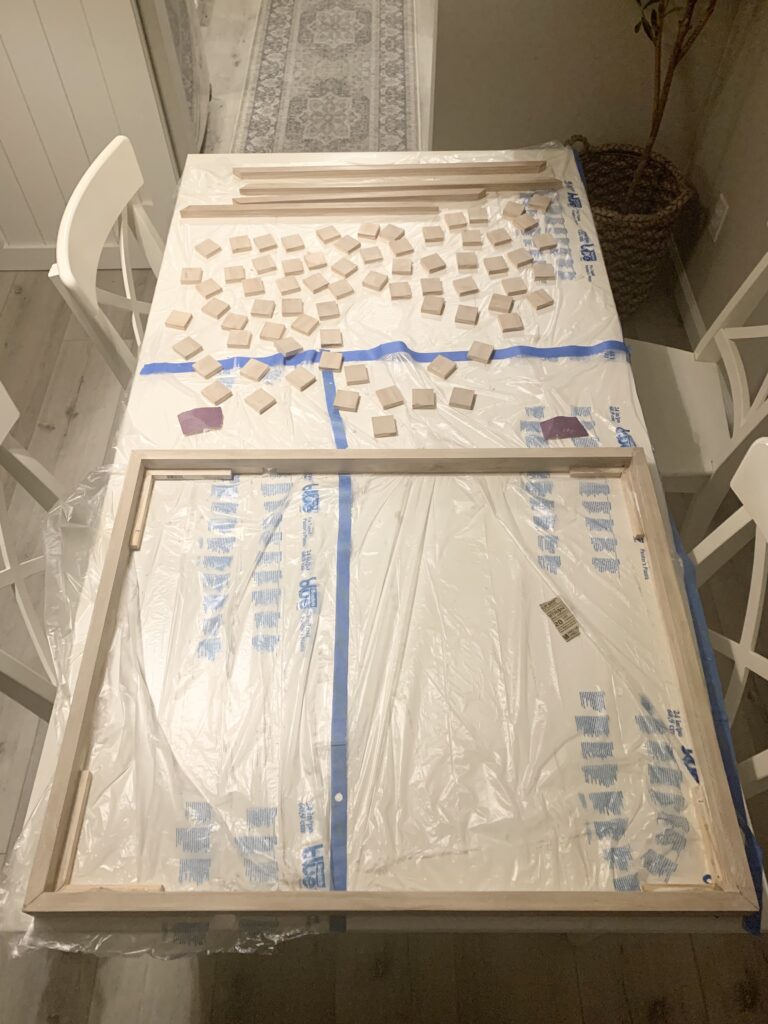
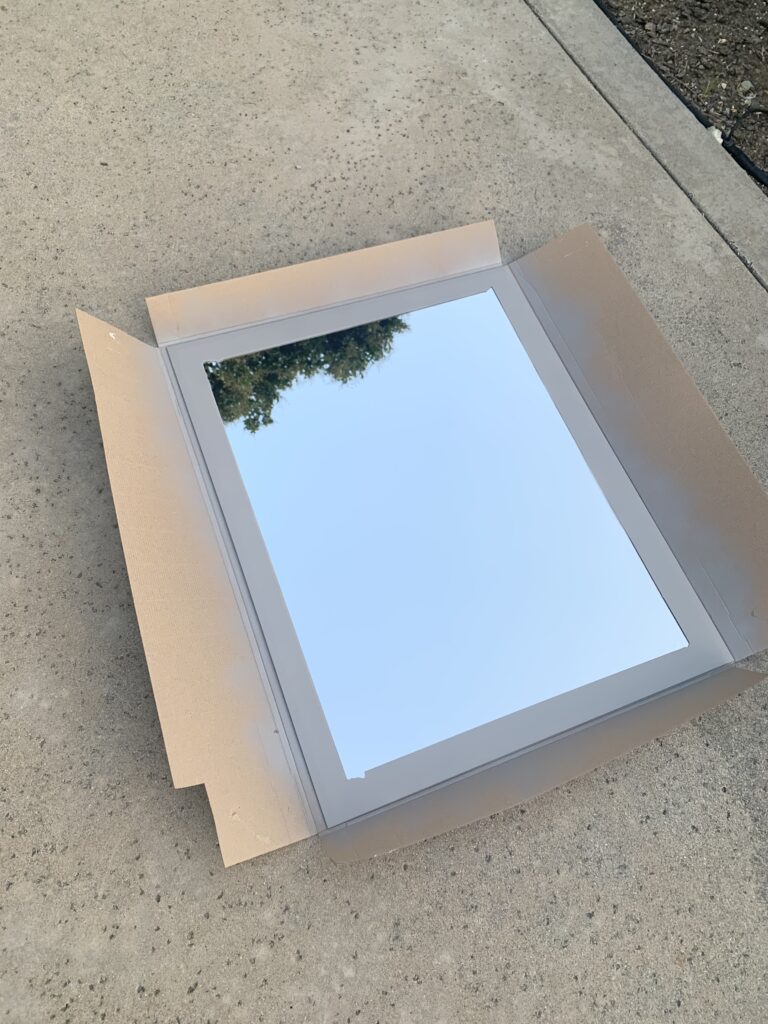
I also decided to spray paint the frame of the mirror so that the mirror wouldn’t show in any of the tiny gaps between the wood. Before spray painting, I taped the mirror off with painter’s tape and a trash bag.

I used the color driftwood on it, it’s actually the same color as our vanity light in that bathroom!
Step 4: Assemble the bathroom mirror
After that, it was time to assemble the mirror. I used liquid nails on the surfaces where the mirror would meet the wood…
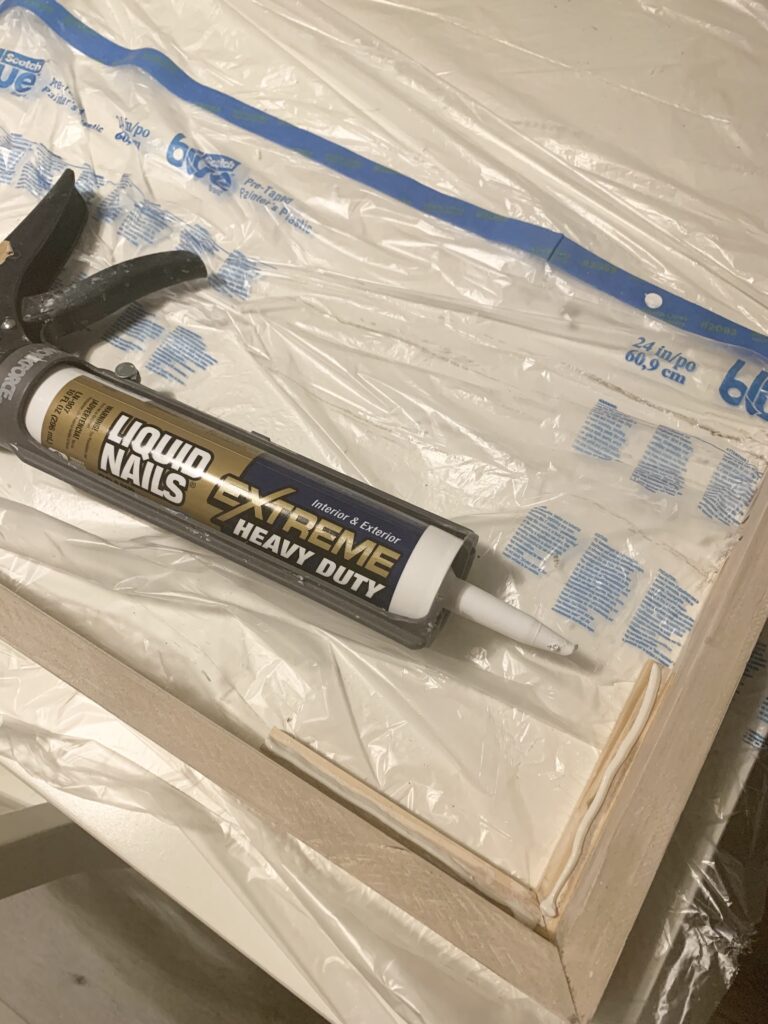
… and wood glue in all the spots where two pieces if wood would be connected.
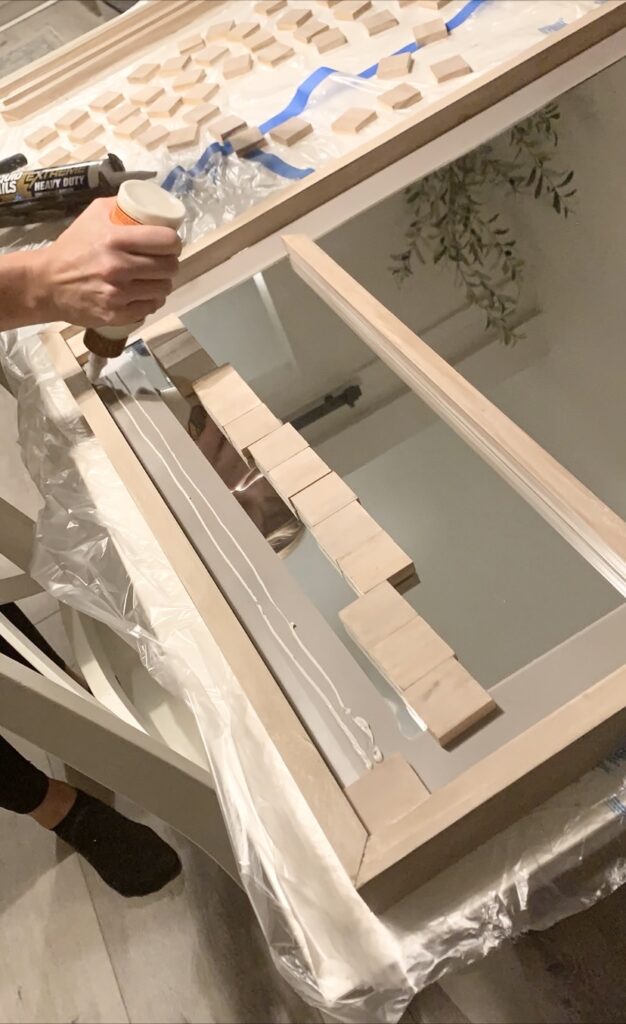
I moved the wood squares around a little to ensure the gaps between them were as even as possible.
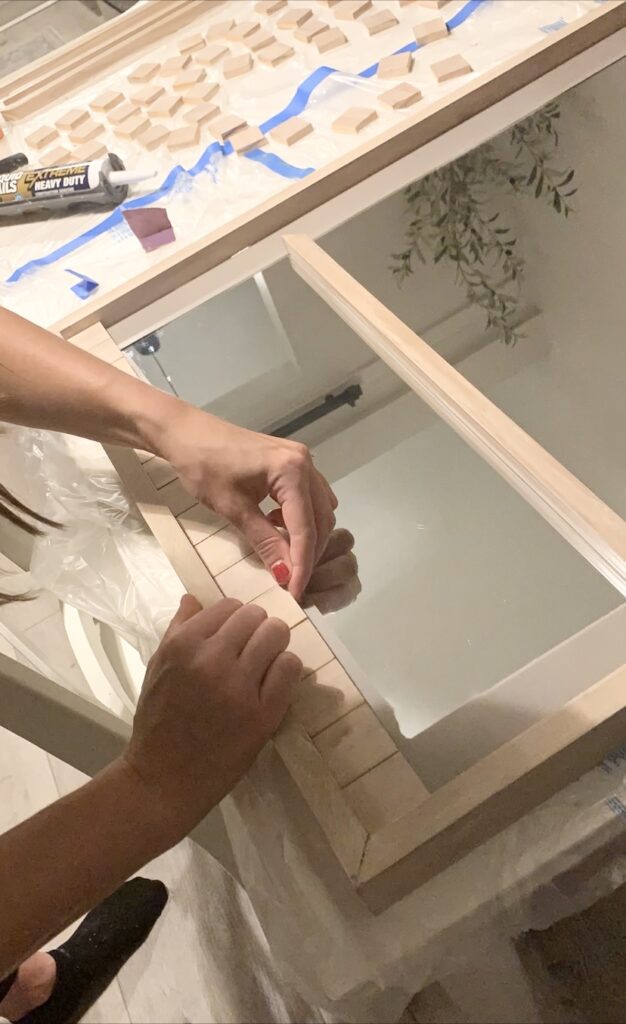
Step 5: Let it dry and hang the mirror
Once everything was assembled, I let it all dry before hanging it. I love how it turned out!

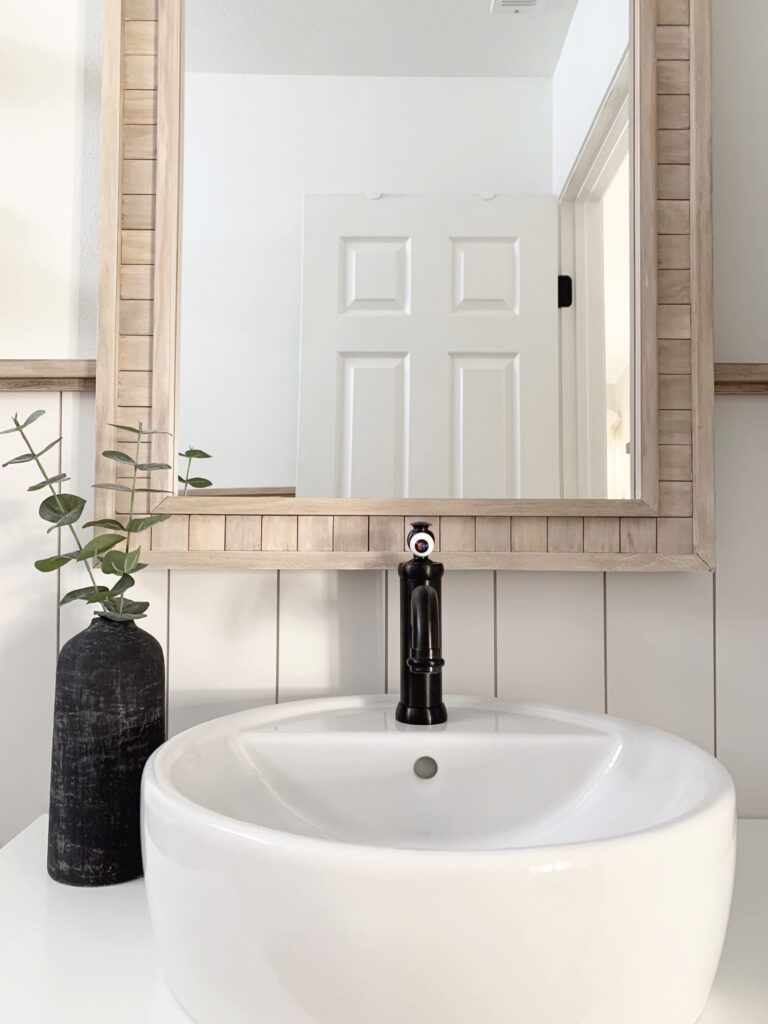
The combination of the brad nails, wood glue and liquid nails makes this mirror feel really sturdy and solid. I think it also helps that the plain 24×30 mirror that I used was really light weight.
I’m so excited I gave this custom DIY wood bathroom mirror a try, it was such a fun and pretty easy project. I love that it matches the rest of our bathroom perfectly!
You can find more pictures of our bathroom here.
Tina


Hi Tina,
I just looooove how you transformed your bathroom and feel so inspired to do something similar to our powder room. Can you explain how you used two colors of stain. Did you use them successively or did you mix them together first. I would be so grateful for a quick feedback on how to exactly do this.
Thank you so so much!
Angela
Hi Angela, thank you so much! I used them successively and let them dry briefly in between coats. Let me know if you have any other questions!