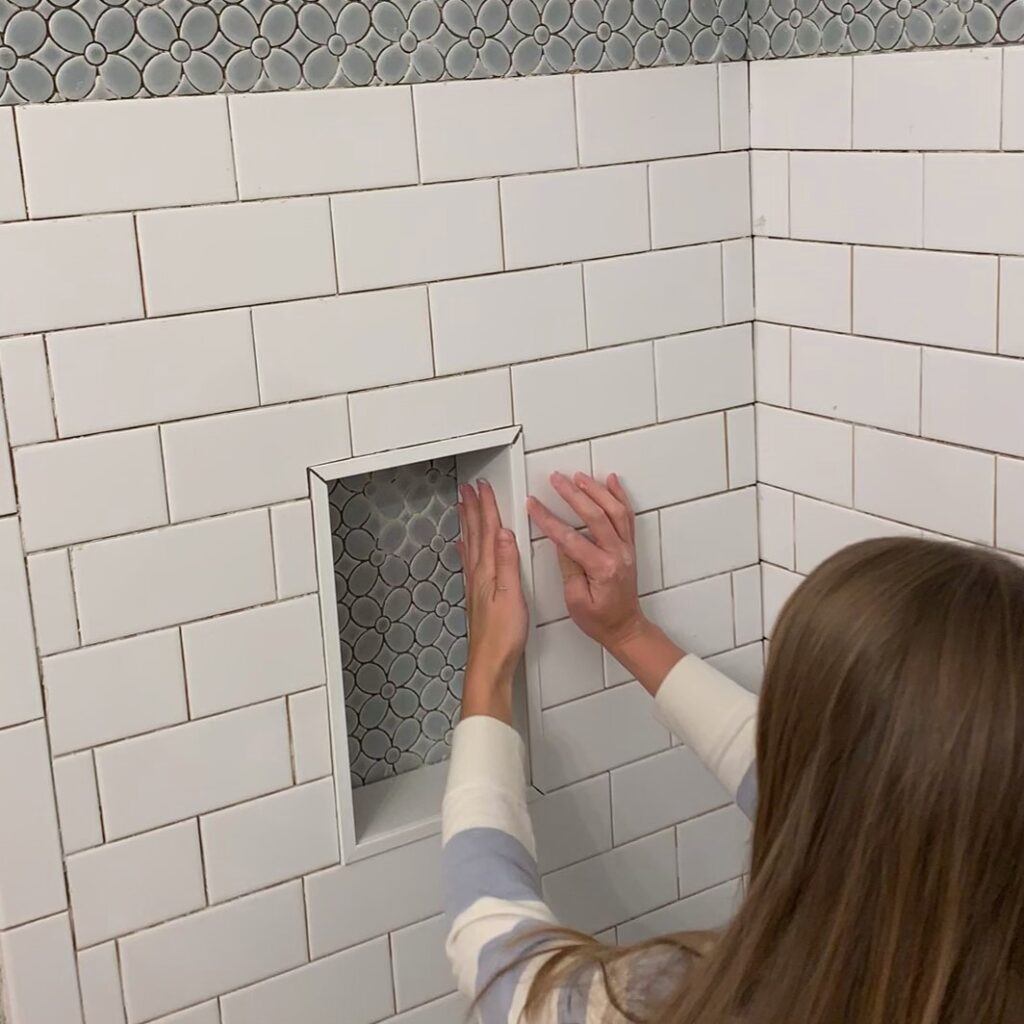
Do you want to learn how to build your own custom shower niche? You’ve come to the right place! In this post, I’ll show you how to build a niche in your shower the easy way to add storage space in your bathroom! Building a shower niche doesn’t have to be complicated if you use the right materials. I’ll show you detailed photos of my shower niche installation and I’ll also share some lessons learned and mistakes I made so you can avoid them with your built in shower niche!
Note: This post may contain affiliate links, you can find more information in my disclosures here.
I installed our built in shower niche as part of the guest bathroom remodel where we took out the old shower tub combo and I tiled the new shower. This was my first time installing a shower niche so I researched what solutions were available for an easy install. That’s how I came across EZ Niches. They are premade ABS shower niches that are waterproof, lightweight and durable. A premade shower niche like this is perfect for a DIY shower niche installation! They come in different sizes and I bought mine at Floor & Decor:
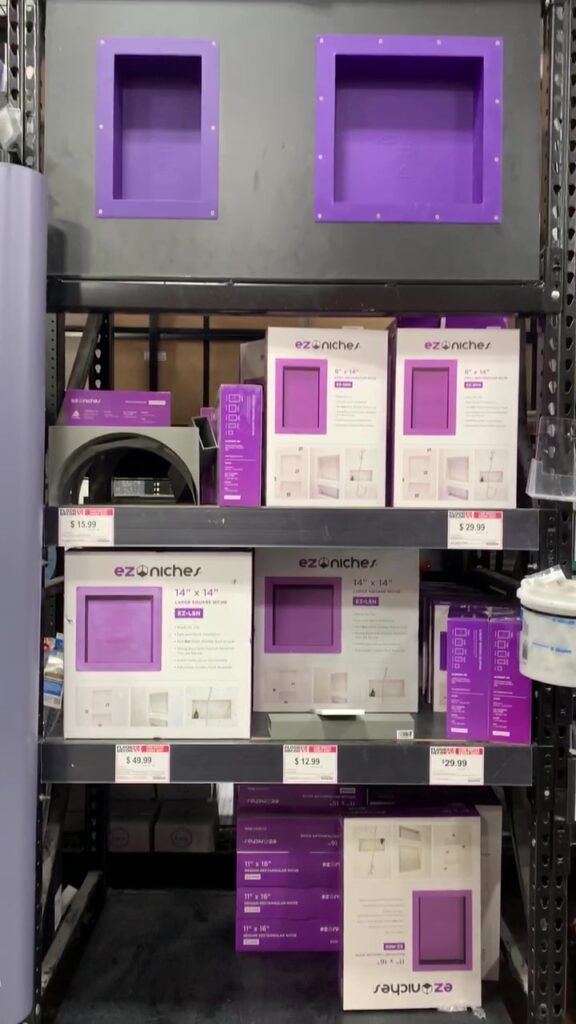
In this post I’ll show you how to build a shower niche, without actually having to build it from scratch!
Materials
- EZ Niche
- Large subway tile
- Mosaic flower tile
- Waterproofing
- Mortar
- Grout
- Silicone
- Masking tape with plastic
- Old blanket or something similar (to protect tub and floor)
Tools
- Oscillating tool
- Snap and score tile cutter
- Nippers
- Putty knife
- Notched trowel
- Grout float
- Grout sponge
- Small bucket
Step 1: Planning the placement of the shower niche
The first step in building a shower niche is to plan the placement of it. I planned the placement of my new shower niche once I was done installing the tile backerboard (it’s a more light weight and easier to cut alternative to cement board).
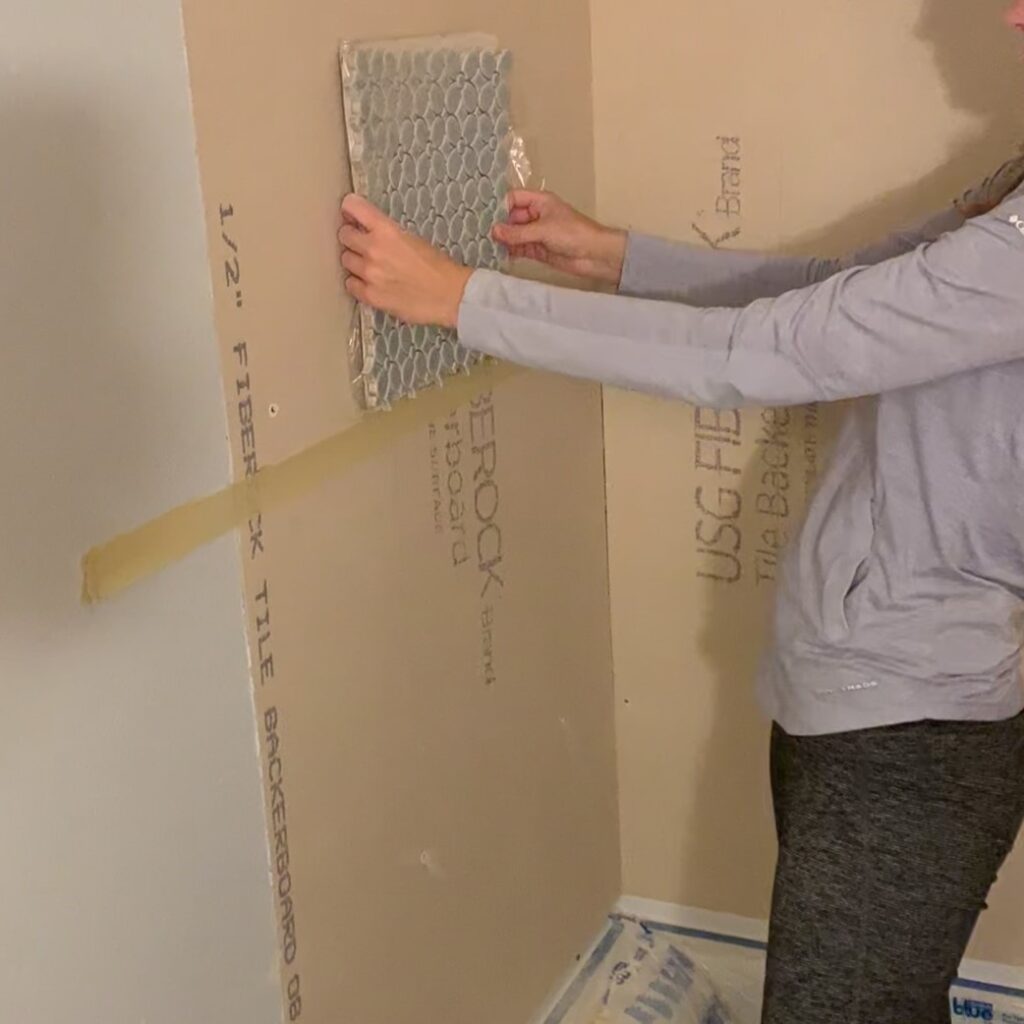
My shower was going to consist mainly of white subway tile and then a mosaic blue flower accent strip around the middle. I decided to have a vertical shower niche. To be able to plan my DIY shower niche, I needed to know where exactly it would be placed in relation to the mosaic tile strip. I started by planning where the mosaic tile strip would go:
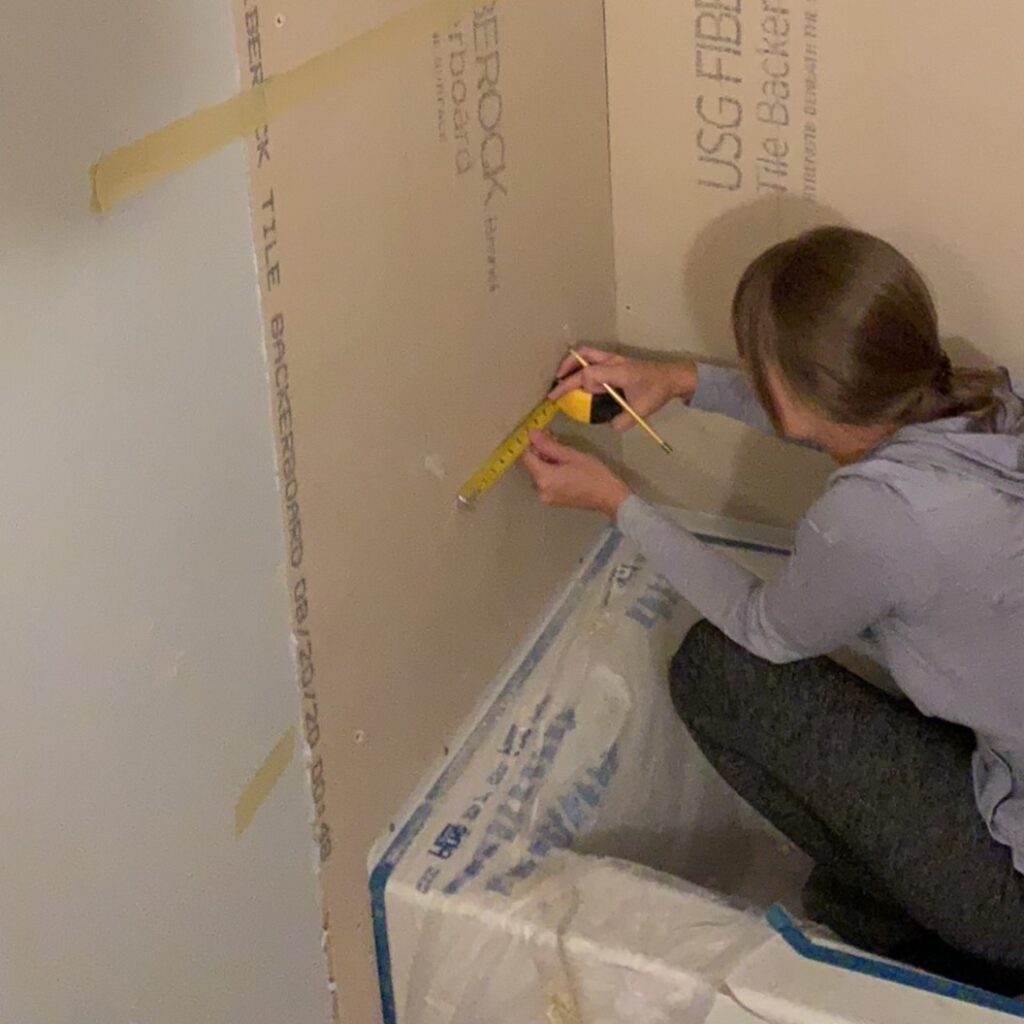
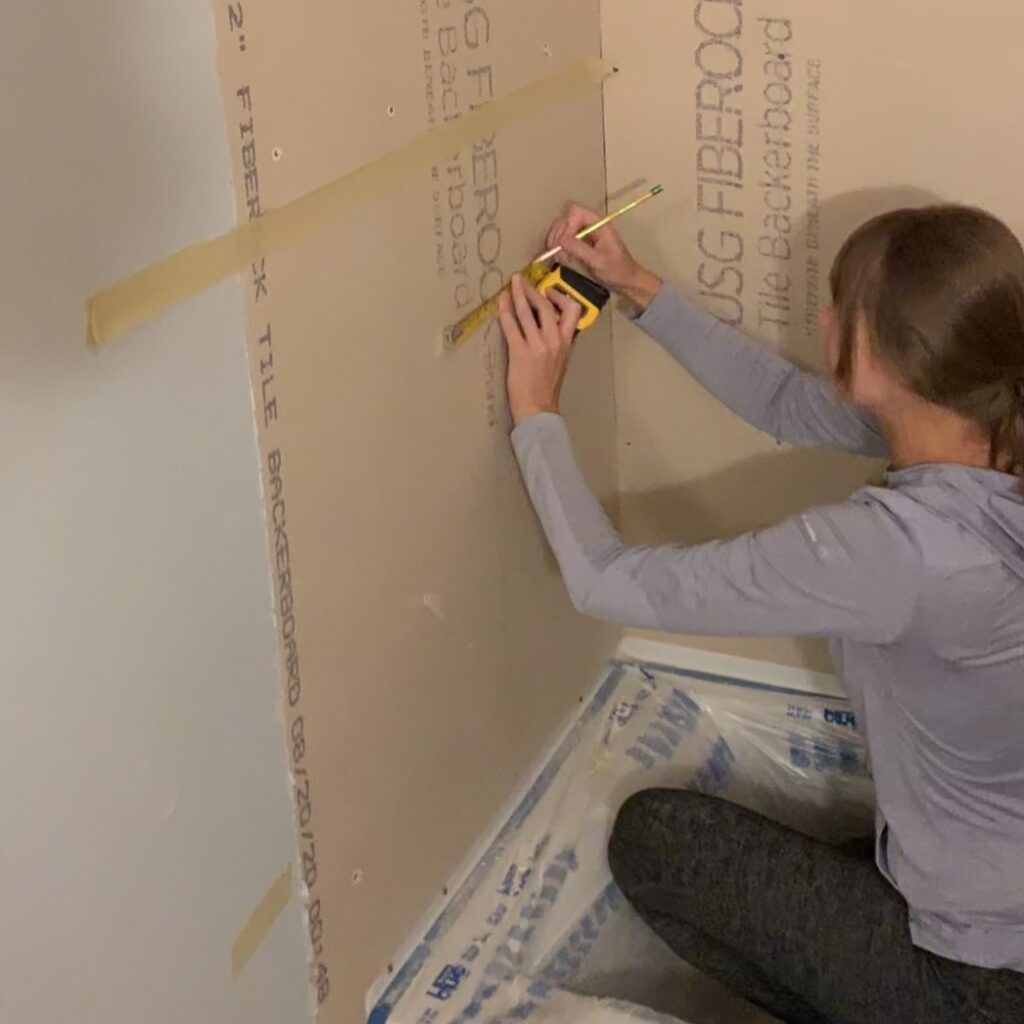
Then, I measured the height between the bathtub and the accent tile and marked the middle point:
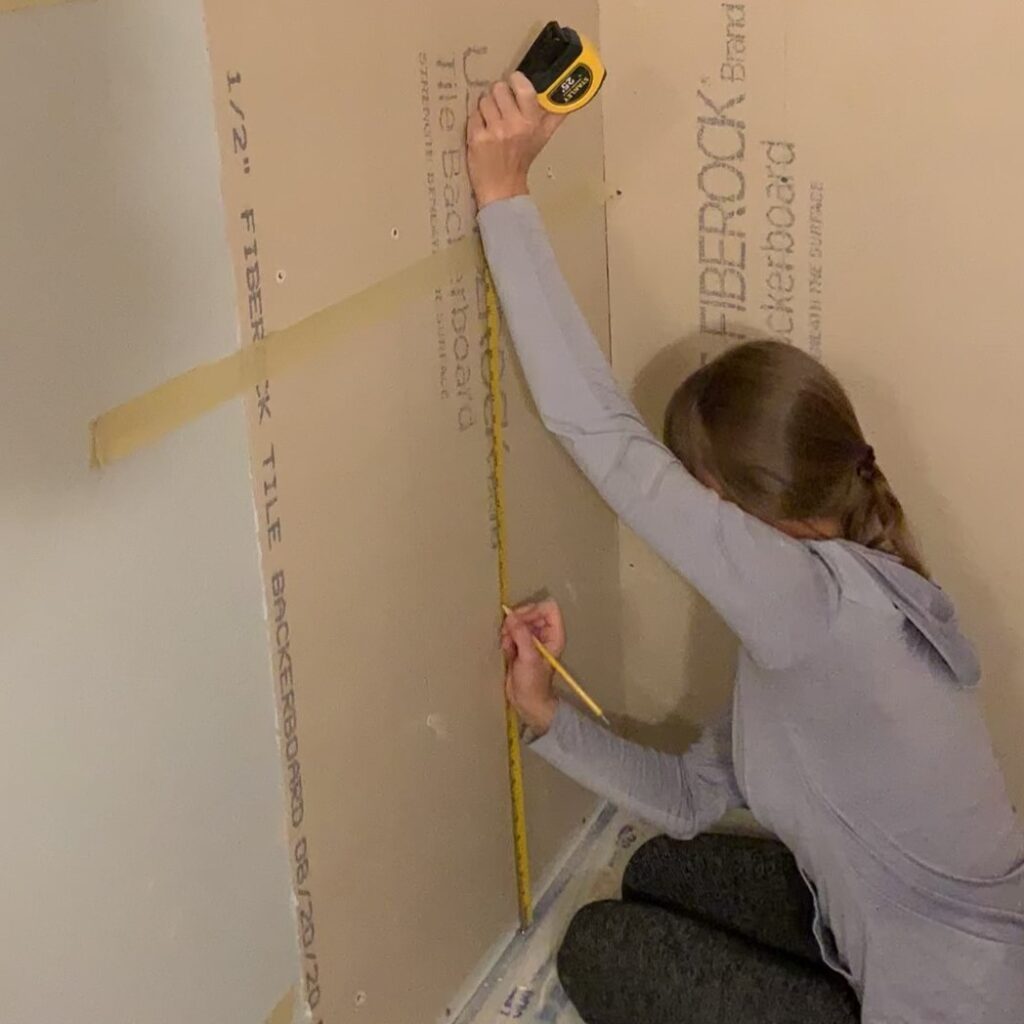
After that, I measured the width and marked the middle:
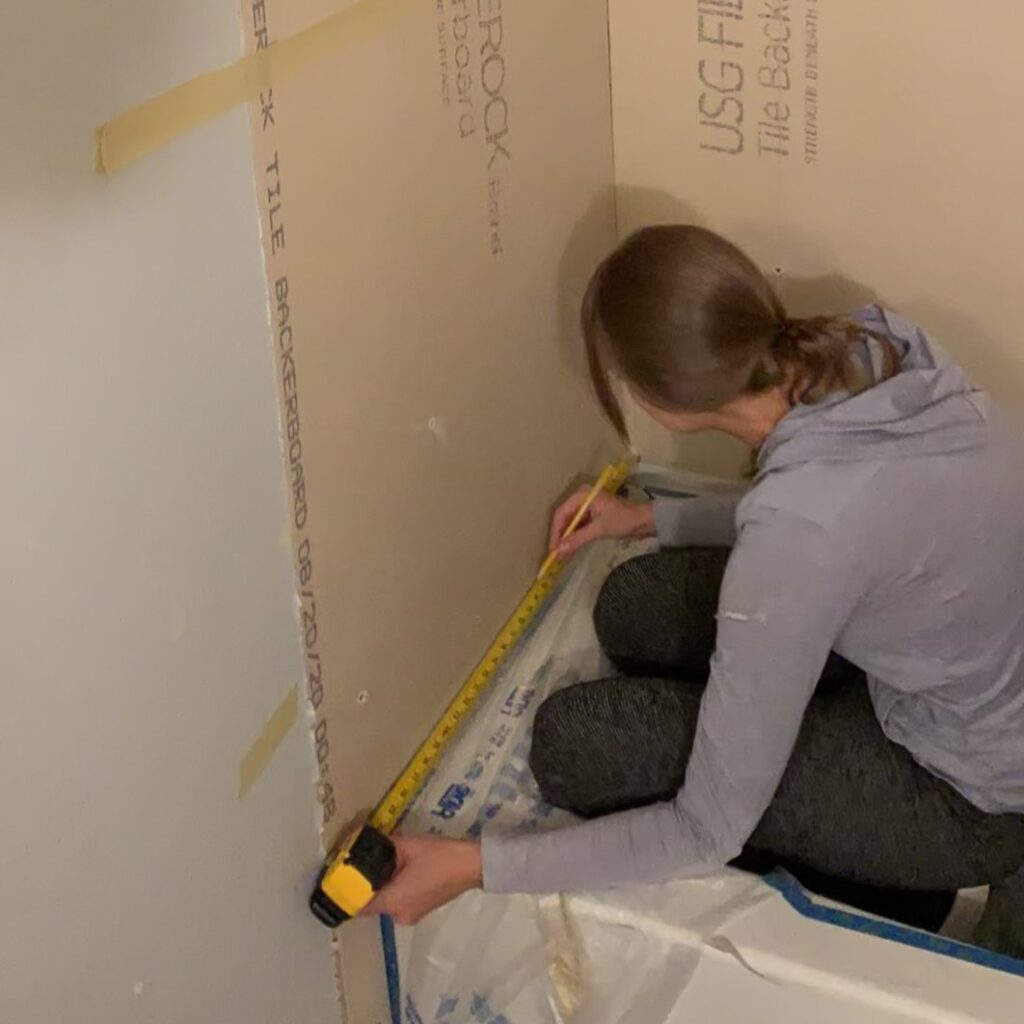
Then, I marked the approximate height of the shower niche.
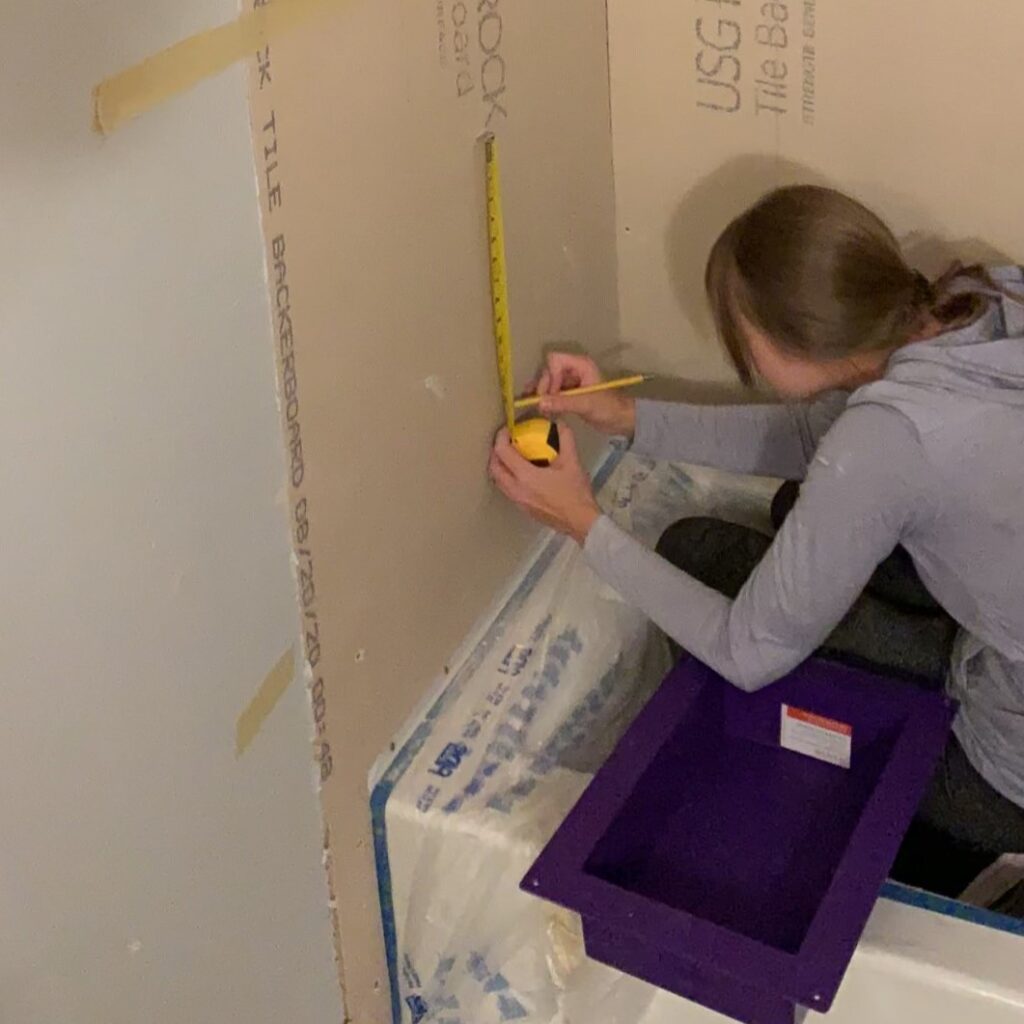
Next, I held up the EZ Niche to take a look at the approximate location:
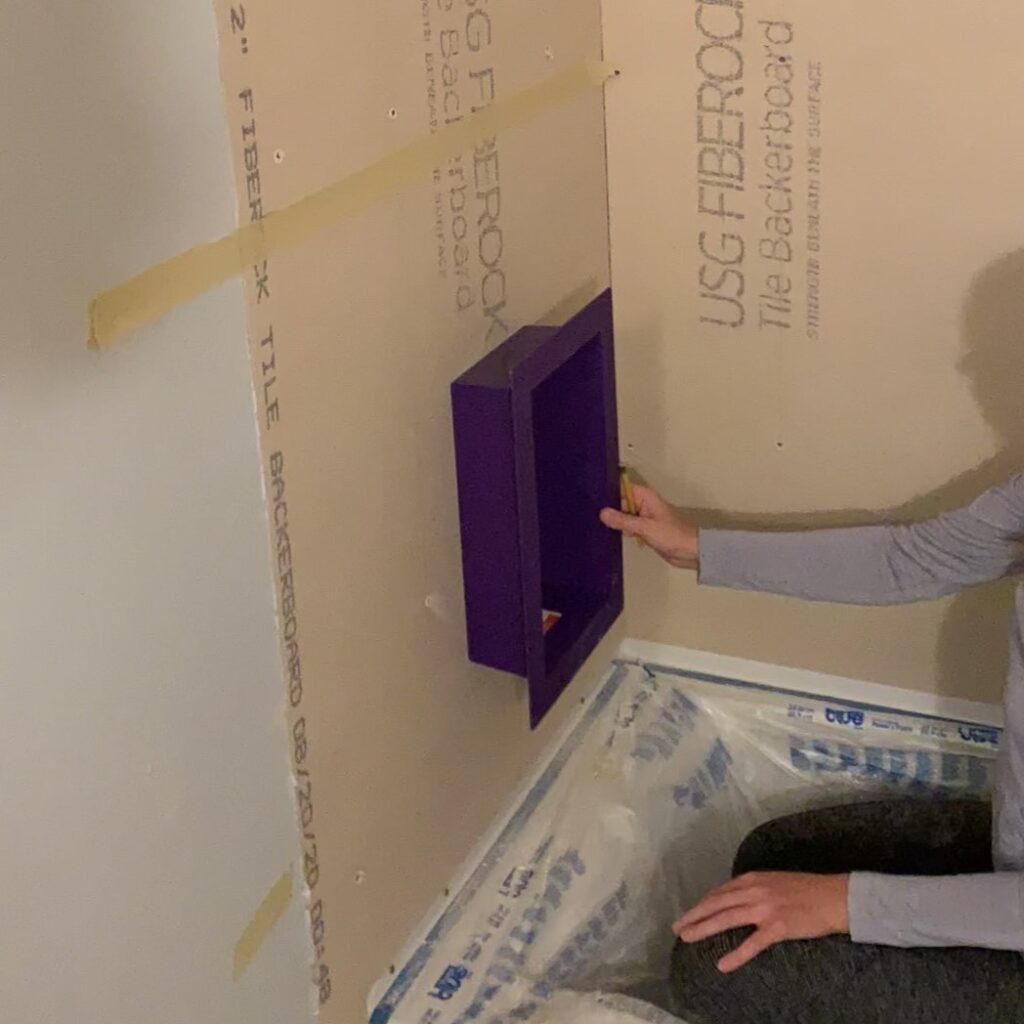
Then, I started planning where to best place the niche to avoid awkward tile cuts. I figured it would be great to have full tiles below it:
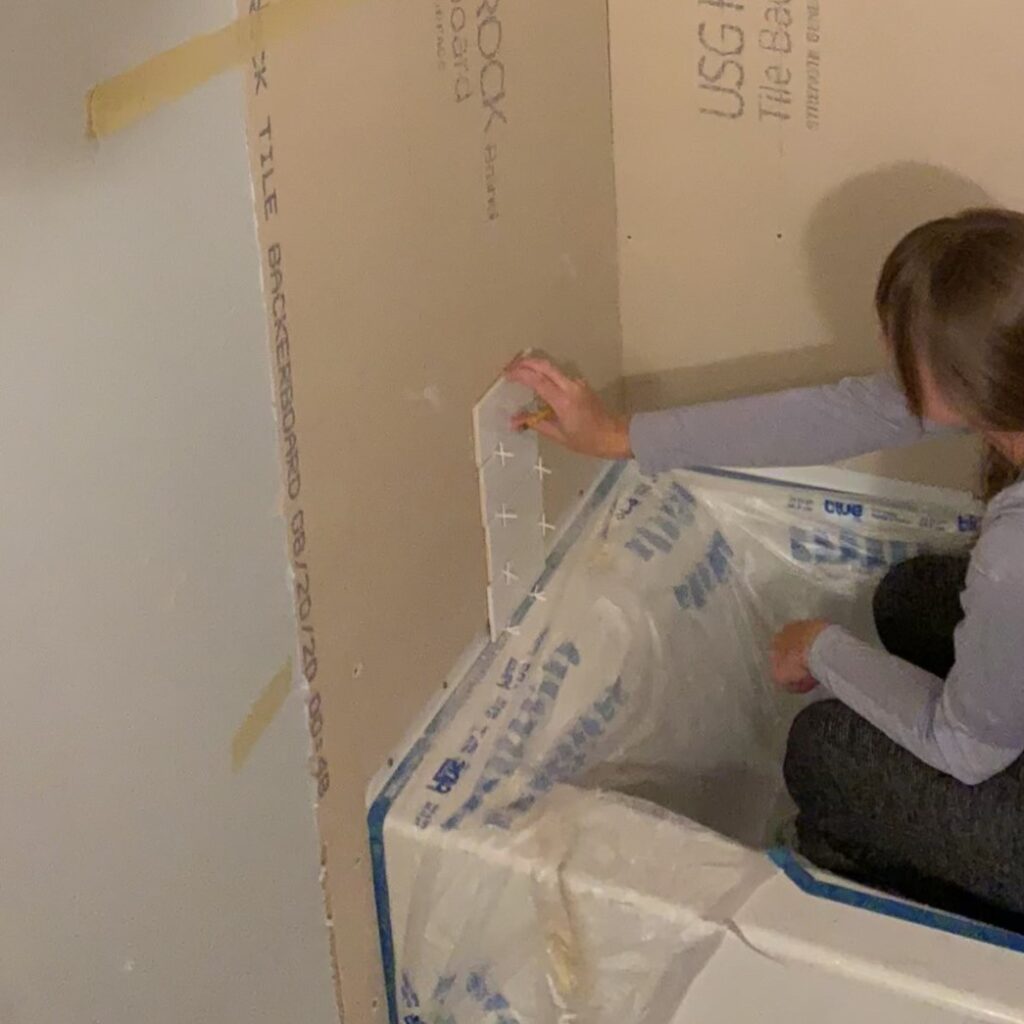
Or have full tiles above it:
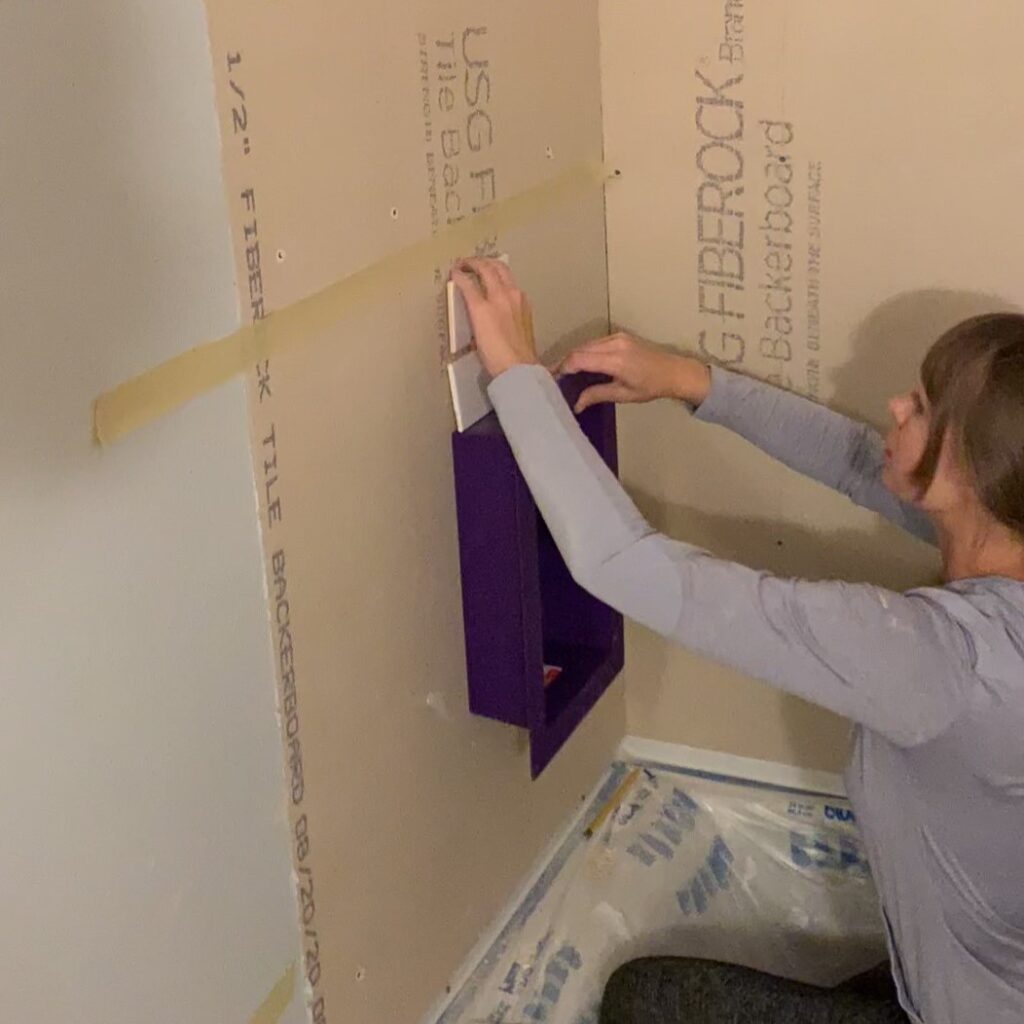
The shower niche was a little shorter than five full tiles:
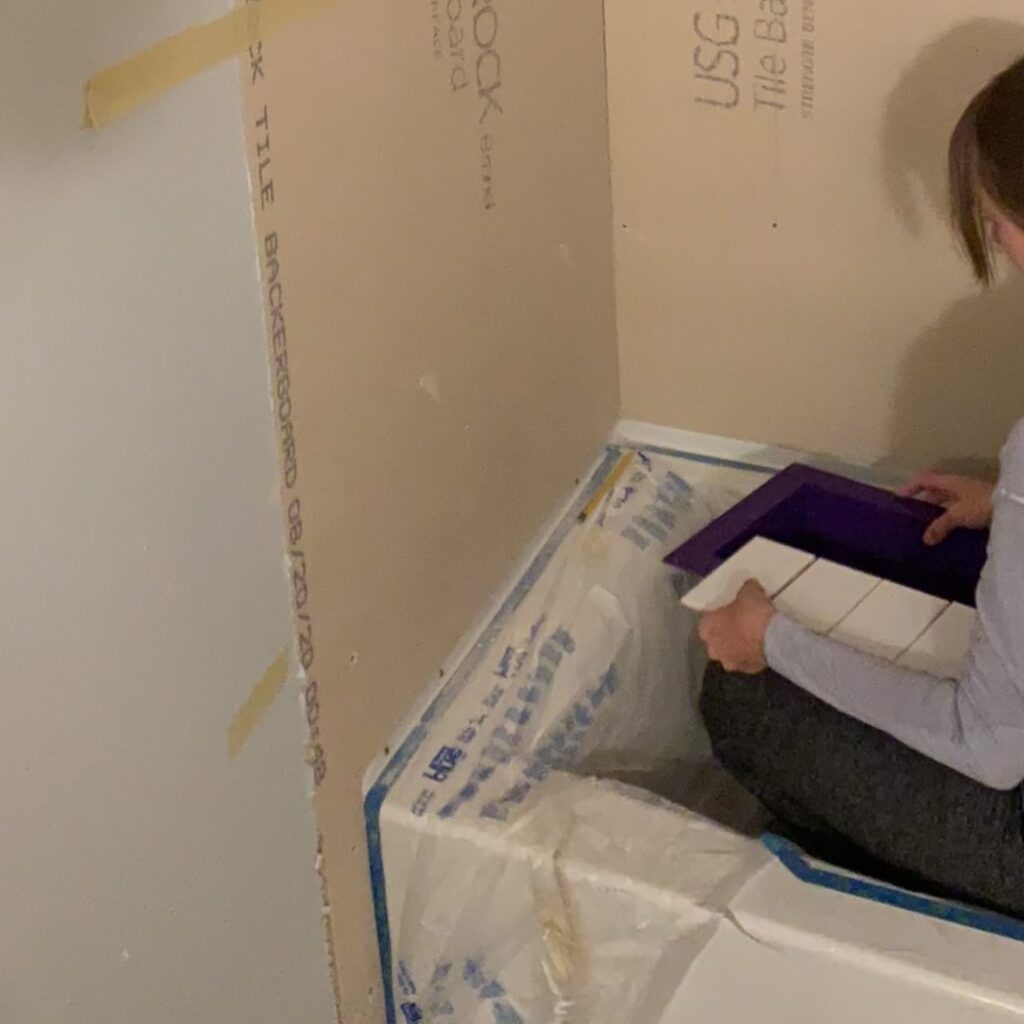
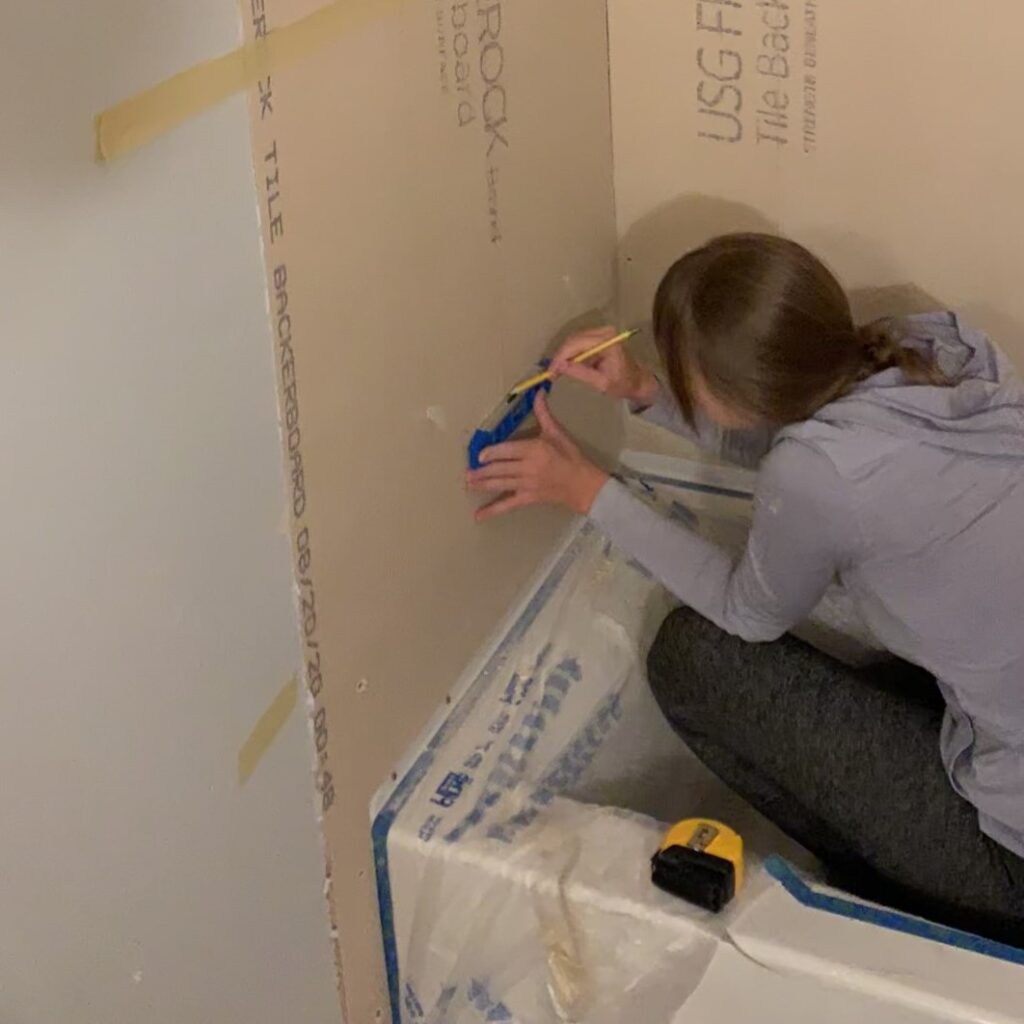
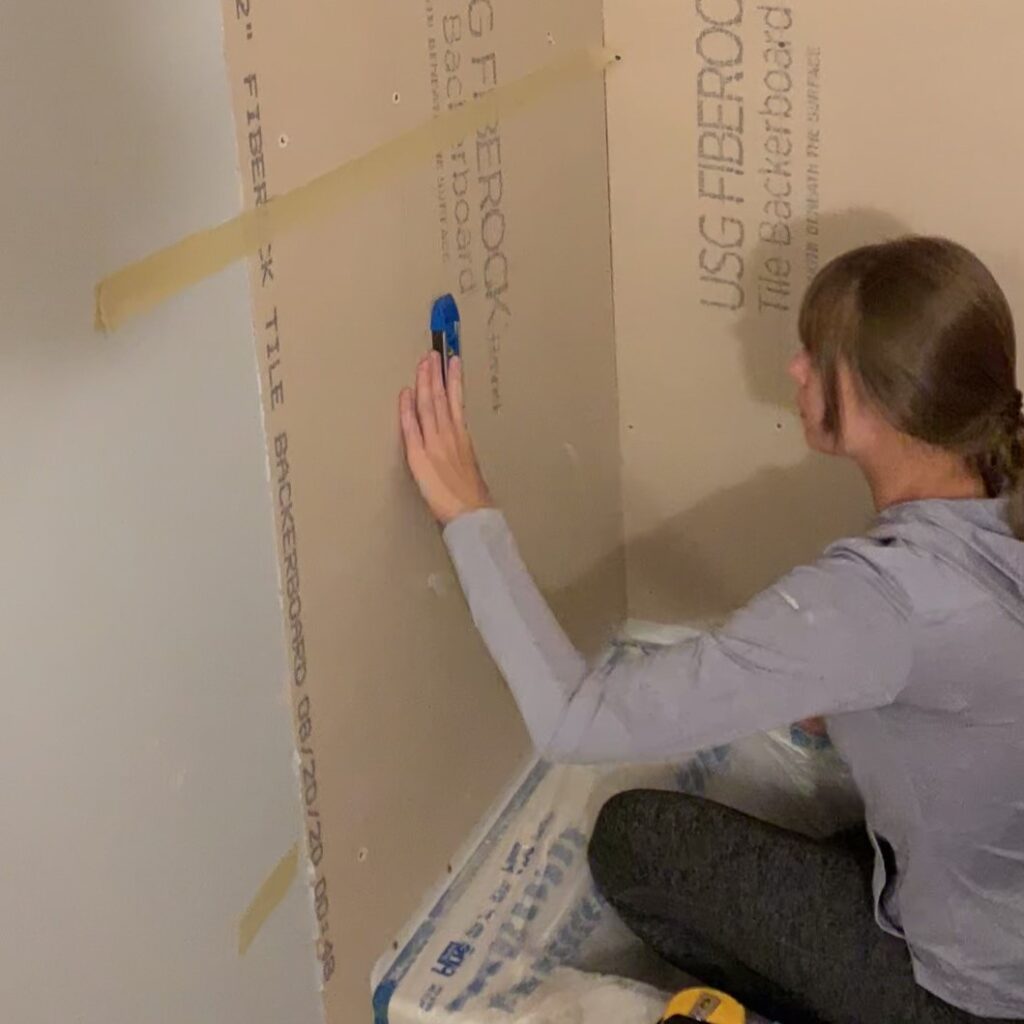
I decided to have four rows of subway tile below the shower niche. Once I had the exact shower niche height determined, I started measuring and using a level to draw on the actual outline for the hole I would need to cut into the tile backerboard:
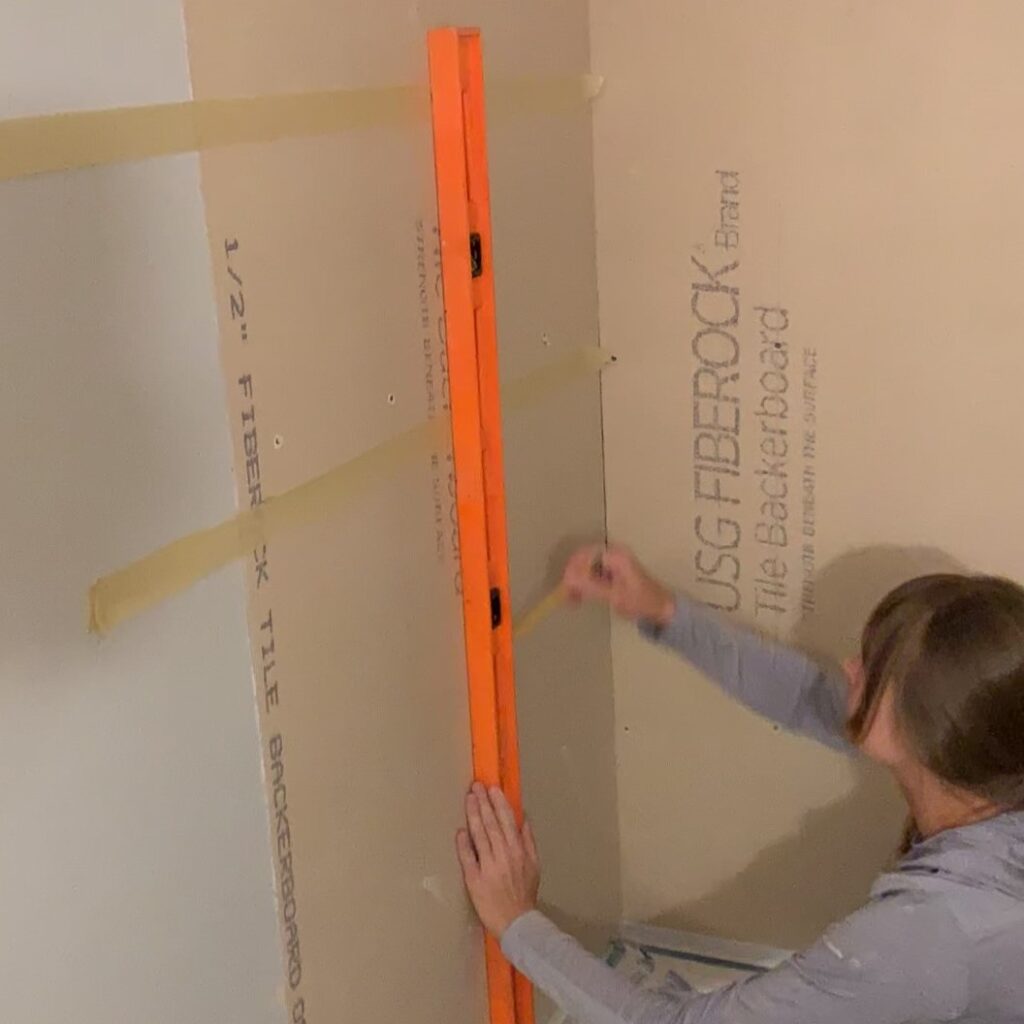
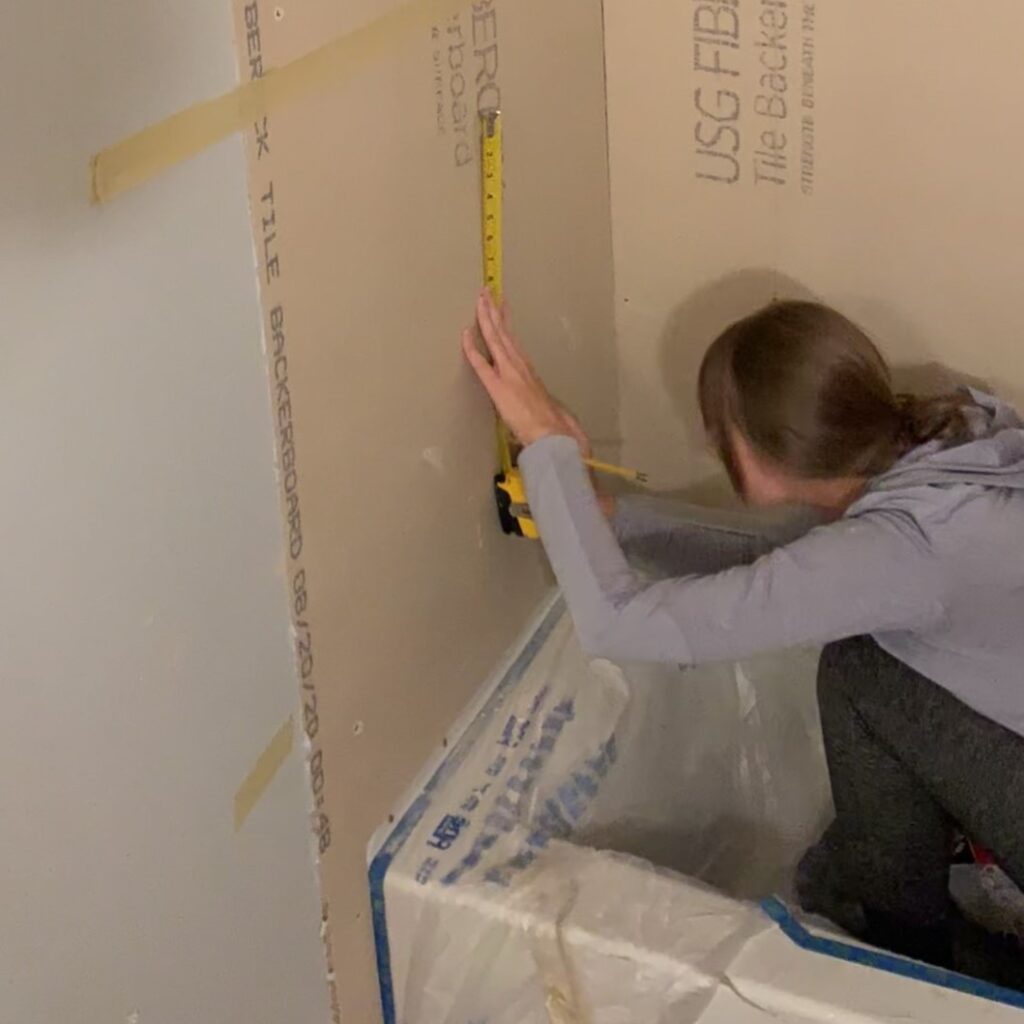
Step 2: Cutting a hole for the shower niche
Once I had the outline for the hole drawn onto the tile backerboard, it was time to cut! I used my oscillating tool to cut the hole out:
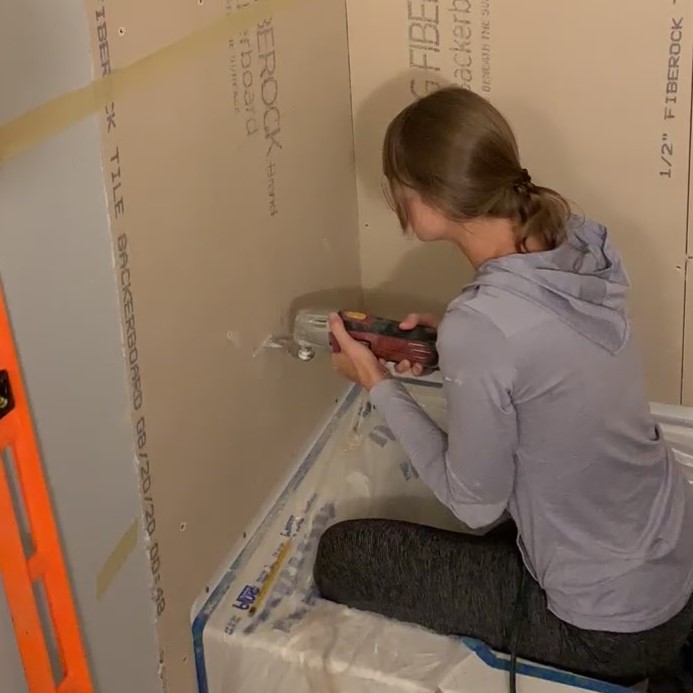
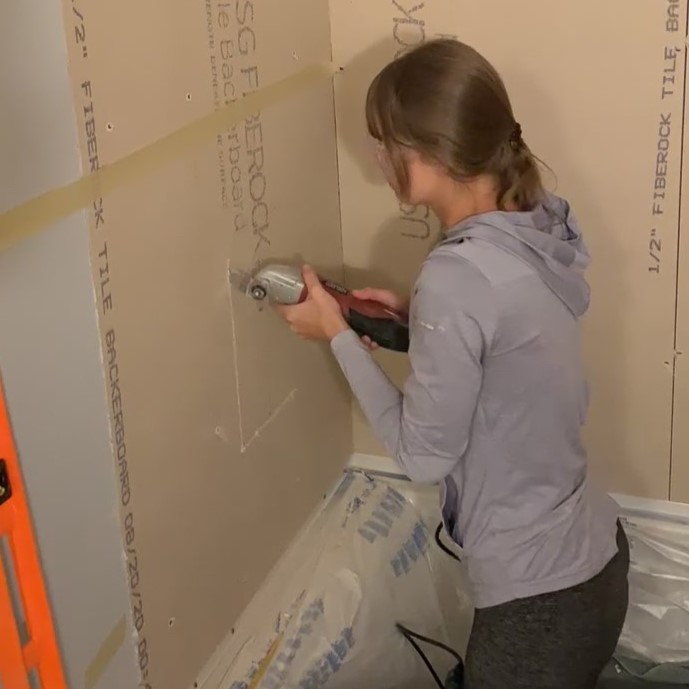
It was pretty easy to cut through the backer board pieces with the oscillating tool.
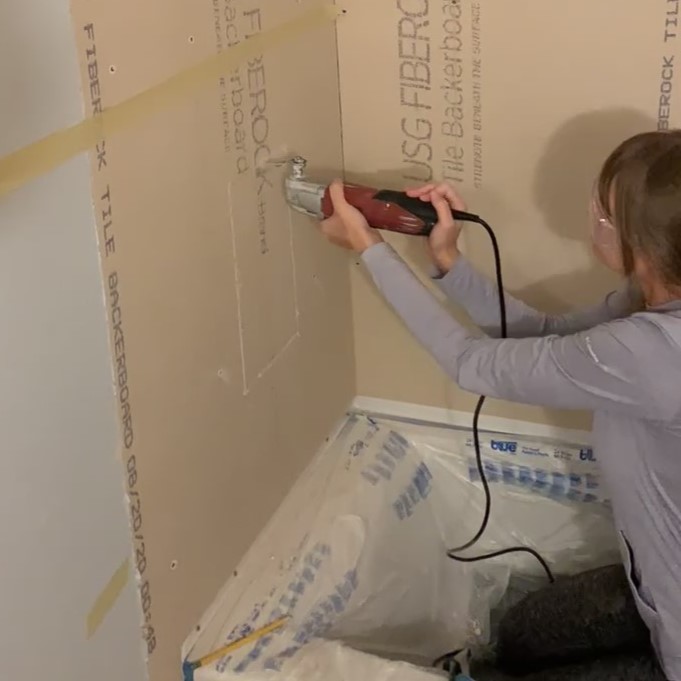
Once all the cuts were made, I gently removed the cut out piece!
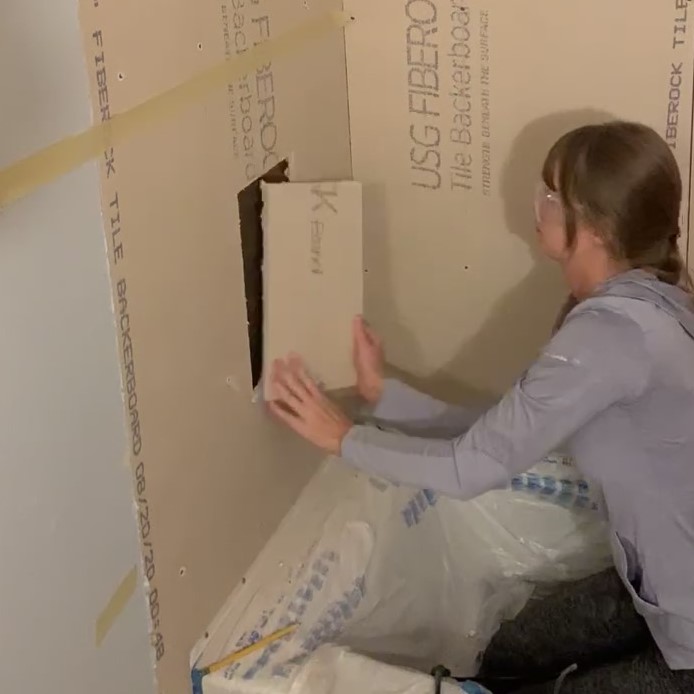
As a result, I was left with a perfect little hole for the EZ Niche!
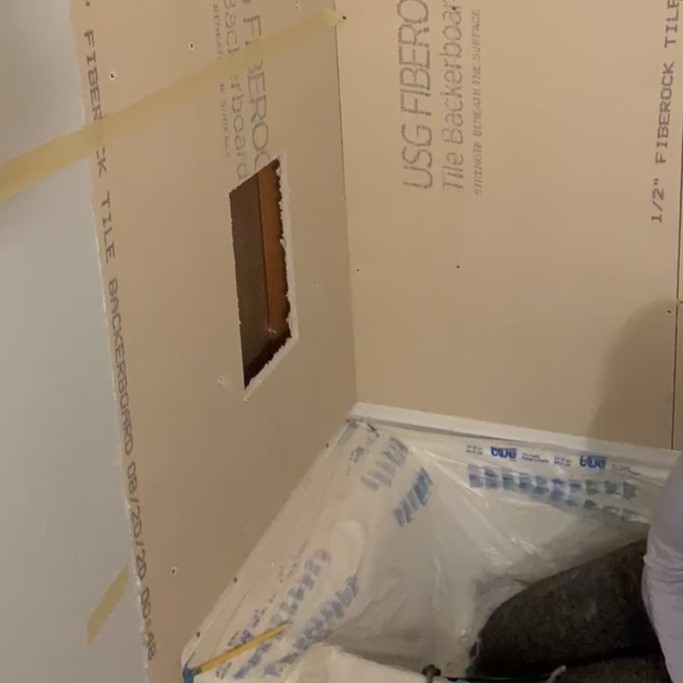
Note: I made the hole a little bit bigger for some wiggle room.
Step 3: Installing the EZ Niche
Next, it was time to position the EZ Niche in the shower niche space:
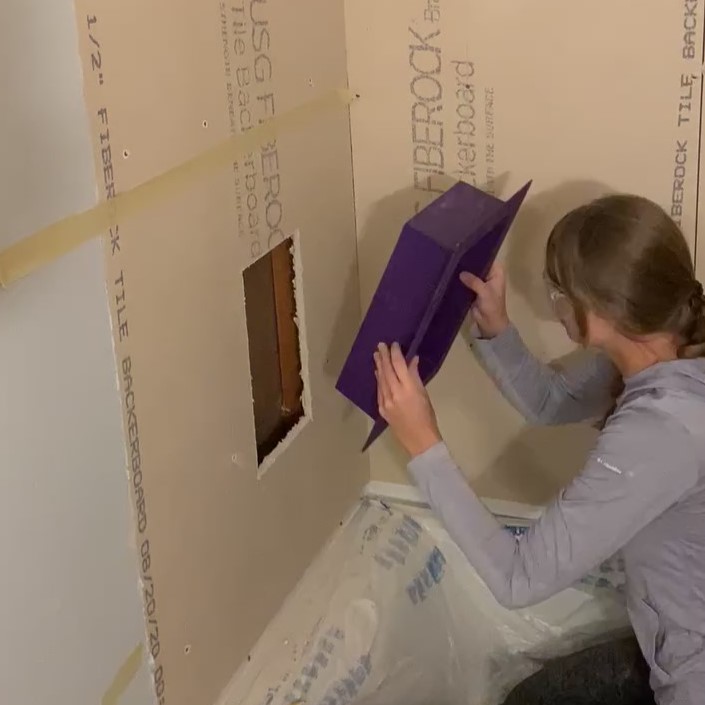
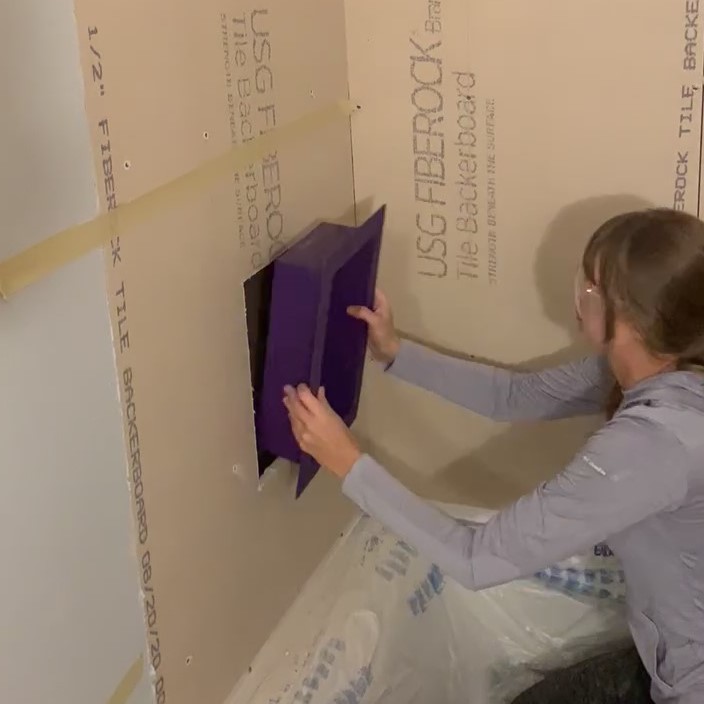
Once I popped in the shower niche insert, I held up the four subway tiles again to get the placement just right:
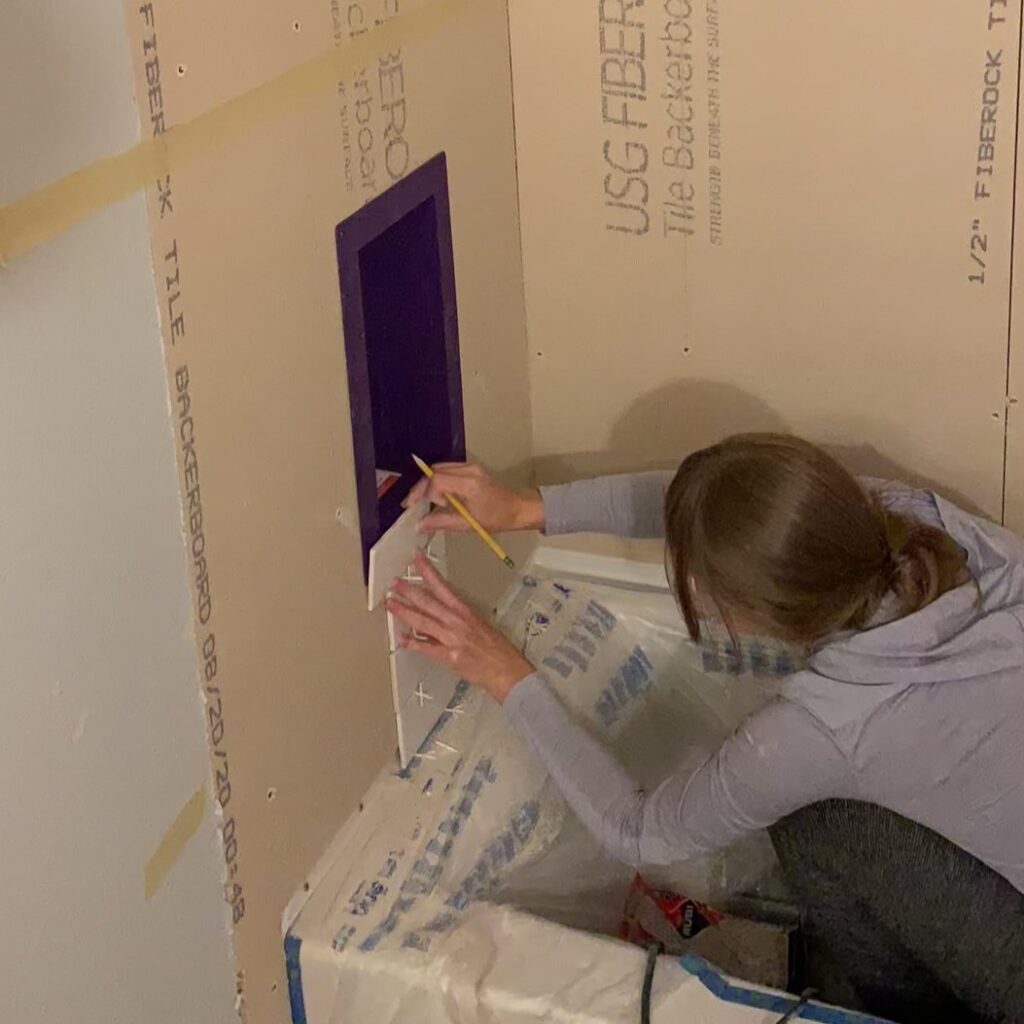
I also checked to make sure the position was level and then I outlined the shower niche so I would have a guide:
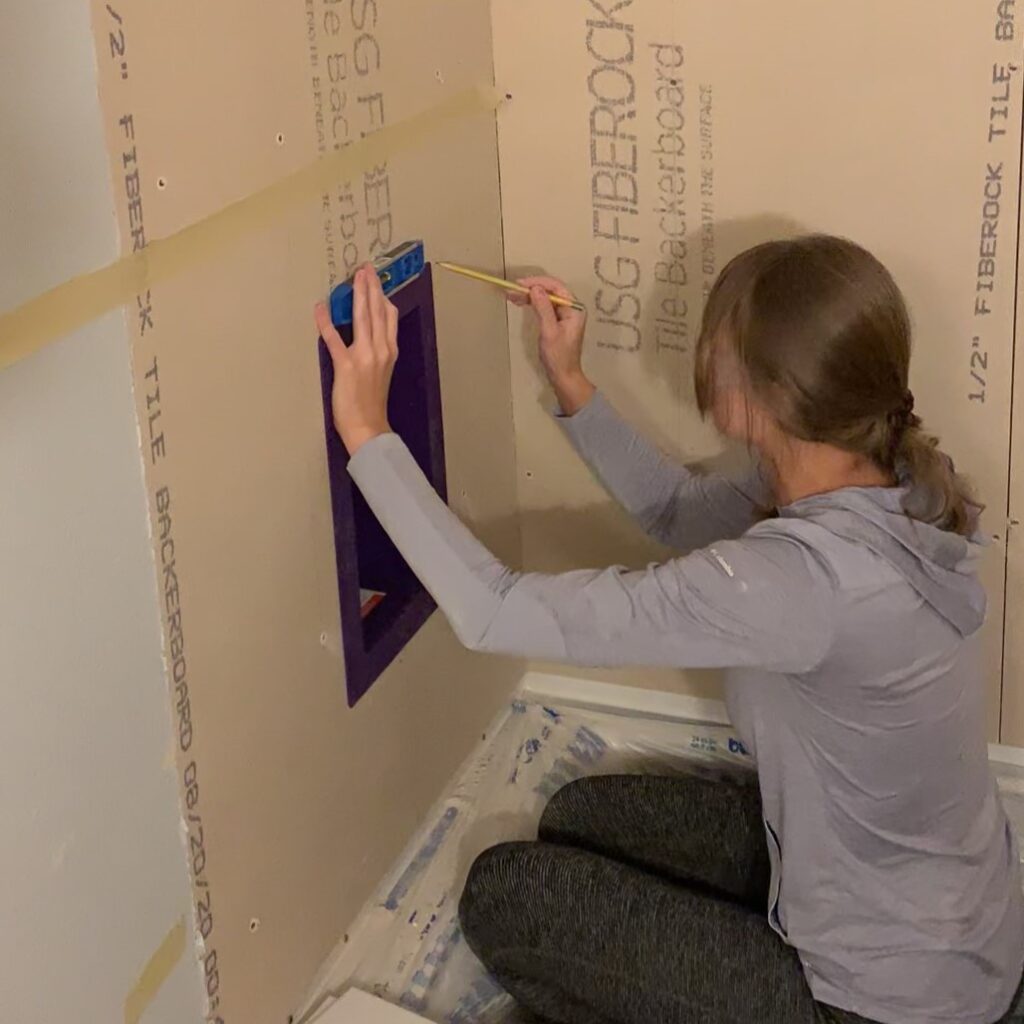
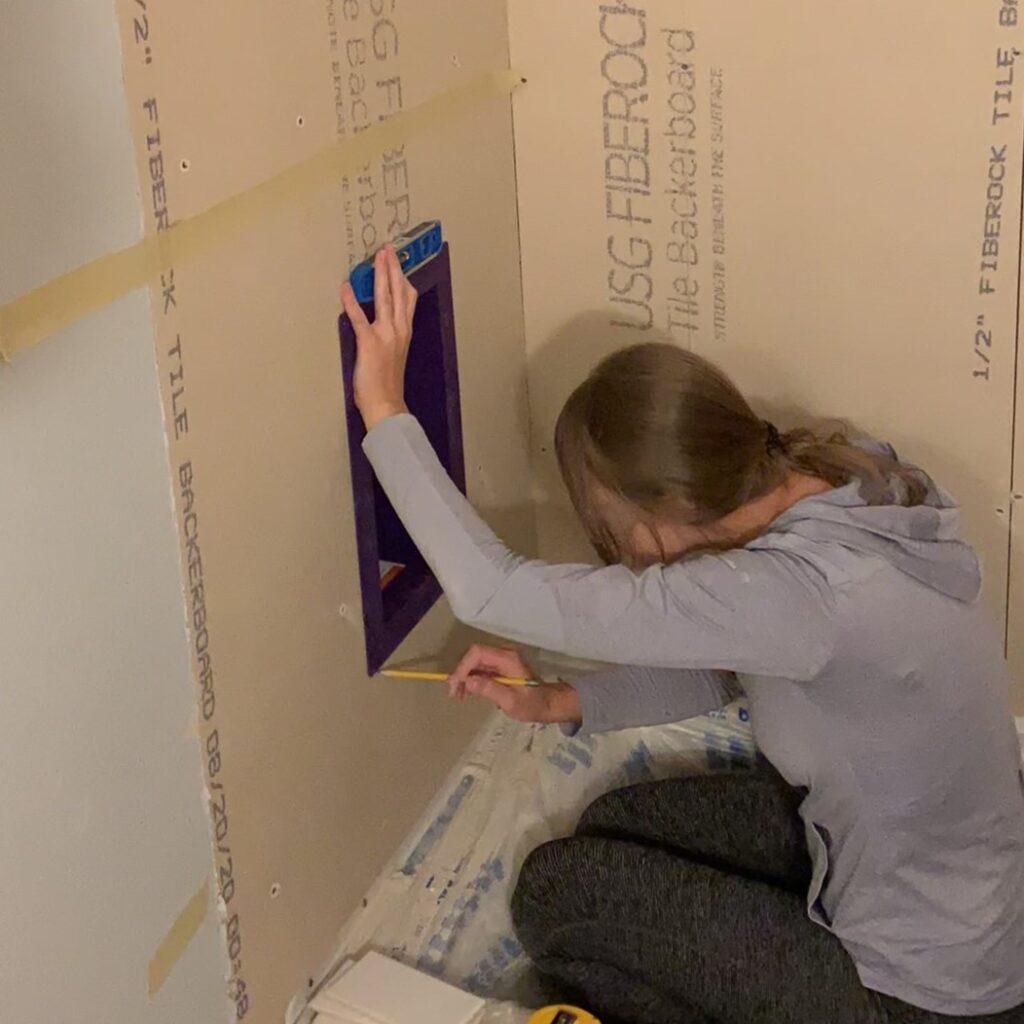
With the outline drawn around the shower niche, it was really easy to position it along the lines and secure it with screws:
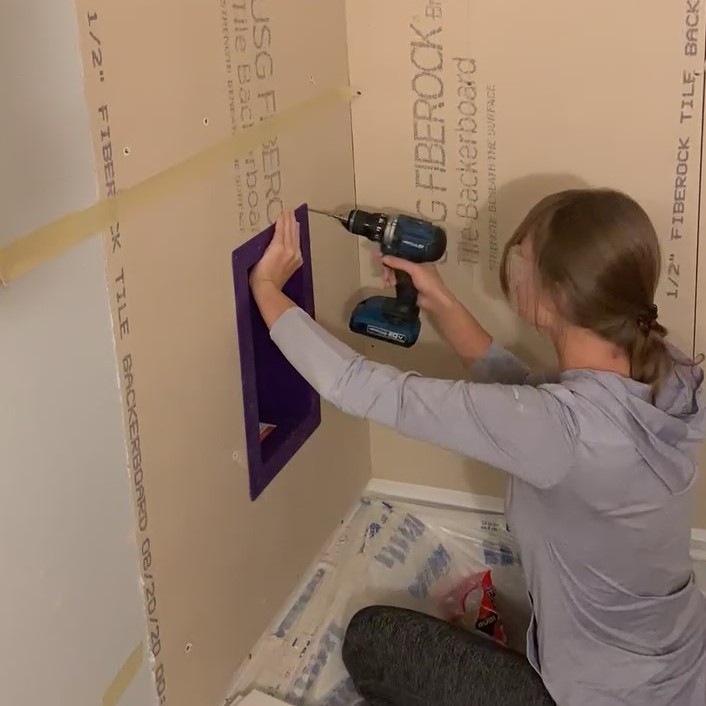
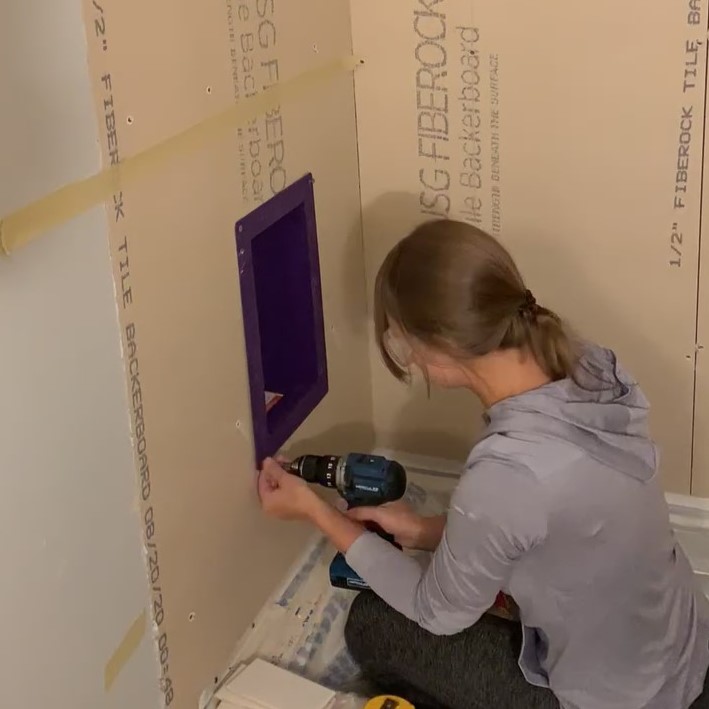
And here it is: the EZ Niche secured to the tile backerboard ready for the next step!
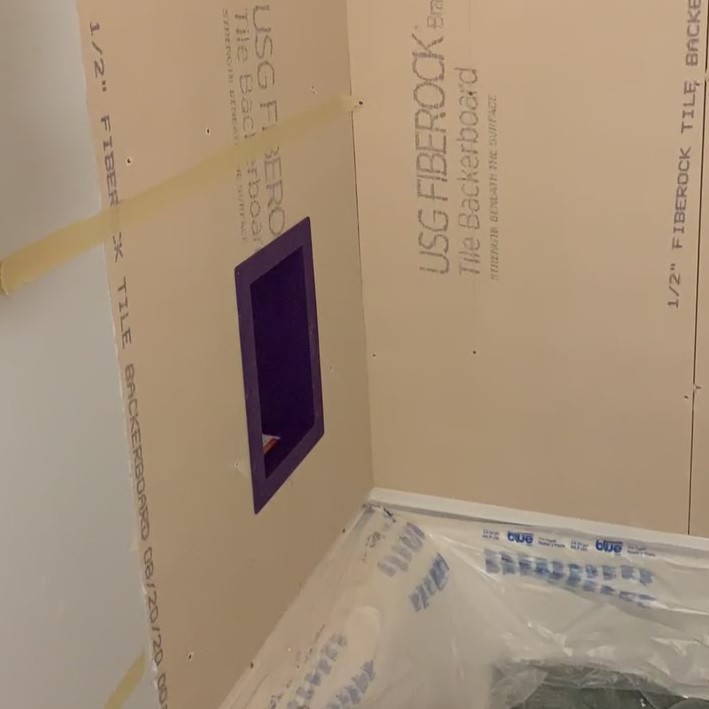
I really like that with the EZ Niche you don’t have to worry about how to make a shower niche, how to build a shower niche with cement board or how to frame a shower niche. It’s a ready made shower niche and super beginner friendly! Plus, with the different sizes they offer, most people should find the right size of shower niche for their bathroom.
Step 4: Waterproofing the edges of the shower niche
The next step was to close up any voids around the shower niche with mortar:
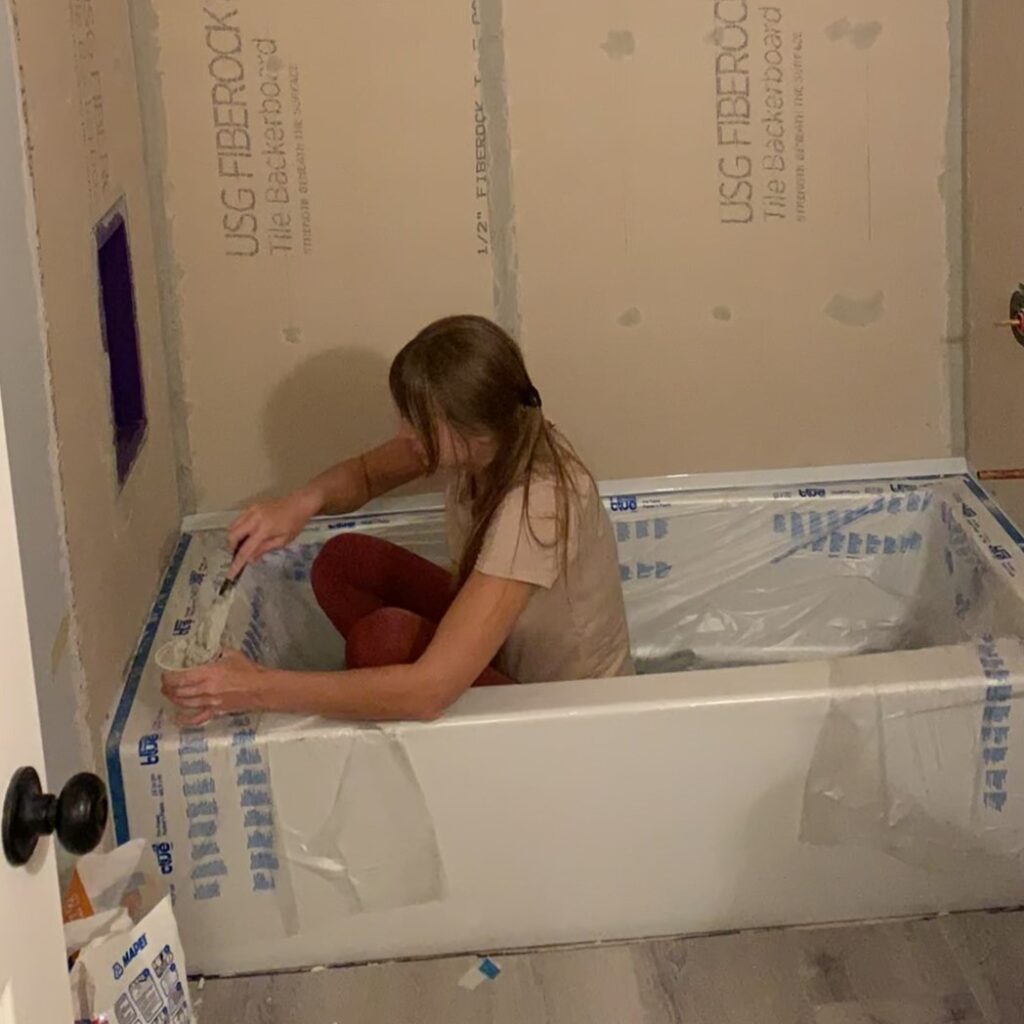
I actually applied mortar to all the seams in the entire shower including the corners in preparation for waterproofing. Here’s what my shower looked like after applying all the mortar:
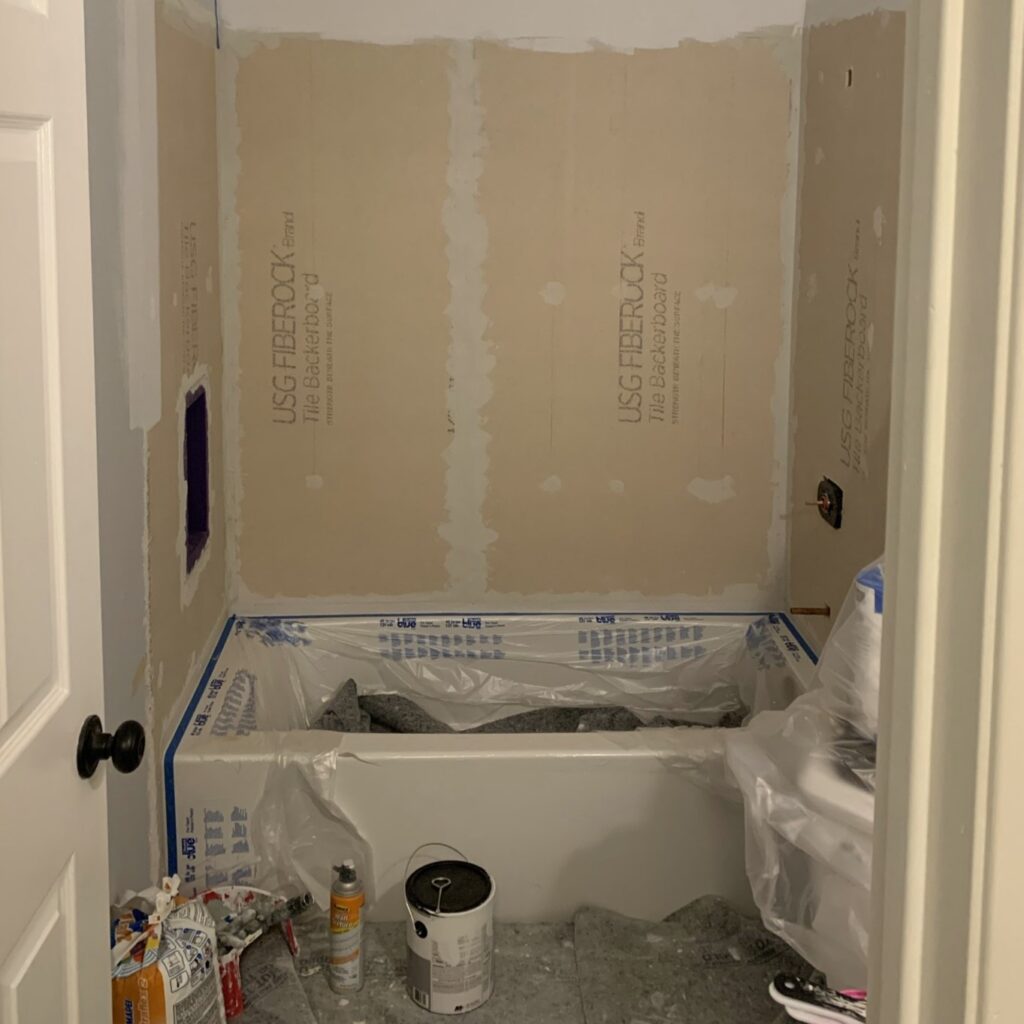
The next step is actually how to waterproof shower niche: I applied AquaDefense to the entire shower to waterproof it!
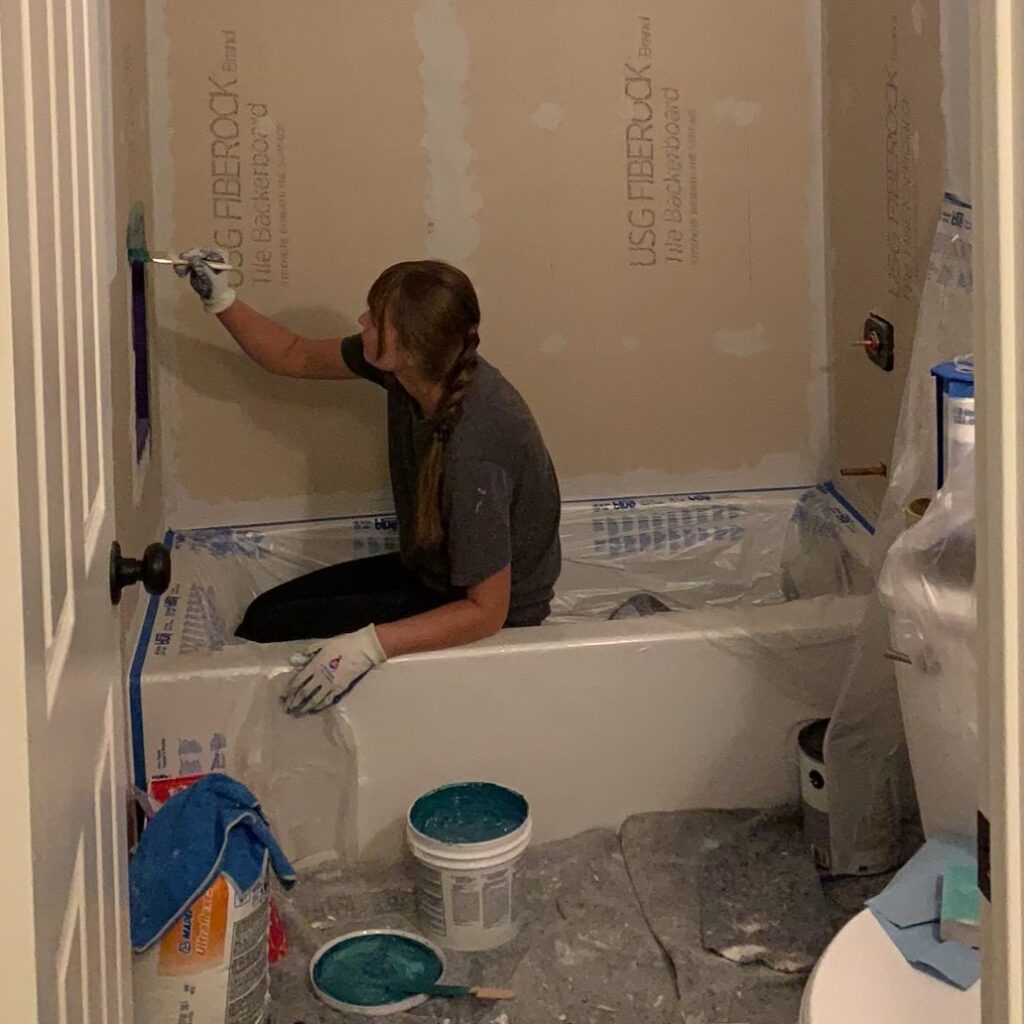
AquaDefense reminds me of rubber paint. It’s applied like regular paint but once it dries, it feels like a rubber film or rubber glove.
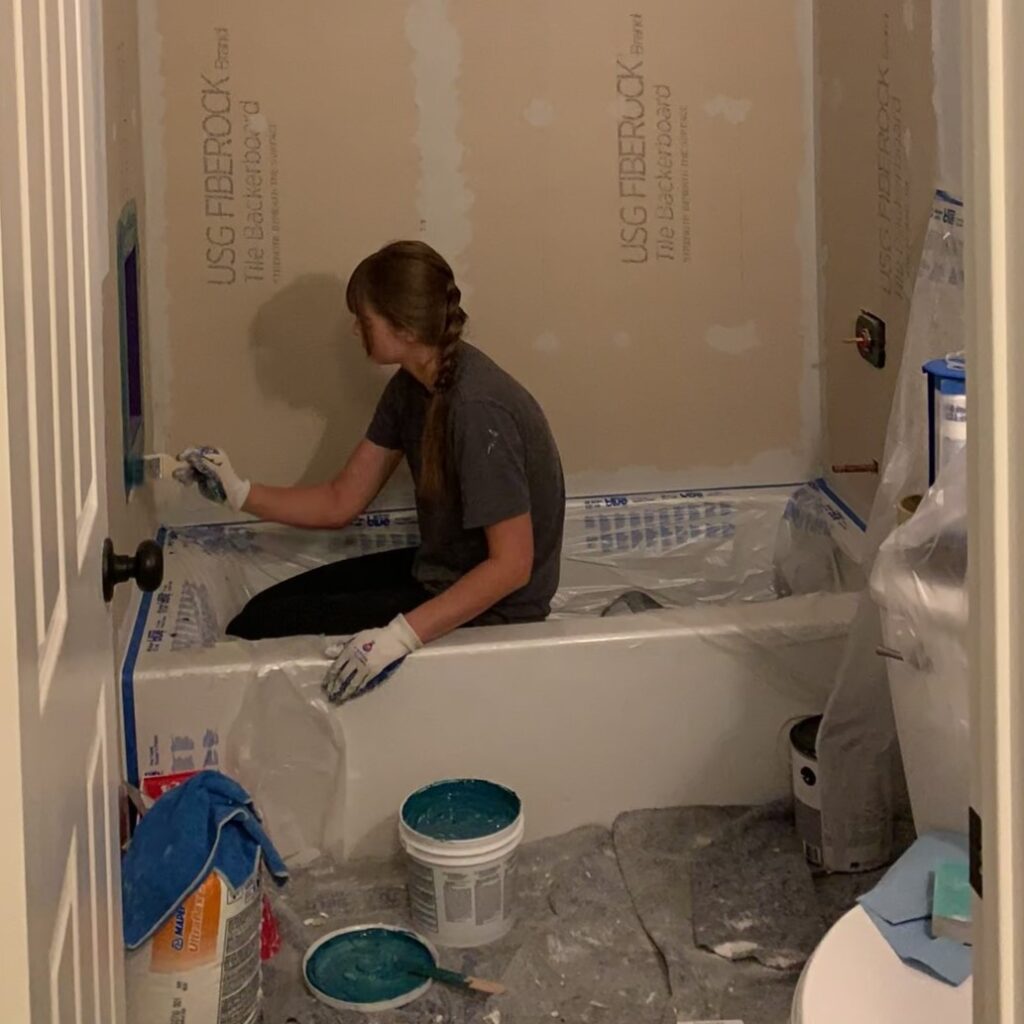
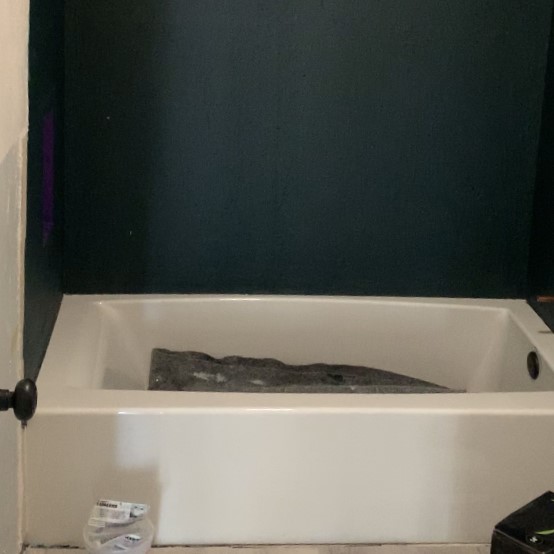
Note that I didn’t apply AquaDefense to the inside of the shower niche and only to the borders. I did this because the EZ Niche was already built from waterproof material so I only made sure to seal it around the edges where it connected to the tile backerboard. Here’s what my shower wall looked like once it was waterproofed:
Step 5: Tiling the shower niche
Installing mosaic tile
This next step was pretty exciting for me, I couldn’t wait to install the blue flower mosaic tile in my custom shower niche. I actually designed this whole bathroom renovation around this adorable shower tile!
Tiling a shower niche is very similar to tiling any space. I started by applying mortar to the back of the shower niche. This actually turned out to be a little tricky because the shower niche is such a tight and narrow space, so I used a small putty knife to spread out the mortar:
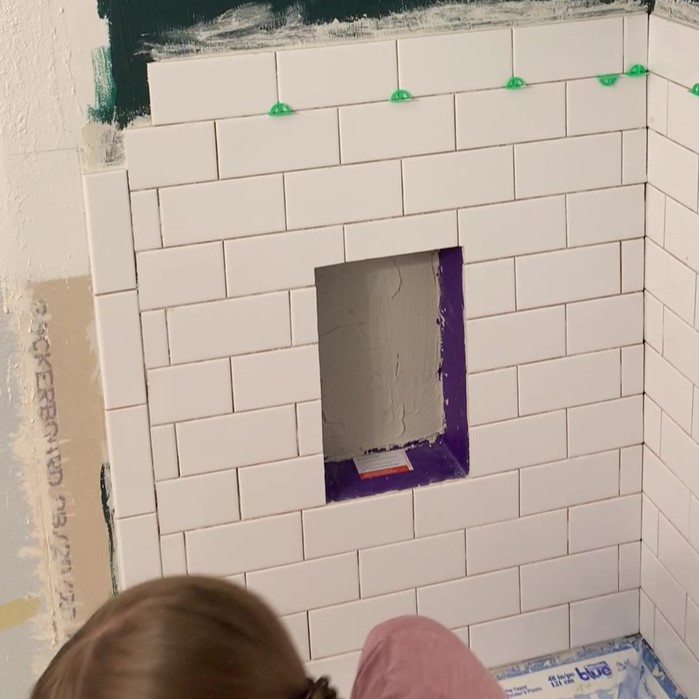
Once the mortar was applied, it was time to start tiling the shower niche and add the mosaic tile!
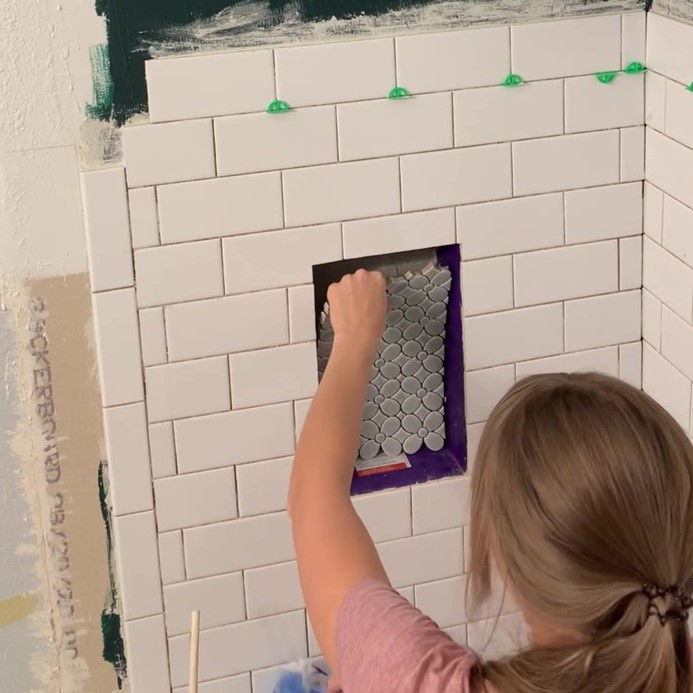
I love the way the blue tile looks in this recessed tile niche!
Once I had the placement right, I lightly pressed on the tile with my grout float for even pressure:
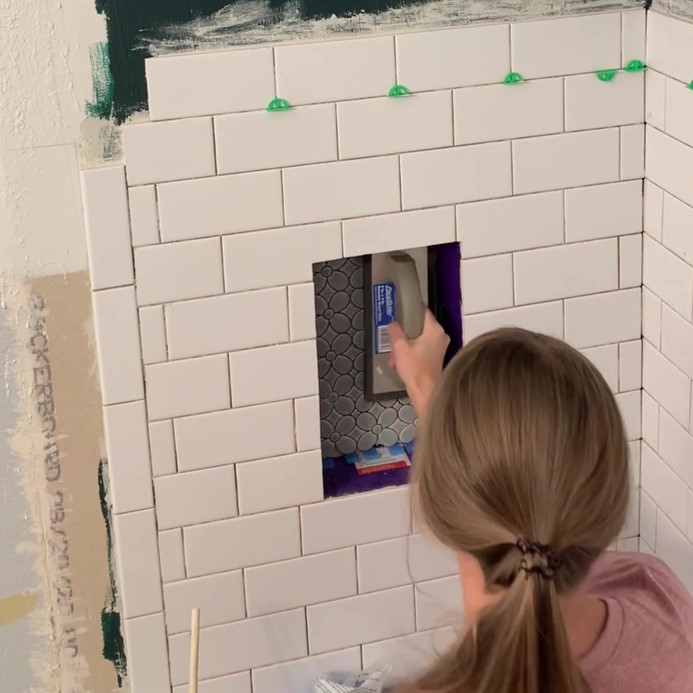
The mortar squeezed out a little between some of the flowers so I quickly wiped off any excess that was sticking out:
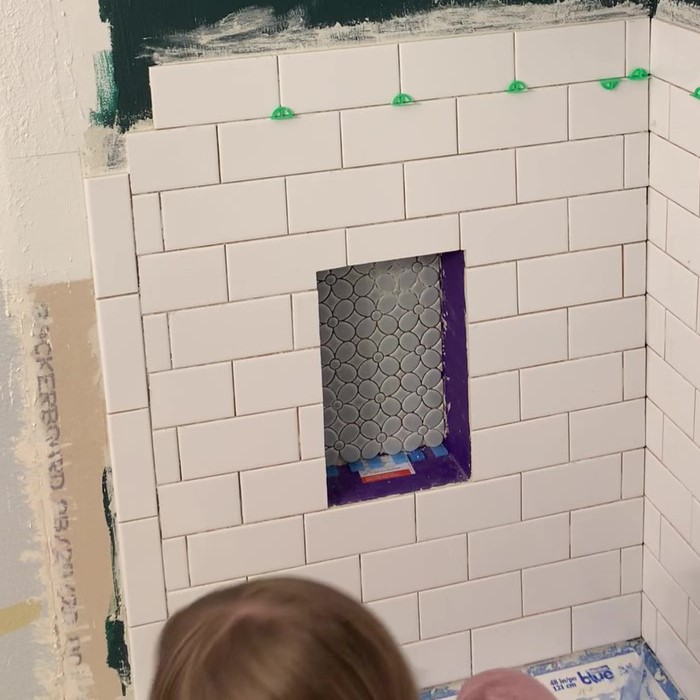
Cutting side pieces
For the sides of the niche, I decided to use large white subway tiles for a clean look. This bigger tile size allowed me to have just one large piece of tile per side. I preferred the look of a full tile on the sides over multiple smaller pieces. Plus, it would be easier tile a shower niche this way and to keep clean down the line with less grout lines!
I then cut those large tiles to size:
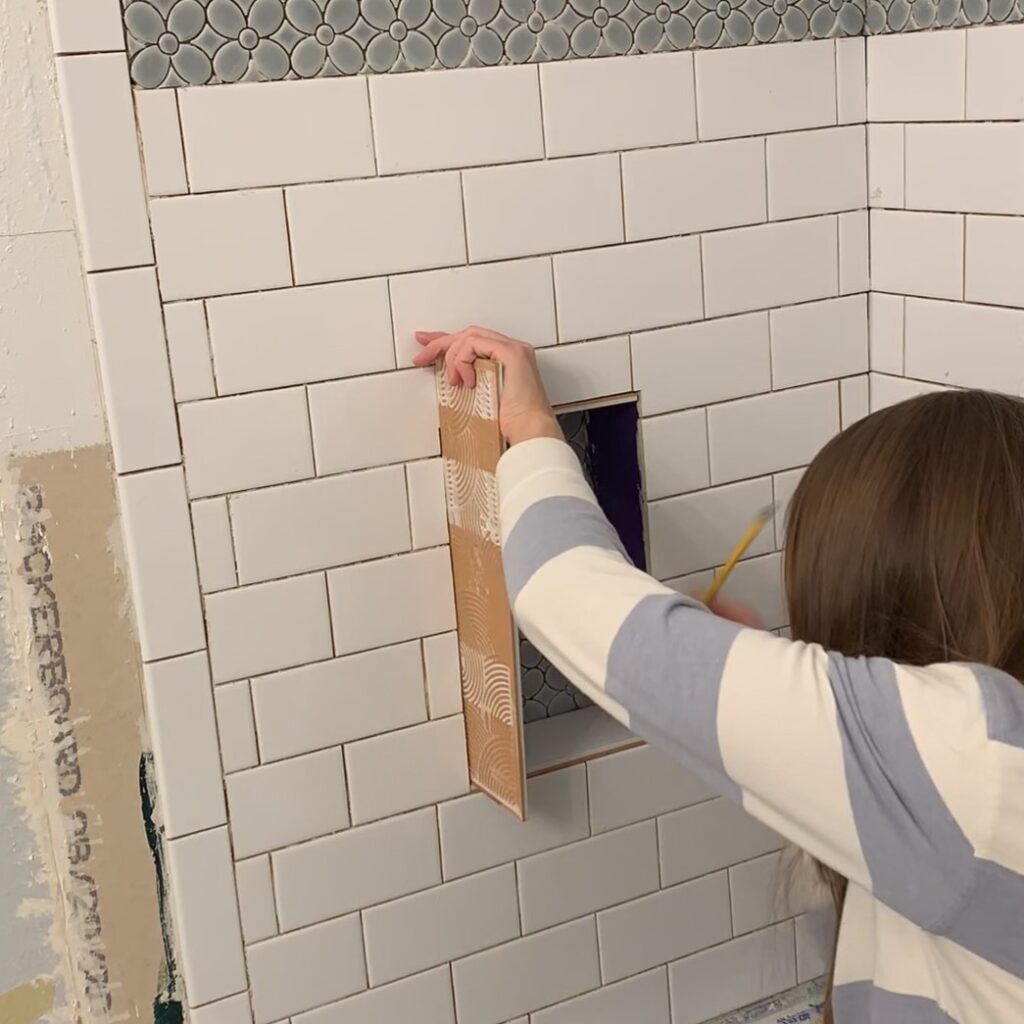
Once the ceramic tiles were cut, I dry fit them all:
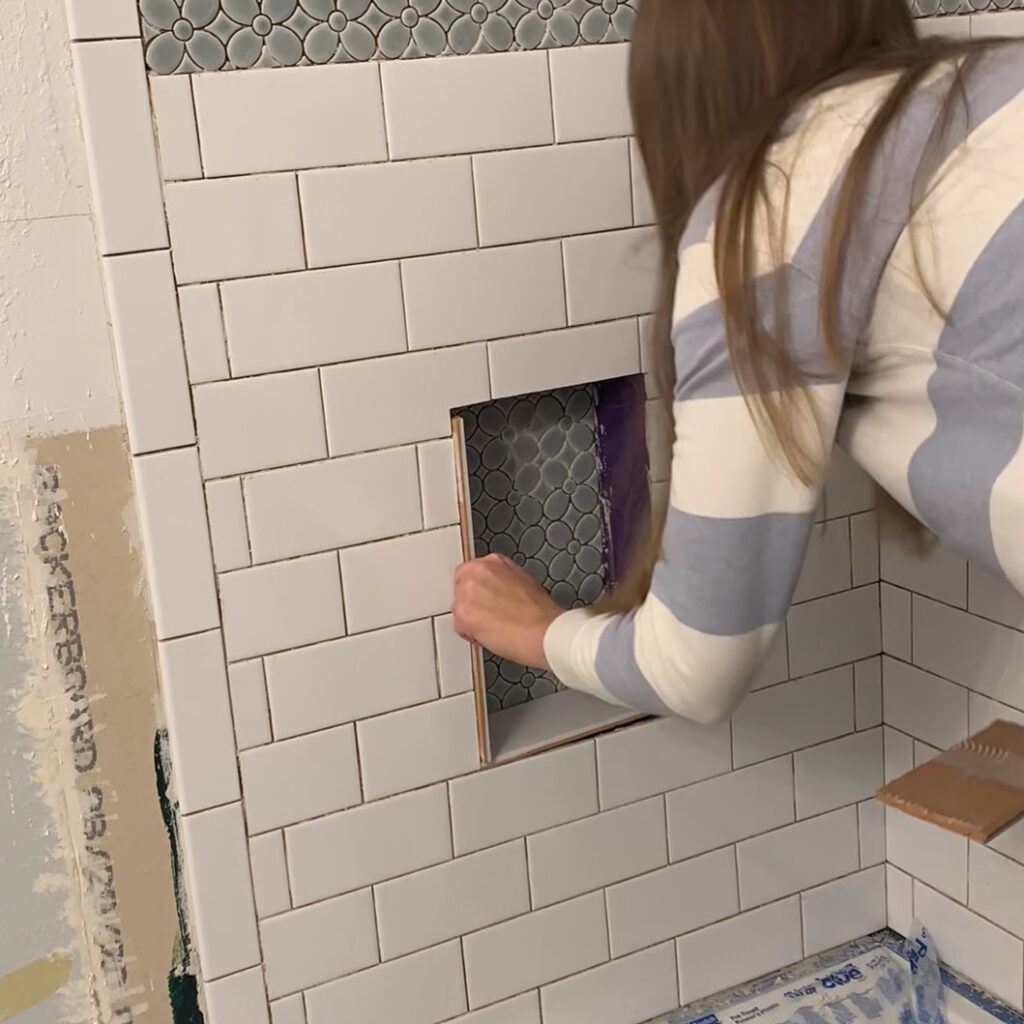
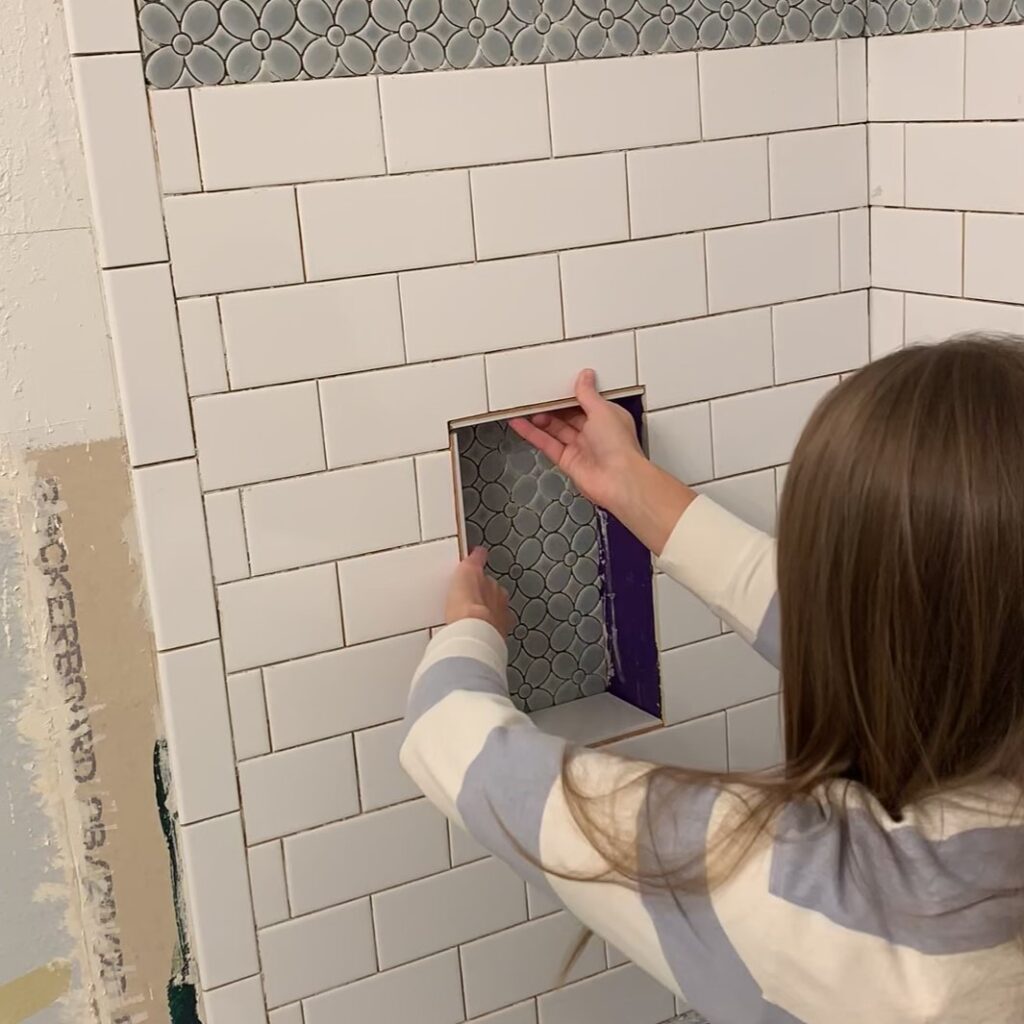
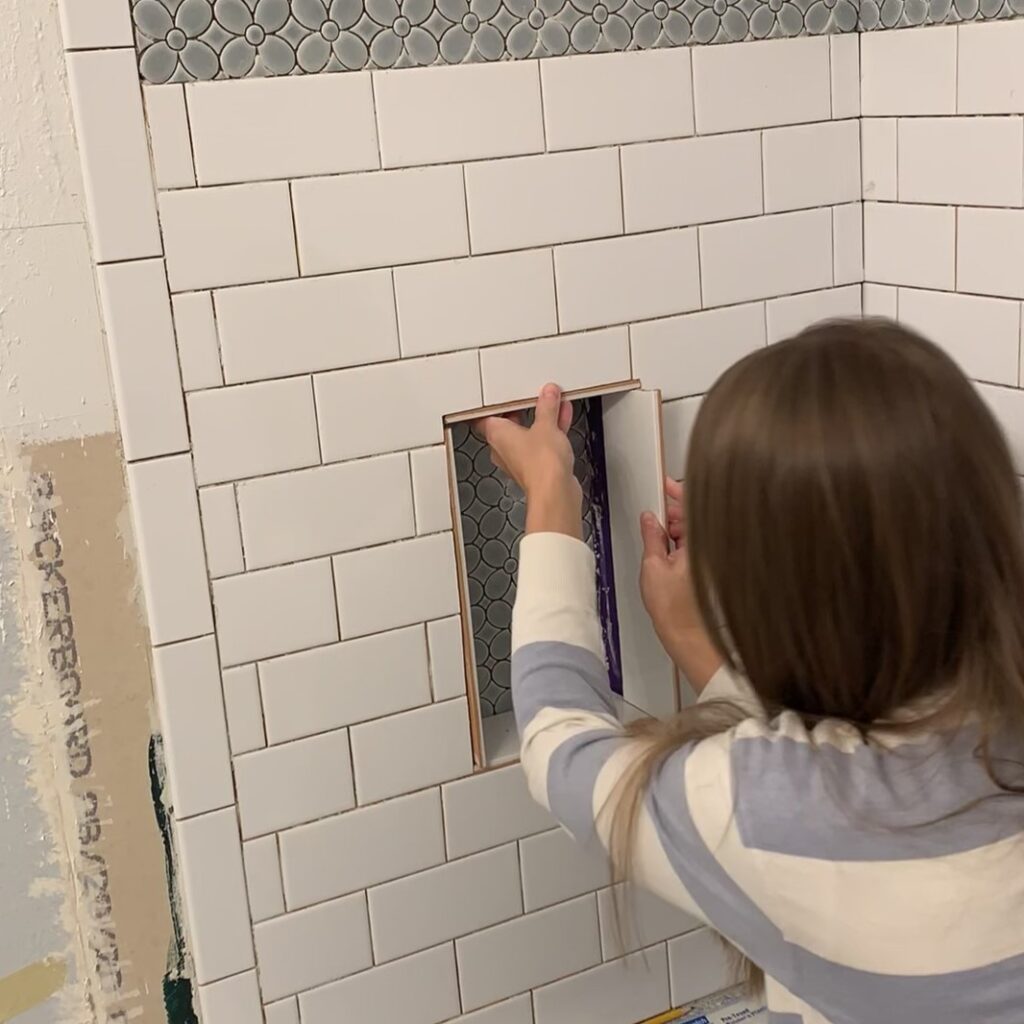
Installing tile edge trim
This next step was the trickiest part of the whole shower niche installation in my opinion!
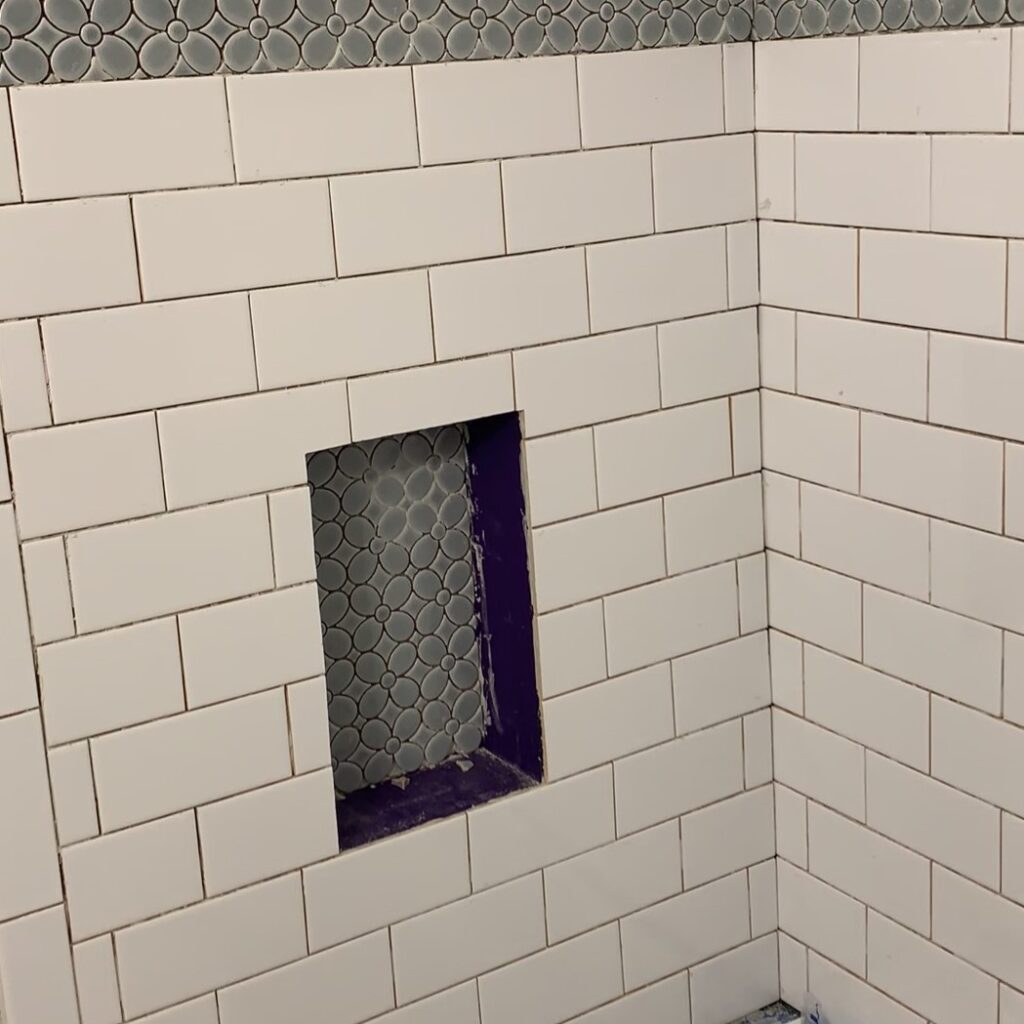
I decided to use white tile edge trim to trim out the shower niche for a niche finished edge all around.
I installed the edge trim by applying thinset mortar on the outer edges:
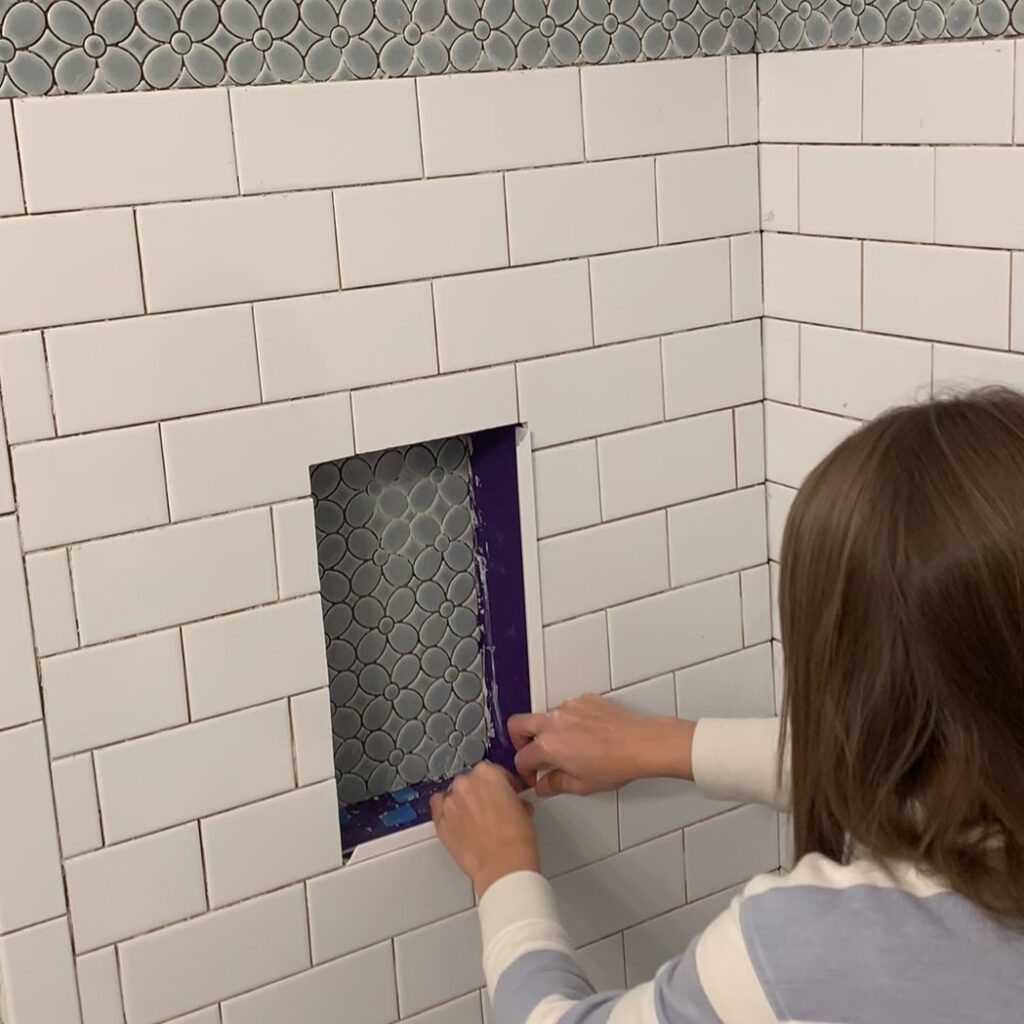
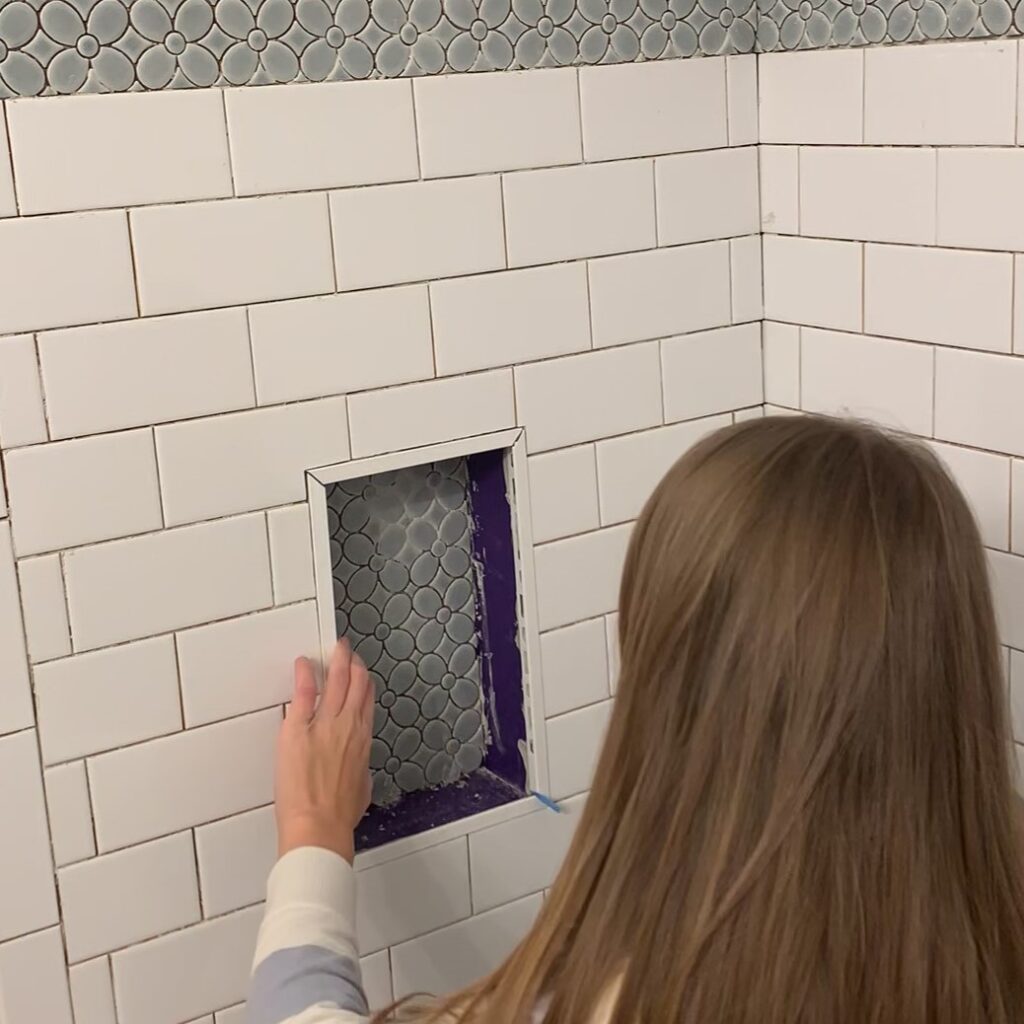
Getting all the spacing right especially when everything is slightly moving due to the wet mortar was pretty tricky!
Installing side pieces
Looking back, I definitely should have waited for the mortar on the edge trim to set or even dry before I attempted this next step. So here’s what I would do differently next time: let the edge trim set if I’m happy with it’s placement before moving forward.
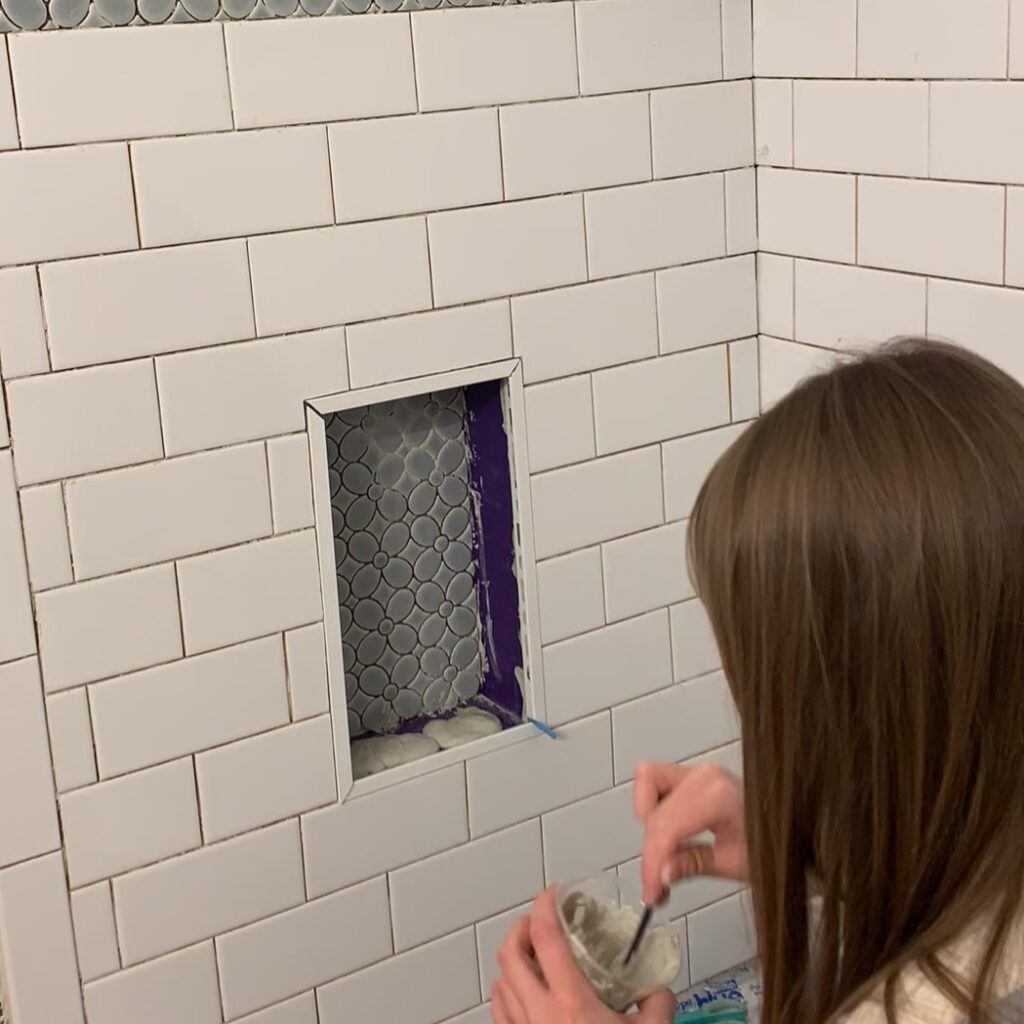
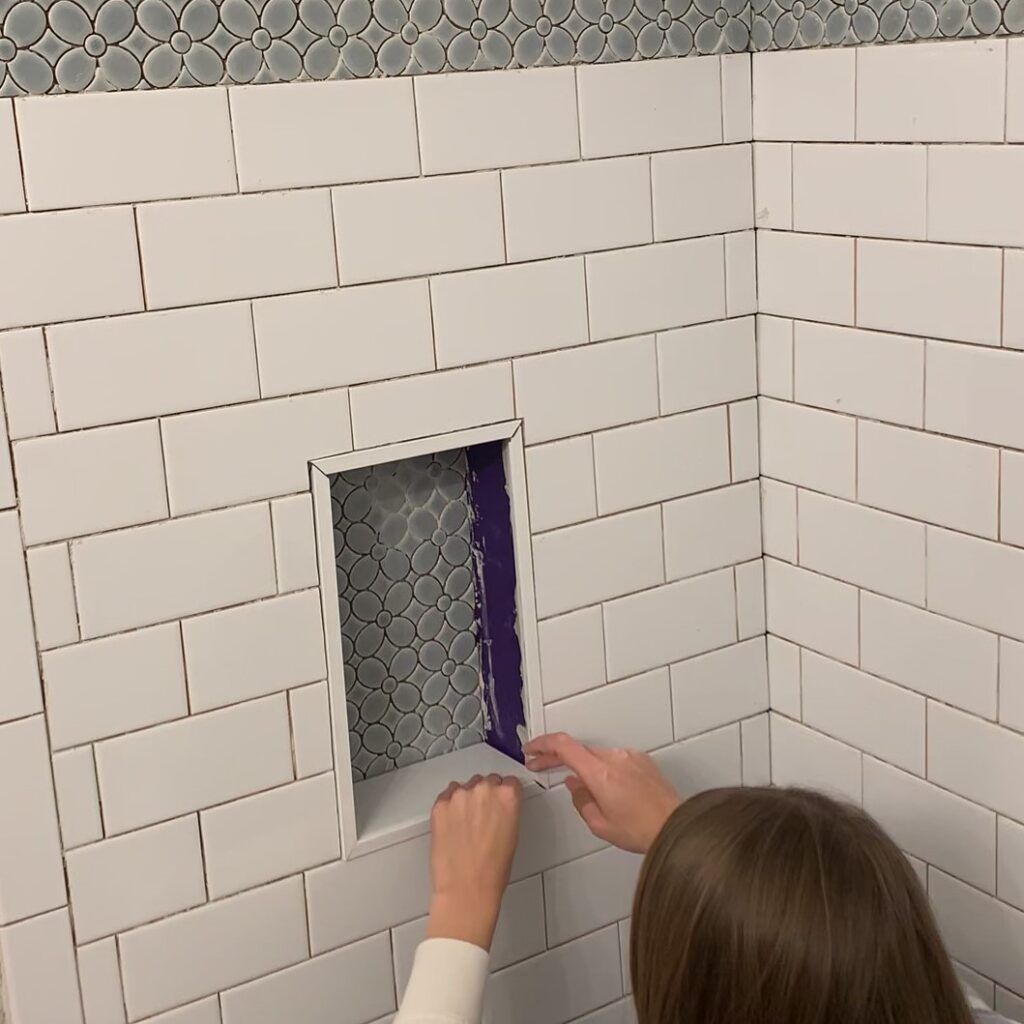
I started installing the side pieces while the edge trim was still “mobile”. This was fine for the bottom of the niche because of gravity but it became really tricky on the sides and especially the top tile:
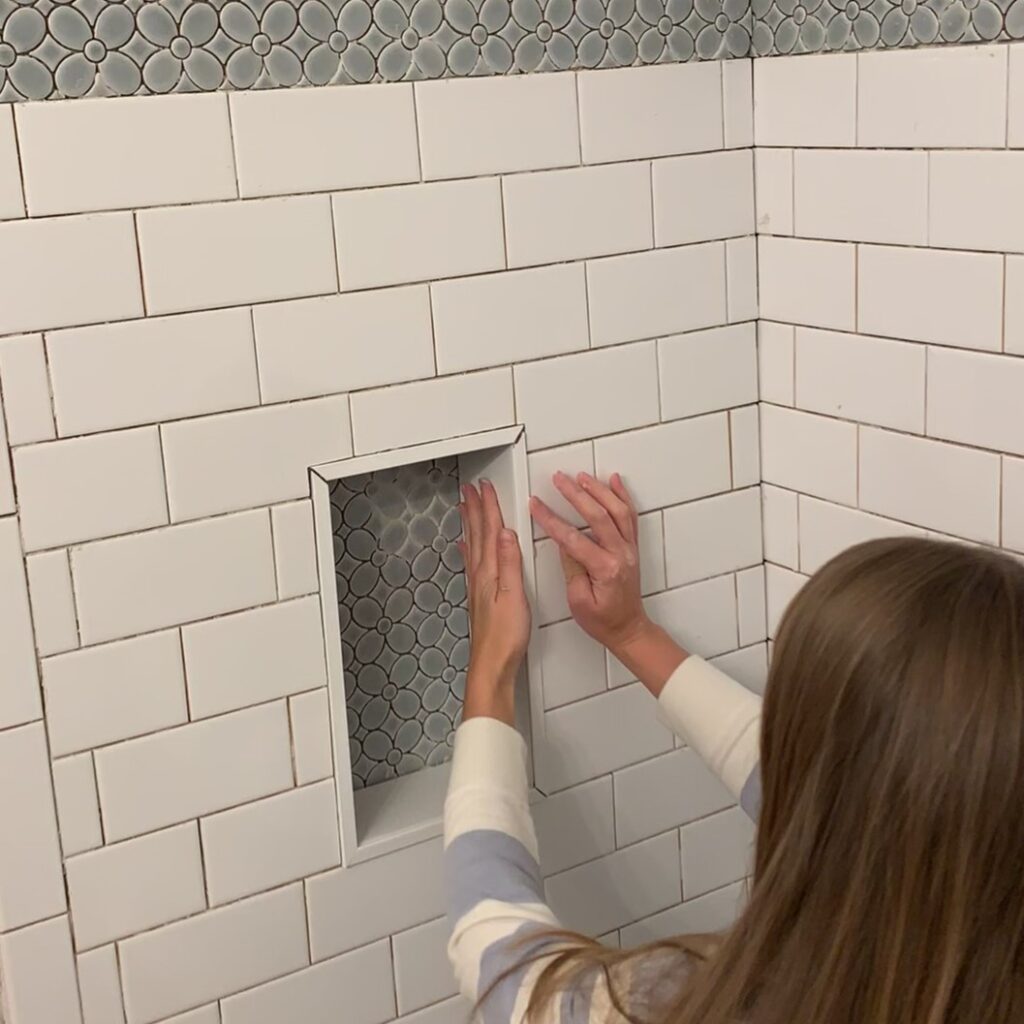
This was super frustrating because it felt like everything was moving and the pieces I had so carefully spaced were now sliding around:
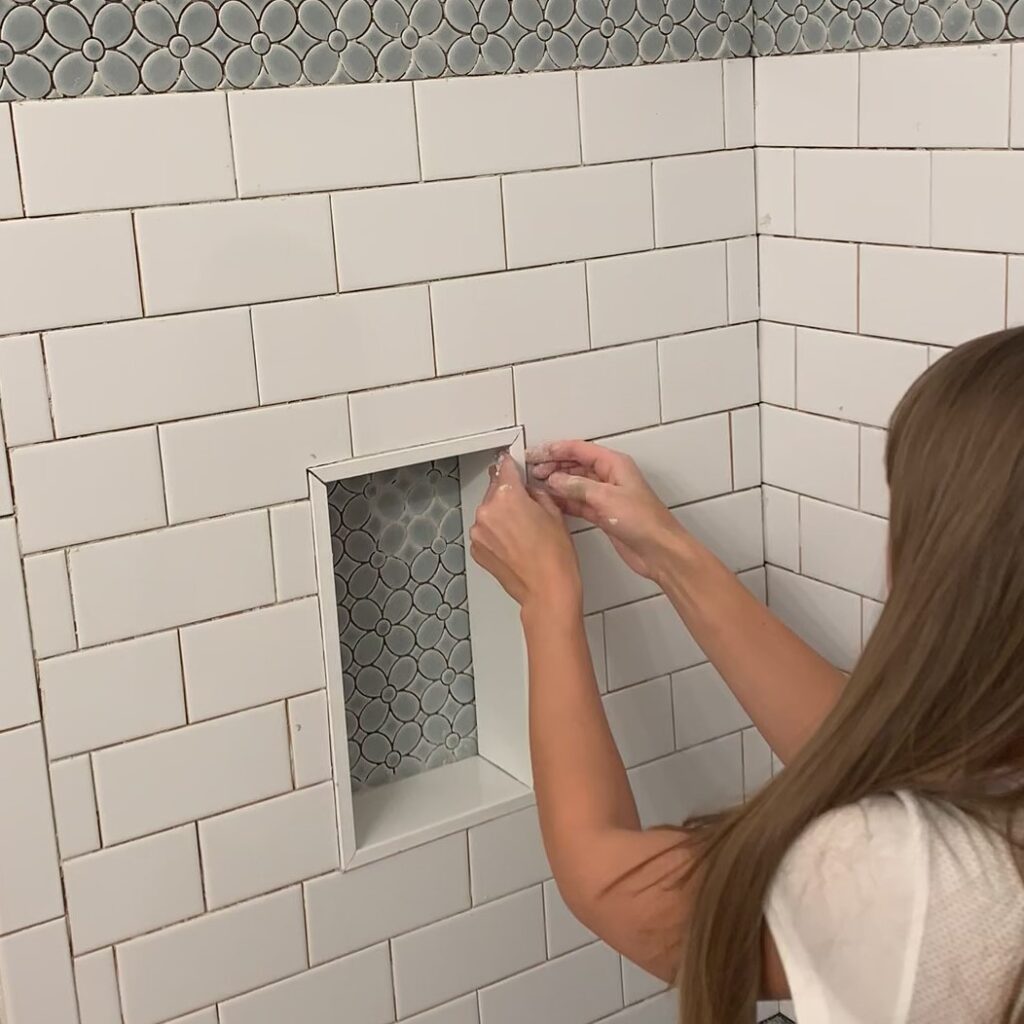
I tried to hold some of it in place with tape to cure which worked partially but I think it could’ve turned out much better if I waited to install the side pieces.
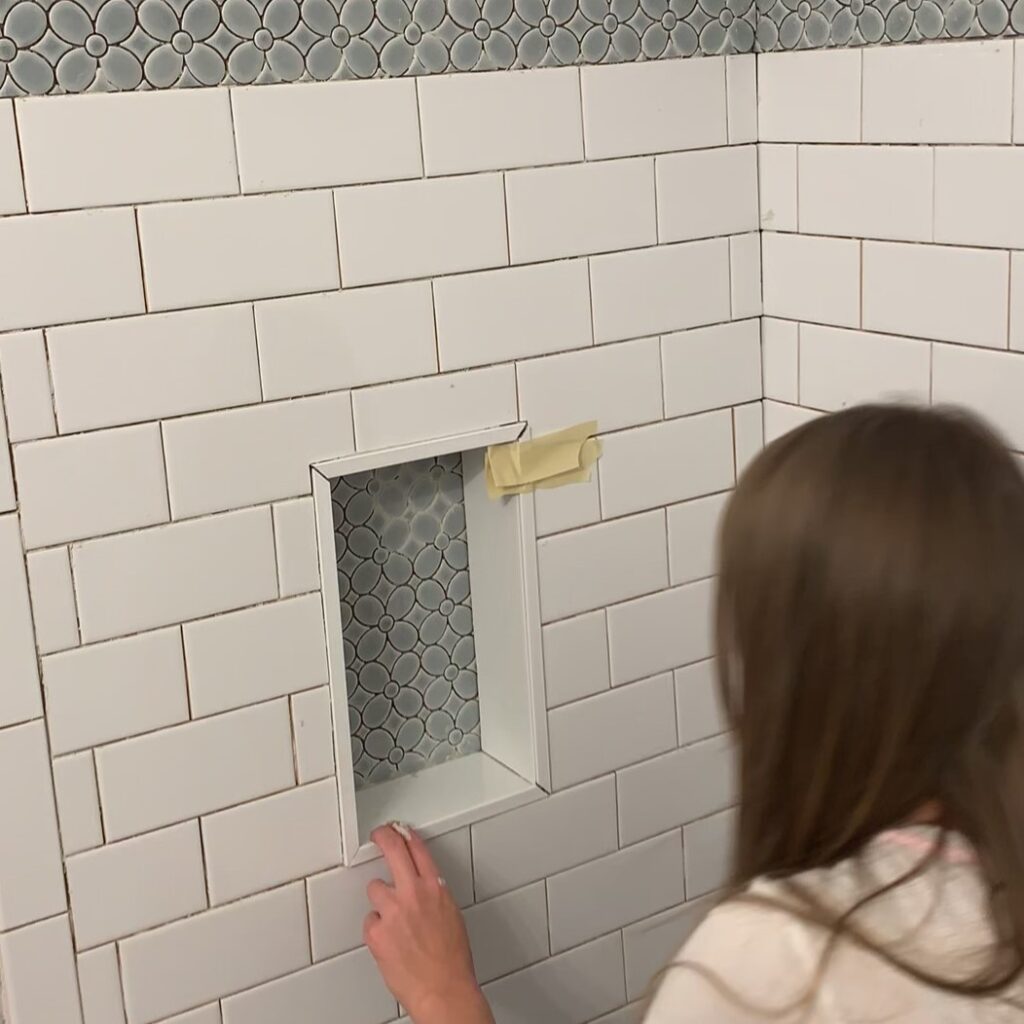
The best way to ensure a nice finish is to be patient and in this case I should’ve have patiently waited for the edge trim to set before moving forward, haha! Lesson learned!
Step 6: Applying grout
The next step was to apply grout. I didn’t take detailed pictures of this process for the shower niche specifically but you can find more information on grouting in my post about tiling this shower here.
Step 7: Finishing touches
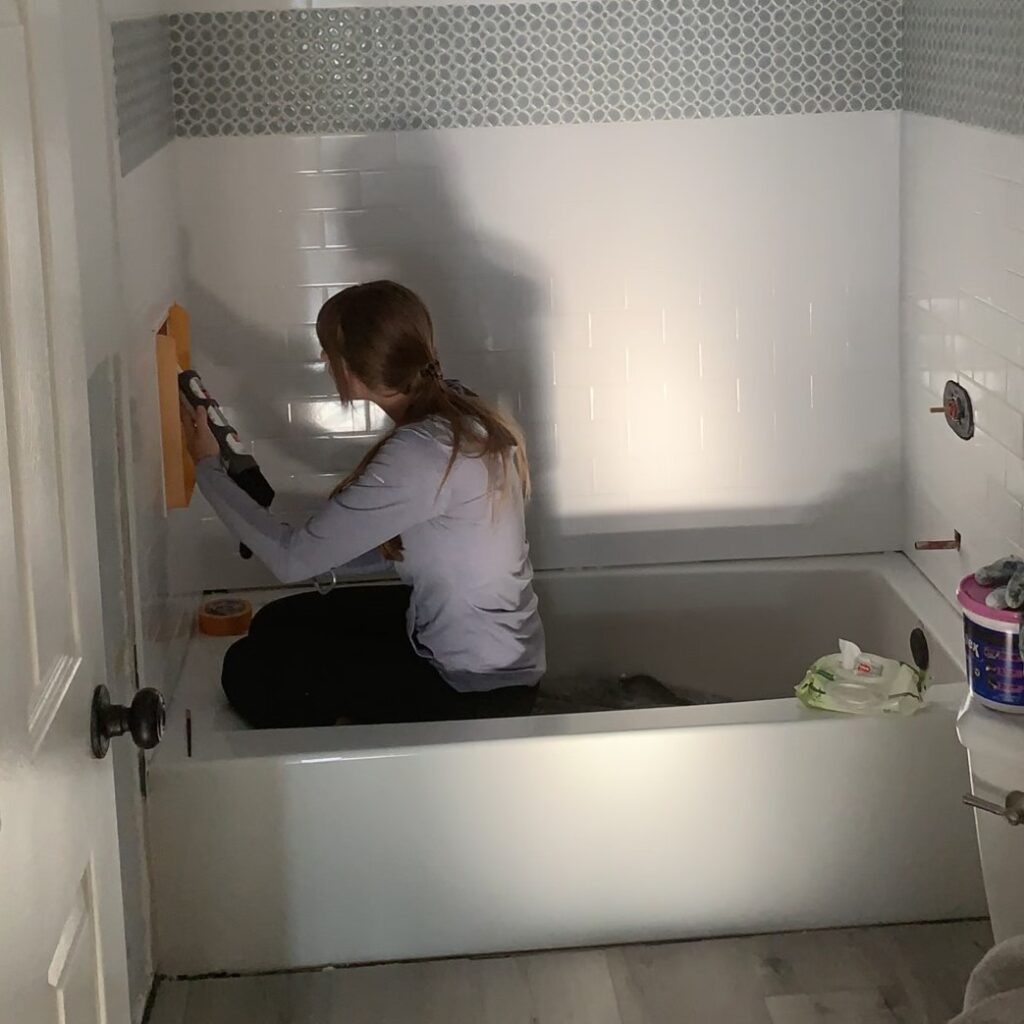
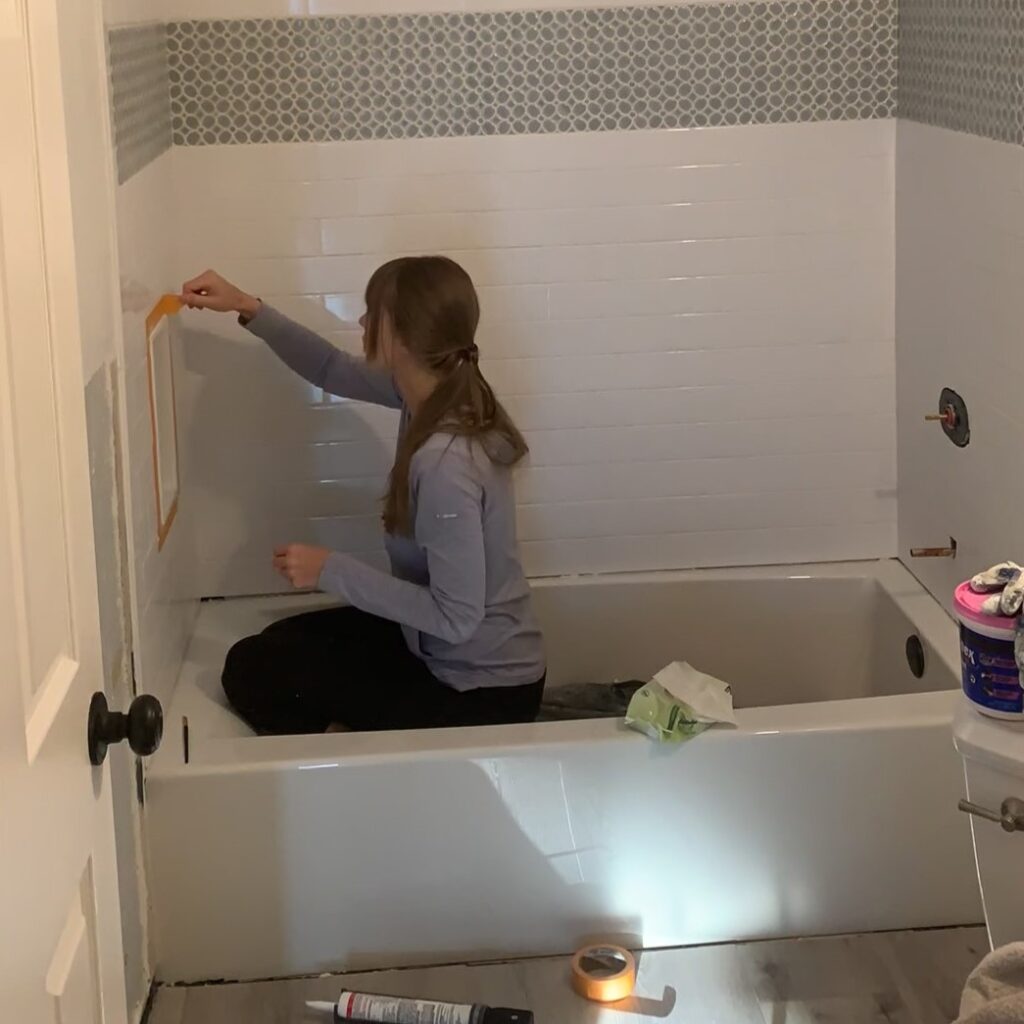
The last step in my custom shower niche installation was to finish by applying silicone around all the corners and edges. I like taping it all with painters tape to ensure straight and crisp lines:
Once the silicone was lightly set (not dry!), I removed the painters tape.
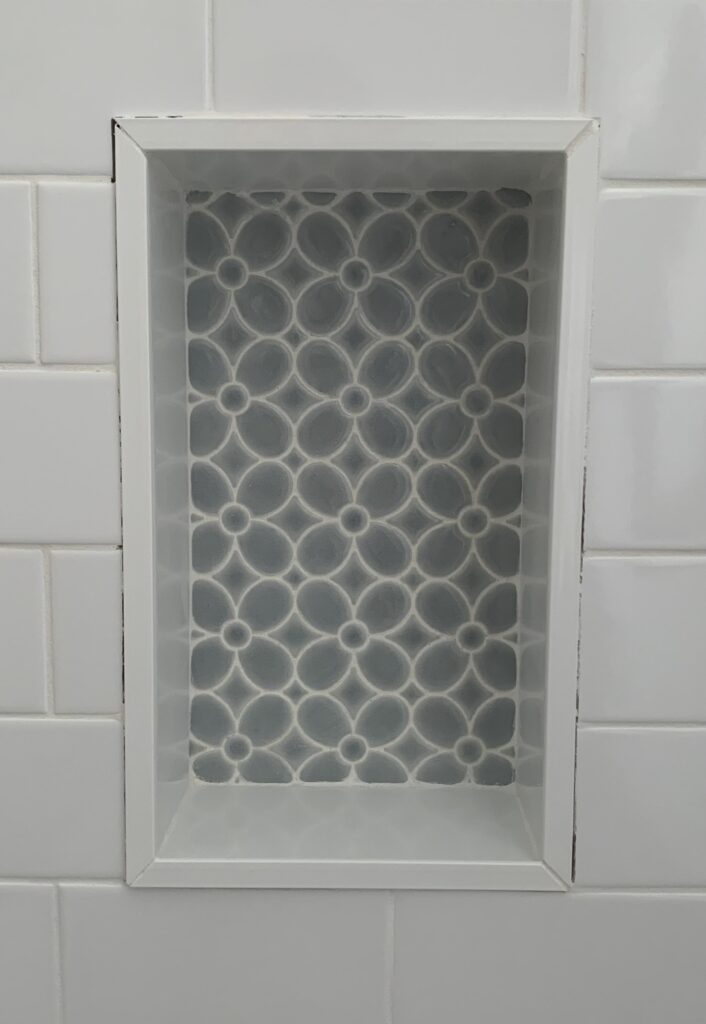
Look at the difference silicone makes (aside from further waterproofing it)!
Before silicone around the edges:
After silicone around the edges:
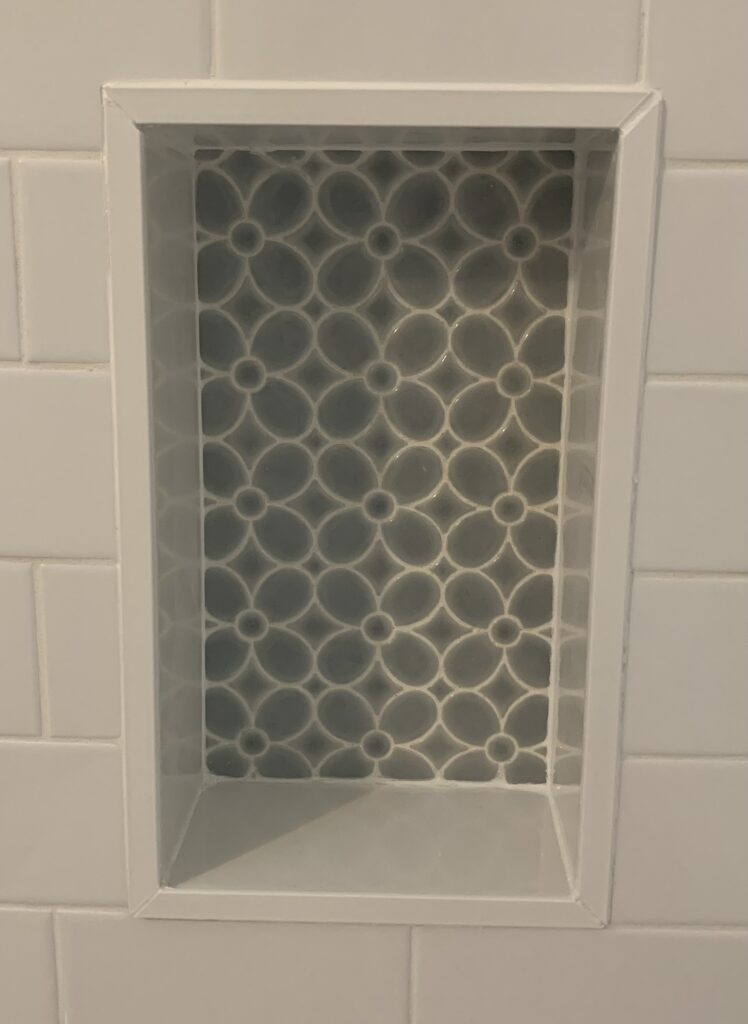
Isn’t it so satisfying to see the before and after? The silicone is a great way to make a cut edge disappear!
I’m still bummed about the edge trim that slipped and created uneven spacing around the shower niche but I guess I now know how to try to avoid it next time!
Finished DIY Shower Niche
Here it is, the finished custom niche!
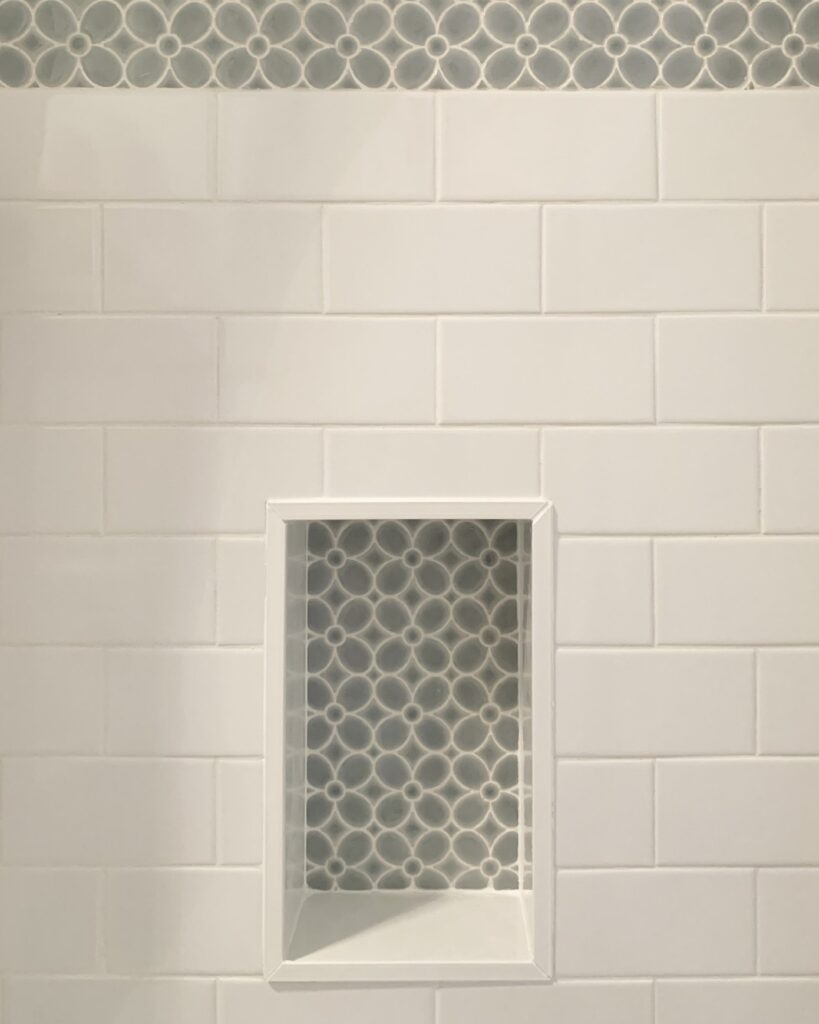
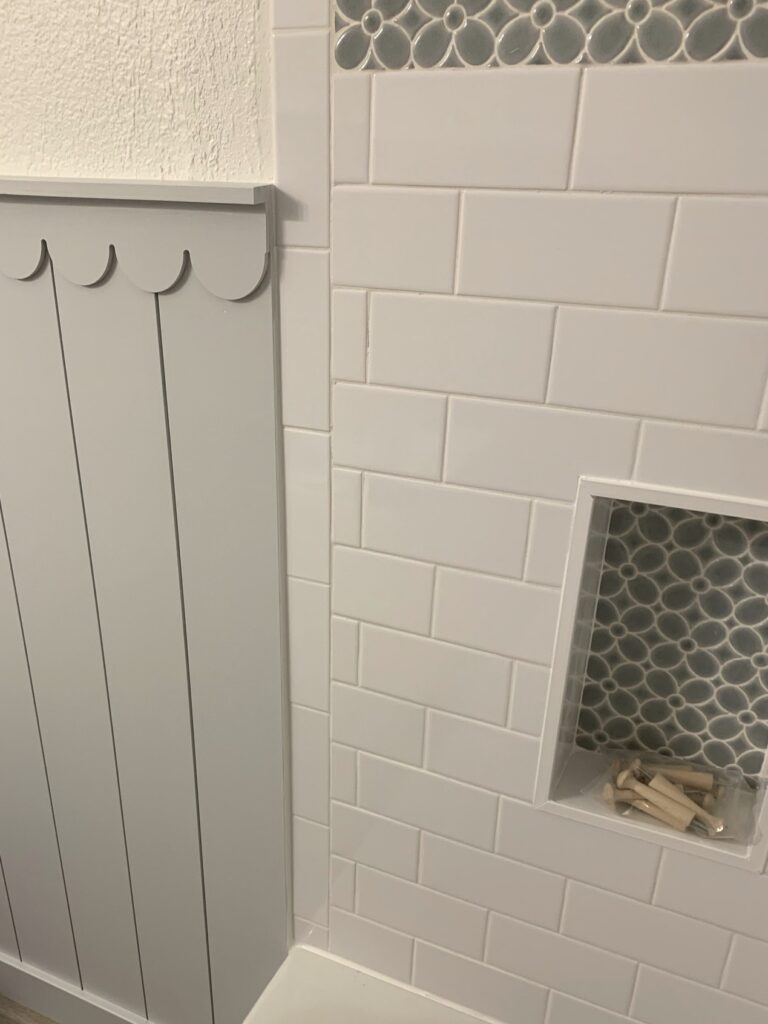
I really like how this tiled shower niche turned out with the blue flower tile in the back! I love this tile design so much, especially with the contrasting white grout!
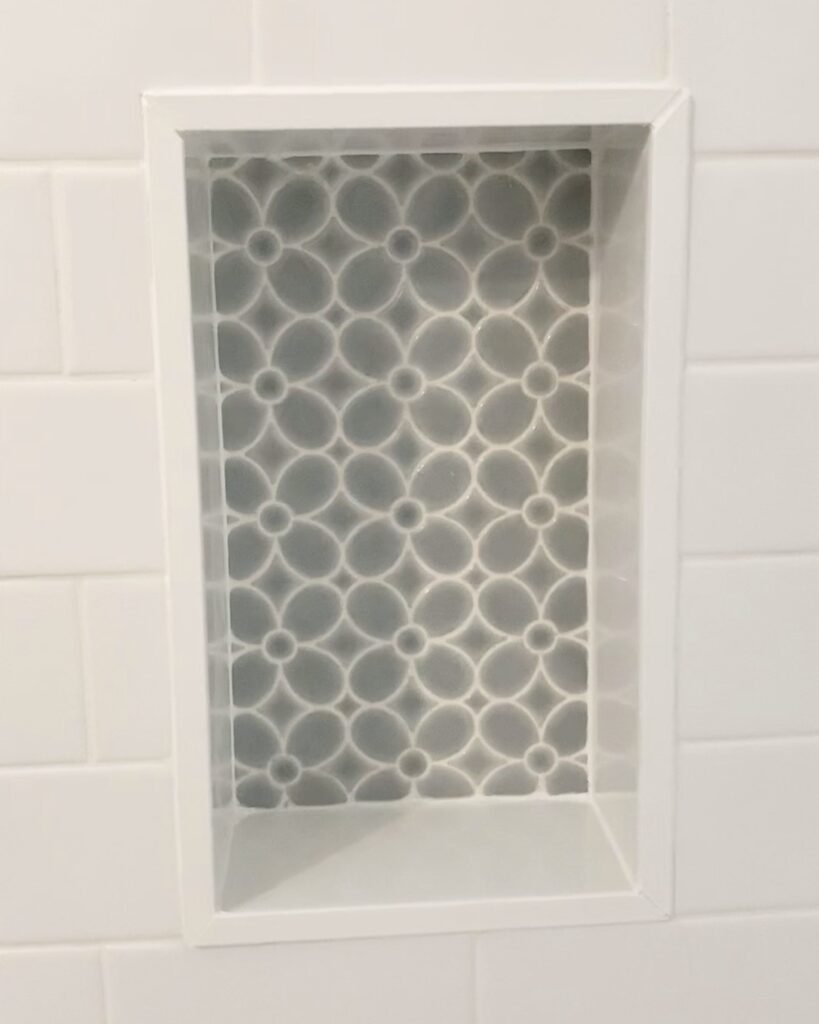
I’m convinced the key in making this an easier DIY project without having to worry about framing a shower niche was to use an EZ niche to build a shower niche!
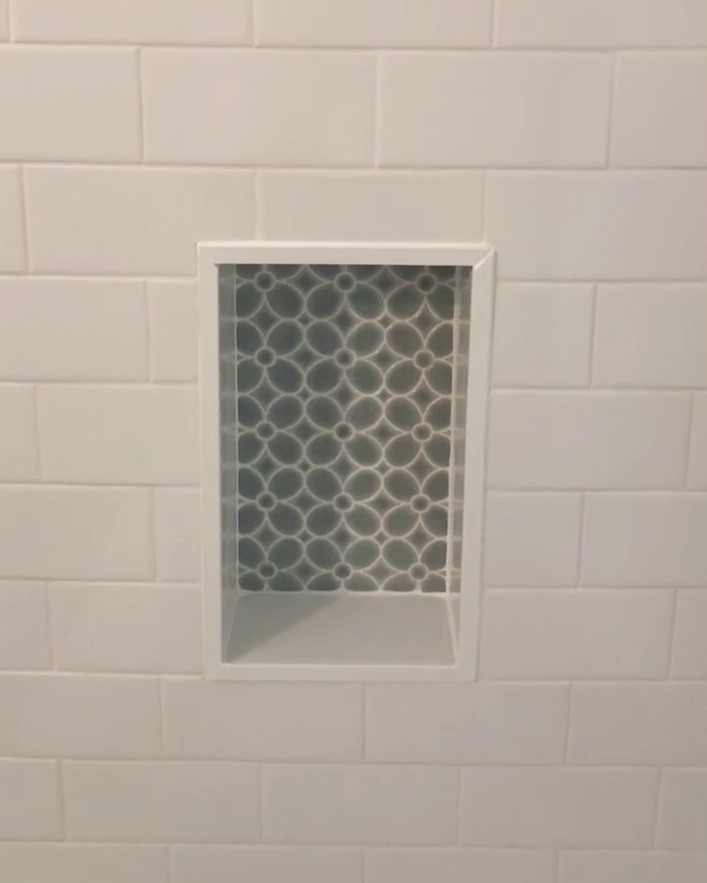
I love how the custom shower niche ties in with the rest of the shower! It’s the perfect place with just the right amount of space for shower products.
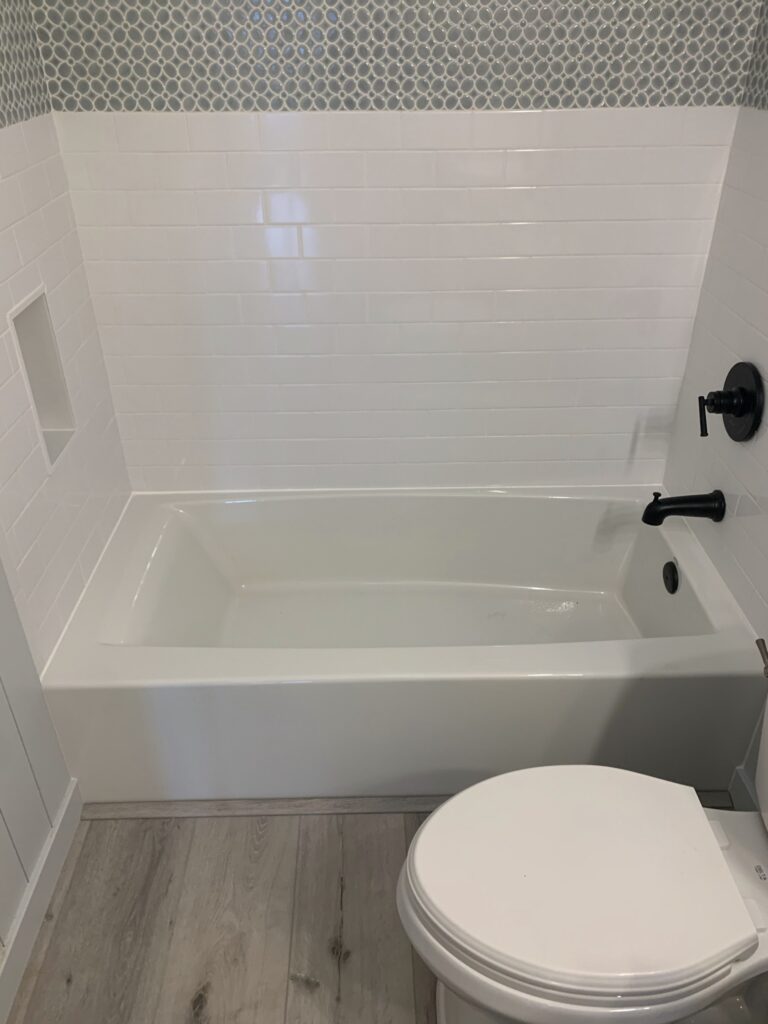
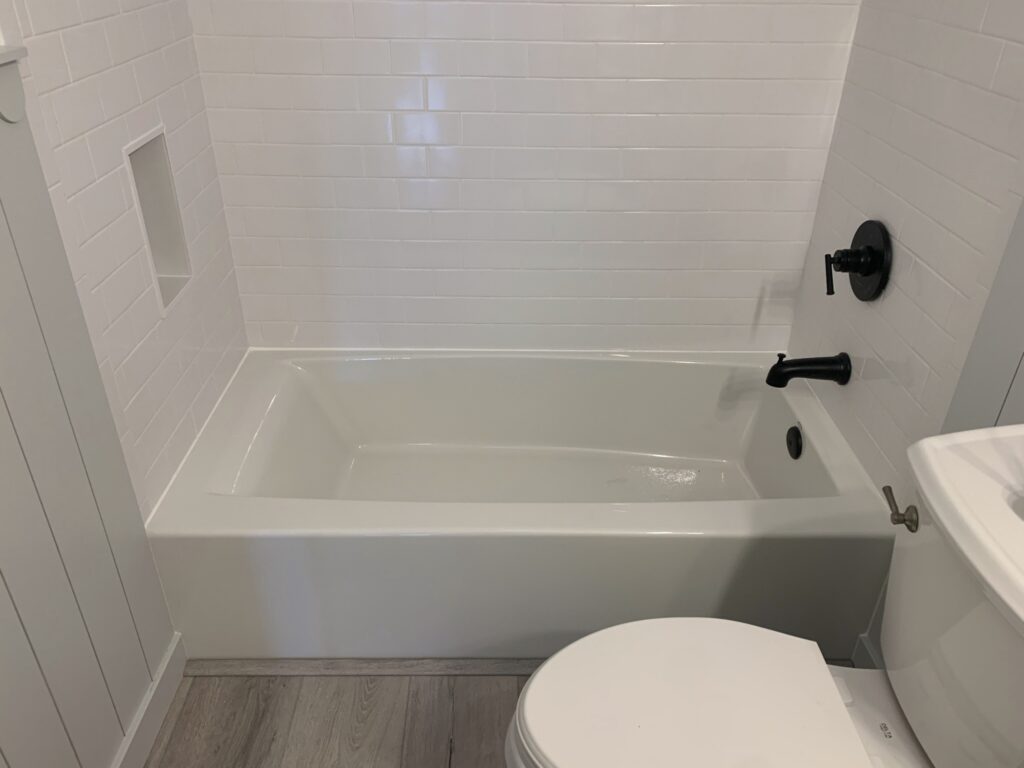
You can see the size of the DIY shower niche in relation to the rest of the custom tile shower here:
I have a detailed post about the tile installation in the guest bathroom here!
I hope this gave you a good overview of the steps I took while installing a shower niche and it helped inspire you to build your own shower niche!
As always, let me know if you have any questions!
Tina


Leave a Reply