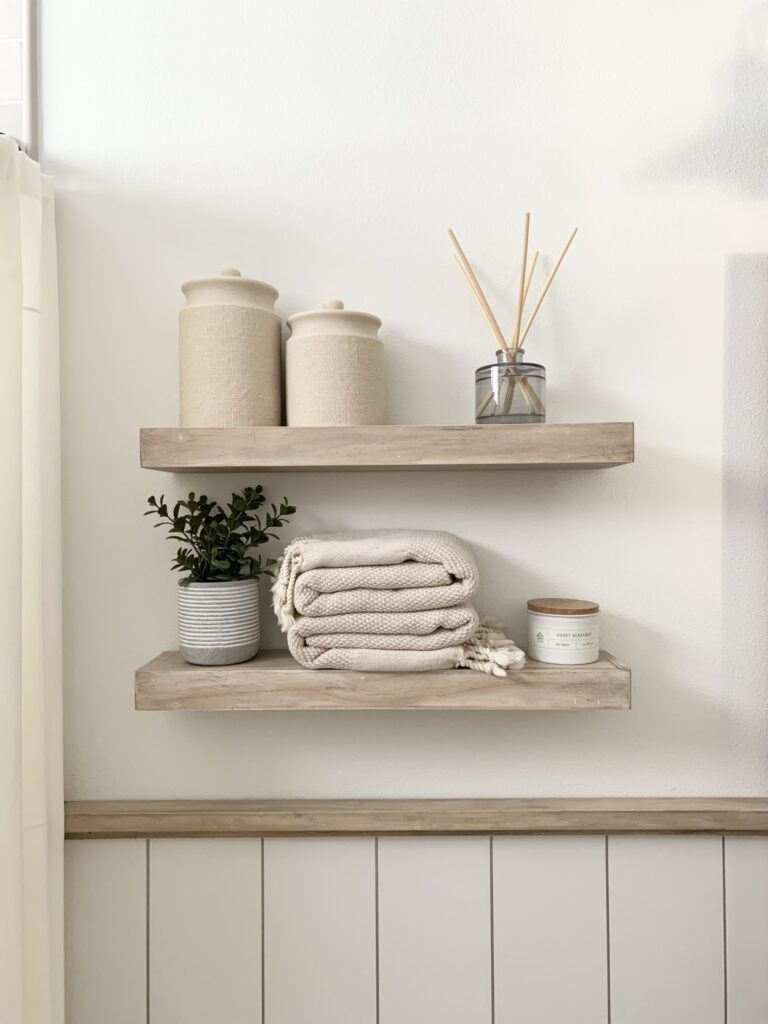
Do you have an empty wall in your bathroom? I’m so excited to share how I built these cute DIY bathroom floating shelves for our DIY small bathroom remodel. They are the perfect solution to both create storage in a small space and allow room for décor to make your bathroom feel cozy! In this post, I’ll show you exactly how to easily build custom floating shelves that are just the perfect size for your bathroom makeover.
These DIY bathroom floating shelves are such an easy and quick DIY project without needing to drill pocket holes! In less than a day, you can transform your empty bathroom wall. You can use small bins or baskets on floating shelves to hide away things or you can use your DIY floating shelves to display things like candles, towels and small plants. These wood floating shelves are definitely a great project to spruce up your bathroom that doesn’t take a long time at all!
Note: This post may contain affiliate links, you can find more information in my disclosures here.
Materials
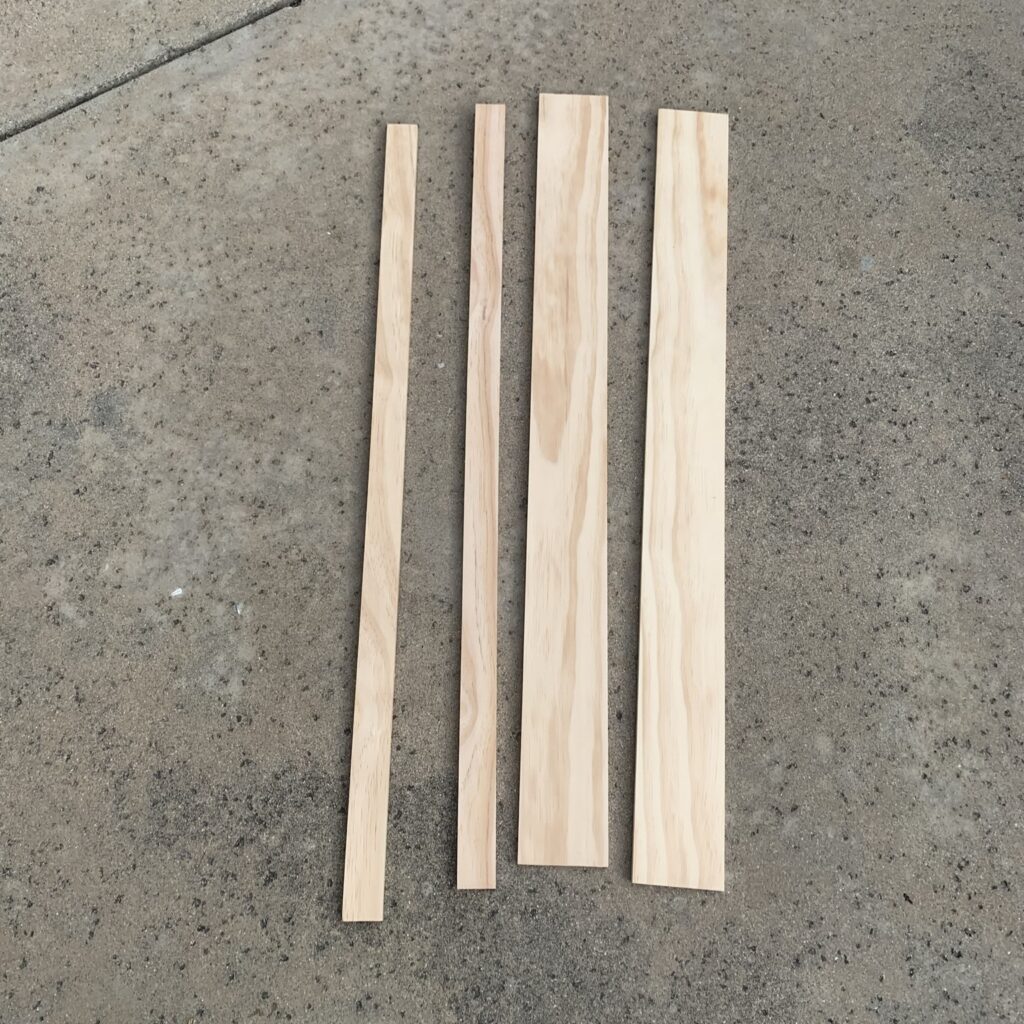
- 1×2 select pine (6 feet total), you can get those at Home Depot, Lowe’s or most other home improvement stores
- 1×5 select pine (8 feet total)
- scrap wood (about 6 feet)
- wood stain
- polyacrylic
- brad nails
- wood filler
- screws
- sandpaper
Tools
- brad nailer
- miter saw
- screw driver or drill
- measuring tape
Step 1: Measure and plan your floating shelves
The first thing I recommend (as with most home improvement projects!) is to measure your space and decide how big you would like your floating shelves to be and how many of them you would like. This is such an important first step!
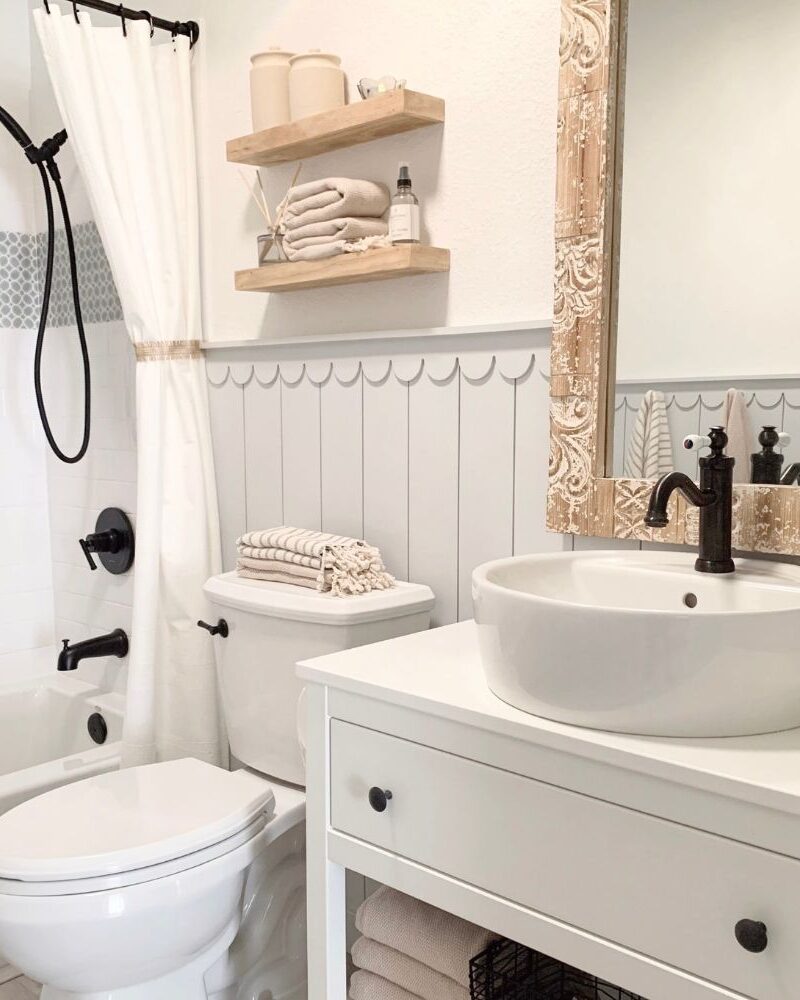
The width of your shelf will depend on your needs. In our bathroom, I decided to add 2 floating shelves that would each be about 2 feet wide in this empty space above the toilet:
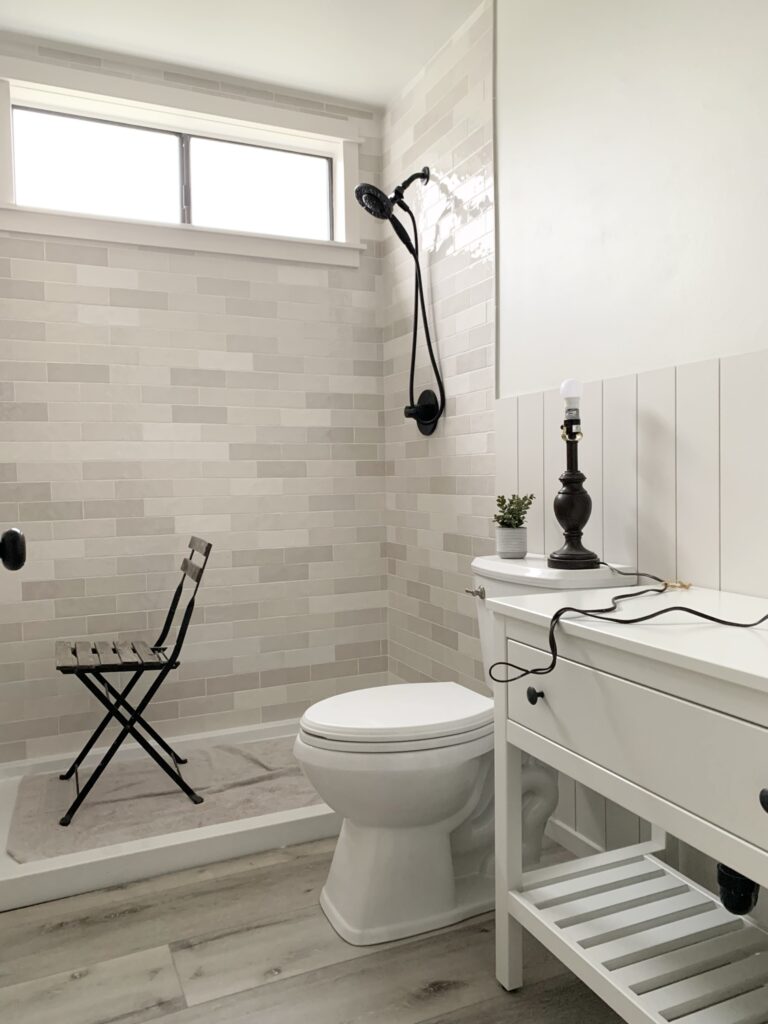
This tutorial will be based on the DIY bathroom floating shelves I built for our primary bathroom remodel.
Note: The materials listed above are enough for two floating shelves as pictured above.
Step 2: Cut the floating shelf top and bottom
The next step is to cut the 1×5 into two pieces of wood each 2 feet long.
Step 3: Cut the floating shelf front piece
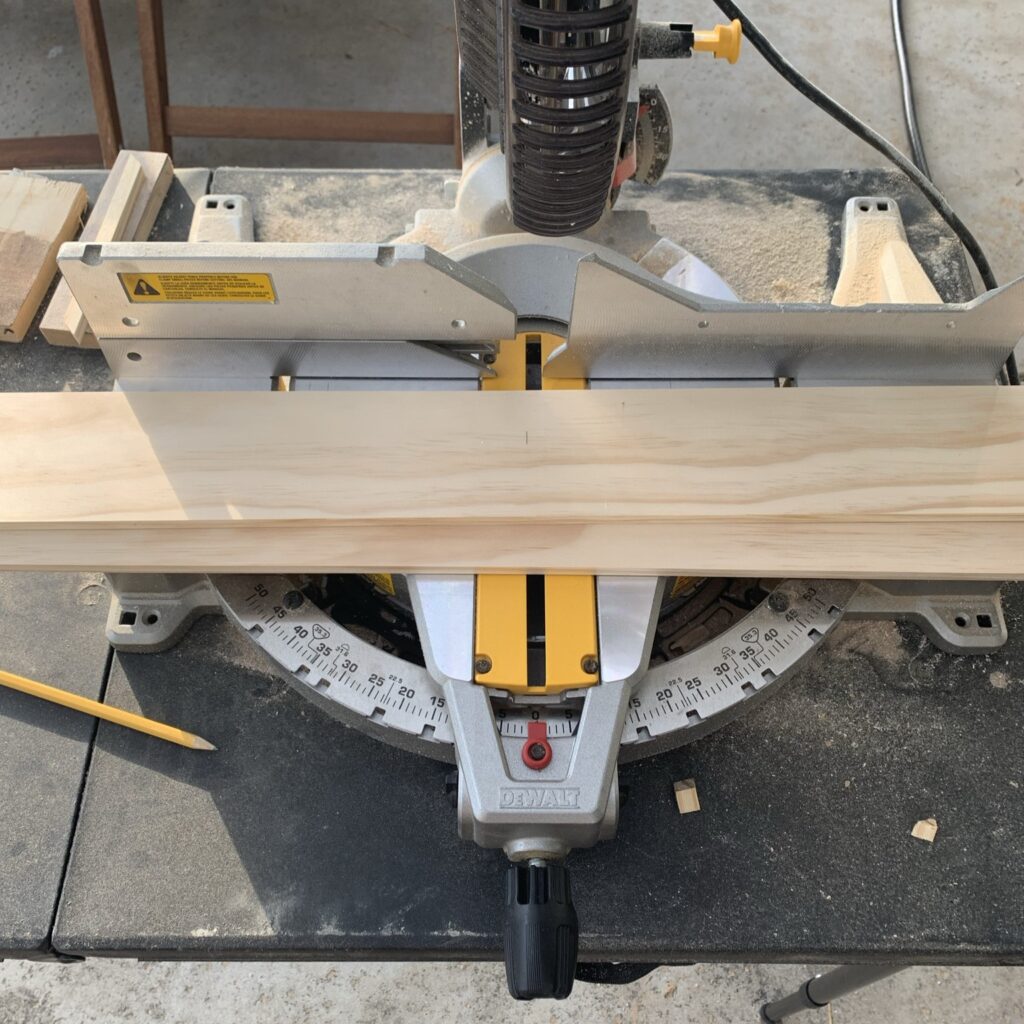
Once the top and bottom pieces are cut, you can grab one of them as a template to cut the front of the shelf:
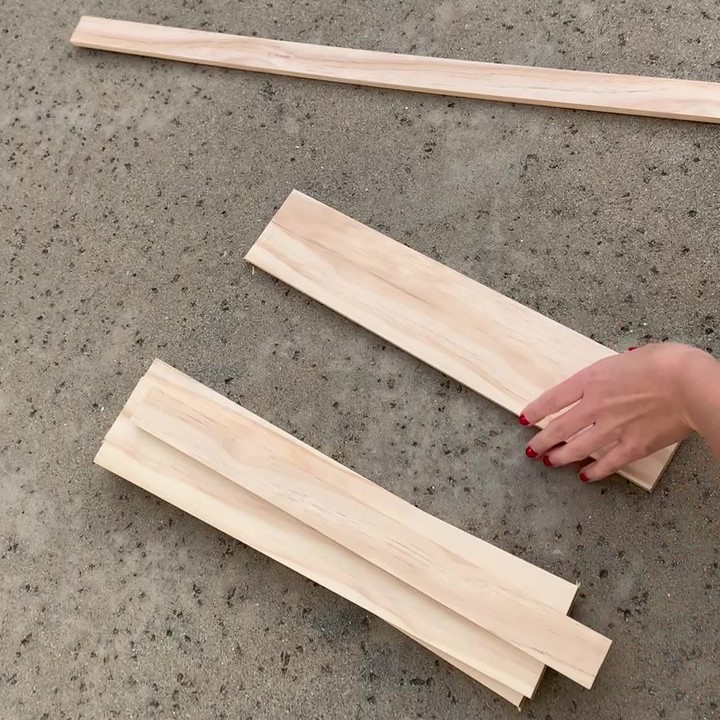
Cut one end of the 1×2 at a 90 degree angle like shown in the picture below and position the angle against one end. Then, grab a pencil and mark where the second 90 degree cut will need to be. I find this easier and more precise than measuring it with a measuring tape.
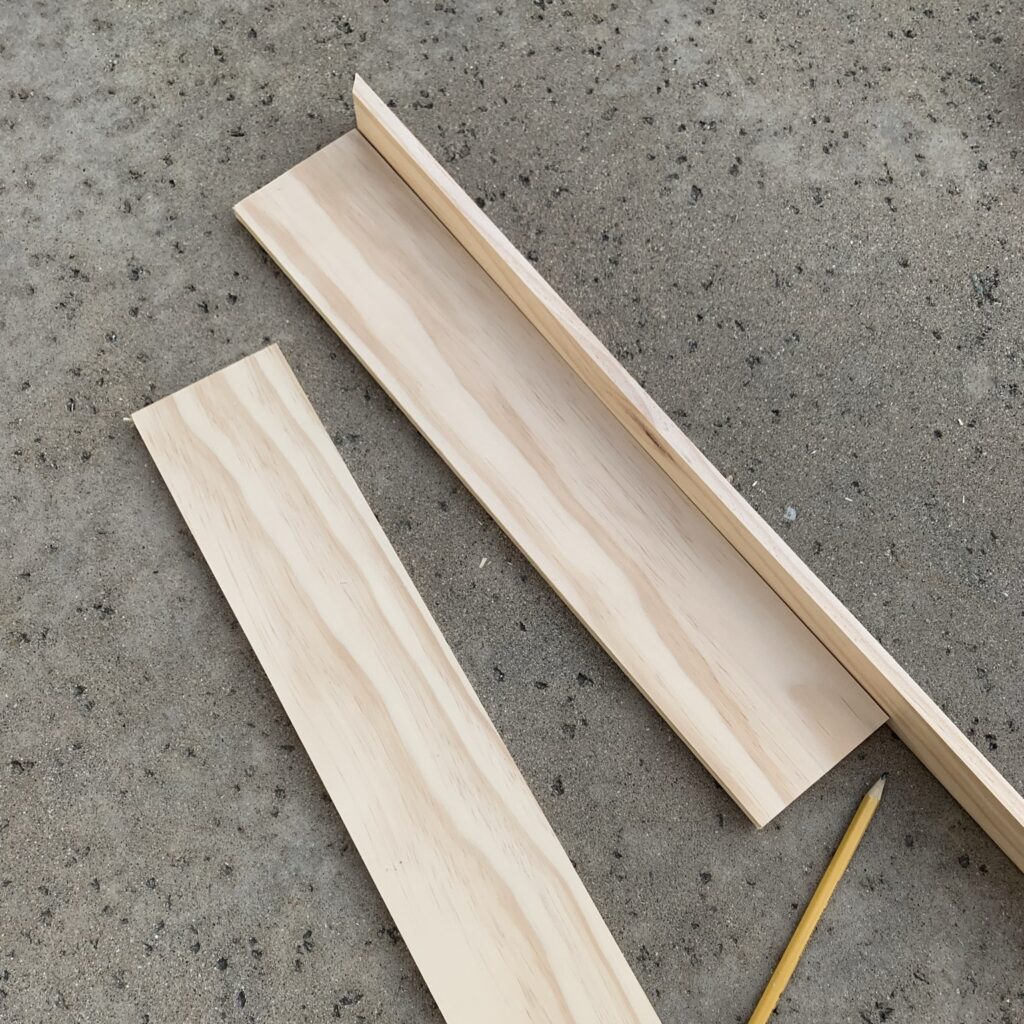
Once you cut the second end at a 90 degree angle, you should end up with this:
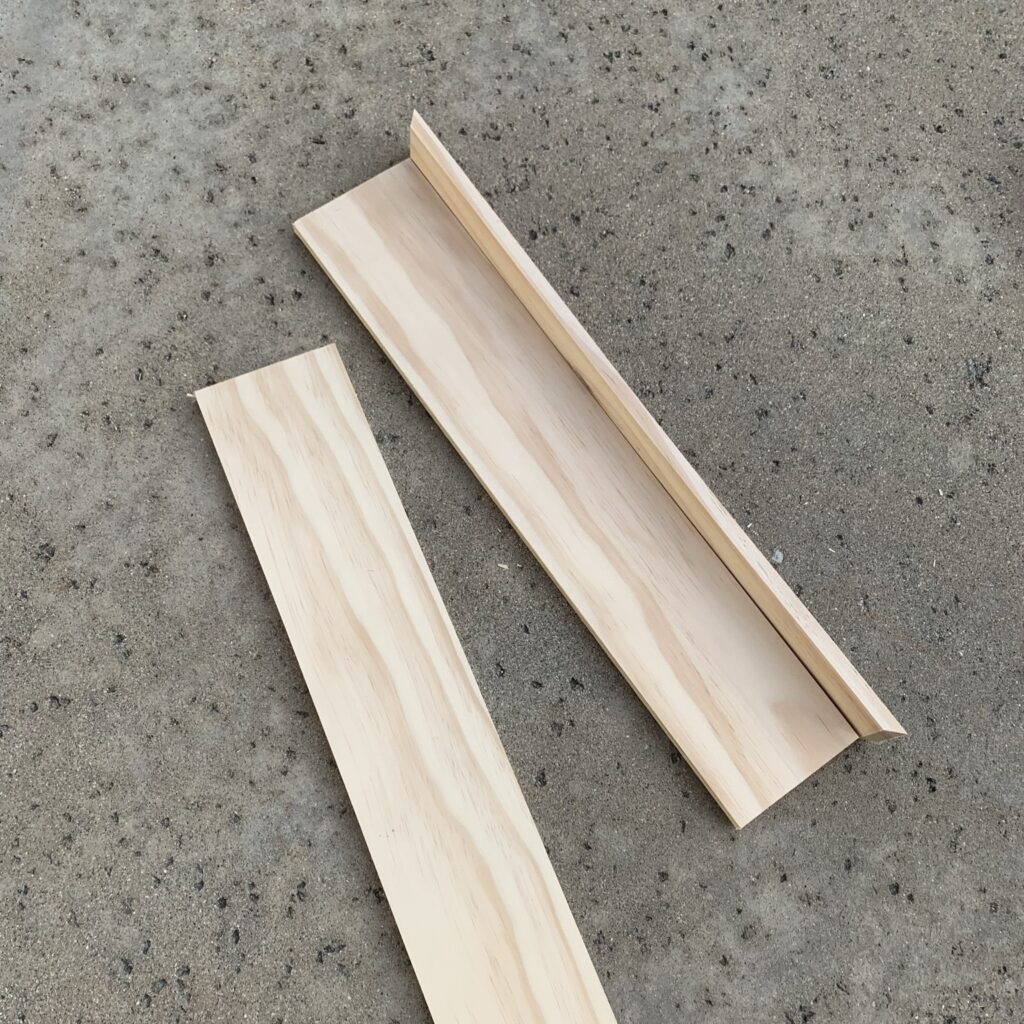
The 1×2 and the 1×5 pieces should align perfectly like this:
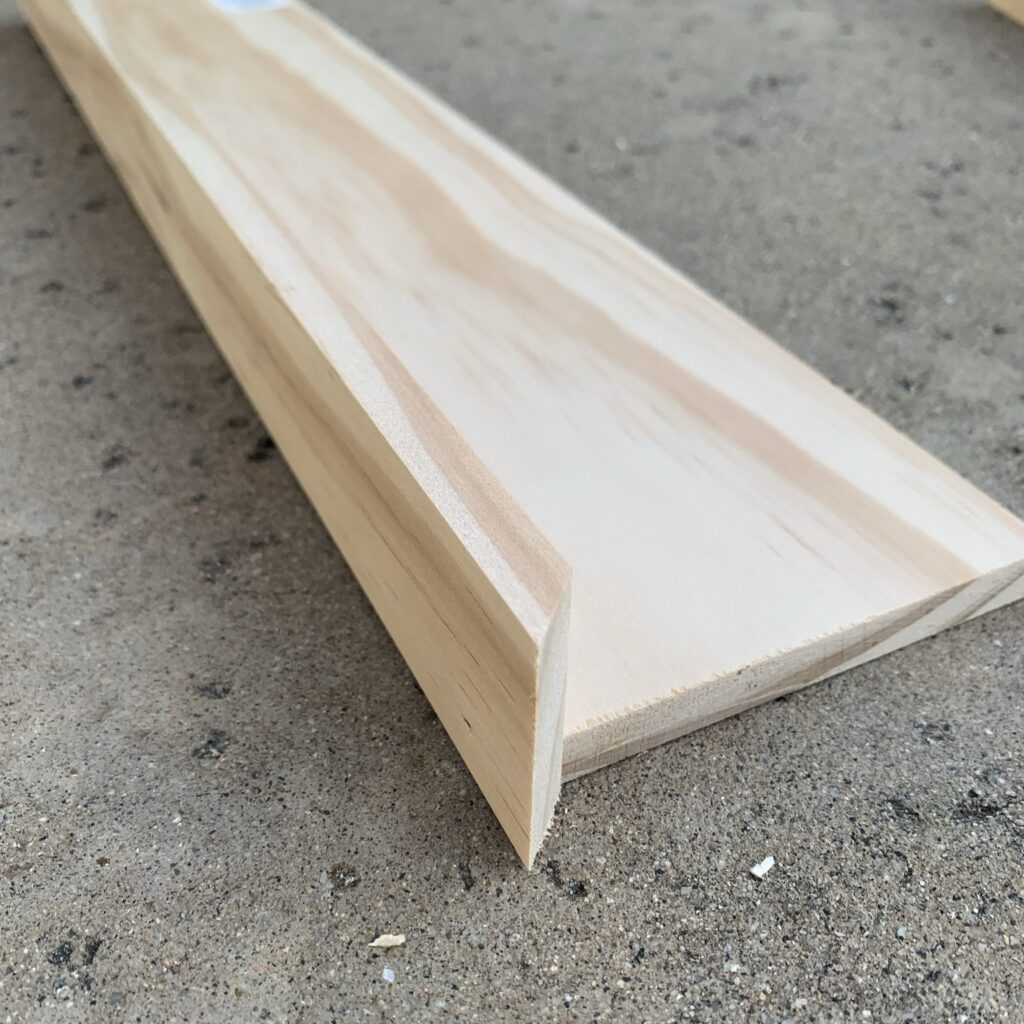
Step 4: Assemble the floating shelf
Then, it’s time to assemble the floating shelf.
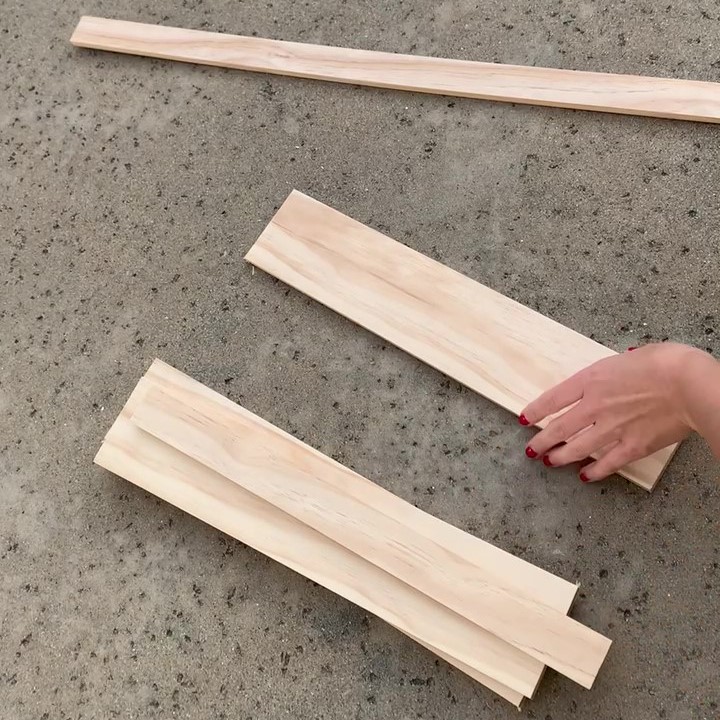
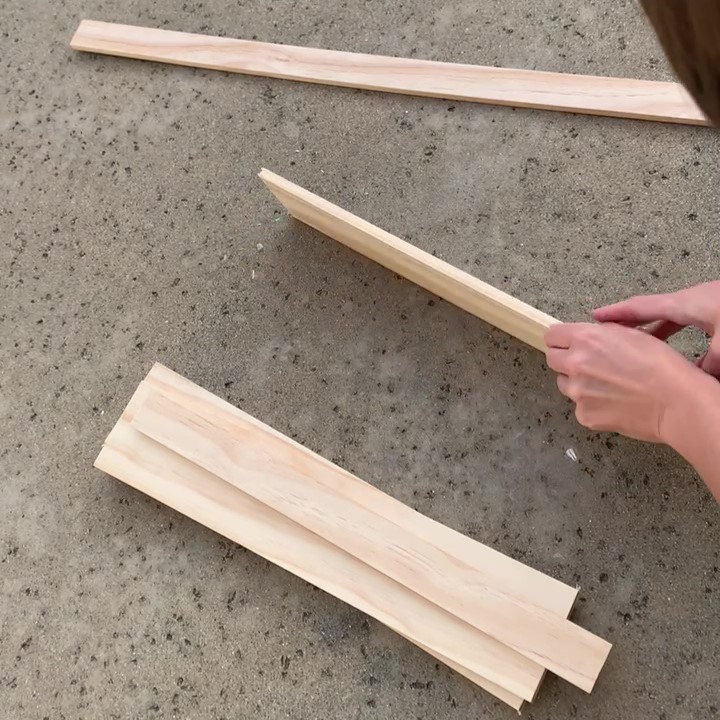
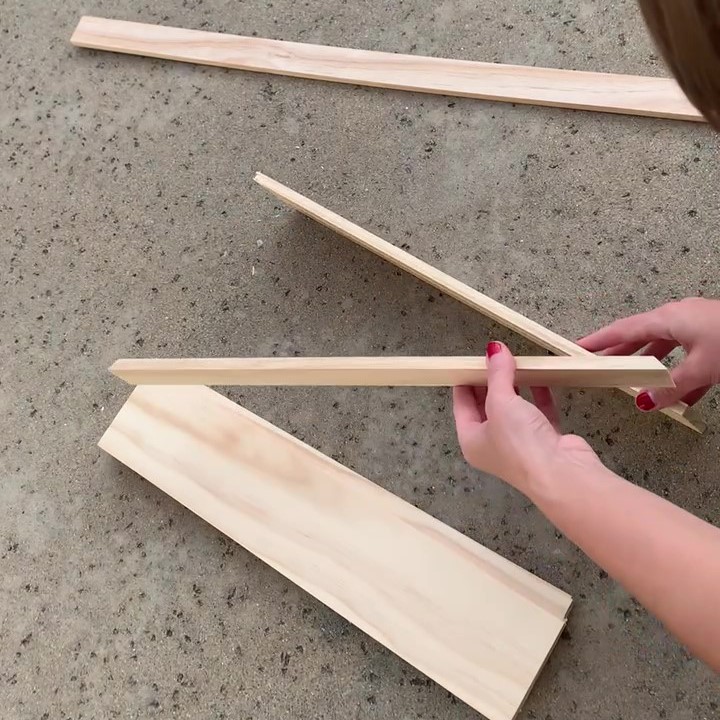
Put your 1×2 and 1×5 together and use the brad nailer to attach the 1×2 to the side of the 1×5 like this:
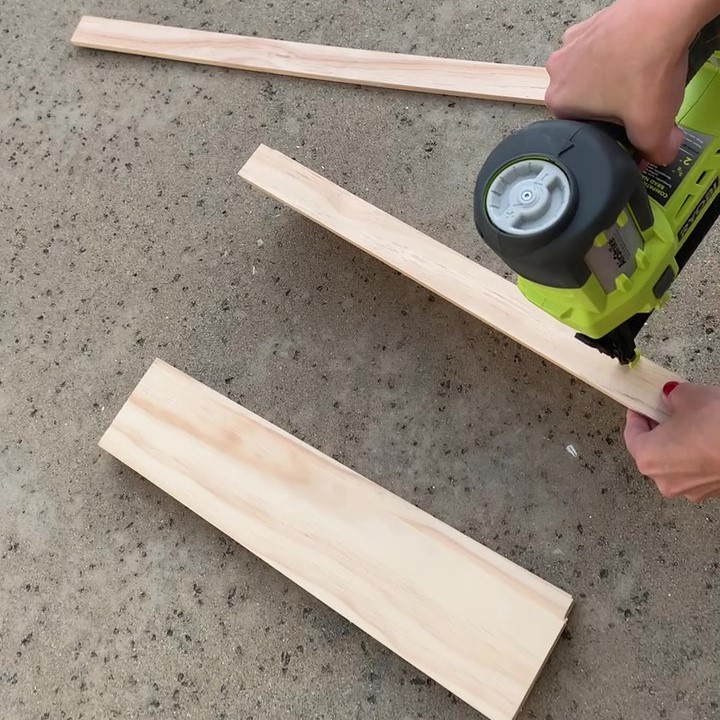
You should end up with this:
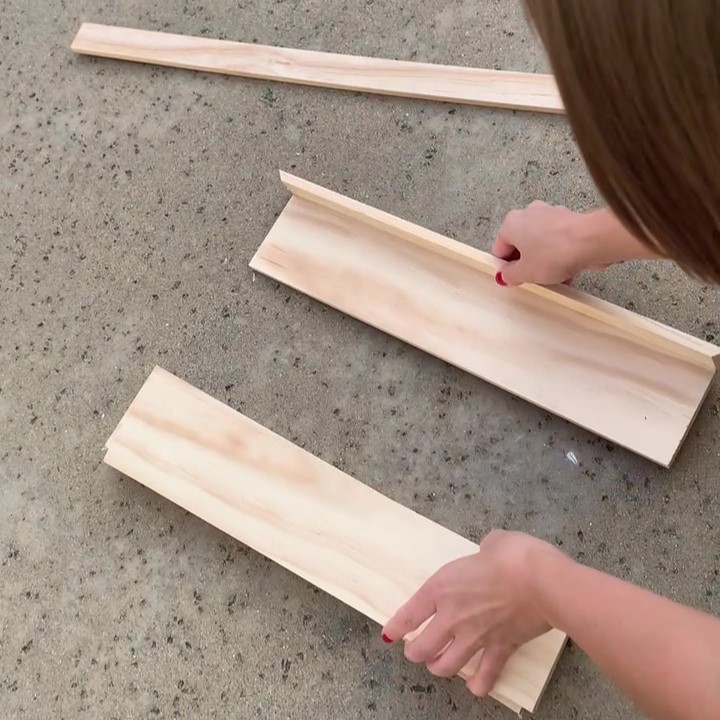
Then, you can grab the second 1×5:
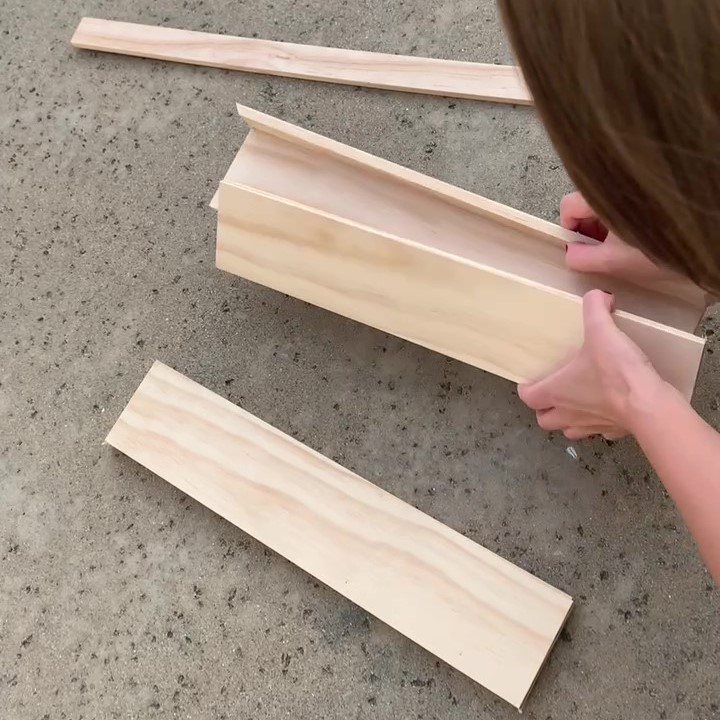
Align it with the 1×2 like this:
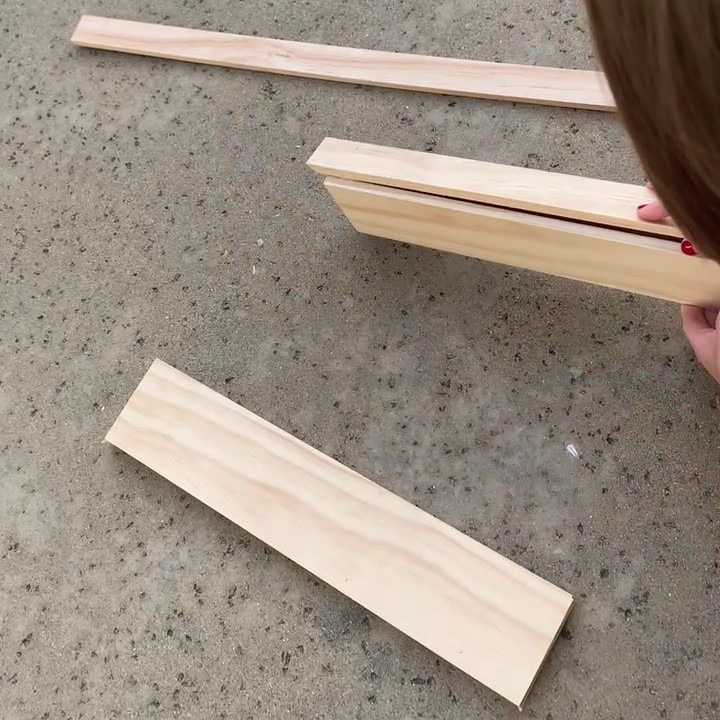
Attach the second 1×5. This will be the bottom piece for the bottom of the shelf. You should end up with a U shaped shelf like this:
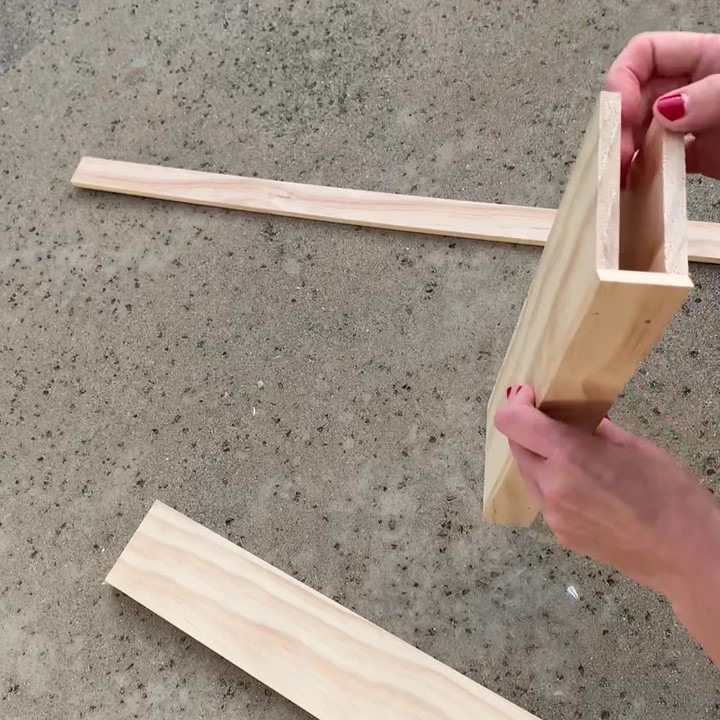
No kreg jig or pocket hole screws needed here! You could add a little bit of wood glue but I think it’s totally optional and I didn’t add any on my floating shelves.
Step 5: Cut the floating shelf sides
Once the U shape is assembled, it’s time to cut and attach the sides.
Cut one end of the 1×2 piece of wood at a 90 degree angle and hold it up to the assembled shelf like this:
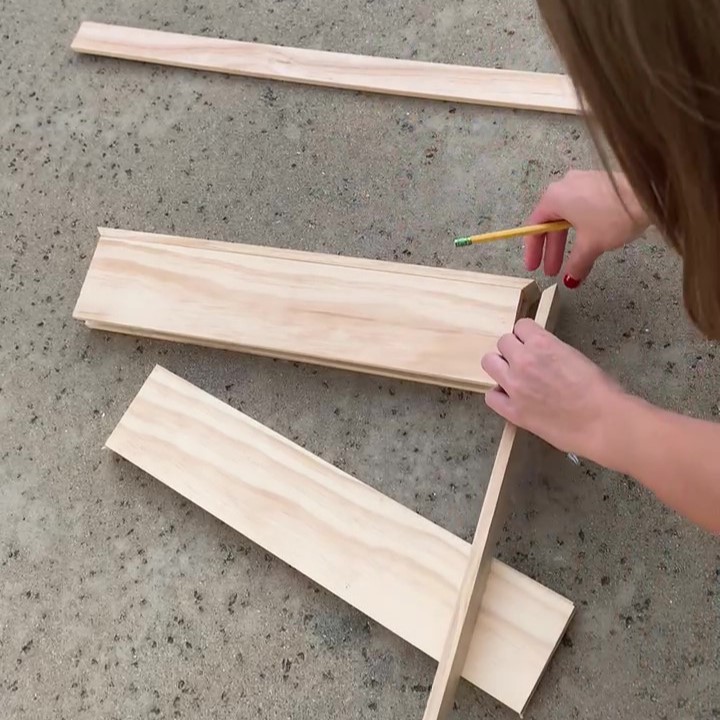
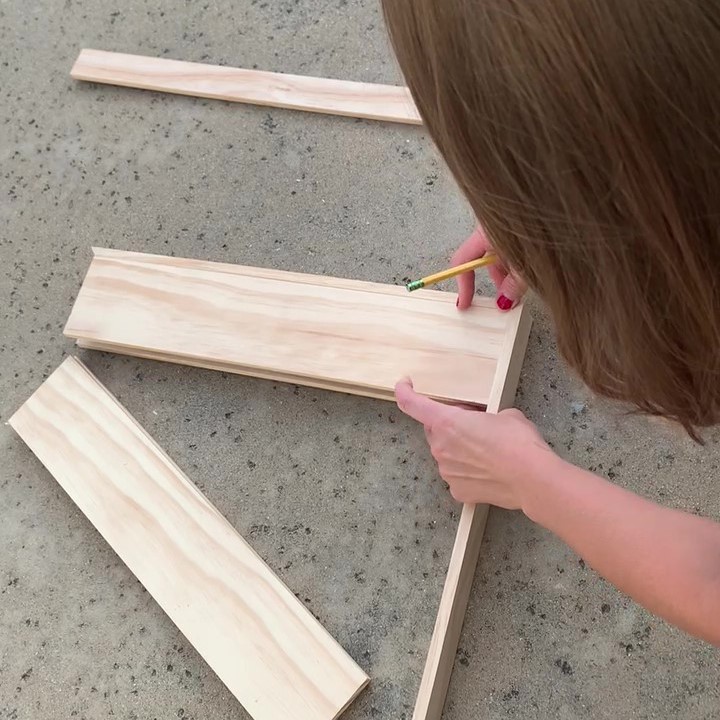
Then, mark the spot for a straight cut:
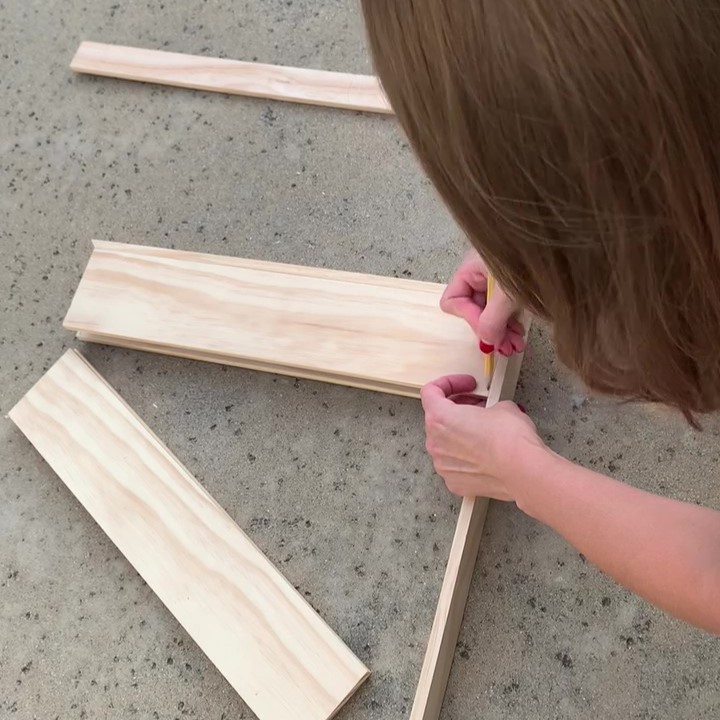
Once it’s cut, you can hold it up to make sure it fits nicely:
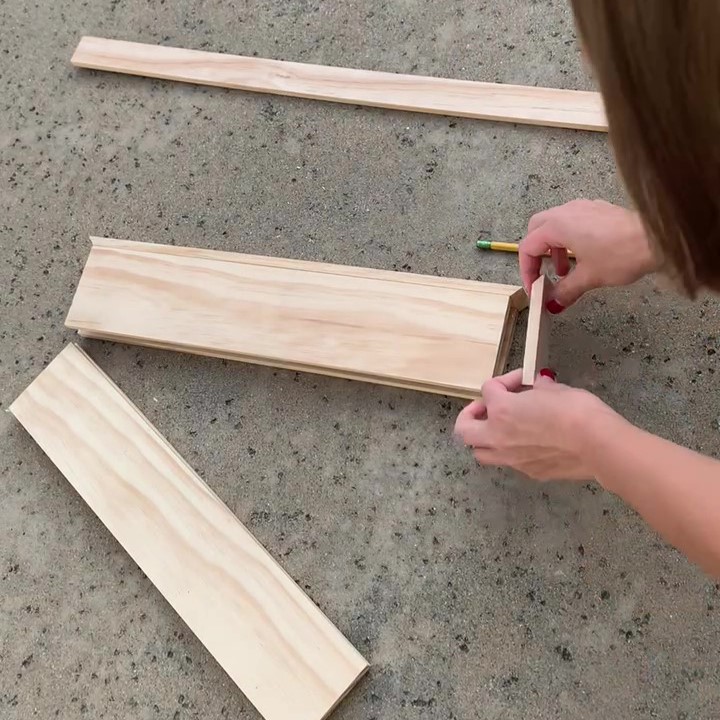
If it fits, it’s ready to get attached with a nail gun:
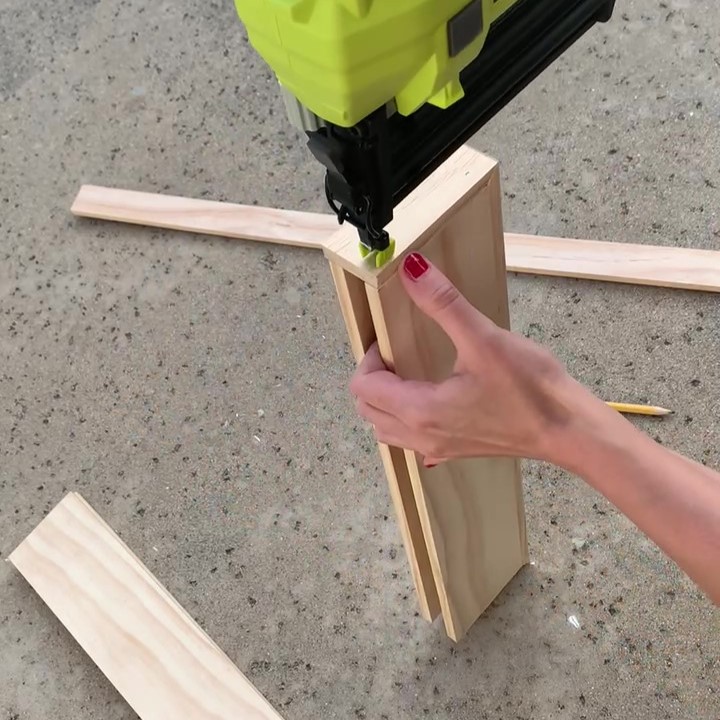
You should end up with something like this:
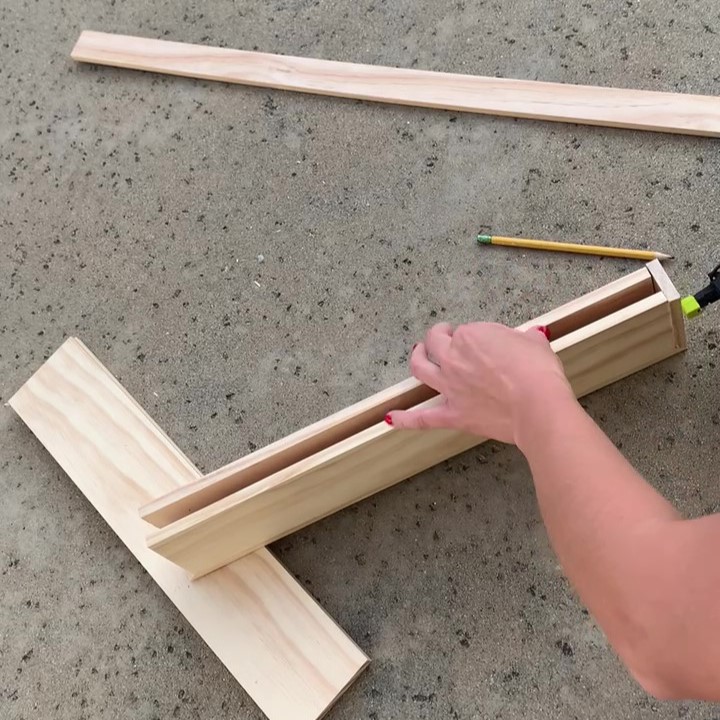
Note: You may need to bend the pieces slightly so make them fit perfectly.
Once you’re done with one side, you can cut and attach the other side:
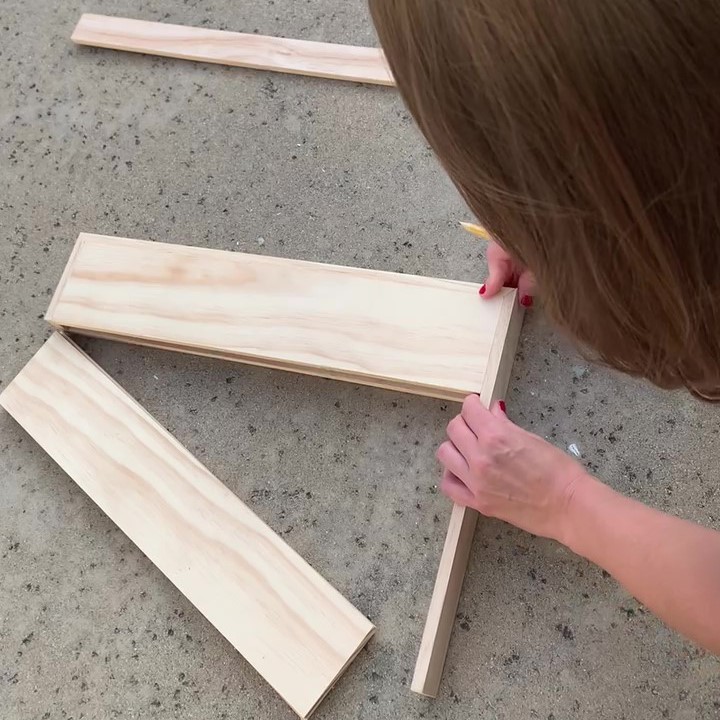
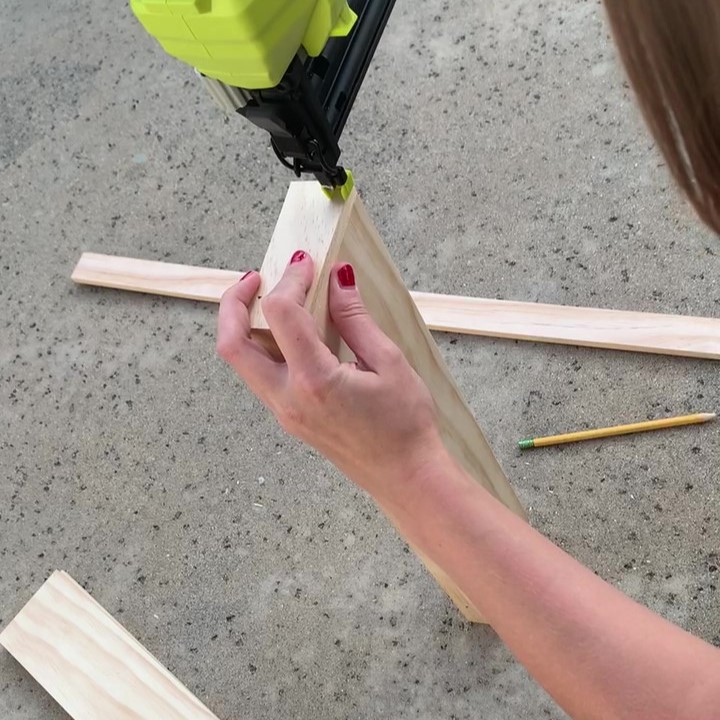
You should end up with something like this once the two side pieces are attached:
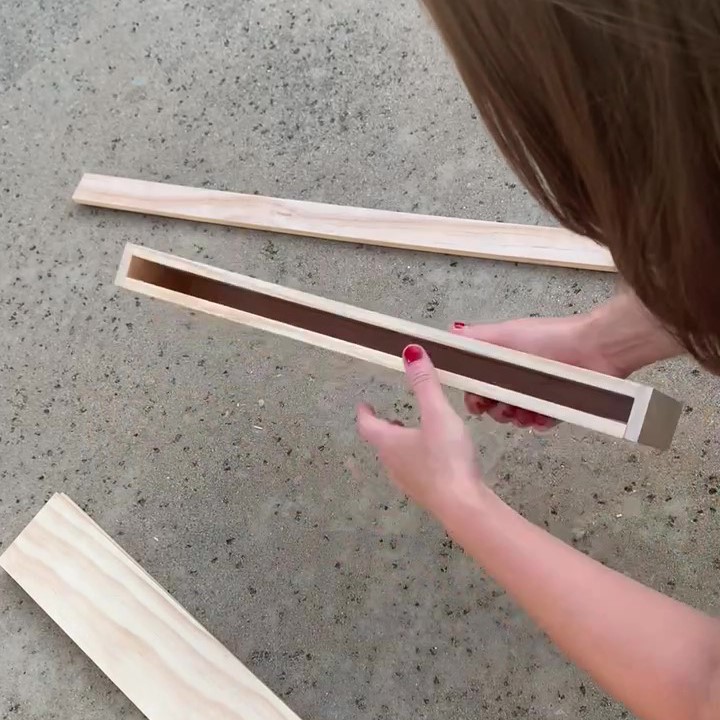
There is technically no back piece, the shelf will slide over the support piece which I’ll show you in Step 10!
Step 6: Fill nail holes in floating shelf
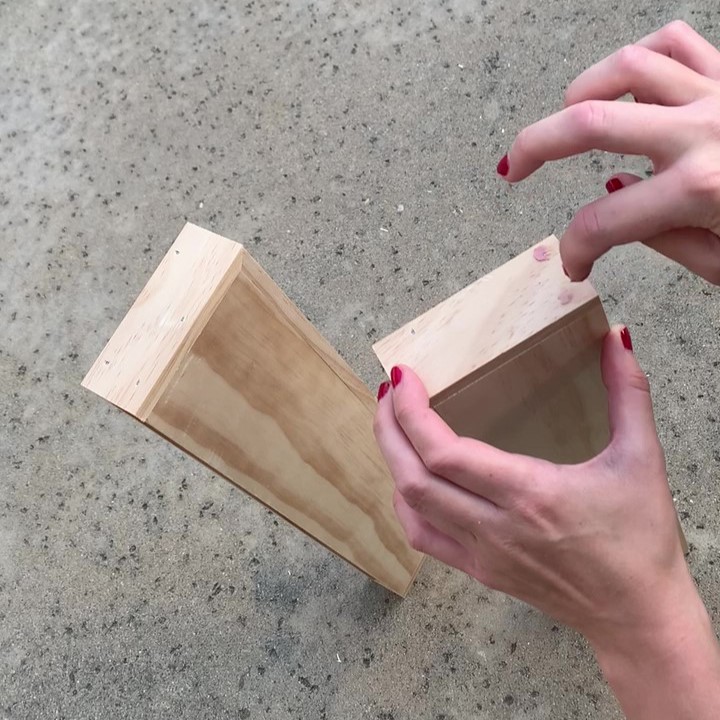
To finish up the shelf, you can fill the nail holes with wood filler.
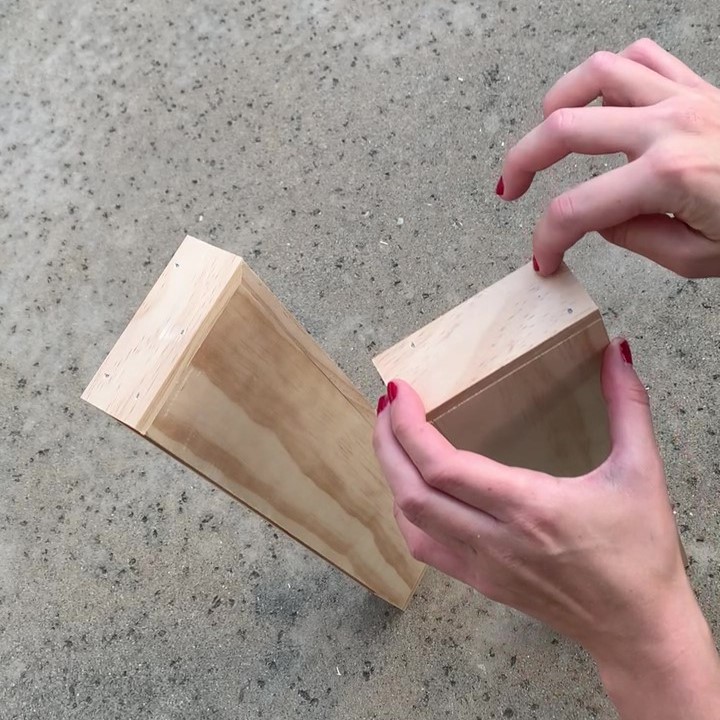
I typically add a lot of wood filler and then rub my finger across the filled spot on the board to smooth it out, I find that to be the easiest way:
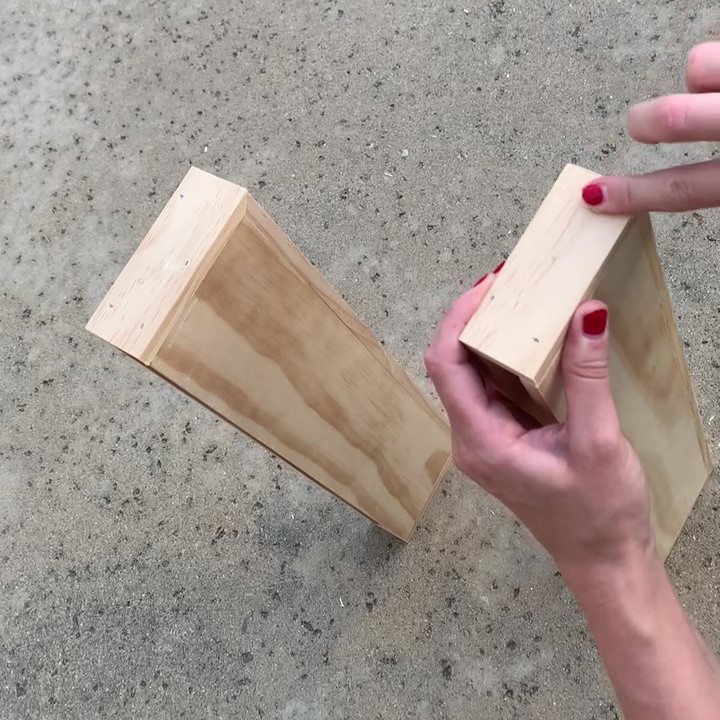
Step 7: Sand floating shelf
Next, sand your floating shelf for a smooth finish.
Step 8: Stain the floating shelf
Once shelf is assembled, it can be stained. I stained ours using the Minwax White Wash and Behr’s Stain & Sealer in Cordovan Brown.
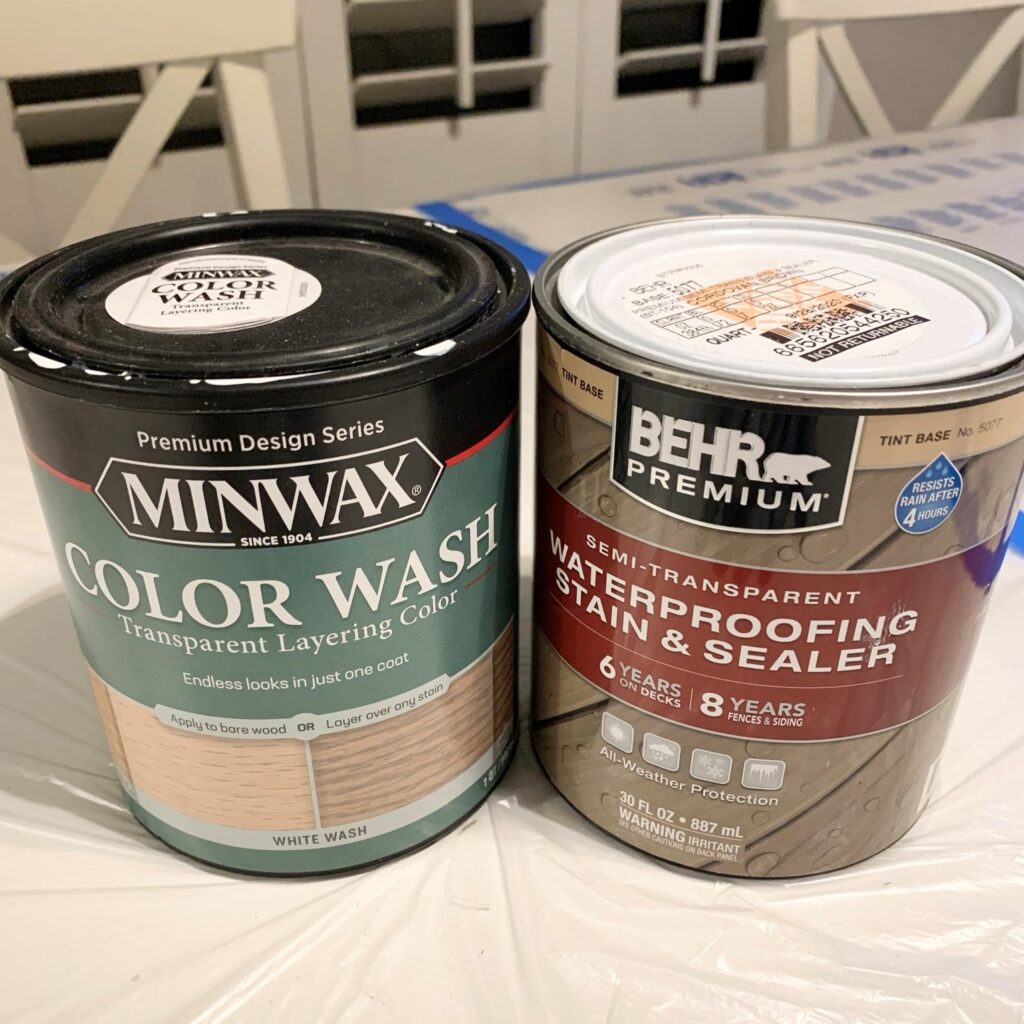
The dry time will depend on your stain combo.
After staining them, I actually lightly sanded the edges for a more distressed/beachy look:

Step 9: Seal the floating shelf
I recommend sealing your DIY bathroom floating shelf with polyacrylic. I love this polyacrylic spray, it’s so convenient! The best part is that you can get a really smooth finish with this with minimal effort.

Step 10: Install the floating shelf
The final step is to install the floating shelf. There are different methods but here’s how I attached my floating shelves to the wall:
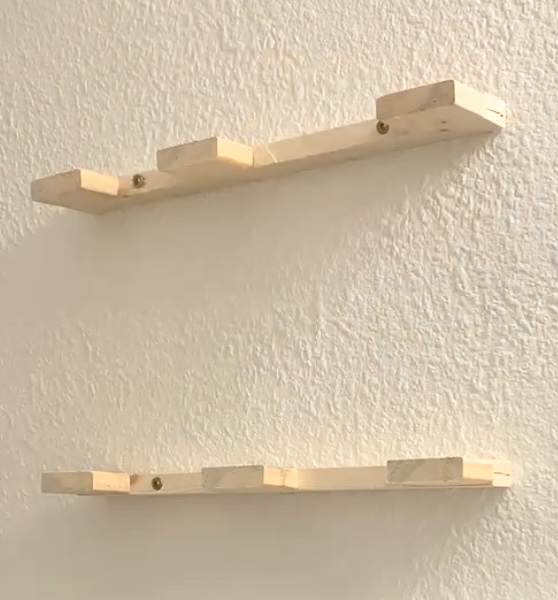
I built these supports out of scrap wood and made sure they were just slim enough for the hollow floating shelves to fit right over them. I used a stud finder to attach each support piece to the wall studs with wood screws. Then, I attached the floating shelves to these supports using brad nails.
Finished DIY bathroom floating shelves
Here are our new shelves! This was such a fun and easy DIY. I love how these DIY bathroom floating shelves turned out! They are the perfect addition for our small DIY bathroom remodel.
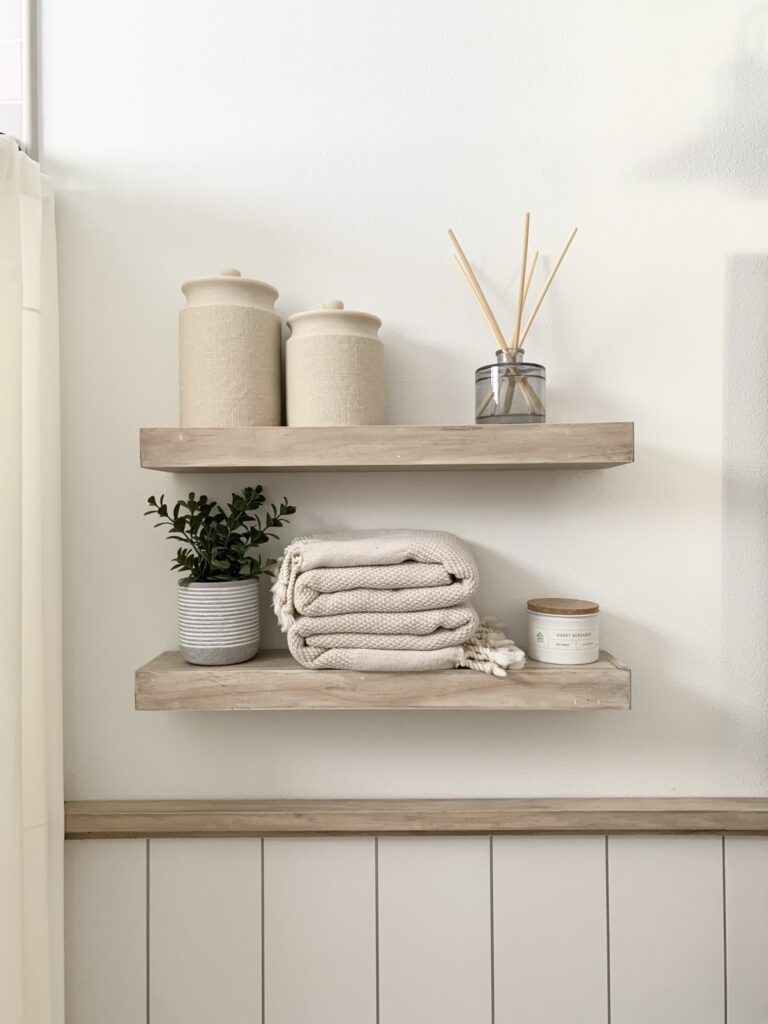
My favorite part is that these two floating shelves serve a decorative purpose but are also useful with the little bit of extra storage they provide! They are pretty small so I don’t intend for them to hold much weight, just some of the decorations you see here:
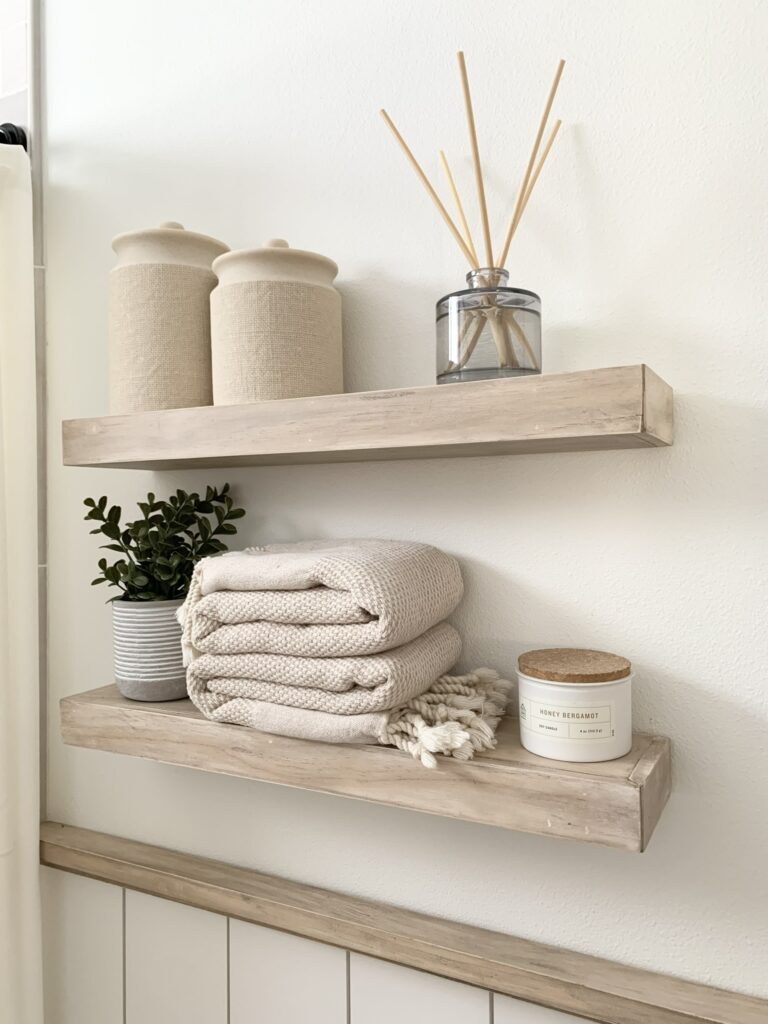
These cute bathroom shelves go so well with the DIY bathroom mirror I built and the wood ledge on top of the vertical shiplap wall! I love that with DIY projects, you can perfectly match all these custom elements in your home.

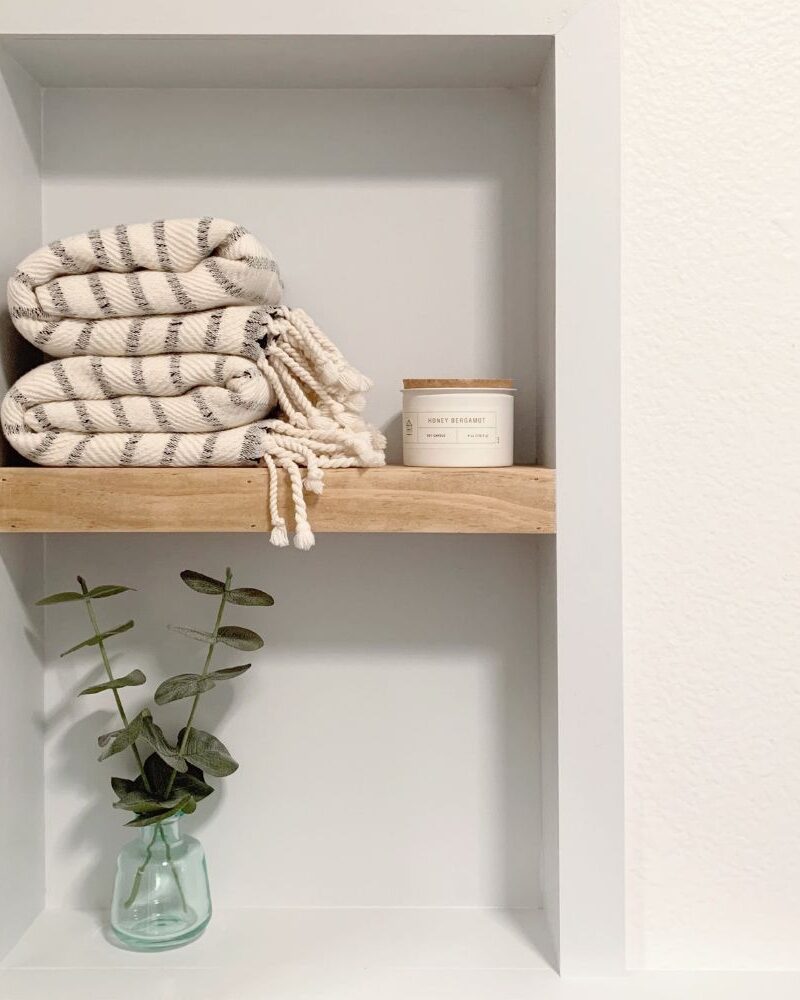
I think my favorite Turkish towels look so cute on the floating bathroom shelf! Unfortunately, last time I checked all of the other décor items were sold out. They were from Target.

If you would like to see all the remaining details of our DIY master bathroom, check out our entire bathroom remodel here.
Are you going to give this quick project to build your own DIY floating bathroom shelves a try?
Let me know if you have any questions!
Tina
We buy household appliances in St. Petersburg and the Leningrad Region скупка спб. We buy tumble dryers.
canadian pharmacy on script needed
healthy man complaints
north american pharmacy
pharmacy online without prescription
usa no subscription pharmacy
online pharmacy
myskypharmacy
cialis sky pharmacy
online pharmacy
usa pharmacy no script
generic cialis
http://www.canadapharmacyonlinedrugstore.com
jet prive location
Un autre element est le modele de jet que vous privilegiez. Les types presenter des prix tres divers. Par exemple, un sera facture qu’un avion luxe. devrait etre evaluee lors de votre decision.
Aussi, la duree que vous optez pour pour votre vol impacte egalement le cout. En haute saison, les couts. Cela peut etre de planifier votre vol a l’avance pour eviter ces hausses de prix. En revanche, en basse saison, vous auriez la possibilite de des deals tres interessantes.
En resume, il est essentiel de comparer les choix disponibles avant de opter pour un avion prive. En plus, il est de interroger des experts pour recevoir des details fiables et precises. En ayant ces informations en main, vous serez plus prepare a realiser un vol en aeronef personnel et a s’occuper de votre budget.