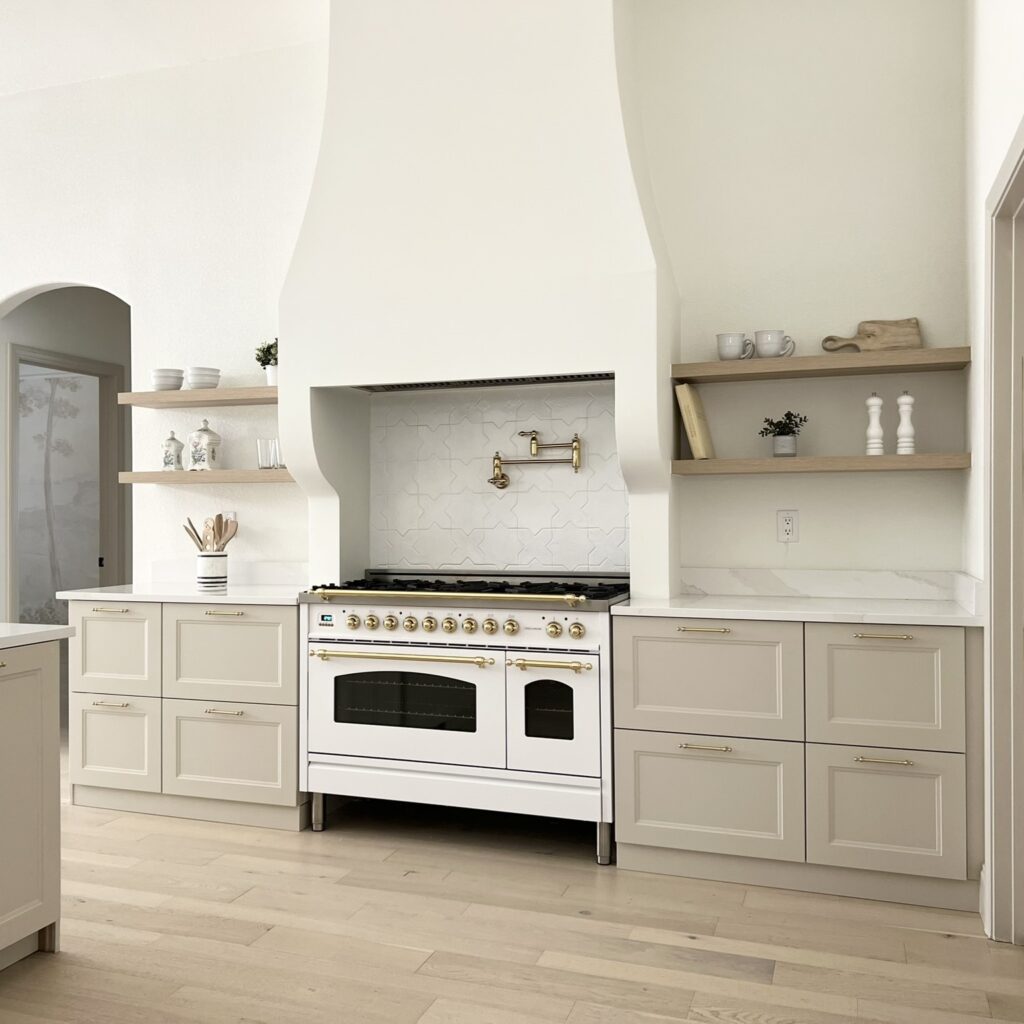
One of the projects I was most excited about during the big kitchen remodel at the Hills House was building a DIY range hood cover. Have you been thinking about adding a DIY kitchen vent hood in your home and looking for custom range hood ideas? Let me show you our process to build this custom range hood so you can make your kitchen dreams come true too.
Note: This post may contain affiliate links, you can find more information in my disclosures here.
Materials
- range hood insert
- studs
- MDF boards
- plywood
- drywall sheets
- wood screws
- drywall screws
- corner bead for drywall
- drywall tape
- ducting
- joint compound
- primer
- paint
- caulk
- painters tape
- staples
Tools
- miter saw
- table saw
- jig saw
- utility knife
- level
- paint brush and roller
- power drill
- stapler
- stud finder
- clamps
- taping knives
- drywall sanding sponge
Step 1: Plan out range hood location, size and shape
The first thing and one of the most important steps was to plan out your DIY kitchen vent hood location, size and shape based our space:

My main inspiration for the kitchen and the range hood was Jenna Sue’s kitchen. I wanted a similar shape for the range hood as hers but a little bit taller to work better in this large area in our kitchen with the tall ceilings. The shape and size of a DIY kitchen vent hood will be largely based on personal preference.
I love using painter’s tape to get a sense of the scale and layout:

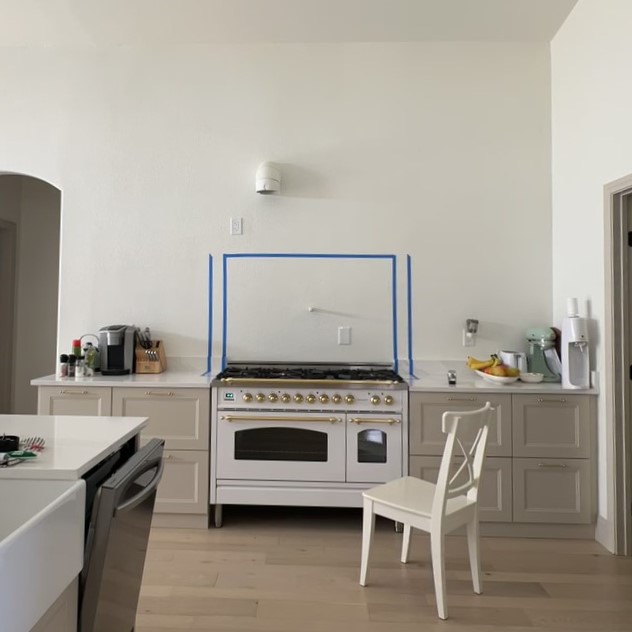
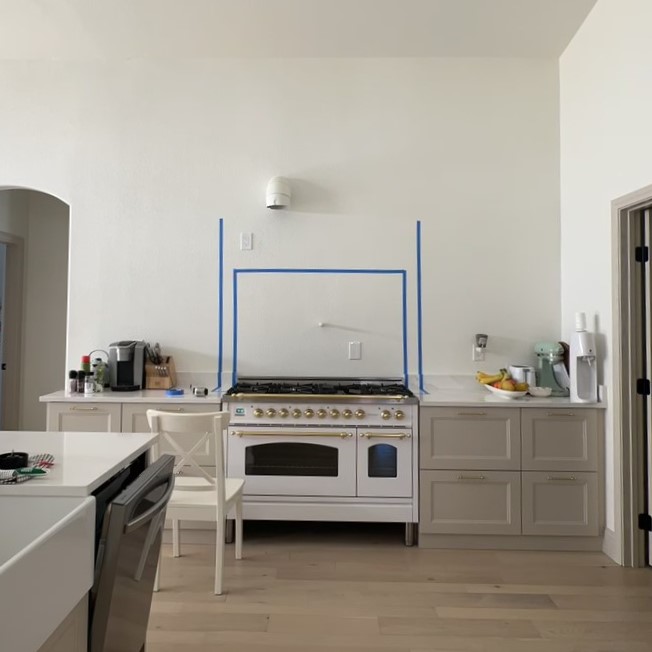
Here are our DIY range hood dimensions for our range hood installation so you can get an idea for the scale in our new kitchen:
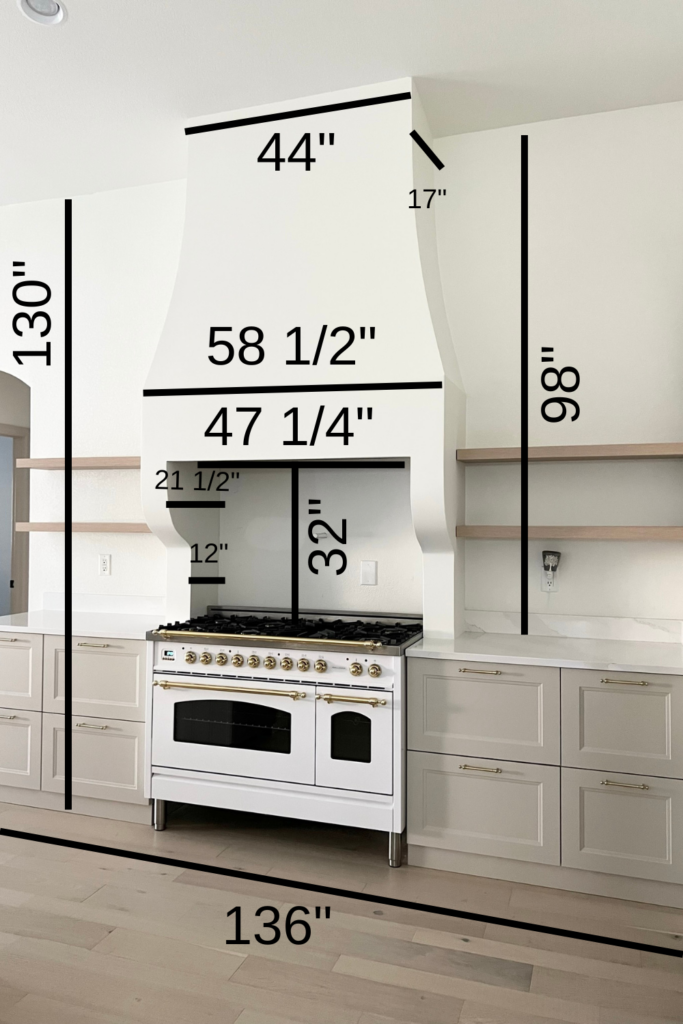
The minimum distance between range and hood required where we live is 30″, make sure to look up your local requirements to leave enough room between the range and hood.
Step 2: Build the range hood frame
Next, it was time to build the general structure of the range hood frame out of studs. I started with the structure for the curvy corbels:
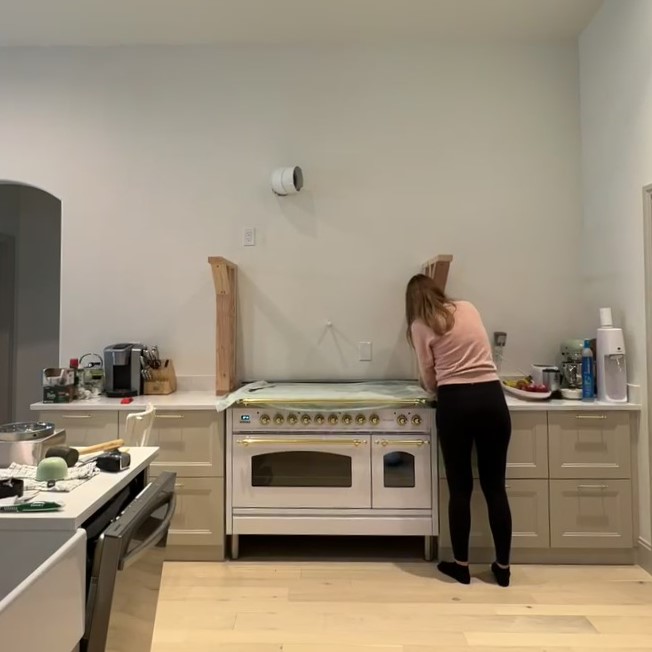
They are screwed into studs in the wall and are actually sitting on top of our counters for additional support.
Next, I built a simple square wood frame out of studs that I based off of the range hood insert dimensions. Note that this horizontal piece needs to be 100% level.
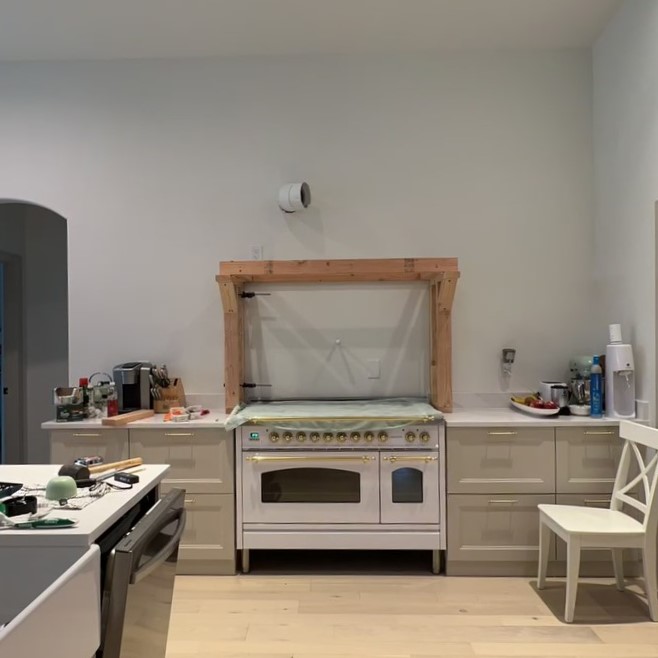
Step 3: Vent hood insert installation
This part was a little tricky and definitely a two person job! We had to attach the range hood insert to the frame.

First, we lifted the range hood insert into the frame:
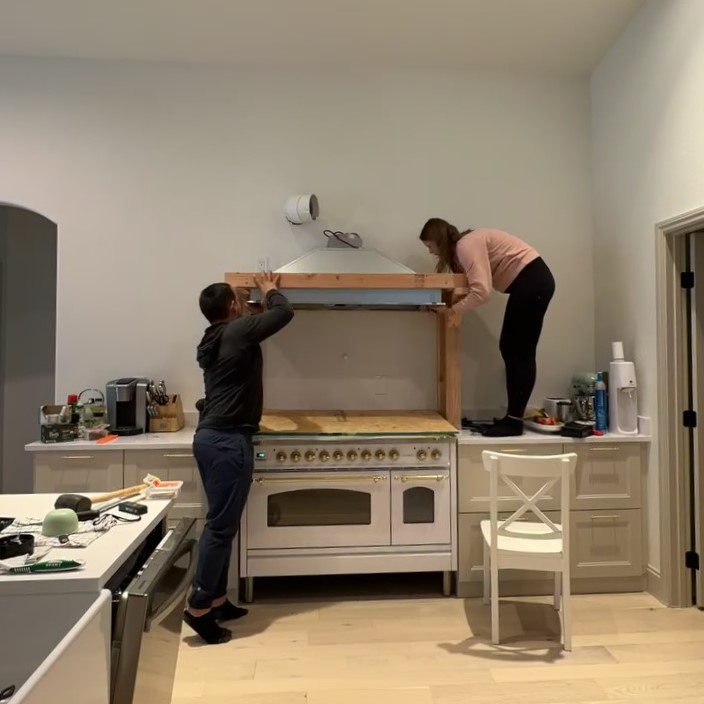
Then, we held it in place with clamps (they’re definitely a great thing to have around!) to start attaching it to the side pieces of the frame using the brackets that our range hood insert came with:
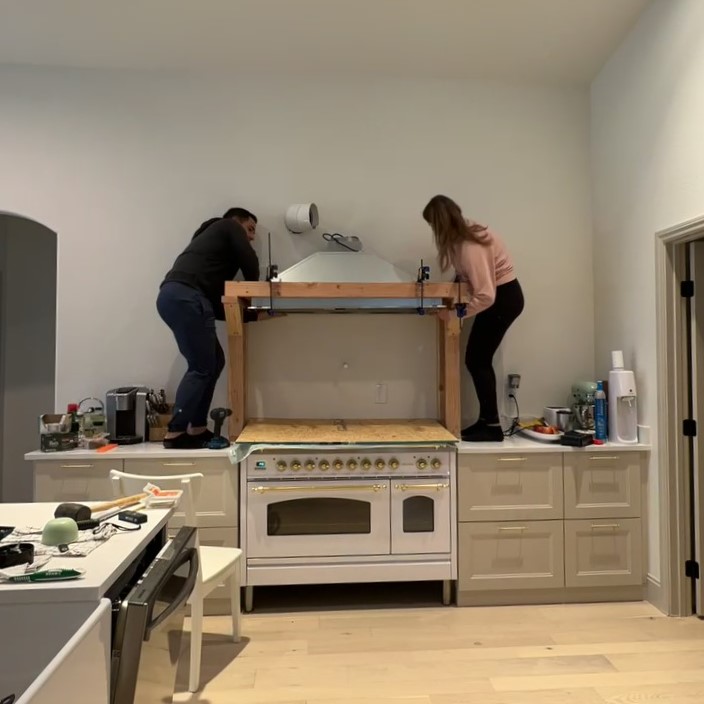
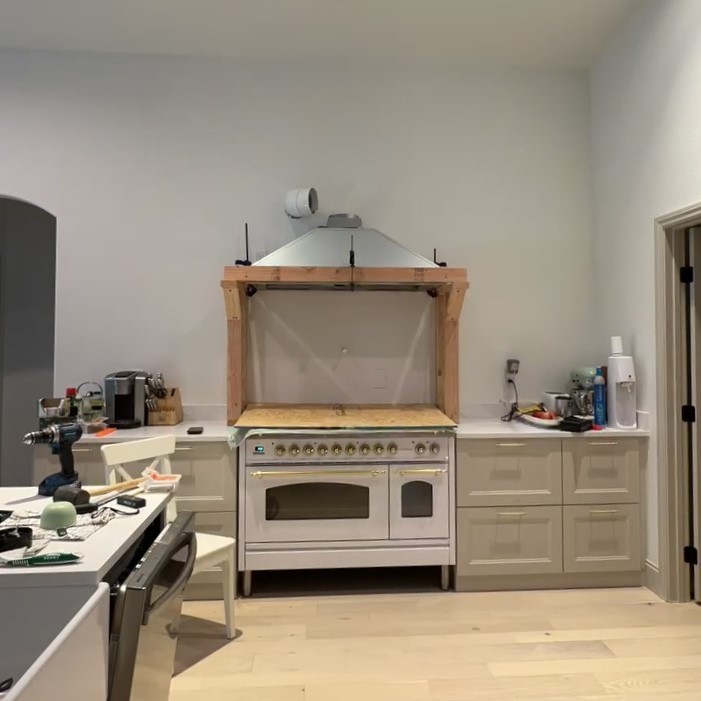
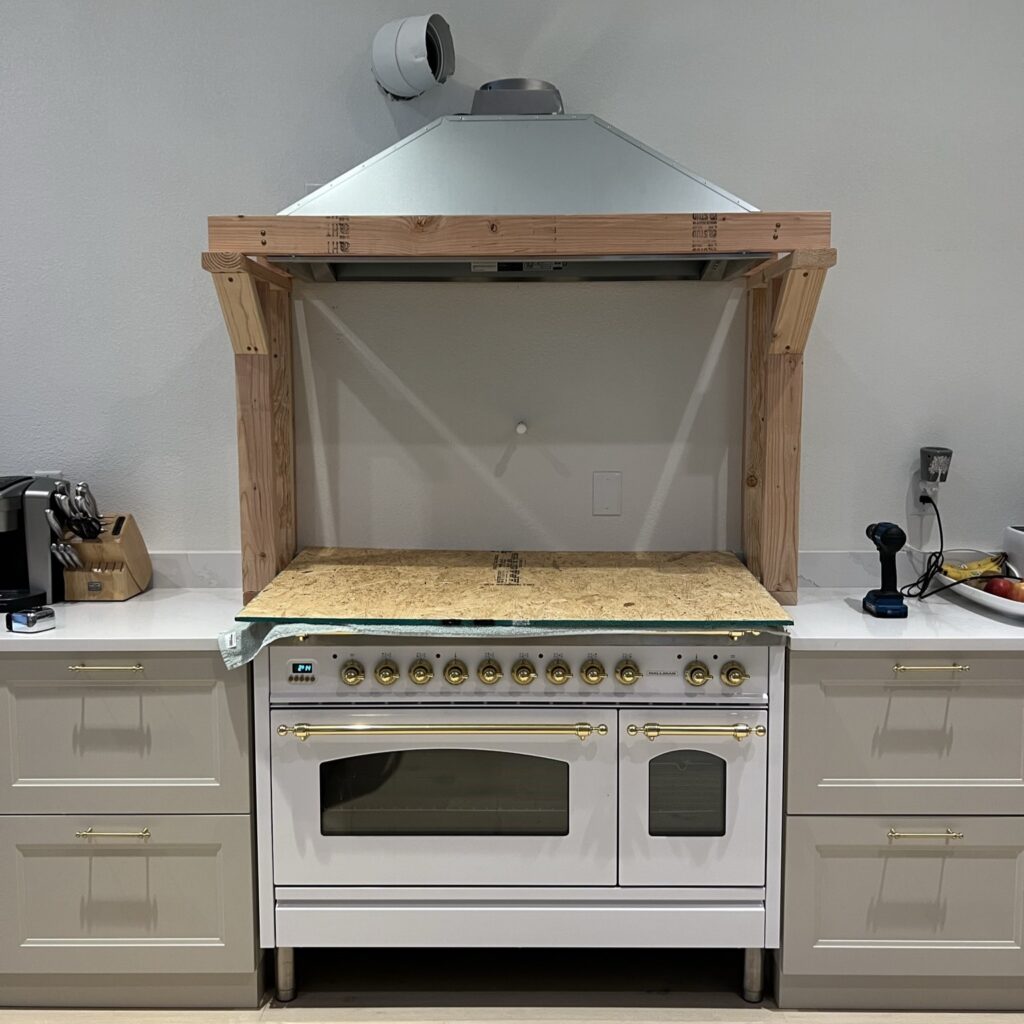
Once the range hood insert was installed, I wrapped up the duct work and added another layer of studs:

Step 4: Create the perfect curves
I decided to mock up the curves of the corbels with some cardboard to perfect the shape of them easily. After a few versions I finalized the shape:
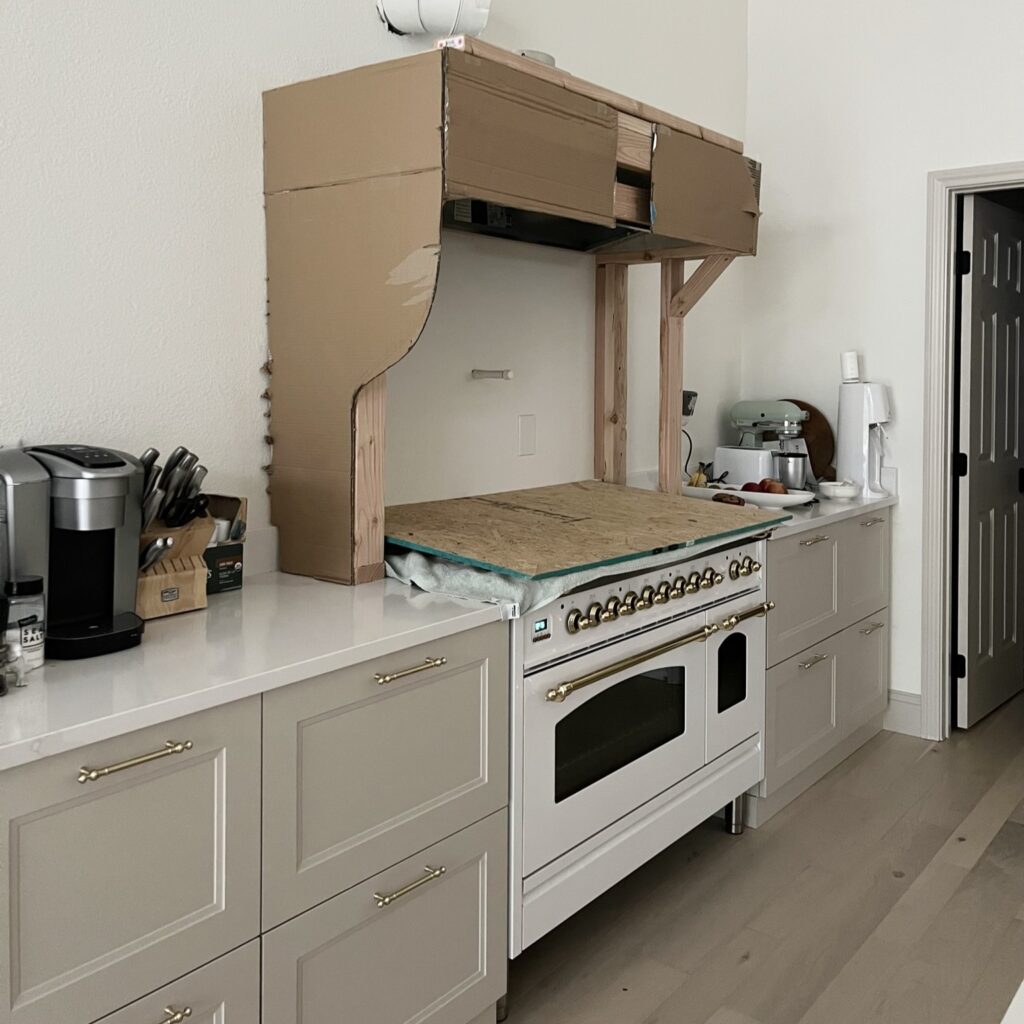
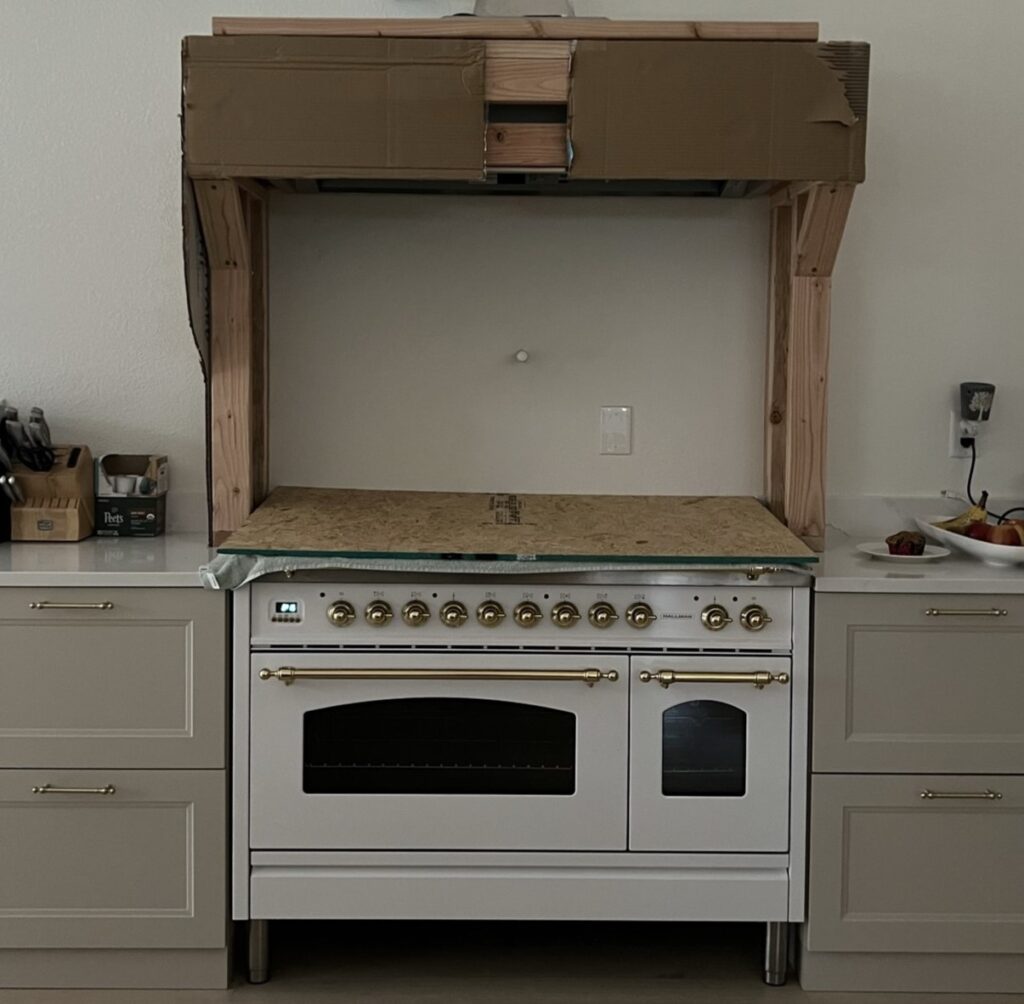
Step 5: Finish the range hood frame
Next, we had to finish out the range hood frame. We added two additional frames to build the remaining structure.
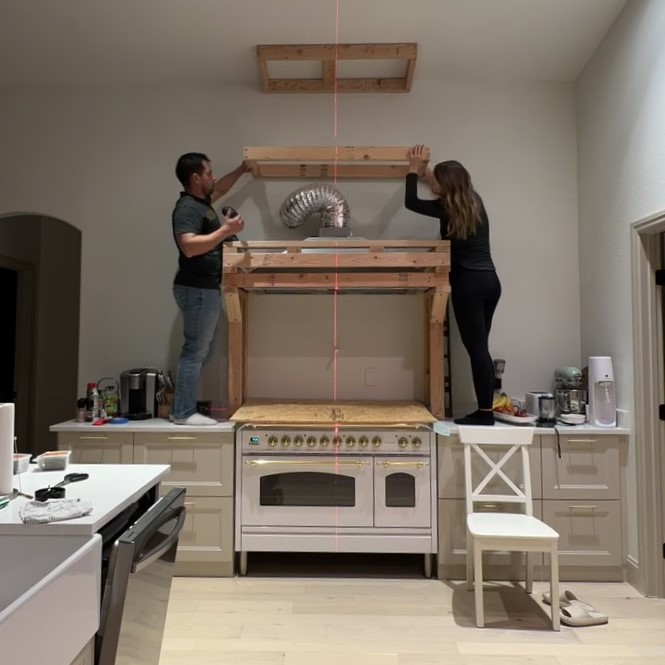
I wanted to have the top half of the range hood to curve so the three tiers get slimmer as you go up towards the ceiling:
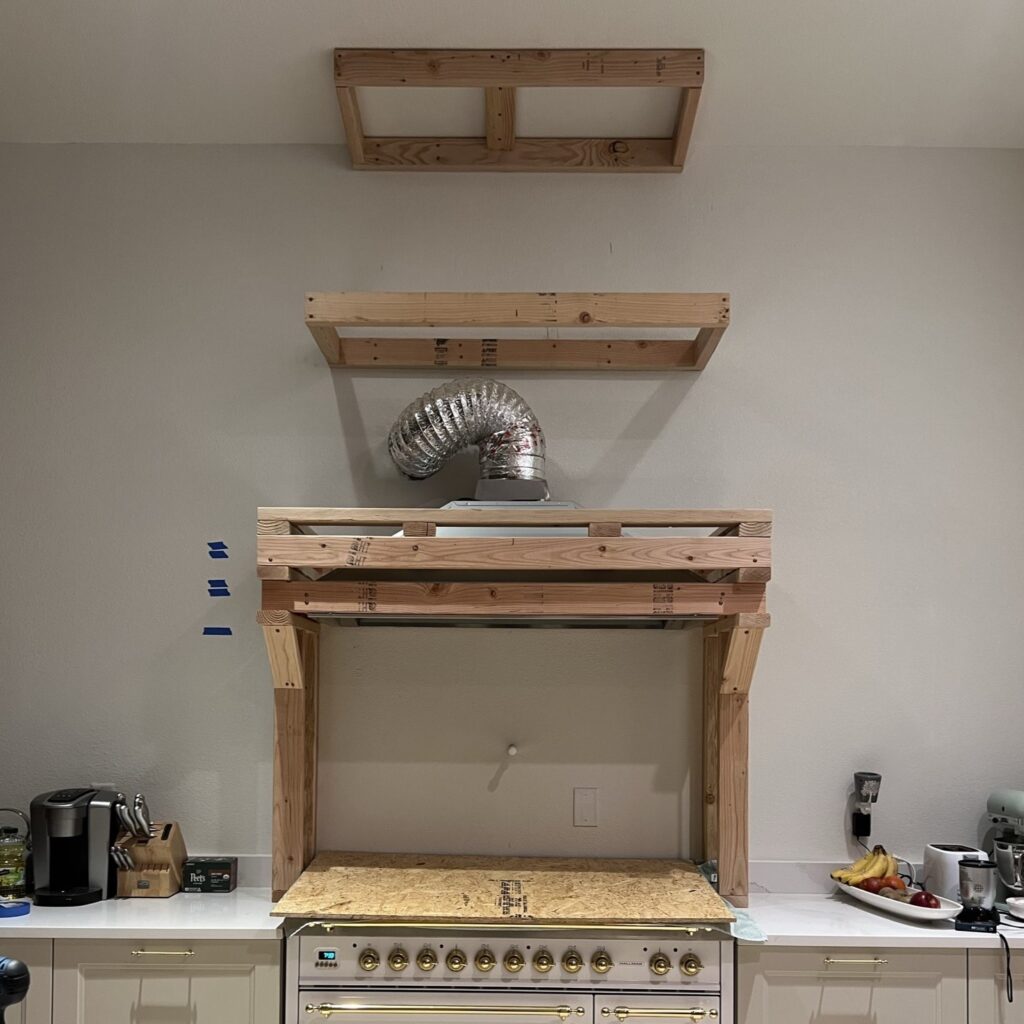
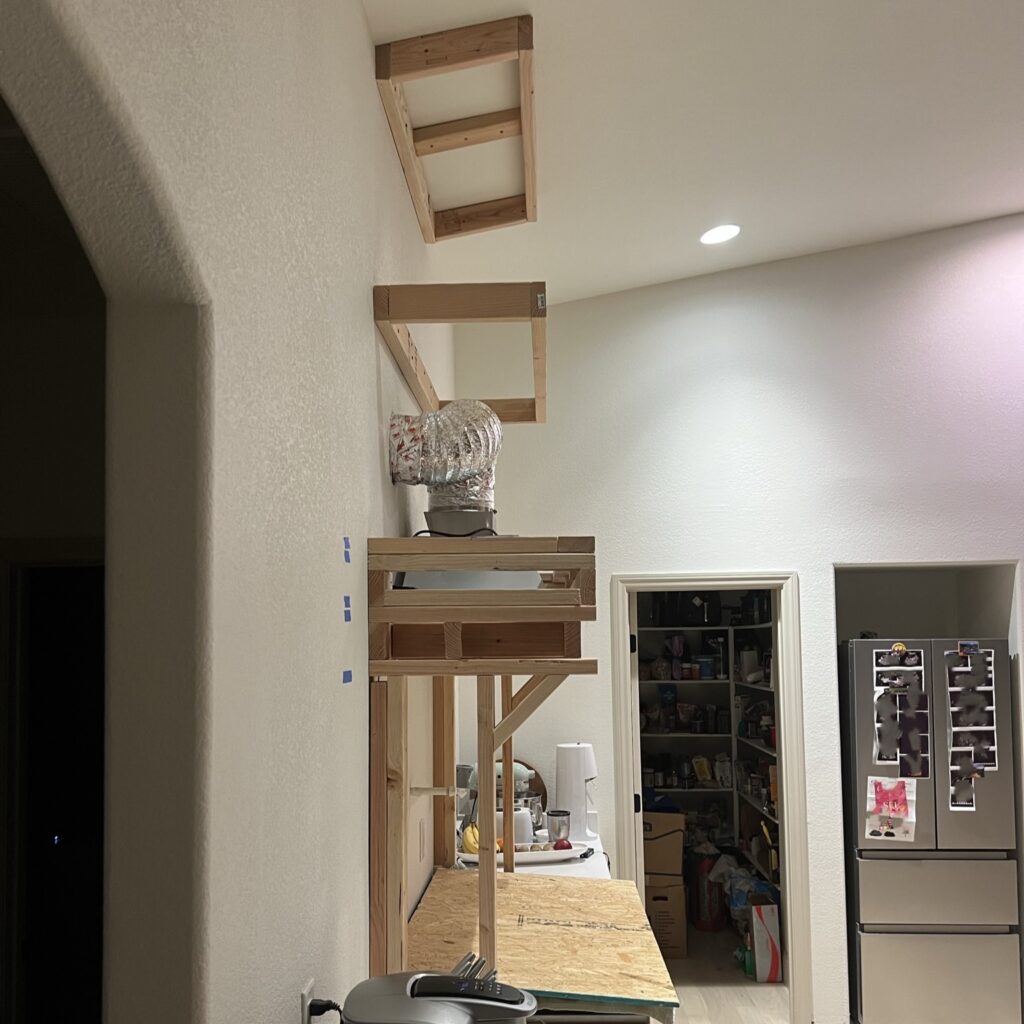
All tiers are attached to the studs in the wall behind. Additionally, the bottom part of the frame rests on the future corbels and the top frame is also attached to the ceiling joists for additional support.

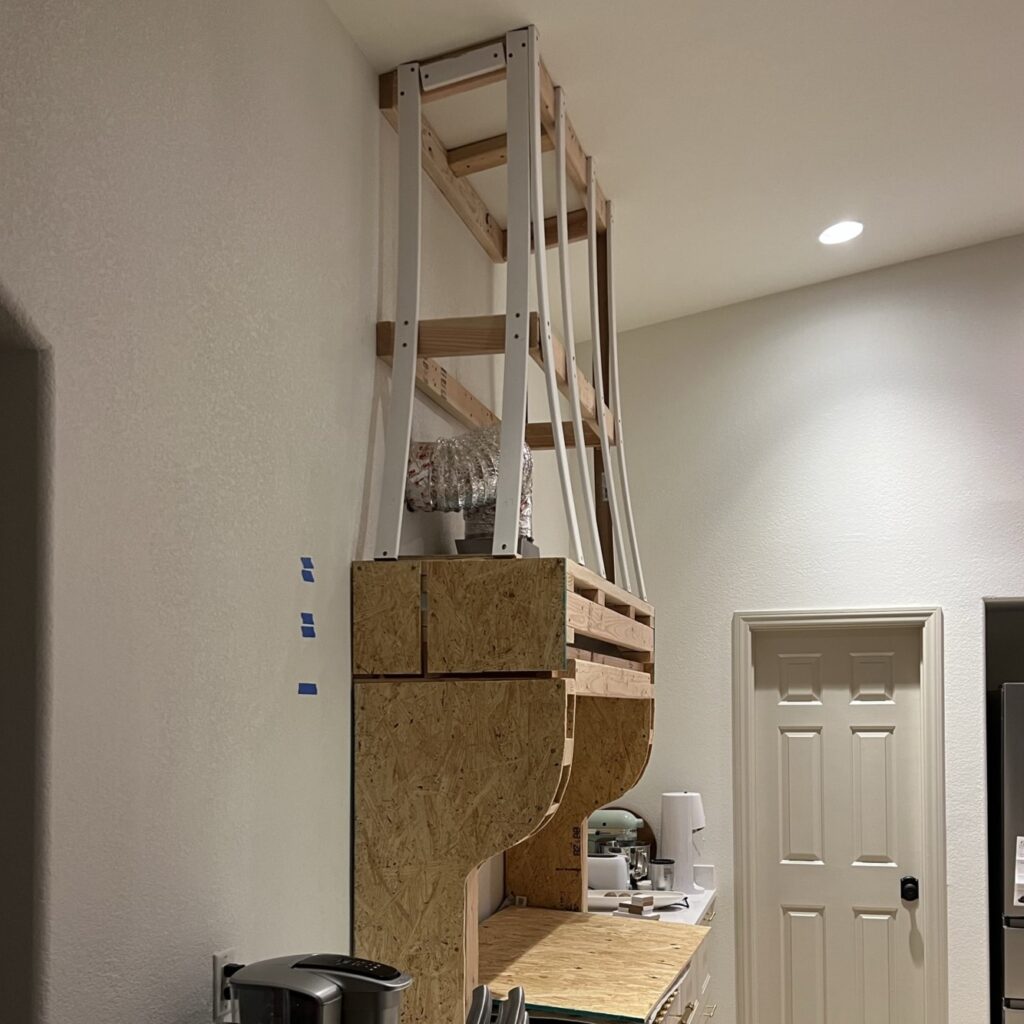
Here’s a more detailed look of the structure:
Once the general structure was built, I cut out the curves for the corbels and the frame out of a sheet of plywood using my cardboard template that I mentioned earlier:
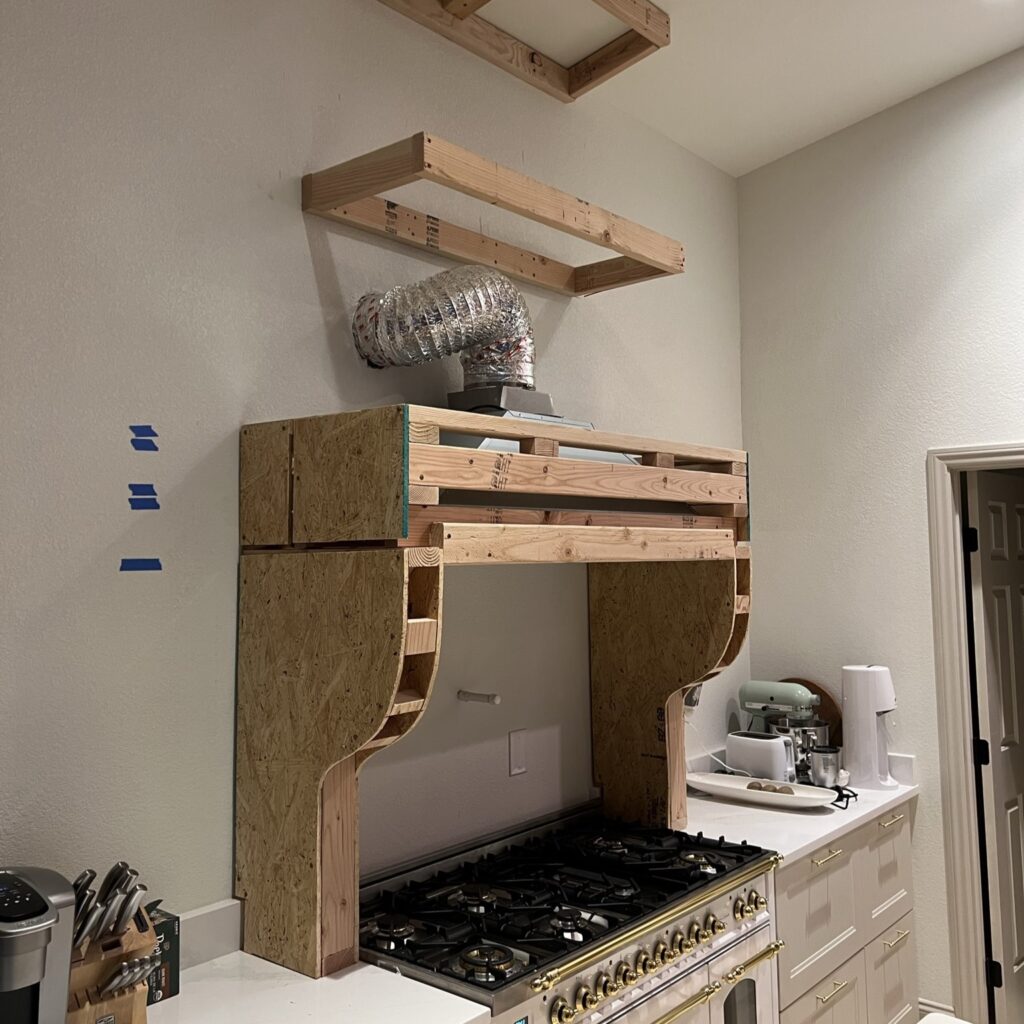
You can see there is a piece of plywood on the outside and on the inside of each corbel to create the structure:
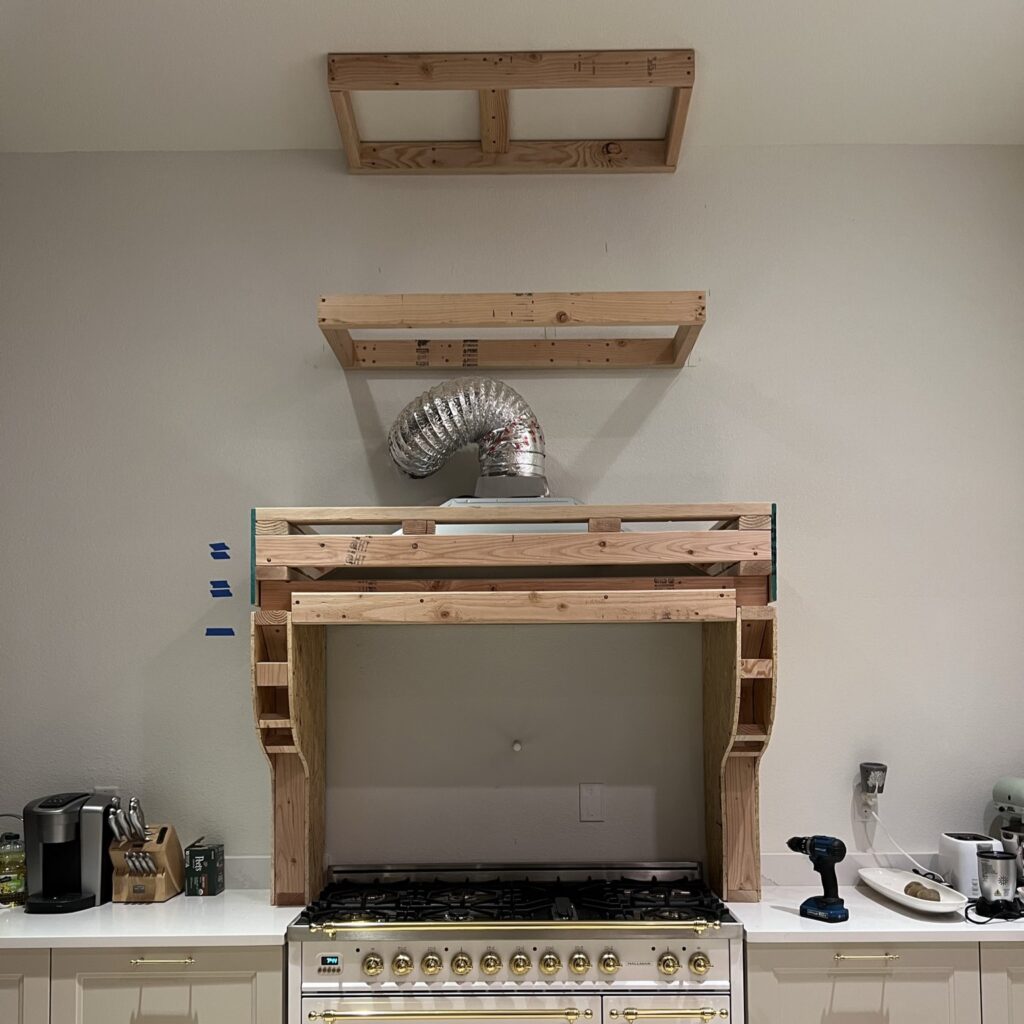
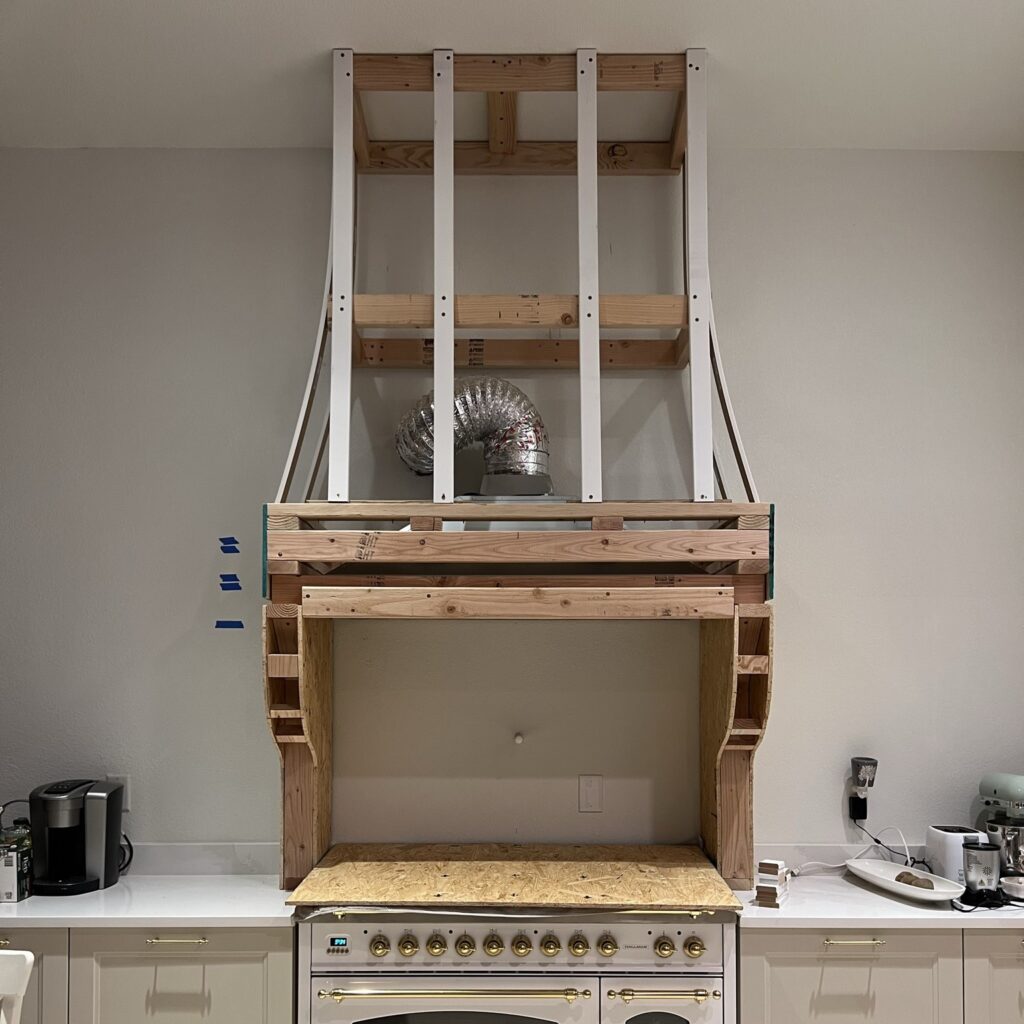
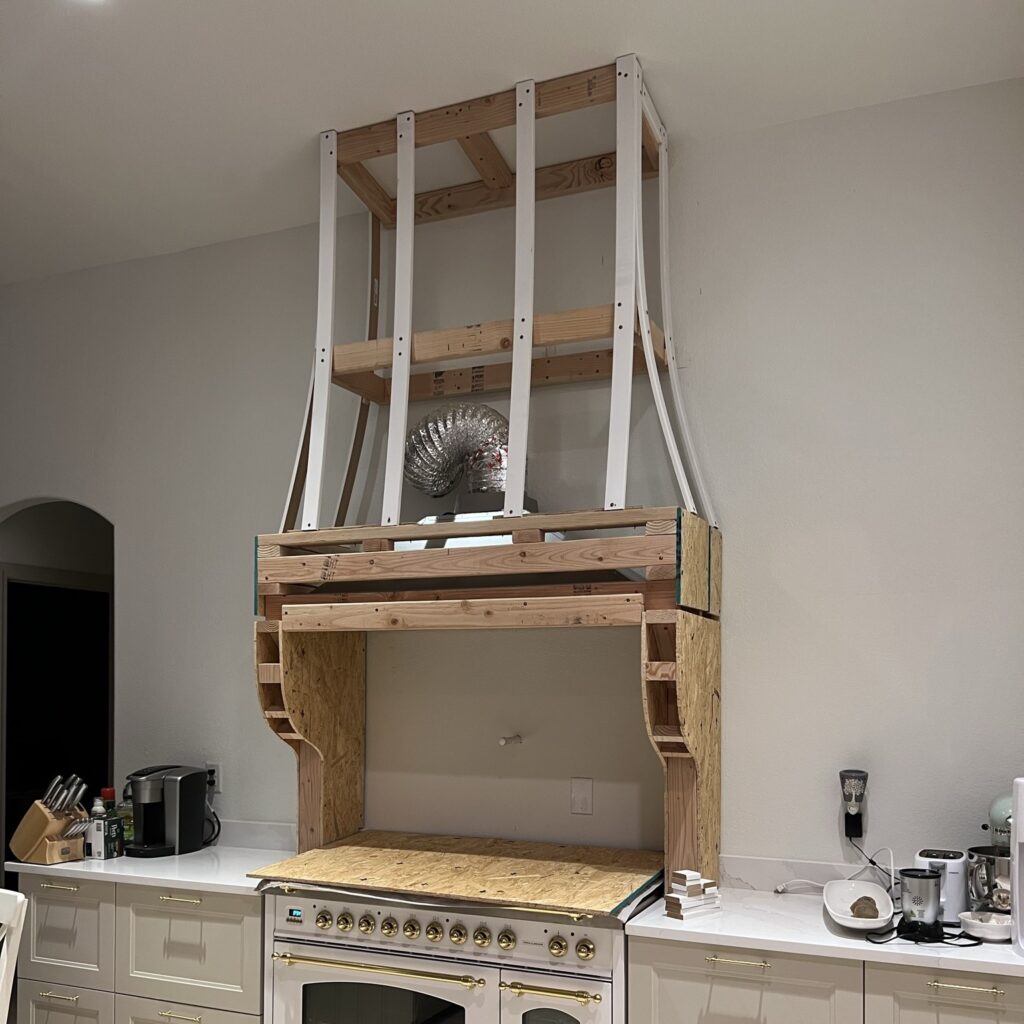
This is where it got really fun, it was time to create the curve for the hood vent! We used MDF boards for these vertical pieces. They are really sturdy but provide just enough flexibility to create a slight curve along the sides of the hood.
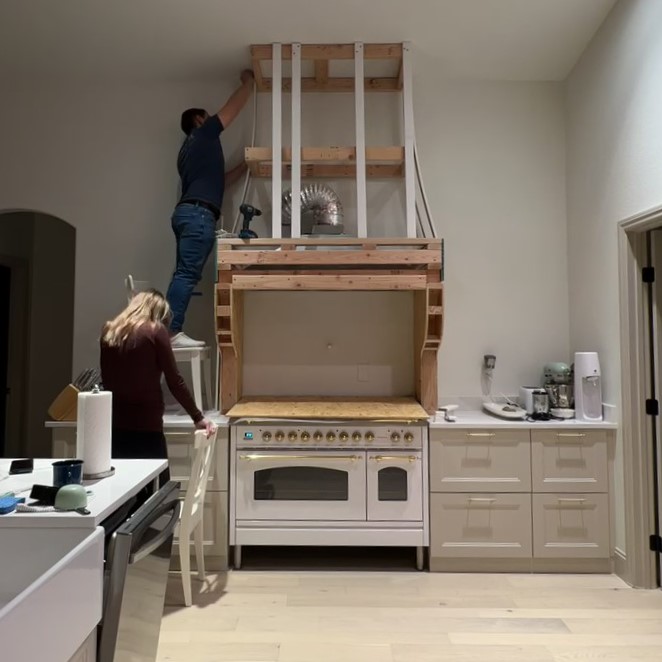
We used multiple screws per MDF board to make sure they were all securely attached to the stud structure.
Step 6: Install drywall
The next step was to install the drywall. To install the drywall we cut large drywall pieces by scoring them with a utility knife and snapping them along the scored lines.
Tip: I recommend using as many large pieces as you can to avoid having to connect smaller pieces of drywall and patching gaps/seams between them. I find it very difficult to ever make them completely disappear so I just try to avoid them altogether for a seamless look.
First, we added the large piece at the top:
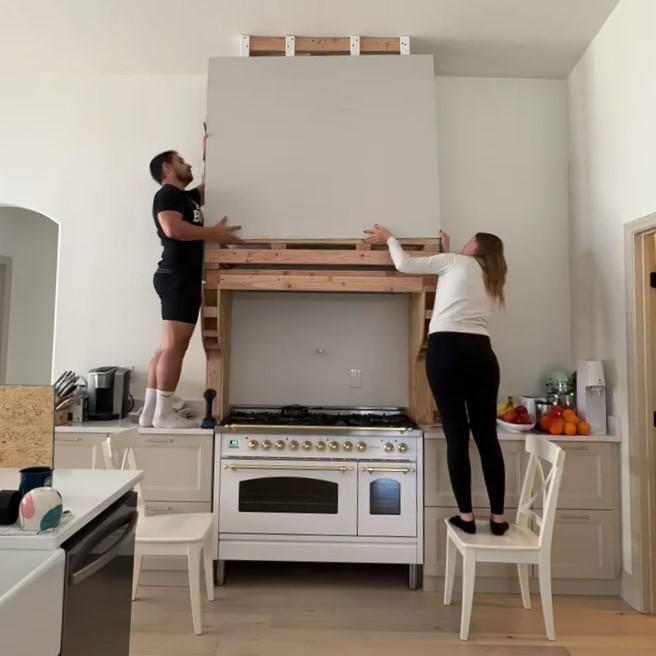
Note: Because the top part of our DIY vent hood has a curve, we needed the drywall to bend with the curve. To allow the drywall to flex and follow the curve, we scored the back of the drywall sheet you see above. We scored it horizontally every 1 inch (I didn’t take a picture of this but the back of the drywall looked a little bit like a guiro instrument). I’ll show you how I used the same technique on the corbels down below.
Once the drywall piece was attached to the structure, I trimmed the sides of this front piece to match up with the corner of the structure. You can see me scoring it along the curve in the back with my left hand:

Then, we snapped it along the scored line:
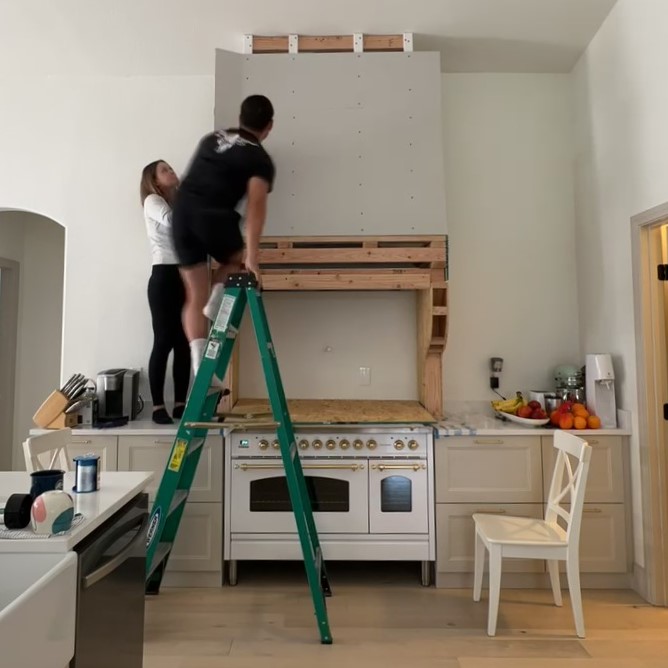
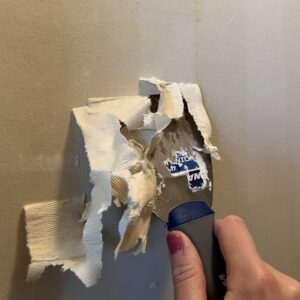
Lastly, my husband perfected the cut and smoothed out any rugged edges along the cut line:
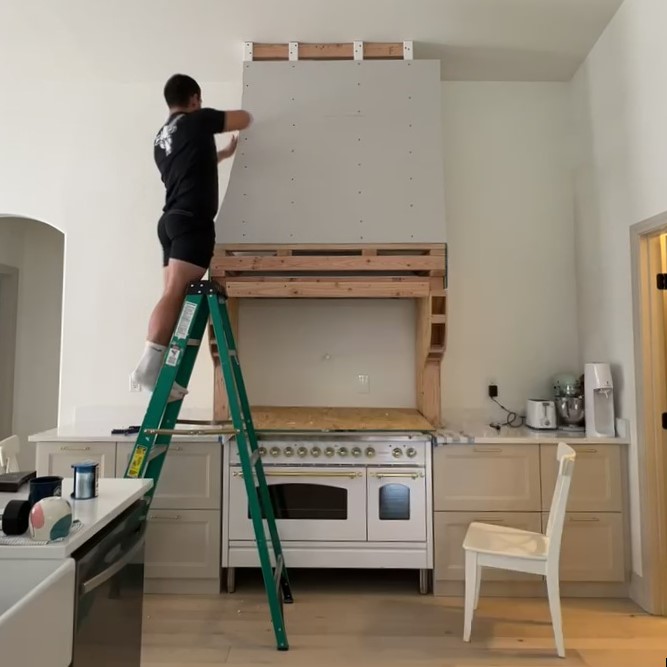
We did the same thing on the right side:
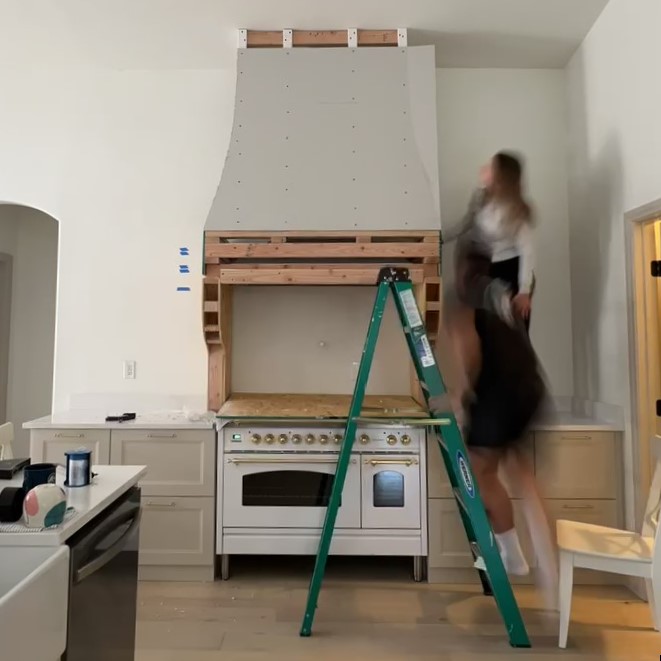
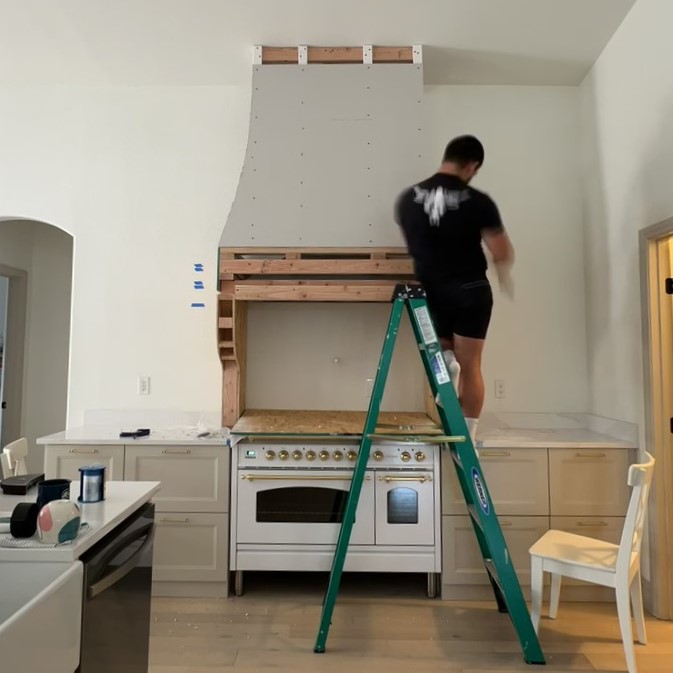
Here’s a more detailed look at that first piece of drywall:
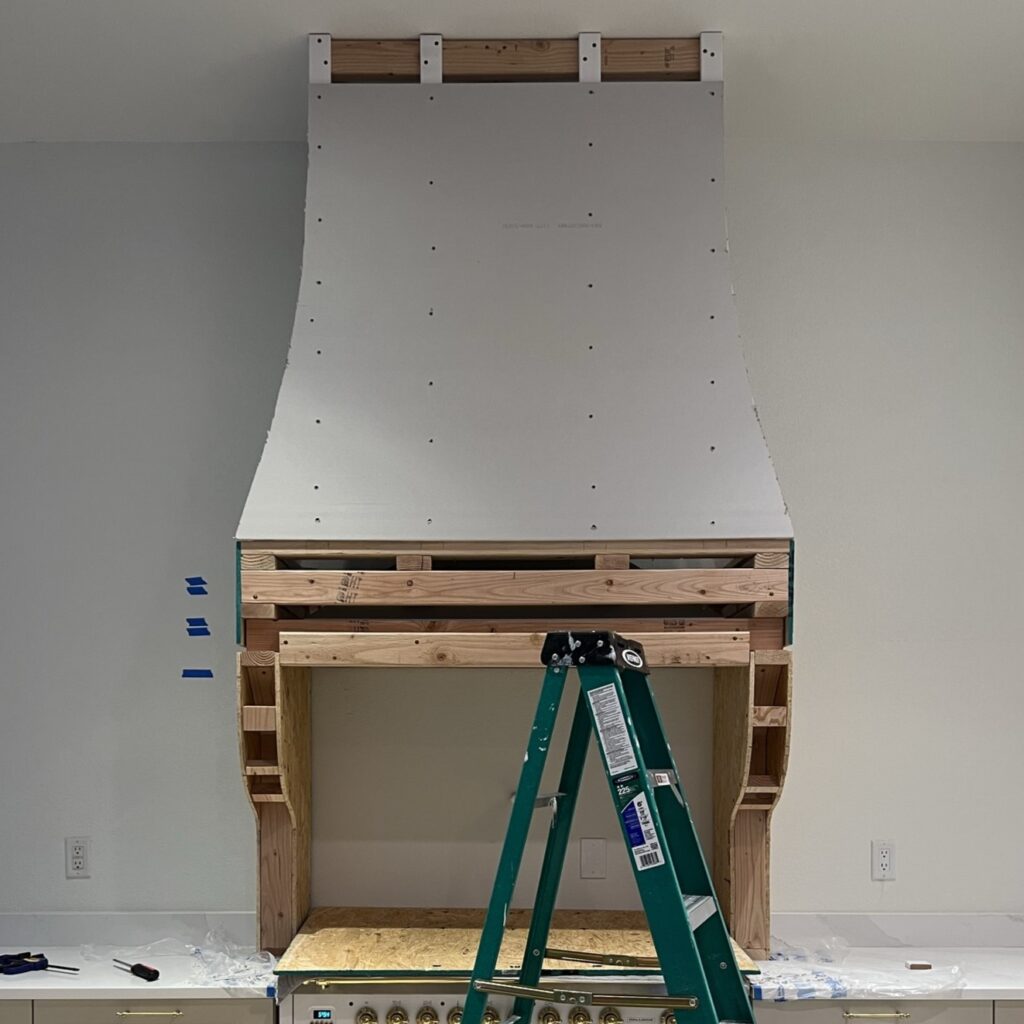
This top piece of drywall was the largest one.
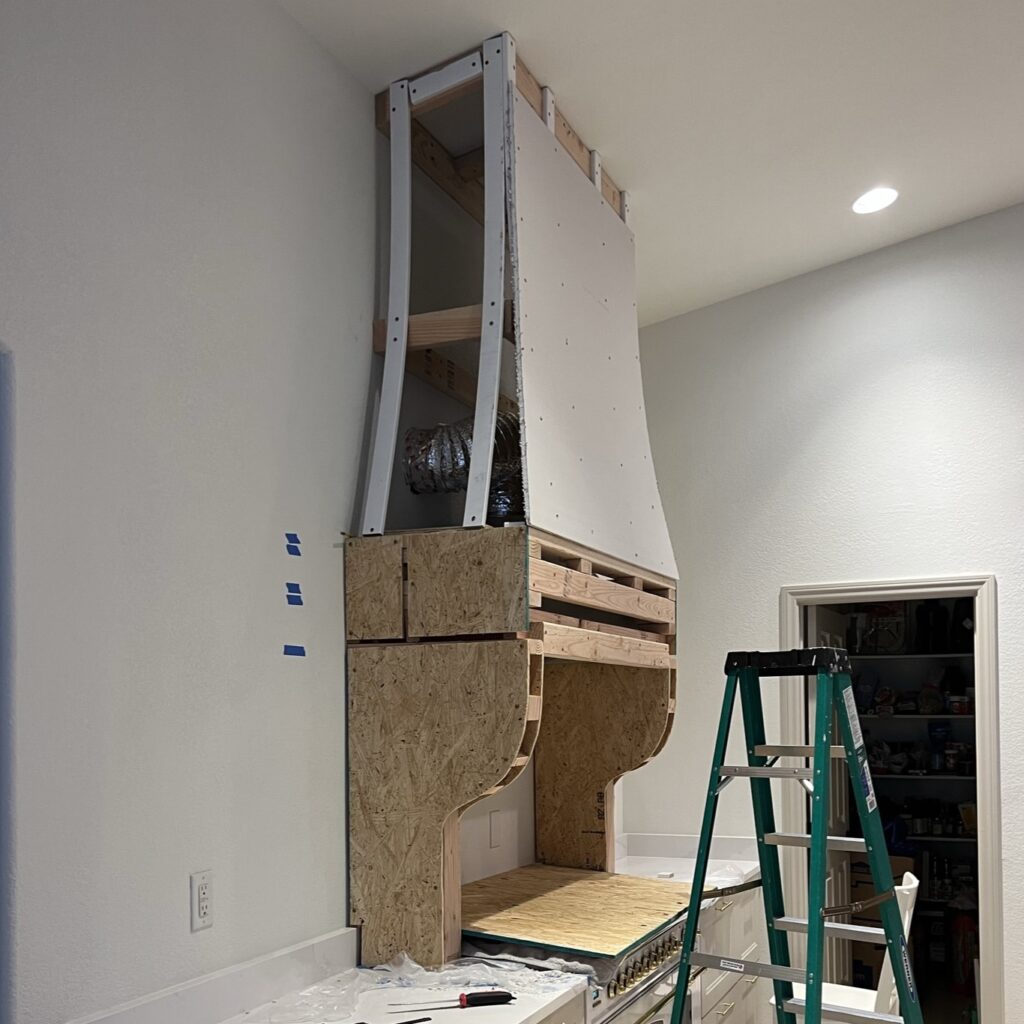
Then, we added the remaining pieces of drywall:
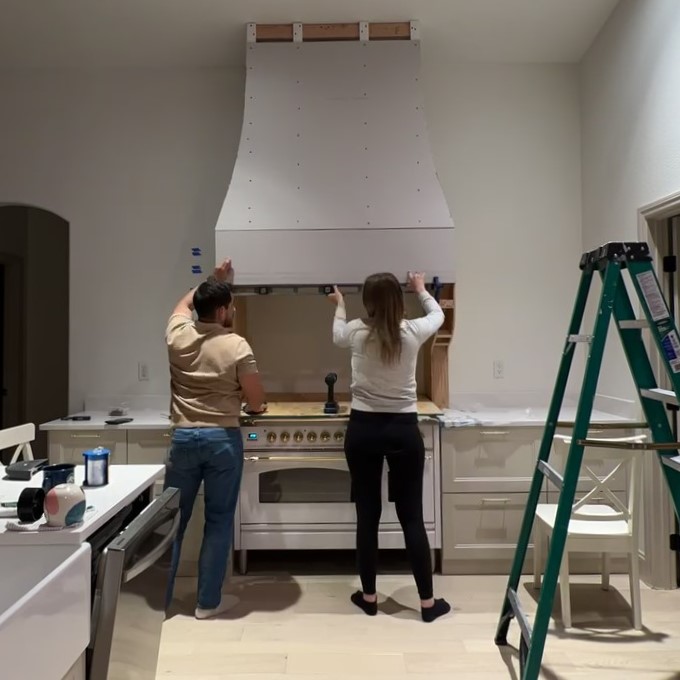
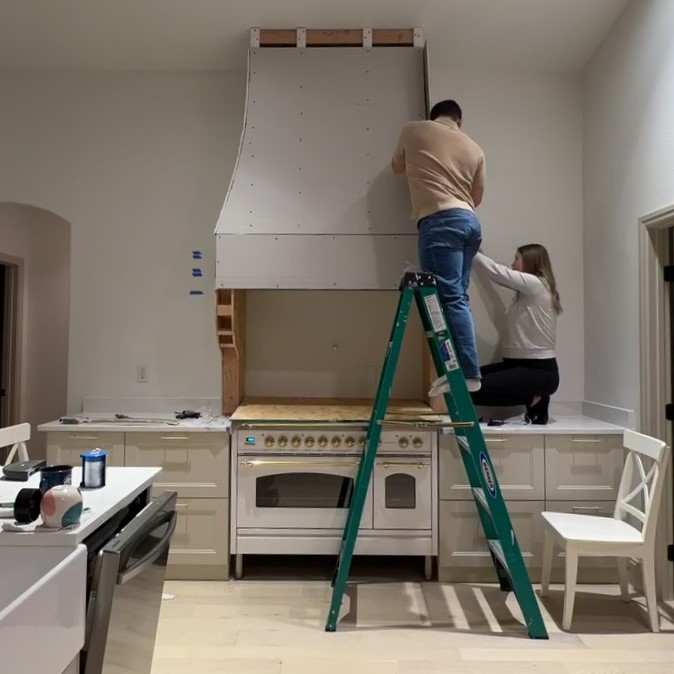
Including one at the top of the range hood:

Here’s a more detailed look:
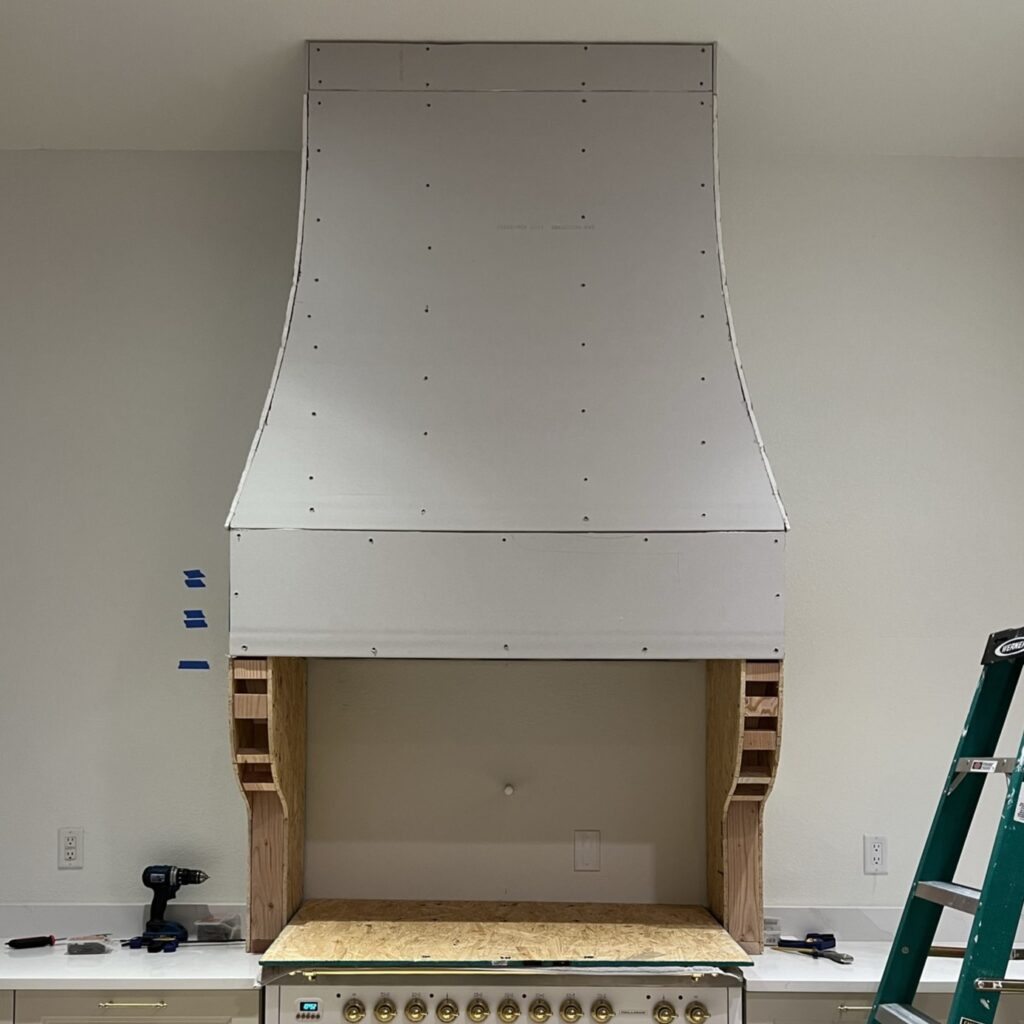
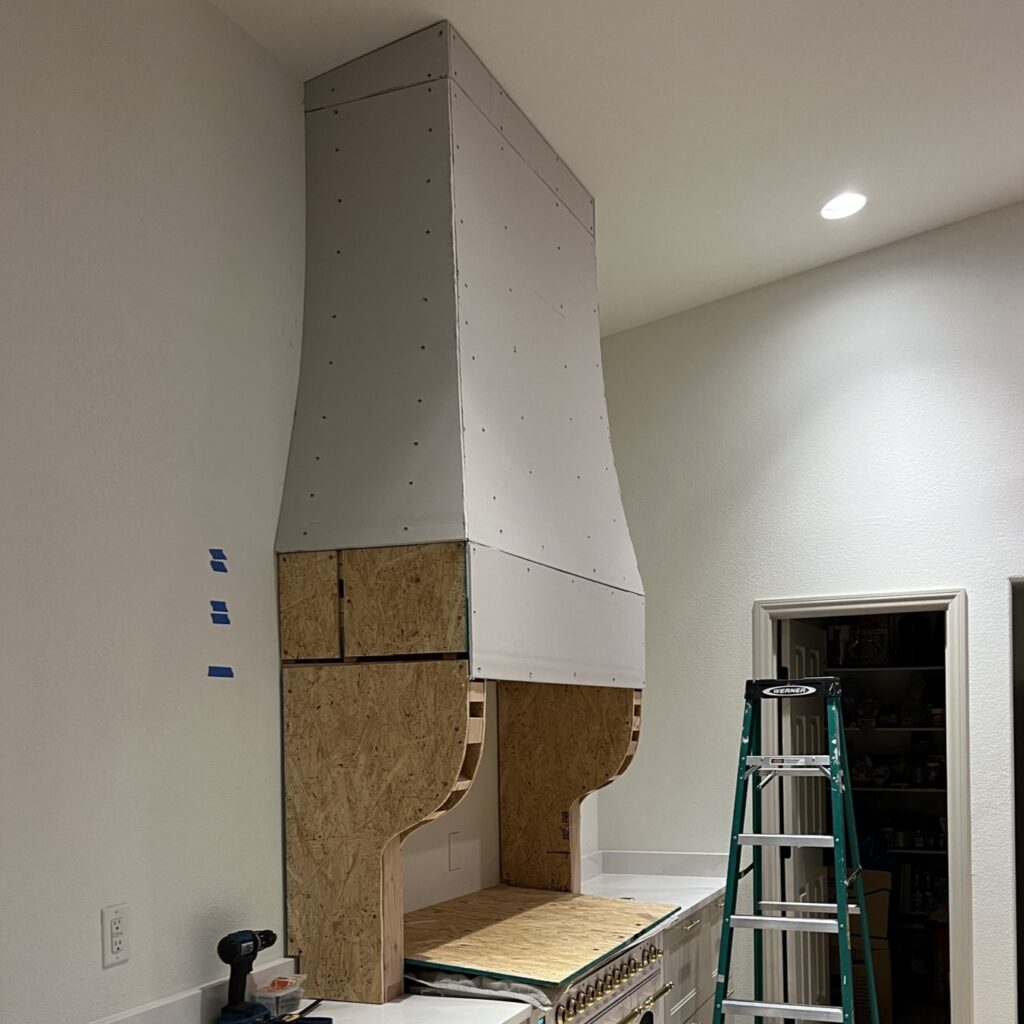
To add the drywall on the corbel curves, I used the same technique as mentioned above: I scored the drywall to allow it to bend, except this time on the front side.
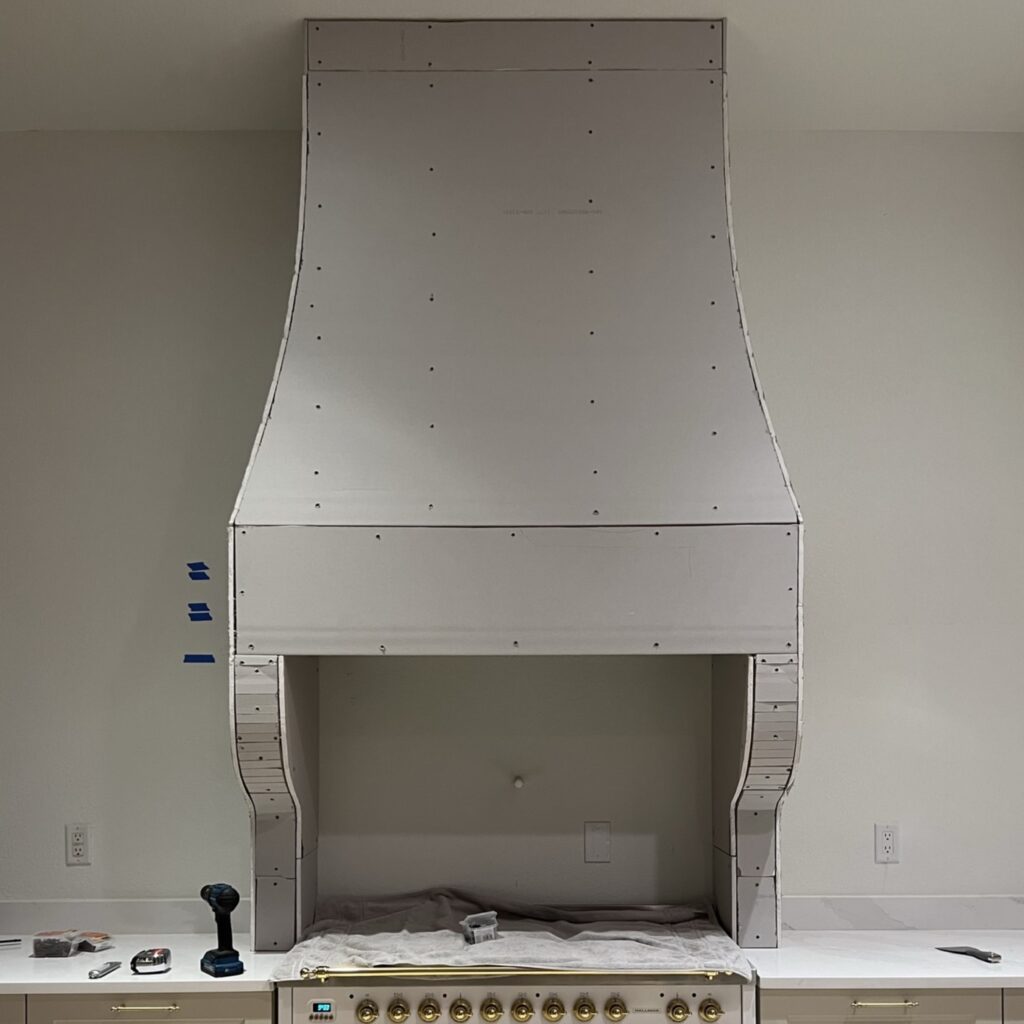
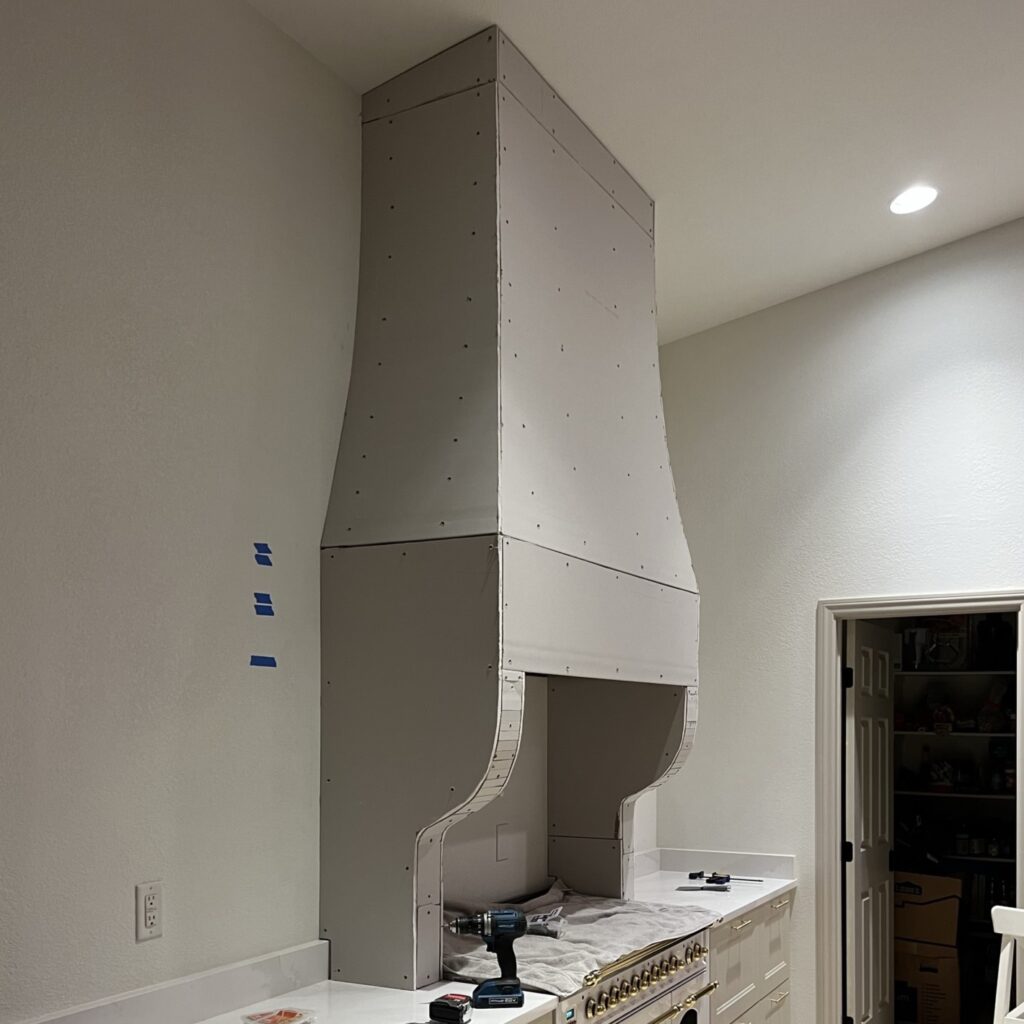
This was honestly the most difficult part of the drywall installation.
Step 7: Install corner bead
Once all the drywall was up, the first step was to add corner bead. I attached it with a layer of joint compound:
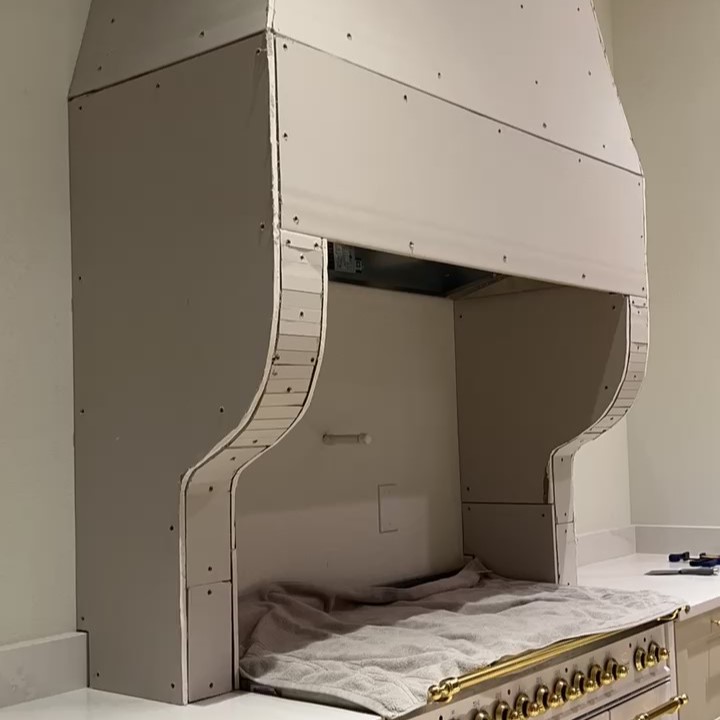


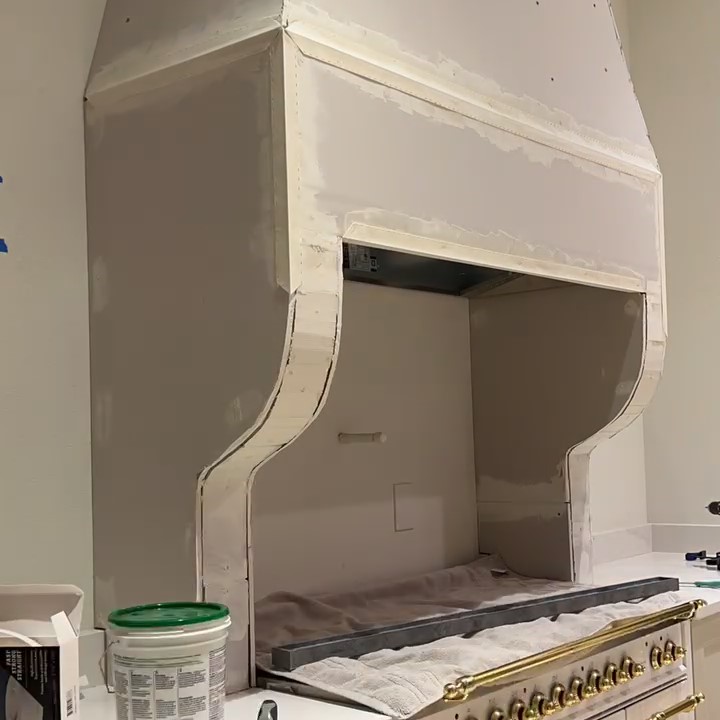
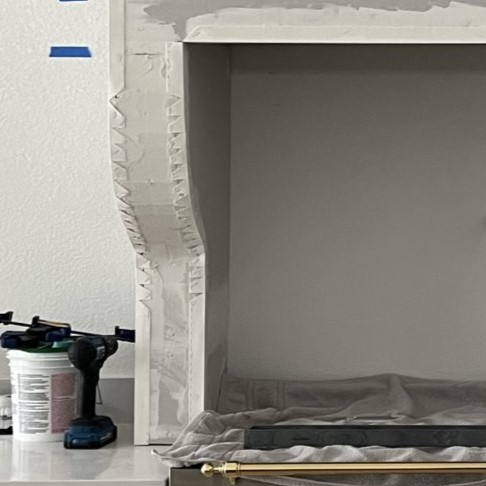
To allow the corner bead to bend enough on the corbels, I had to cut out little triangles in the trim pieces:
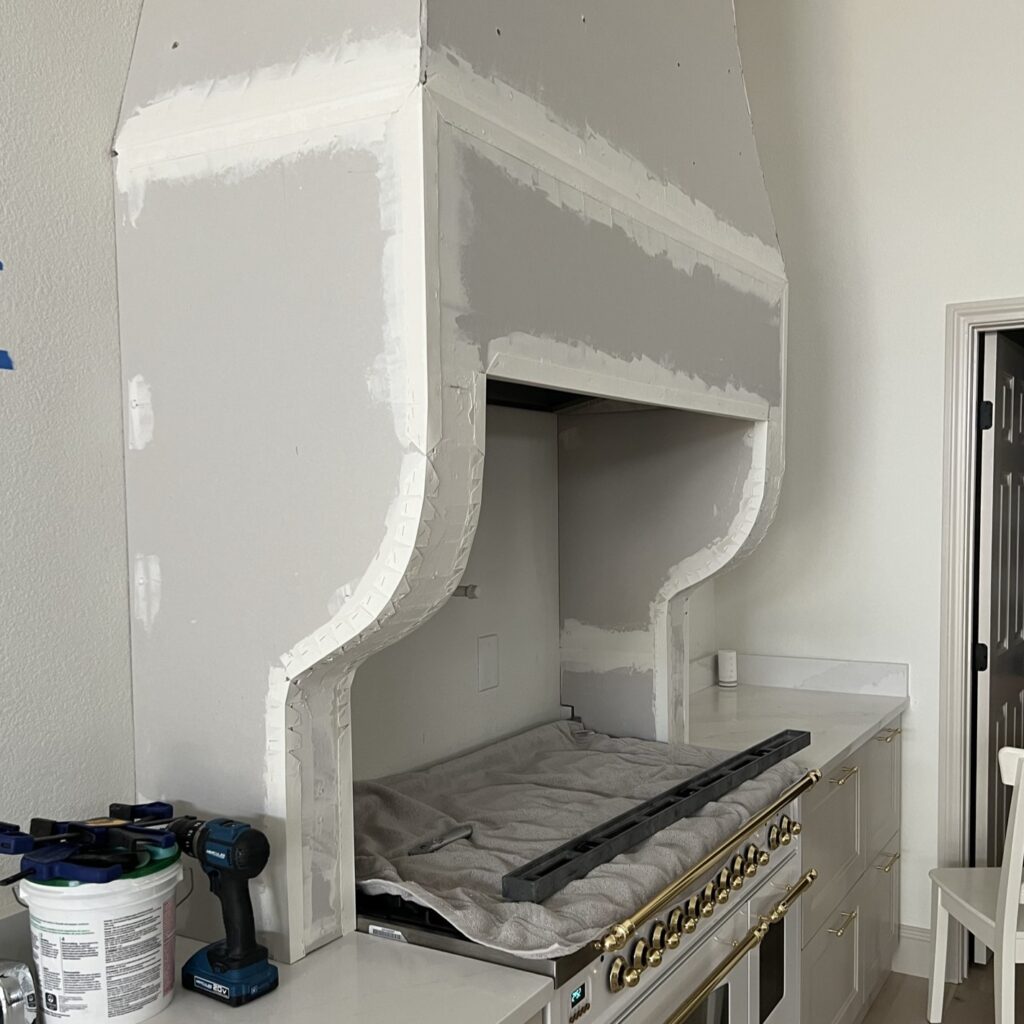
I then used staples because of the tight bend to attach it to the drywall.
Step 8: Add joint compound and sand
This next part was one of my least favorite and tedious parts but also one of the most important ones: adding joint compound to the whole thing and sanding to perfect the surface of the range hood!
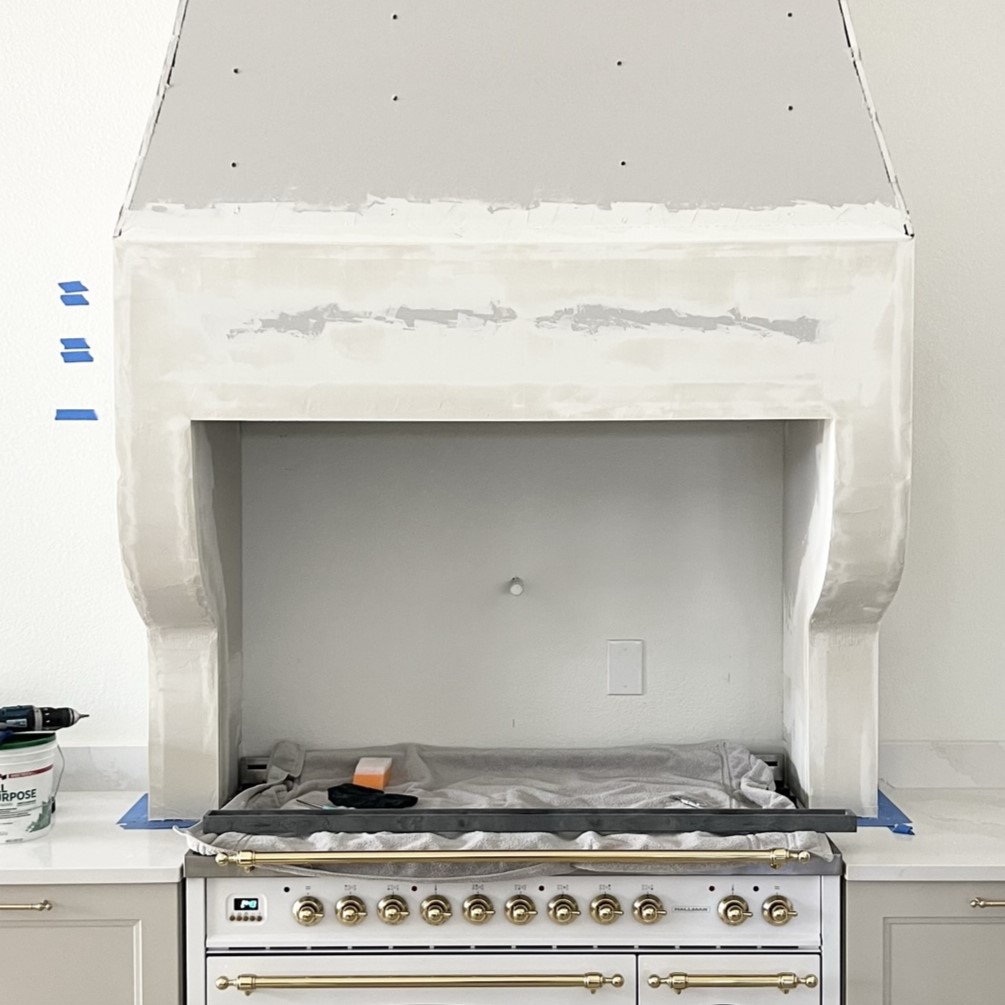
I started with a really rough layer of joint compound, sanded it down, added another thinner layer, sanded it, … In total, some spots (like the corbels) got about 7 layers of joint compound! A little crazy but so worth it to make sure it was as smooth and even as possible! It’s a labor of love and it takes a lot of patience. I definitely recommend not rushing this part and enjoying the transformation.
We’re really happy with how the surface turned out and we’re so glad we put in the extra work!
Step 9: Prime and paint
We debated just leaving the joint compound because the color and texture already looked pretty good:
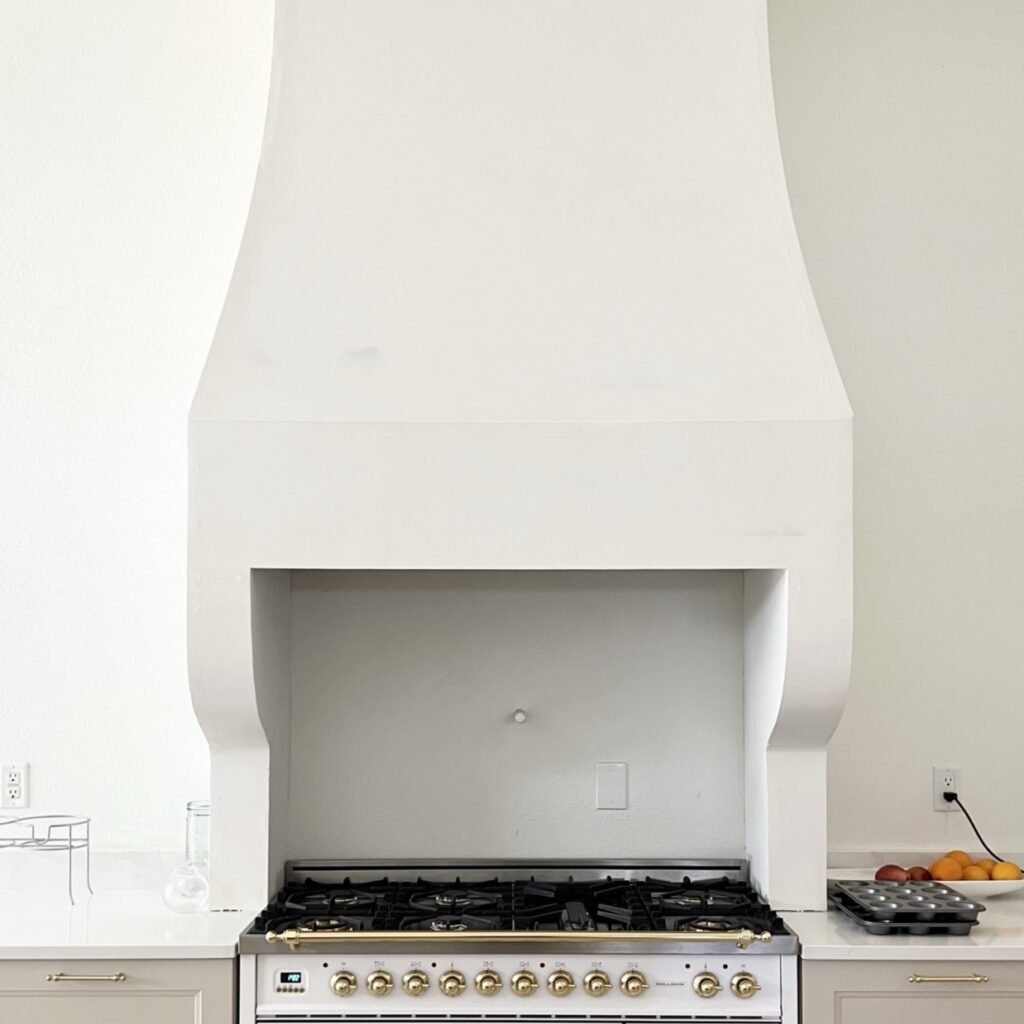
But we’re aiming for perfection here so we decided to prime and paint it to match the wall behind it!
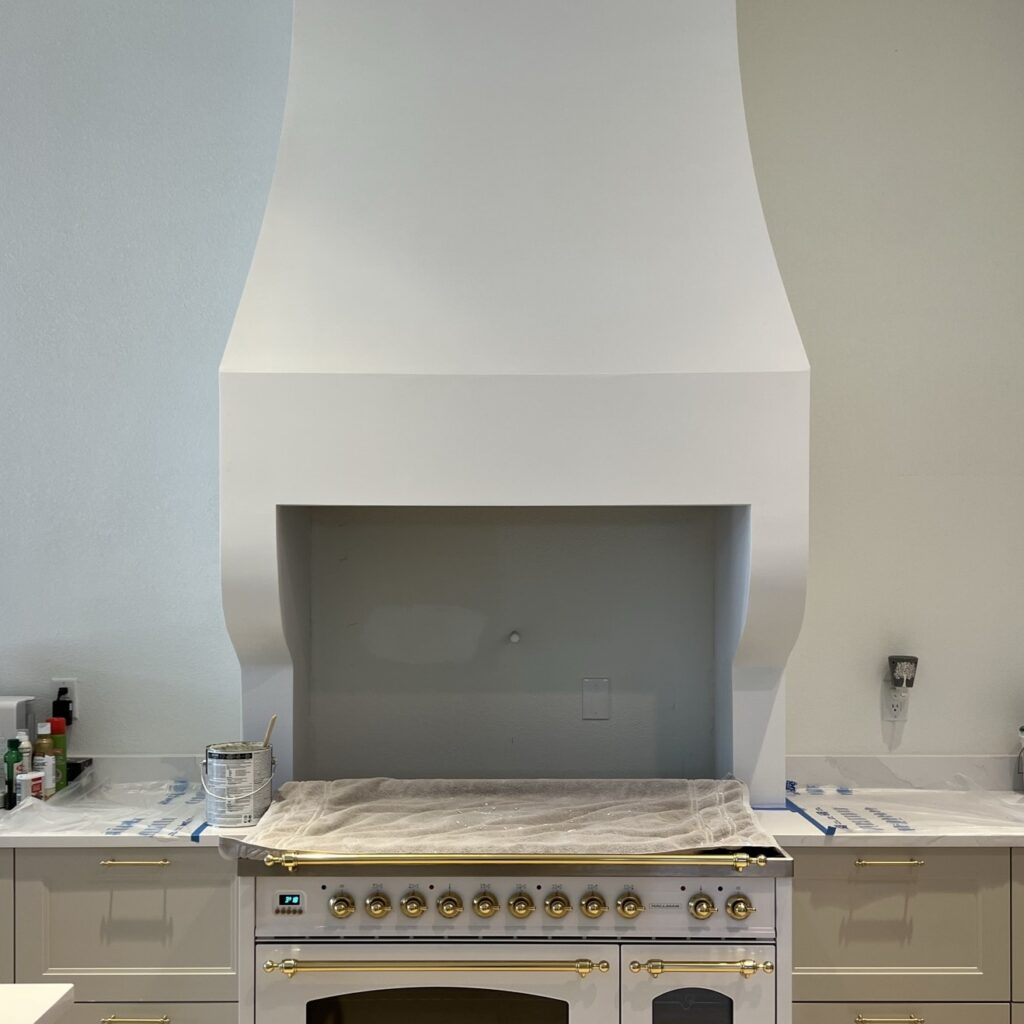
Priming and painting was by far the easiest and most relaxing part of this project, so I didn’t mind this step at all!
Finished DIY Curved Range Hood
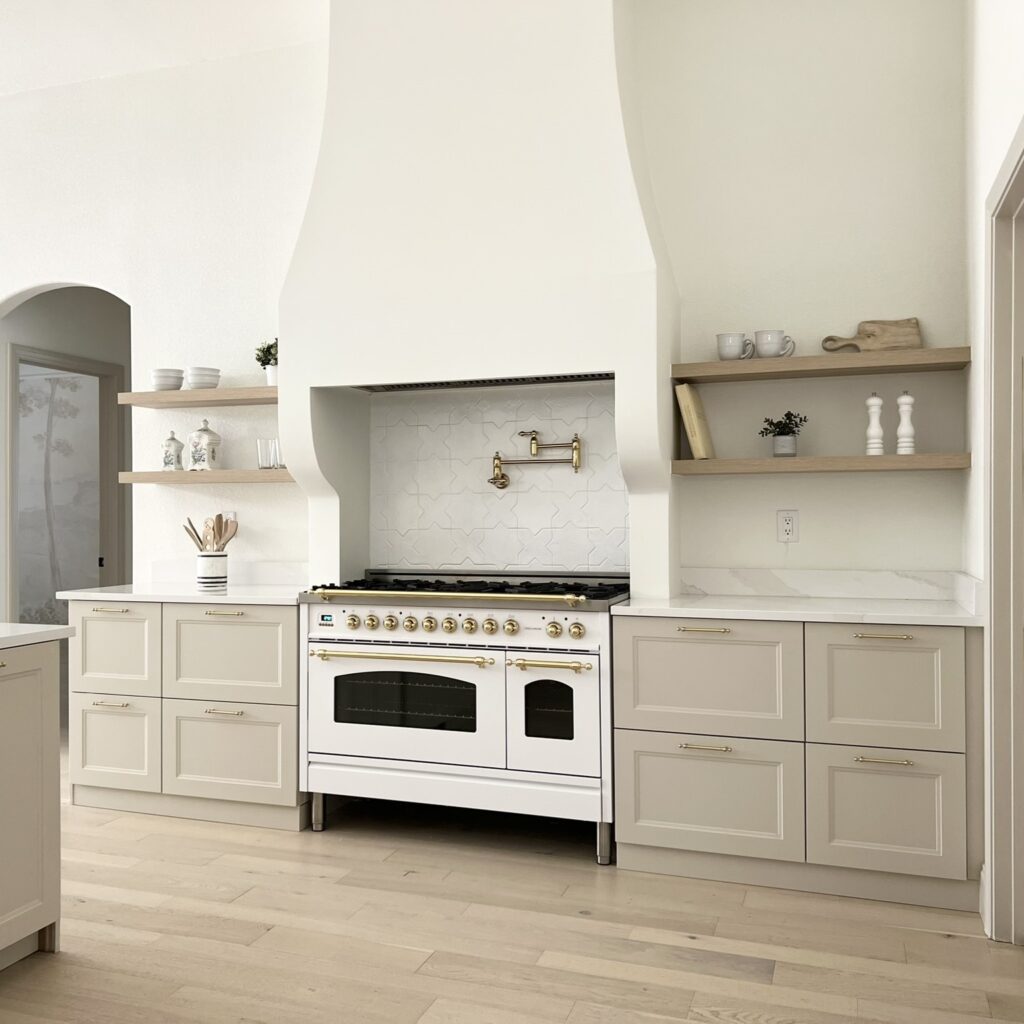
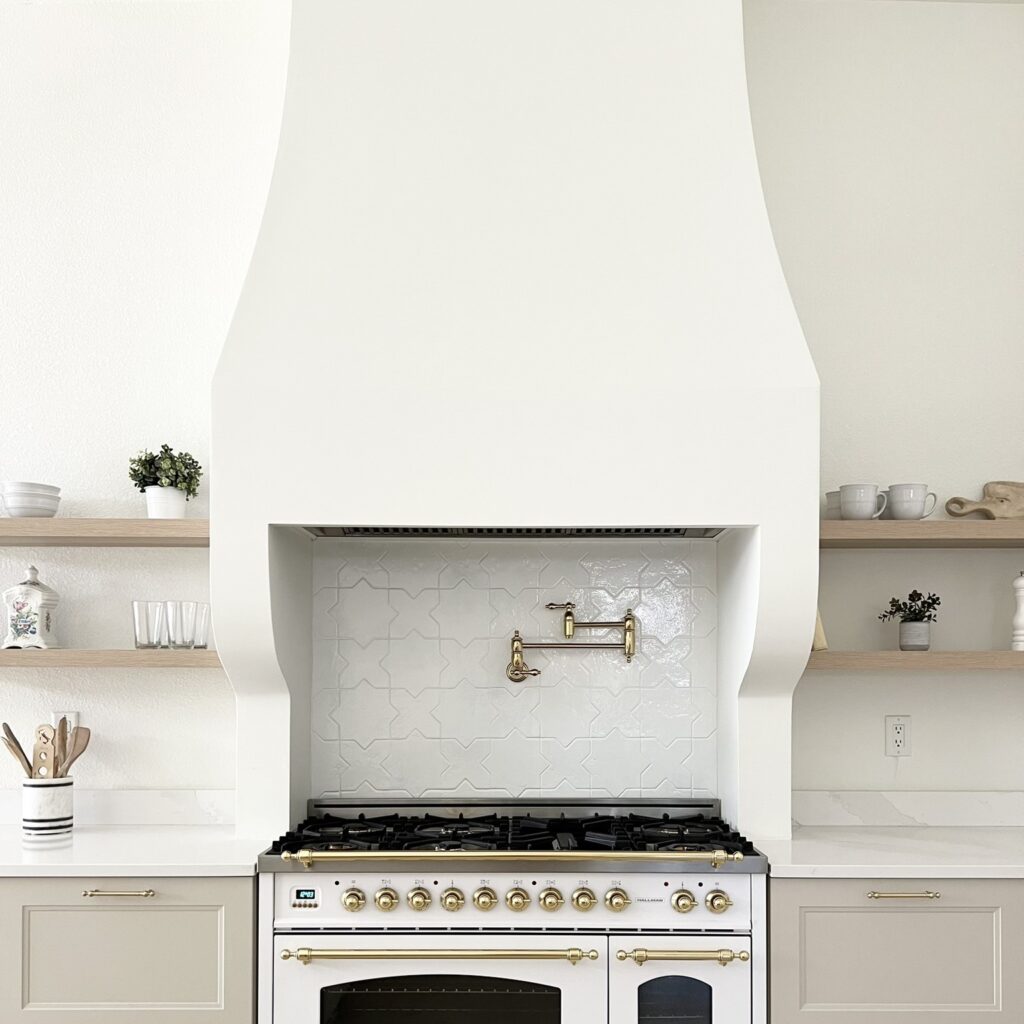
And here it is: our finished DIY range hood!
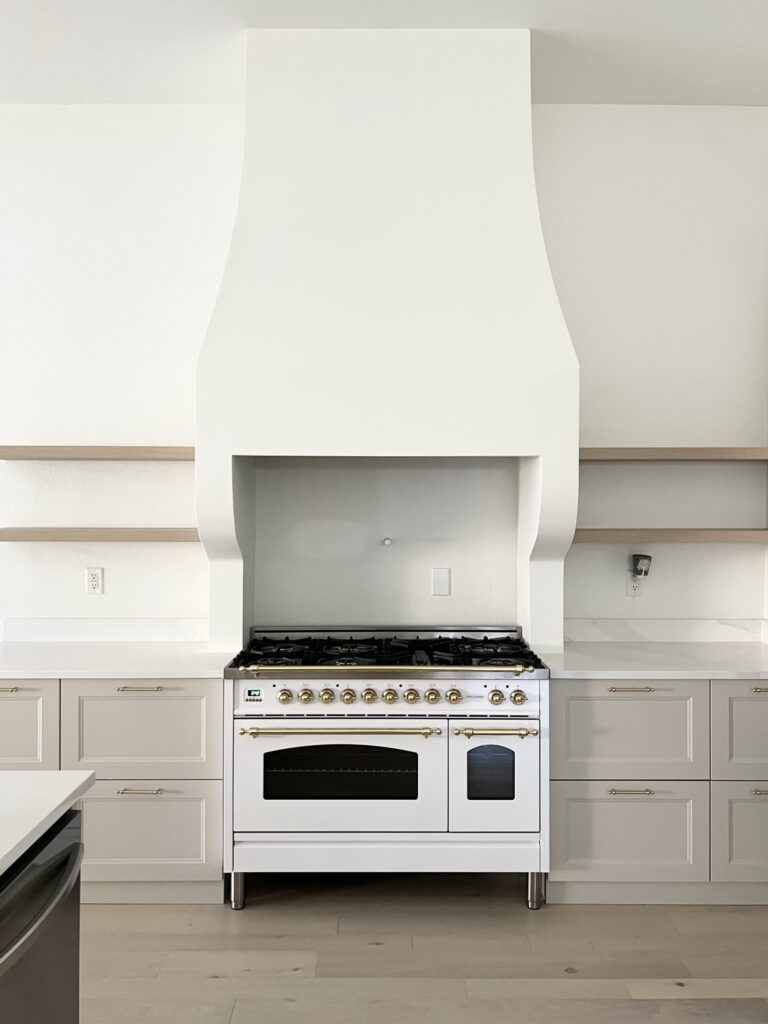
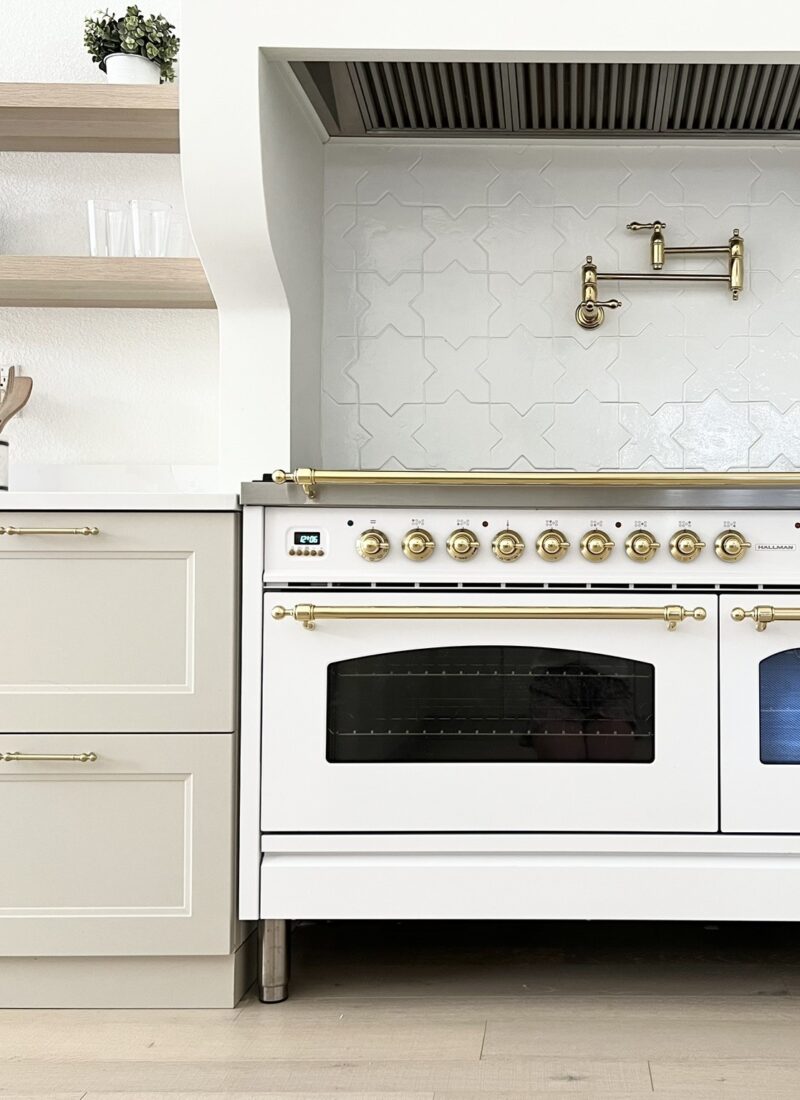
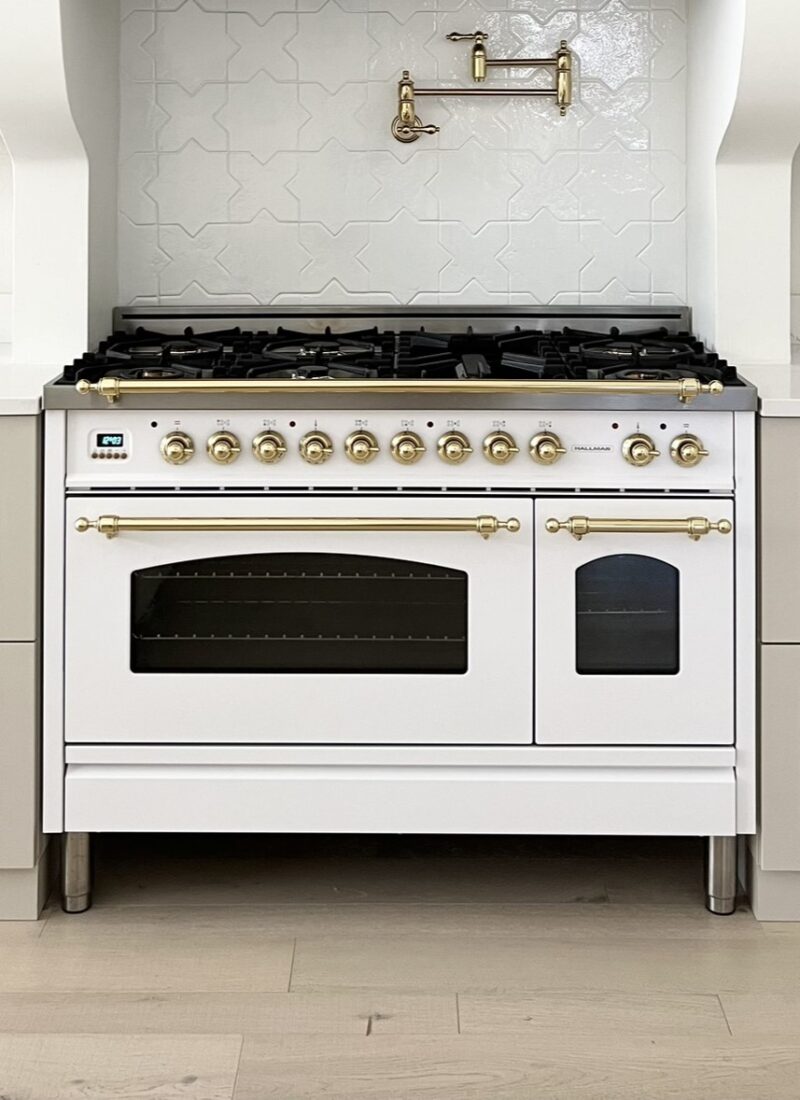
I really love how this custom vent hood turned out! I think its size and shape fit the space perfectly. This DIY kitchen vent hood took a long time but I think it’s the perfect addition to our white Hallman range and looks great with our shortened IKEA shelves. It really helps create the kitchen feel I was going for!
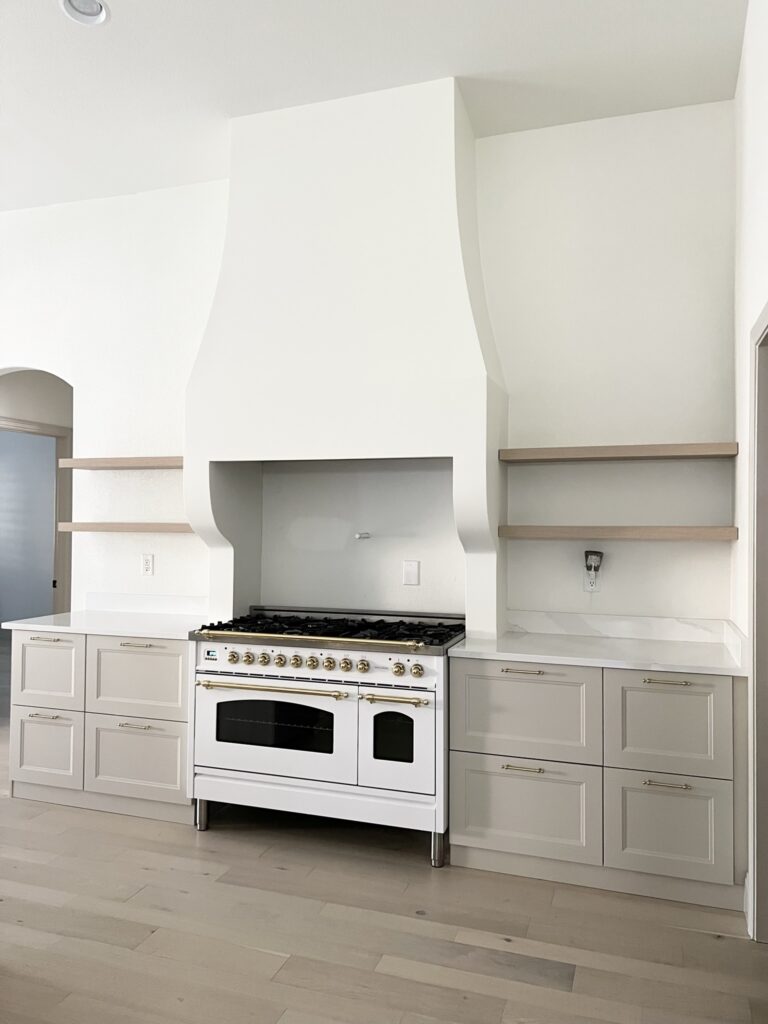
I’m really happy with how the curves and the corbels on our DIY range hood turned out, I can’t believe we pulled it off!

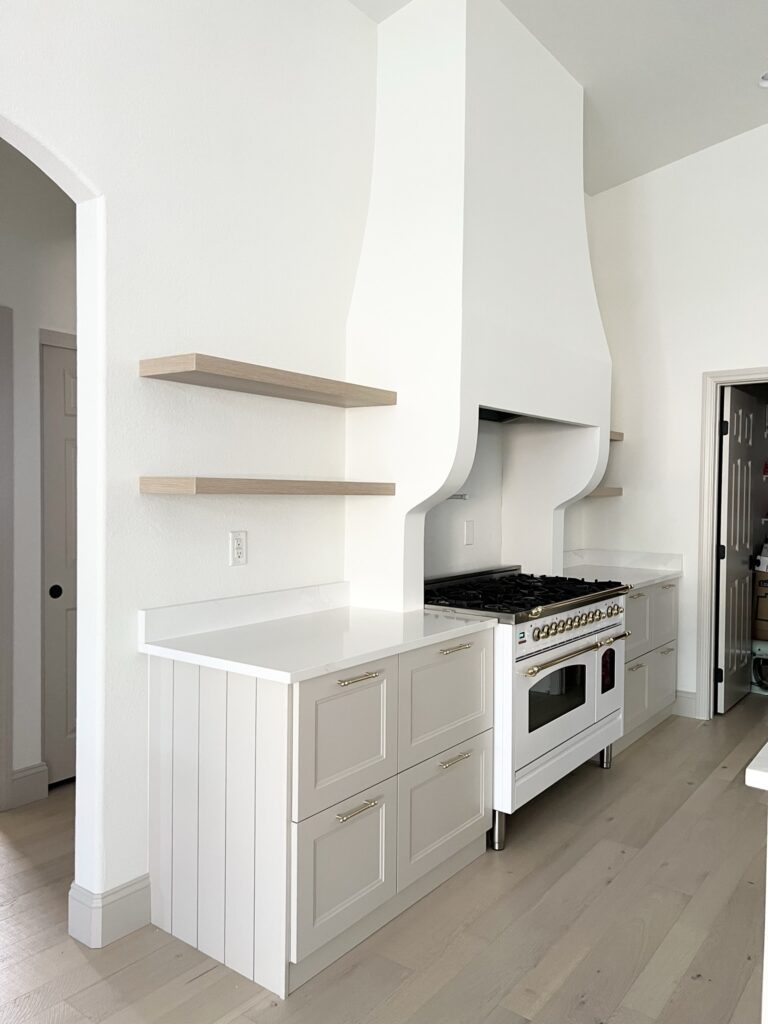
I hope this helped explain how to install a range hood!
As always with my DIY projects, feel free to reach out with any questions in the comments below. This post covered a few weeks of work and there’s definitely a lot that went into this vent hood cover.
Be sure to check out the full kitchen reveal here.
Let me know if you end up tackling this project yourself!
Tina

Leave a Reply