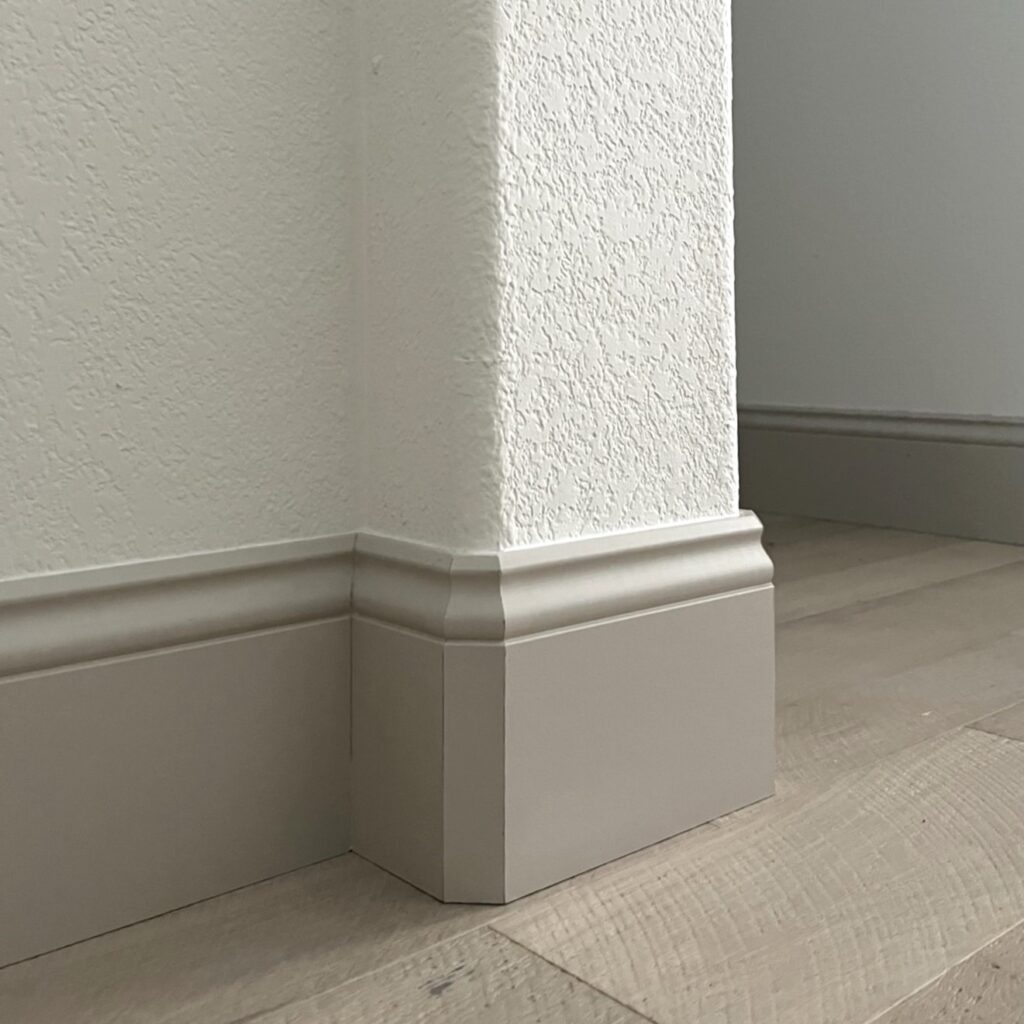
Are you wondering how to install baseboards around rounded corners and what angle to cut baseboards for rounded outside corners? You’ve come to the right place! I’ll show you how I installed beautiful 7 inch baseboards around bullnose corners in our house in just a few simple steps without using any special bullnose trim.
Note: This post may contain affiliate links, you can find more information in my disclosures here.
Materials
- Baseboards
- Paint
- Brad nails
- Caulk
- Wood glue
- Painters tape
Tools
- Bullnose trim gauge
- Measuring tape
- Pencil
- Miter saw
- Paint brush and/or roller
- Brad nailer
- Caulk gun
Step 1: Measure needed length
Rounded corners are tricky to install baseboards on but I found a tool that made this so much easier, it’s called a bullnose trim gauge!
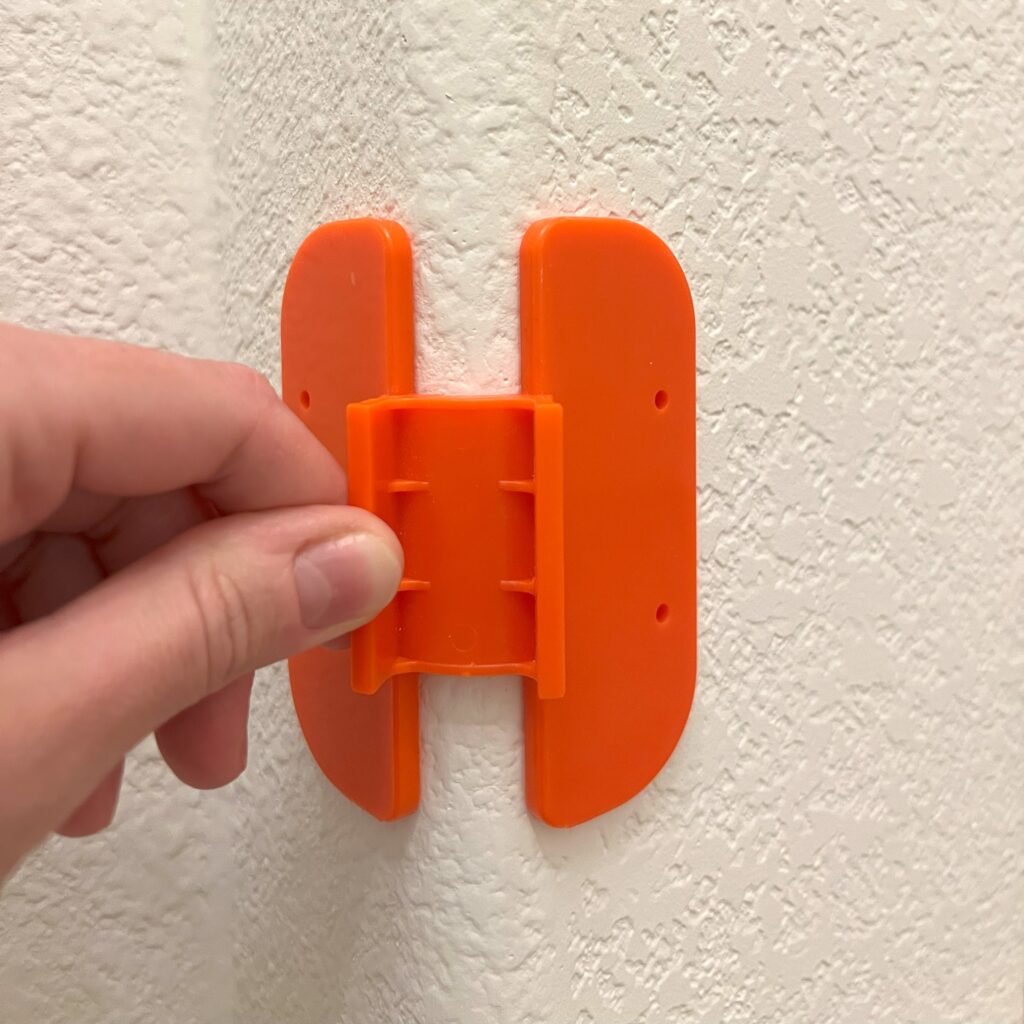
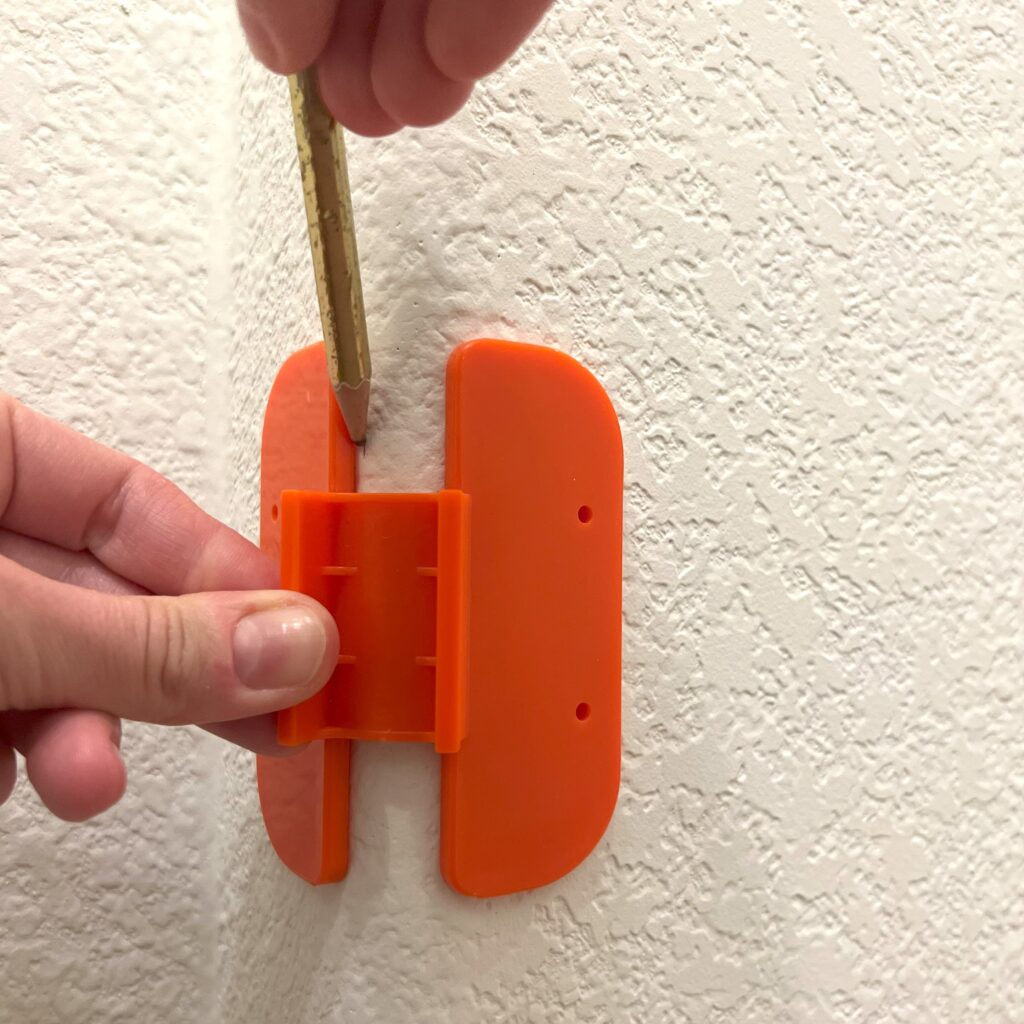
It “hugs” the outside corner and you can use this tool to determine where each of the baseboard pieces should begin/end. The marked spots can then be used to measure the length of the pieces you will need to cut:
Step 2: Cut baseboards
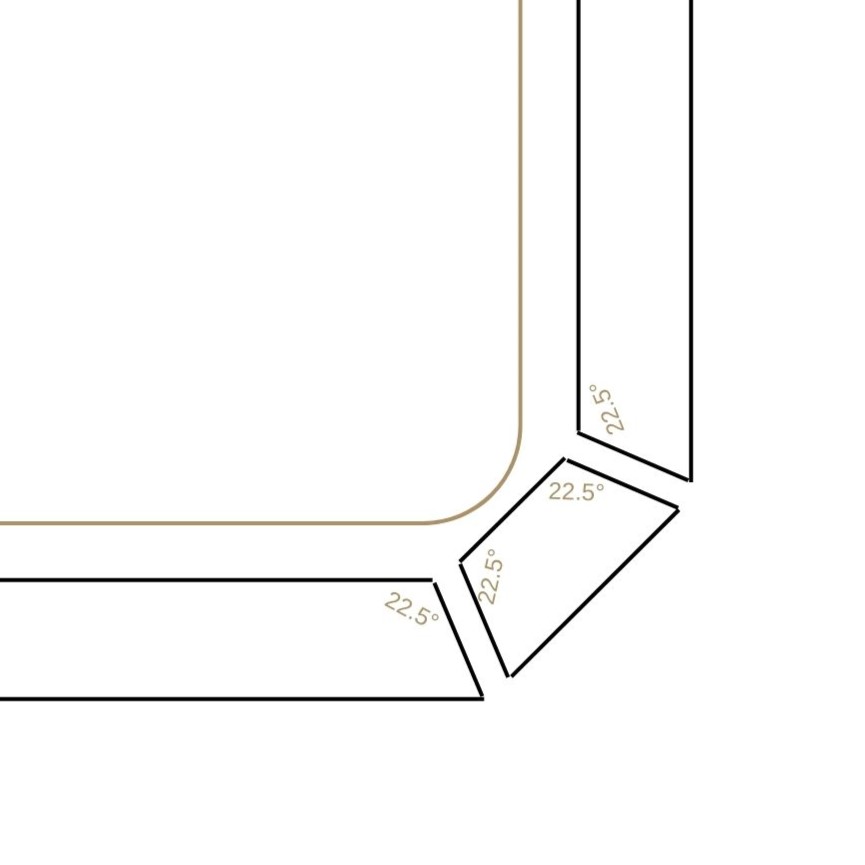
Once you know the required length, you will need to cut your baseboards. Bullnose/rounded corners consist of four main cuts, each cut at a 22.5 degree angle:
Step 3: Confirm proper fit
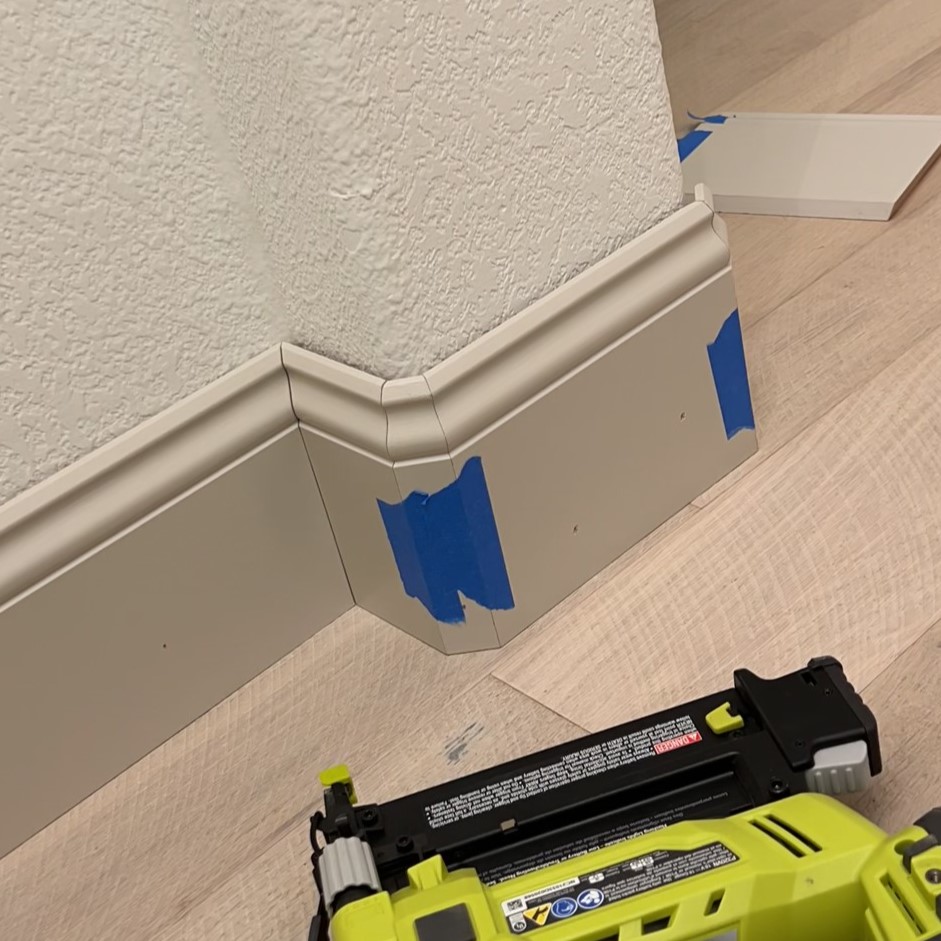
Next, you can confirm the proper fit of your cut baseboards by attaching them together with some painters tape and aligning them with your corner:
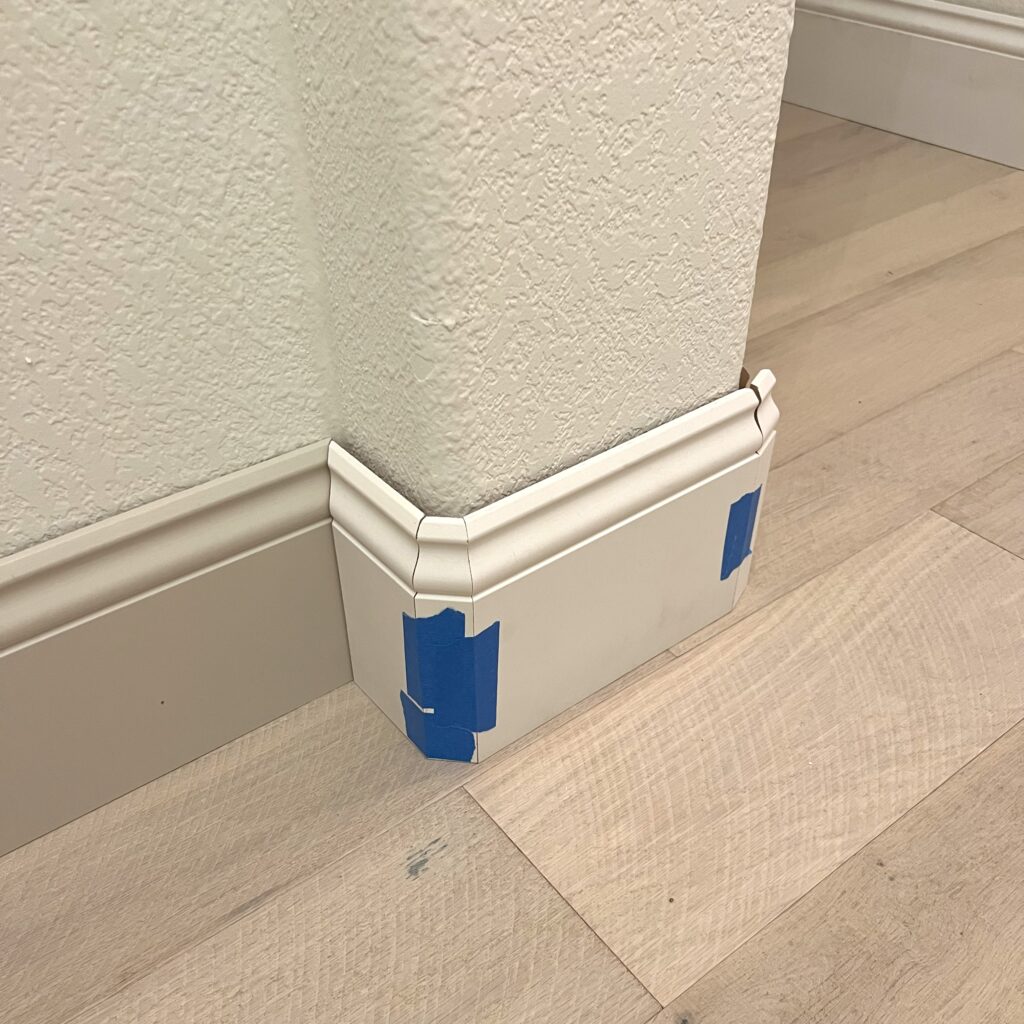
Note that walls are rarely perfect so I like to focus on the baseboards being perfectly square because we can fix slight imperfections and gaps with caulk later.
Step 4: Paint baseboards
Once you’ve confirmed the proper fit of your baseboards, you can paint them to get them ready to be installed. I actually decided to paint my baseboards in bulk, it helped me save a lot of time!

Tip: Write down the room names and numbers on the unpainted backs so you know where they’re supposed to get installed once the paint dries.
Step 5: Glue baseboards together
To make sure your baseboards are perfectly aligned and square around those rounded corners, I recommend gluing them together using wood glue before installing them. Walls can be uneven so this step helps ensure perfectly aligned baseboards around rounded corners:
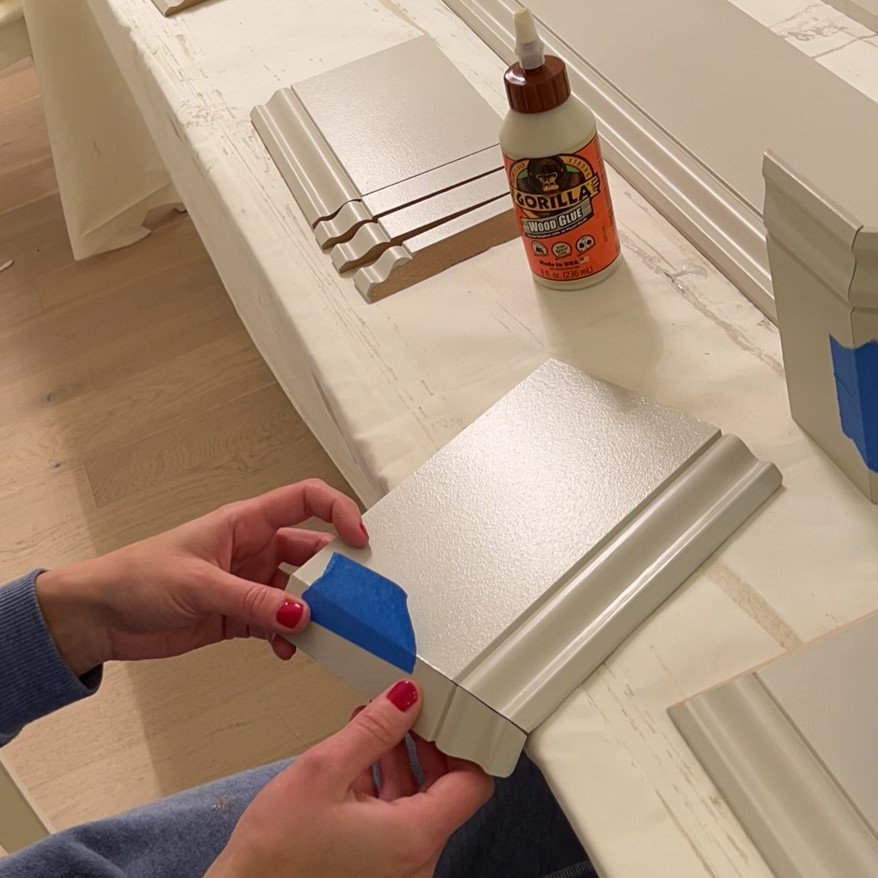
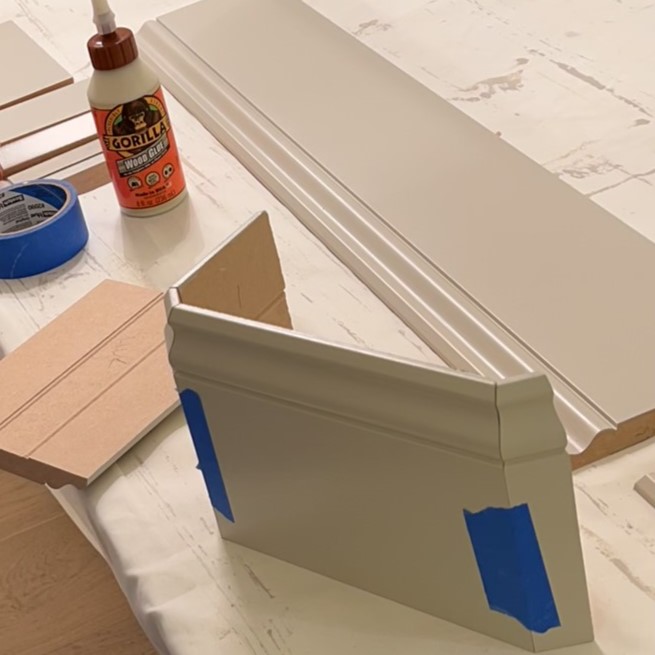
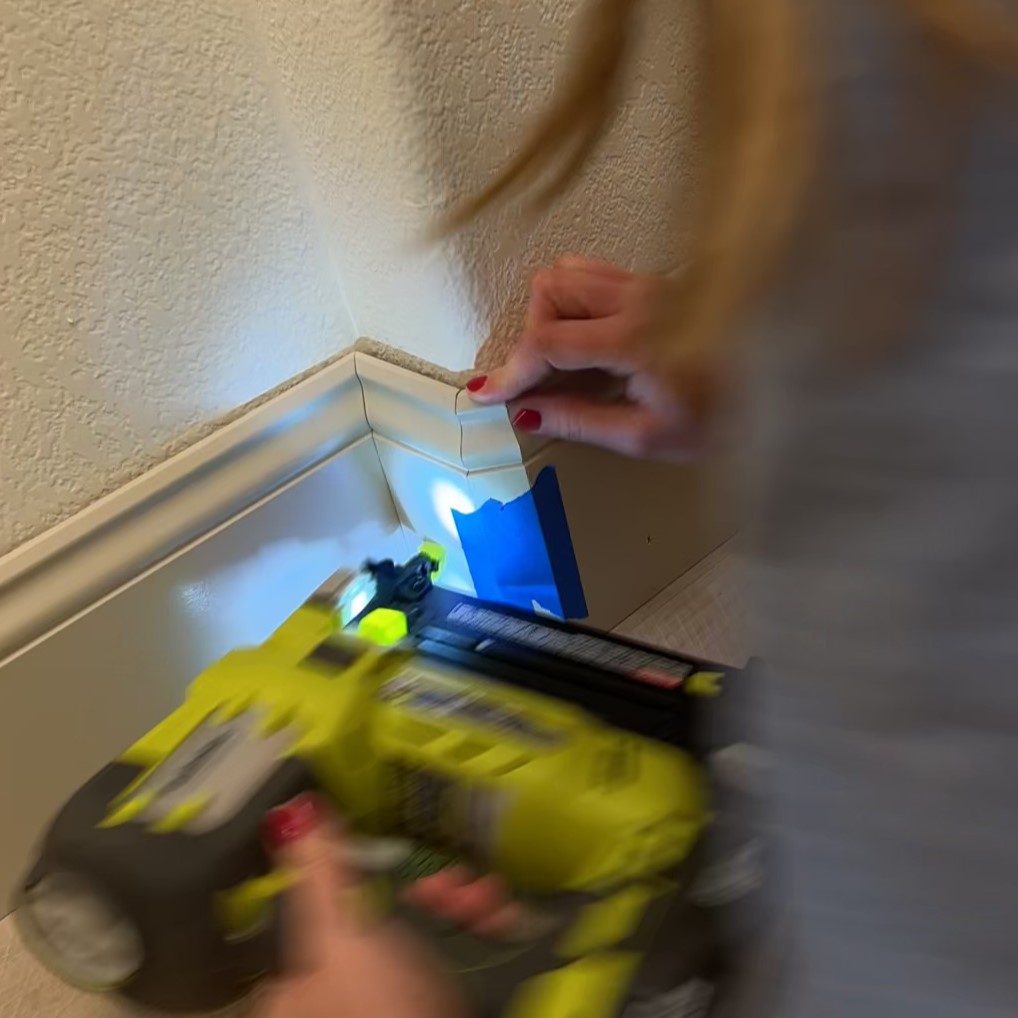
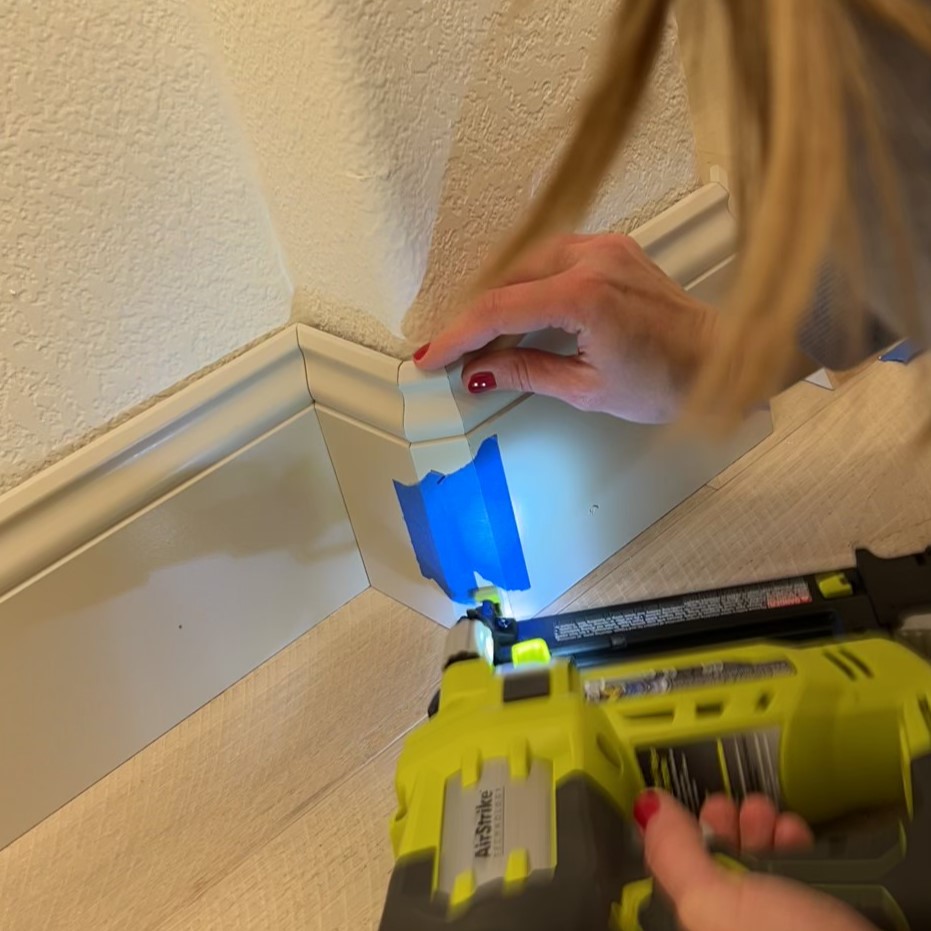
Step 6: Install baseboards
The next step is to install your baseboards using a brad nailer.
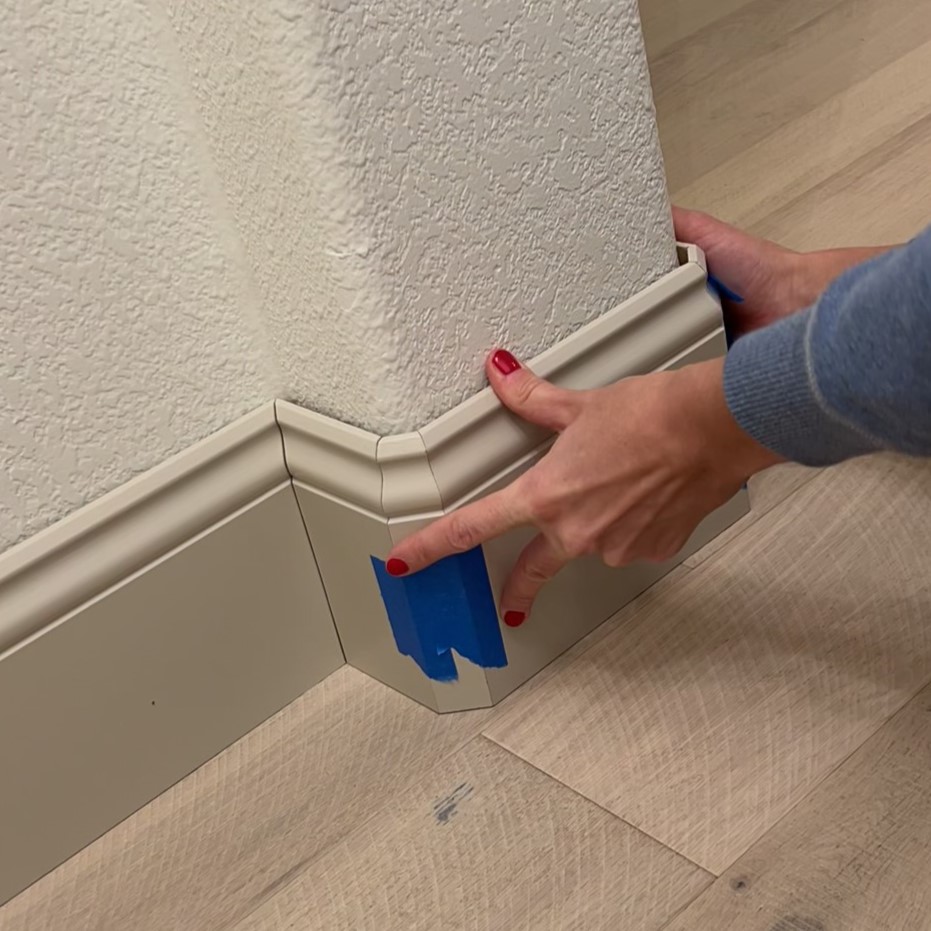
I like to add at least one nail per piece:
Step 7: Caulk baseboards
This step is optional but I always caulk the gap between the baseboards and the wall because I think it makes a huge difference in making baseboards look professional!
Finished baseboards around rounded corners
Here’s what the finished baseboards around rounded corners look like using this technique without needing to buy special bullnose corners:
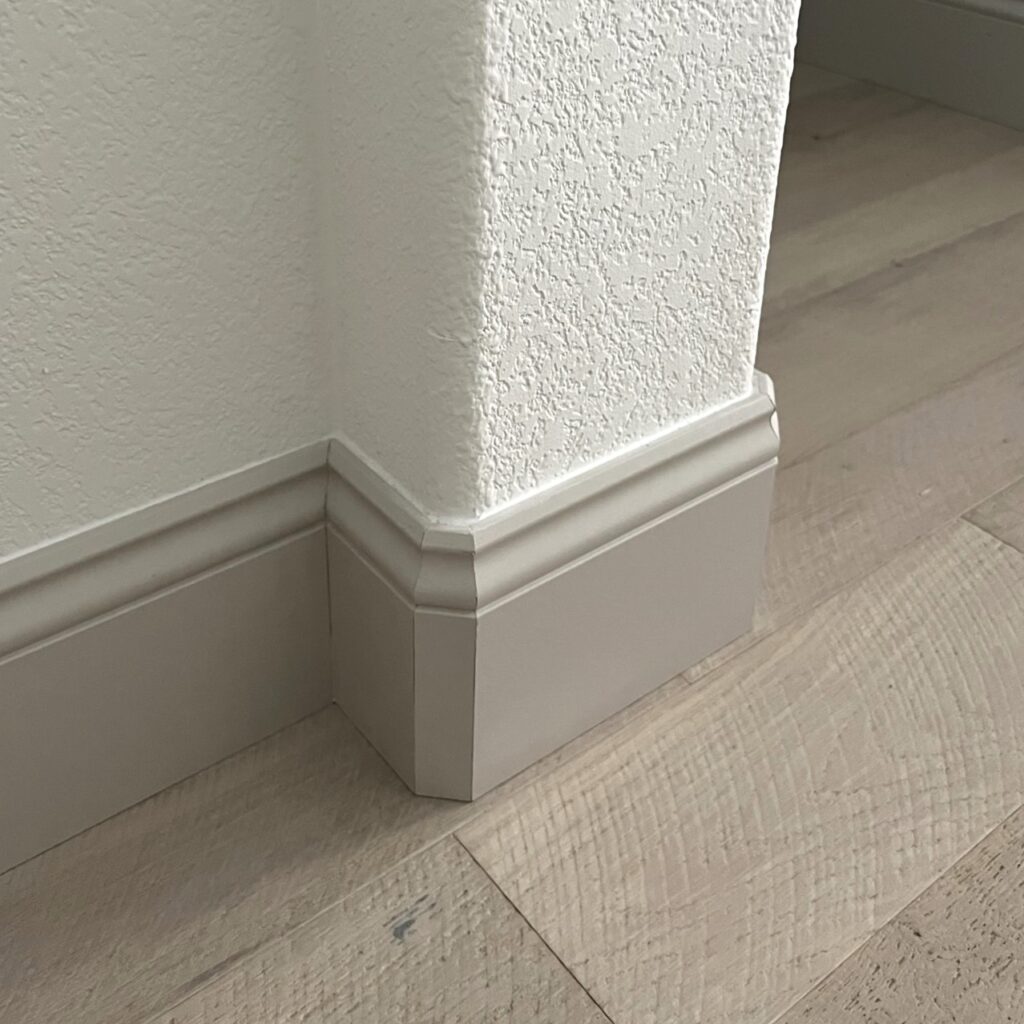
I like that once you know what angle to cut baseboards for rounded outside corners you can install them without using any special bullnose trim. I hope you found this tutorial for how to install baseboards around round corners helpful!
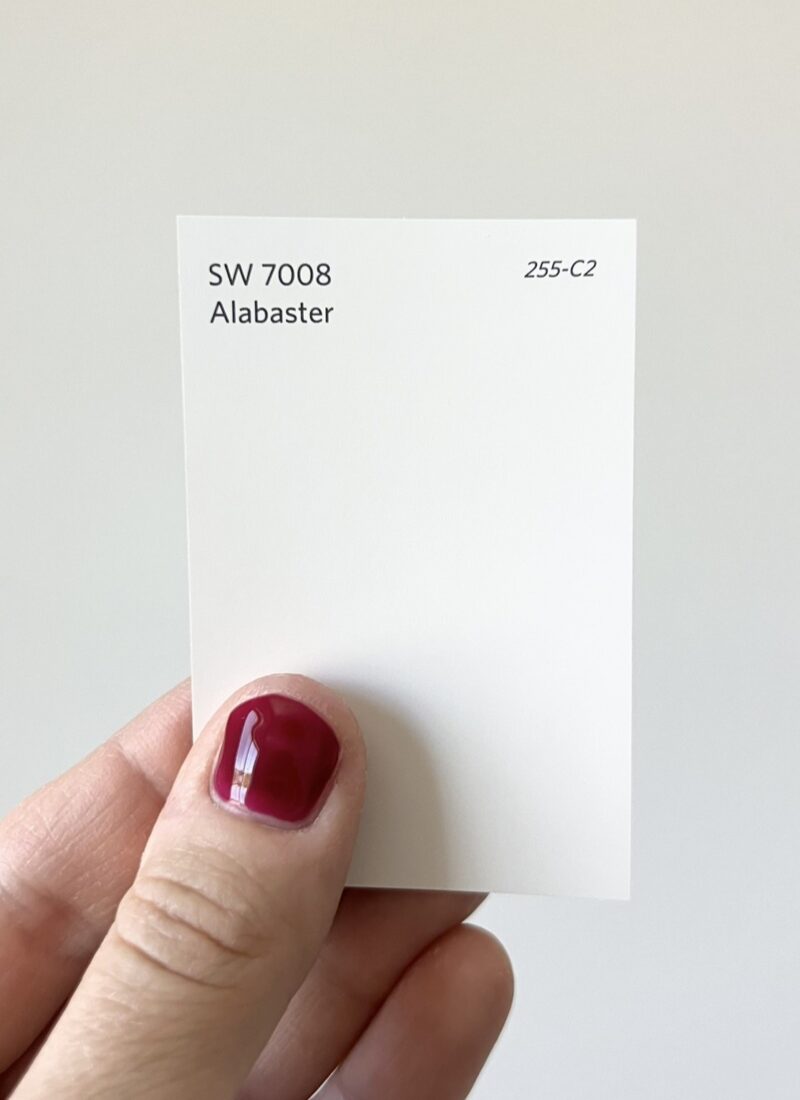
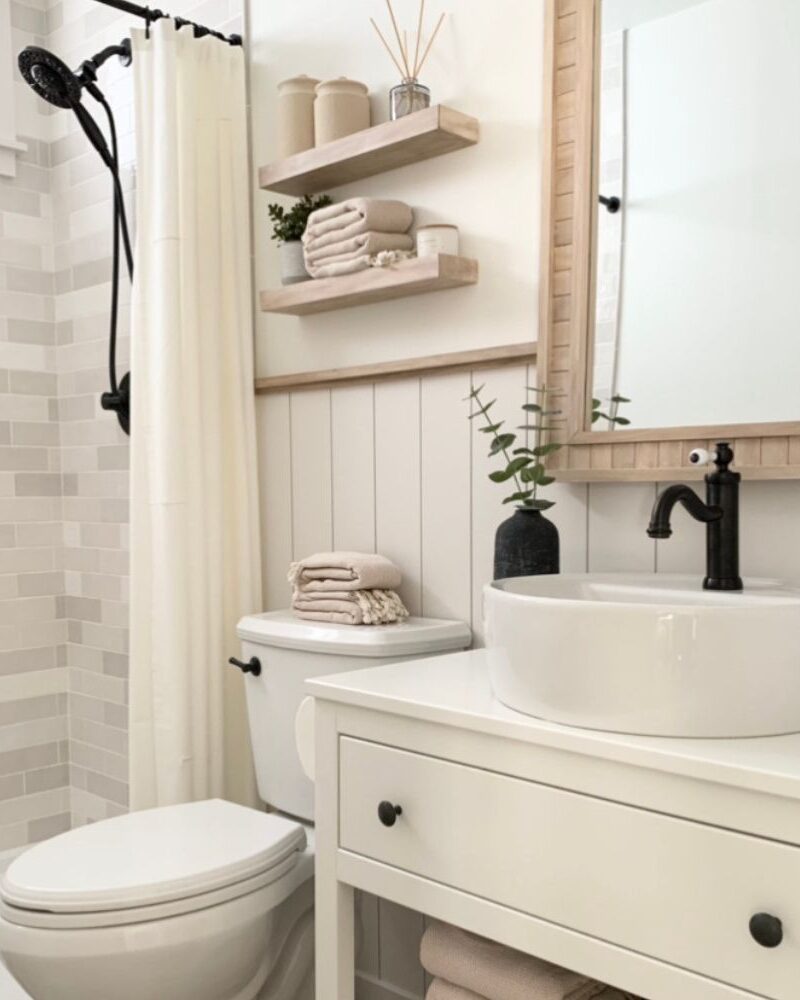
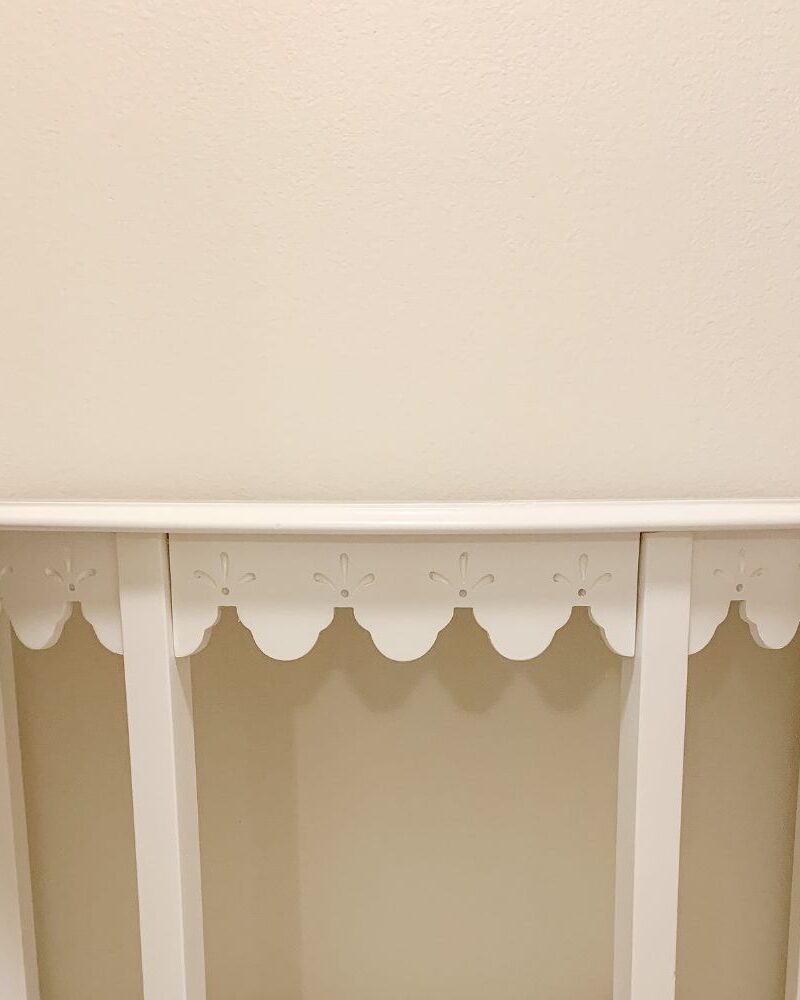
By the way, our baseboards are 7 inches tall and I painted them Sherwin Williams Accessible Beige which goes great with our white oak floors and the Sherwin Williams Alabaster walls.
In case you’re wondering where to find tall baseboards: I found ours at a local trim store that had a much bigger selection for taller baseboards than some of the big box stores and they were really reasonably priced!
Let me know if you have any questions or end up installing baseboards around bullnose corners yourself!
Tina
I have LOVED all your blog posts! I love the baseboards you chose. Do you have a profile that you could share so I could get something similar?
Hi Ellison,
Thanks so much! I got my baseboards at a local trim store in Las Vegas, the description for them is 328MUL-6. You might be able to find them with that description at your local door/trim store or online.
Let me know if you have any other questions!
Tina
Tina-I had just about given up my search for info on just this topic-many thanks for posting! Your work and paint choices are top shelf!