
Are you wondering how to remove old wallpaper? Let me show you the easiest way to remove wallpaper. It’s inexpensive and simple!
Note: This post may contain affiliate links, you can find more information in my disclosures here.
The Hills House had wallpaper in all the bathrooms and while I could tell a lot of thought was put into the design at the time (the wallpaper even matched the curtains), I knew I wanted to remove it at some point so I used the hallway bathroom as a test case. I tried most of the common methods like scoring it, warm water, vinegar, special liquid solutions meant for wallpaper removal. However, none of them worked very well in there. That’s why I decided to only use the method that worked best for me in the guest bathroom: a steamer.
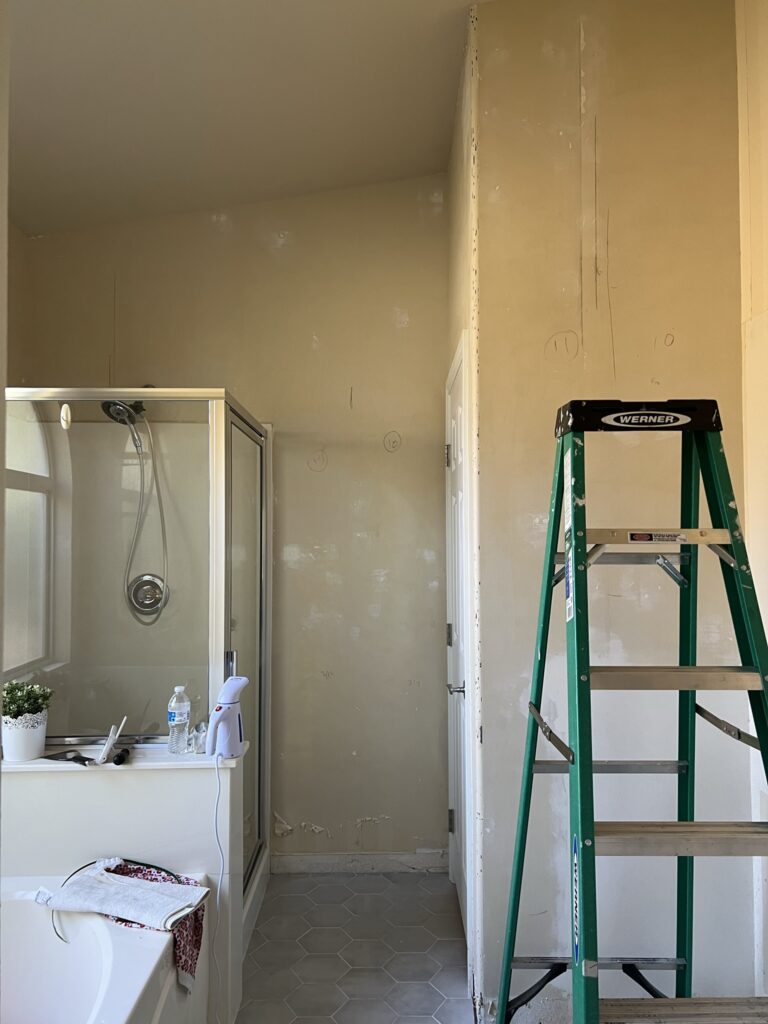
I’ll show you the best way to remove wallpaper with a steamer in just a few simple steps. Here’s what I started with in the guest bathroom:

Materials and tools
- Steamer
- Putty knife
- Water
- Large garbage bag
Step 1: Remove waterproof layer
The first step is to remove the smooth waterproof layer:

In my case, it came off really easily and I was left with the true paper layer underneath:

Step 2: Steam the surface of the wallpaper
Once the top layer is removed, you can start steaming the paper layer to soften it. I used an up and down motion to distribute the steam:

I do recommend being careful around the steam, it’s very hot and I burnt my fingers a few times in the beginning!
Step 3: Scrape the steamed wallpaper
Next, you can grab a putty knife to gently scrape off the softened paper:

I recommend working in sections:

It’s definitely tedious and time consuming but so worth it once you see the blank wall poke through!

Step 4: Fill holes and sand
I noticed some holes in our wall the end of the process, some were caused by my scraping especially around the bullnose corners. I decided to fill and sand them in preparation for paint.
Finished wallpaper removal
I definitely spent a lot of time in this bathroom scraping off the wallpaper. I decided not to rush it and just did a little section each day.
Once I removed all the wallpaper, filled and sanded all the holes, our walls were ready for paint!
I can’t wait to share more about our guest bathroom with you!
Feel free to also check out the other bathrooms that had wallpaper in them, like this bathroom transformation with crosshatch tile or this bathroom remodel with checkered floors!
I hope you found this quick guide on how to remove old wallpaper helpful, let me know if you end up trying it or have any questions!
Tina

Leave a Reply