
I finished tiling the shower in our primary bathroom and I’m excited to share my thoughts with you on using traditional mortar vs. an adhesive tile mat like Musselbound!
If you’re looking for Musselbound Adhesive Tile Mat reviews, you’ve come to the right place. I’ll share my detailed and honest option about the Musselbound Adhesive Tile Mat in this post.
Back in December 2020, I tiled my first shower ever in our guest bathroom:
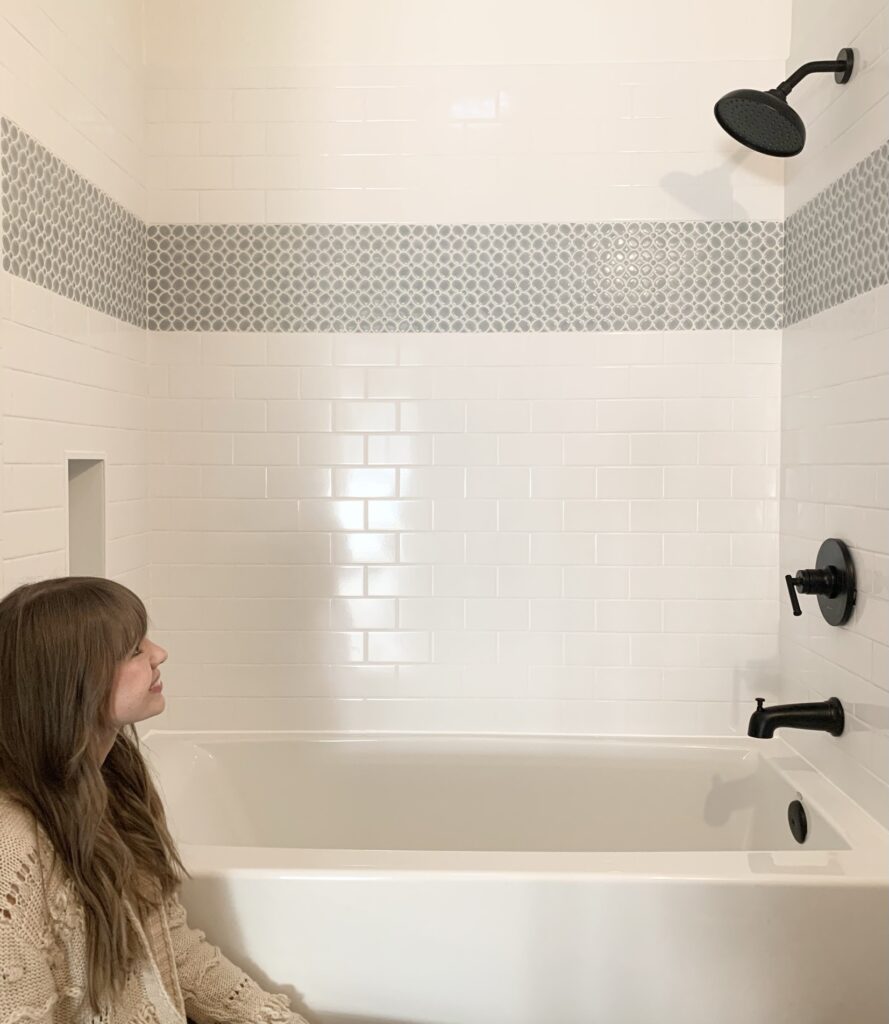
I decided to tile it the “traditional way” using Mapei Ultraflex 2 thinset tile mortar.
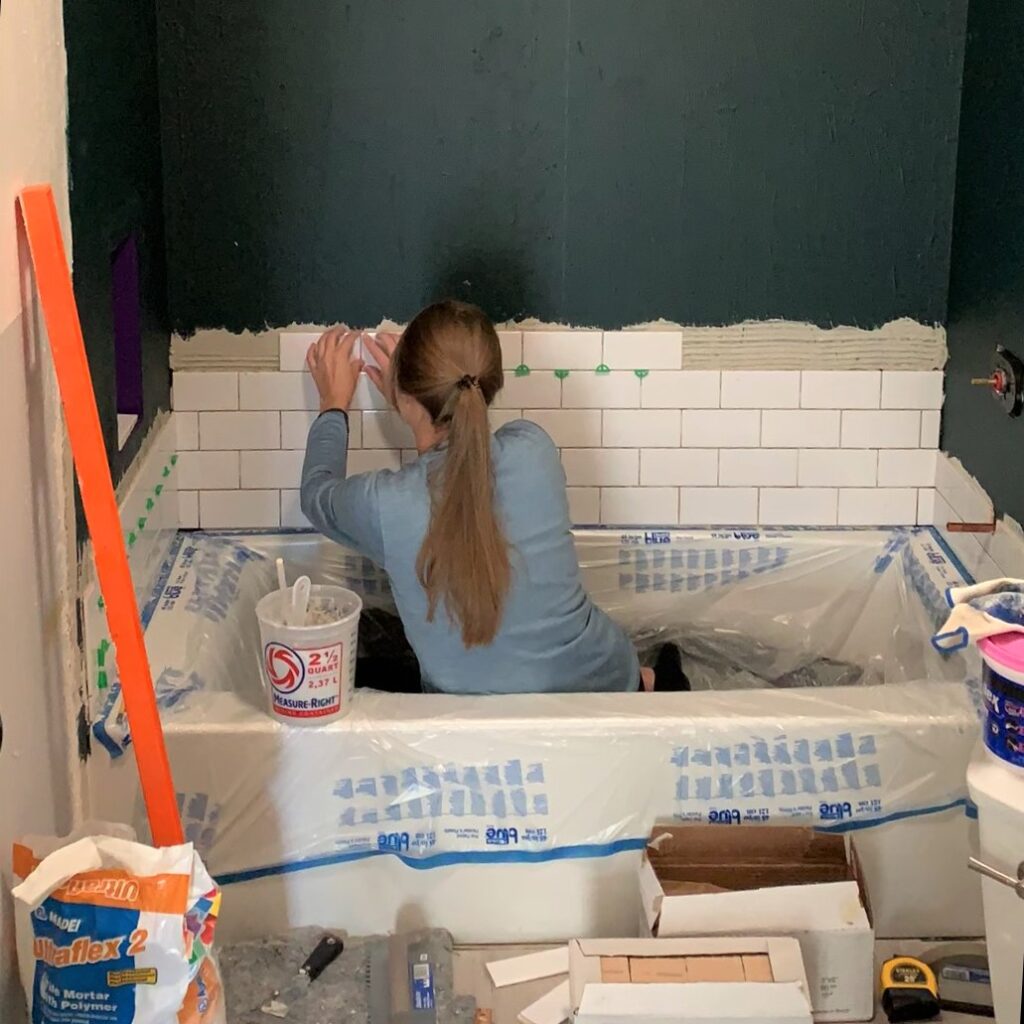
It worked great but for the primary bathroom in our house I decided I wanted to give a different product a try that I had been seeing all over Instagram for a while: Musselbound Adhesive Tile Mat.
Musselbound is an adhesive tile mat that can be used instead of traditional mortar to attach tile to the wall. It reminds me of really strong double-sided sticky tape that replaces messy mortar with “peel and stick simplicity”. It helps make tiling projects so much easier and faster to complete.

You can find step-by-step tutorials along with tips and tricks for both tiling methods here and here. I also shared how I waterproofed the shower with the adhesive tile mat.
I believe there are pros and cons to both of these methods and I’m excited to share them with you to help you make the right decision for your next tiling project!
Here is my list of pros and cons for both methods of tiling: Traditional mortar vs. adhesive tile mat
Traditional Mortar
Pros
- Inexpensive (I spent less than $20 on mortar for my whole shower)
- Easy to find different kinds at any home improvement or tile store
- Once the tile is on the wall, it’s easy to adjust its position as it takes a while for the mortar to dry
- Easy to work in phases/sections (I mixed a small batch at a time, just enough for me to tile without feeling rushed before the mortar would dry out in the bucket)
- Ability to even out uneven walls by applying more or less mortar
Cons
- Messy (both the mixing of the mortar and the application to the wall)
- Time pressure to finish a section before mortar dries out (I worked in smaller phases/sections to limit that pressure)
- Wait time before being able to grout
- Getting consistency right takes a bit of practice (unless the premixed kind is being used)
- Tiles may slide/move positions unintentionally (e.g. heavy tiles can slide down)
- Takes practice and attention to detail to avoid lippage
Adhesive Tile Mat (I used Musselbound)
Pros
- Minimal mess and clean-up
- No time pressure to finish a section quickly as the protective layer can be peeled off in sections
- Tiles stick instantly, no need to worry about tiles sliding down or moving unintentionally
- No practice required to avoid lippage if the wall behind the mat is even
- Easy to work in phases/sections (you can see in the picture above how I exposed the sticky surface in sections)
- No wait time to grout
Cons
- More expensive than traditional mortar (including the waterproofing tape I spent a little less than $200 for my whole shower)
- Not available at all home improvement stores
- Harder to reposition tiles once they stick to it, I actually had to pry them off. If this is done too often in one spot it could compromise the stickiness
- Tiles that were cut with a wet saw will not stick to it properly unless they have been dried (I’ve seen others use blow-dryers to dry tiles off)
- No real ability to even out uneven walls if needed (uneven walls would need to be evened out before applying the adhesive tile mat)
To me, the convenience of the adhesive tile mat was worth the additional cost and it makes the tiling process faster and more beginner friendly. I would definitely pick it over traditional mortar again unless my walls were really uneven in the space I was trying to tile.
If my walls were really uneven, I would need to decide between two options:
- spend time prepping the wall for the adhesive tile mat by evening it out or
- use mortar to both even the wall out and stick the tile to the wall
I hope this list of pros and cons of tiling with traditional mortar vs. adhesive tile mat was helpful and feel free to reach out if you have any questions!
Tina
Leave a Reply