
Are you looking for instructions on how to demo a bathroom? You’ve come to the right place! In this post, I’ll show you how we did our bathroom demolition in one weekend in a few easy steps to get ready for our DIY bathroom remodel so you can get a better idea of how you too can demo a bathroom DIY!
Why did we do a DIY bathroom demo?
We decided to do a DIY bathroom demo because we were already planning to do the bathroom remodel ourselves. We figured we would do this project ourselves from start to finish to save on labor costs! However, if you plan on hiring out your bathroom remodel to a general contractor or plan on hiring out certain parts of your bathroom remodel, a DIY bathroom demolition might still be a great option to at least save on some of the labor costs. It’s tiring and hard work and you need to be very careful, but most of it doesn’t take any special skills. Typically, a lot of experienced homeowners can demo a bathroom using simple tools they probably already own. Plus, demolishing a bathroom is kind of fun and satisfying, why would we want to miss out on that?
Note: This post may contain affiliate links, you can find more information in my disclosures here.
Tools
- pry bar
- hammer
- utility knife
- adjustable wrench
- reciprocating saw
- drill
- screw driver
- shop vaccum or broom and dustpan
Supplies
- heavy duty gloves
- face mask
- safety glasses
- heavy duty garbage bags
- rags
- bucket
- sturdy shoes, long pants and long sleeve shirt
Let me walk you through our bathroom demo process!
Step 1: Prep the bathroom
The first step was to prep our old bathroom before the DIY bathroom demolition work could really begin!
Gather tools
The first thing we did was gather all of our tools. It’s always a good thing to have tools laid out and ready when they’re needed!
Clear out your bathroom
This is my favorite and also least favorite step during bathroom demos: clearing out the bathroom! This includes removing everything from the countertop, removing the shower curtain, toilet paper holders, clearing out the vanity and medicine cabinet. If I’m in the right mood on demo day this step can be so relaxing and productive. Instead of just packing everything up this can be a good opportunity to go through all the things that have accumulated in the bathroom and spend some time to purge. Thankfully, I was in one of those purging moods here so this was great, I found a lot of things we no longer needed or were expired.
Shut off water and electricity
The next step was for us to shut off the water supply line and electricity. This was super important to make sure we stayed safe and didn’t cause any accidental water damage.
Drain water
Once the water was shut off, we turned on the shower and the faucet to drain the water pipes.
Step 2: Remove the medicine cabinet
The next step was the medicine cabinet removal.
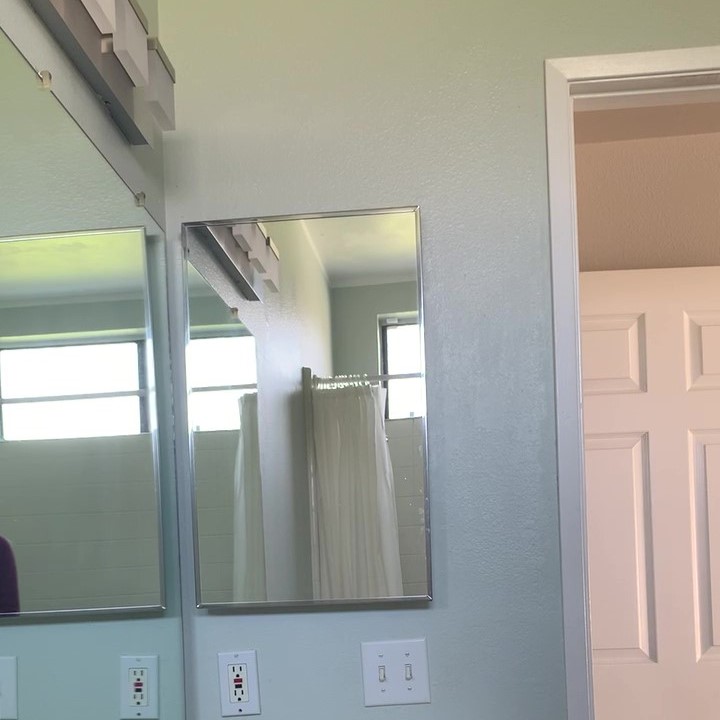
Ours was really easy to remove. It was only attached with four screws so once the screws were out it only took one solid yank to pull out the old medicine cabinet.
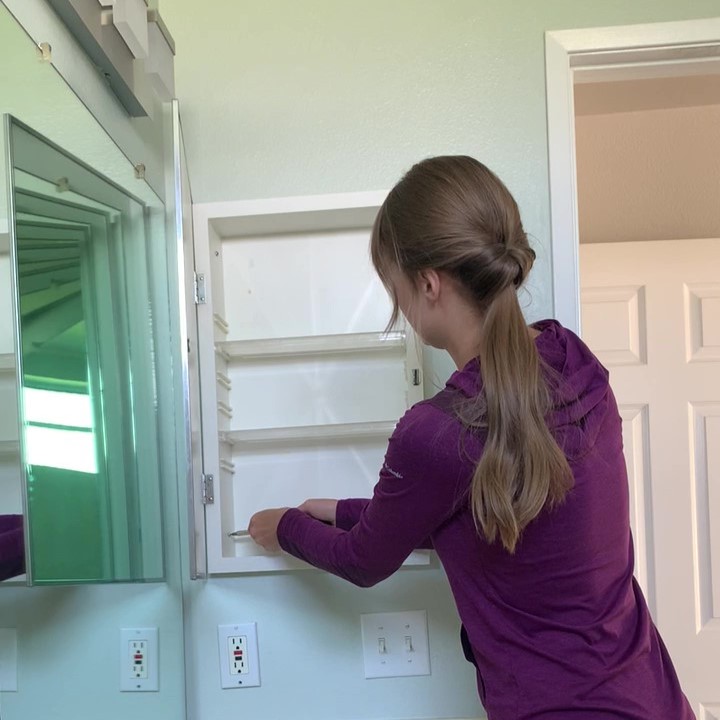

I have a tutorial for a medicine cabinet transformation if you’re looking for some inspiration on what to replace your old medicine cabinet with!
Step 3: Remove the bathroom mirror
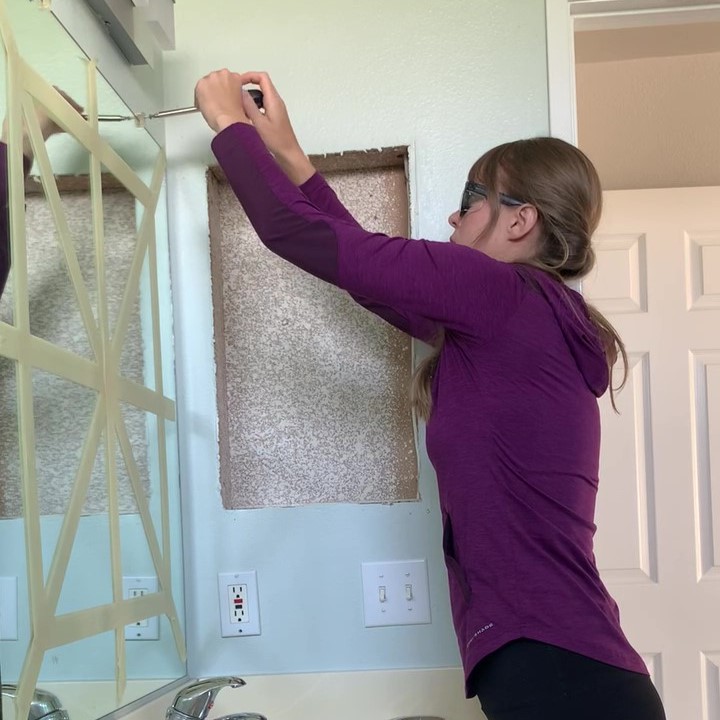
After the medicine cabinet, I removed the bathroom mirror. For this part, I wore my safety glasses (they’re always a good idea) and started by applying painters tape across the mirror just in case I’d end up breaking it during removal.

Then, I unscrewed the little hooks that were holding the mirror in place:
After that, I carefully (patience is key here!) wiggled a putty knife between the wall and the mirror along the parameter of the mirror to break the adhesive bond behind the mirror.
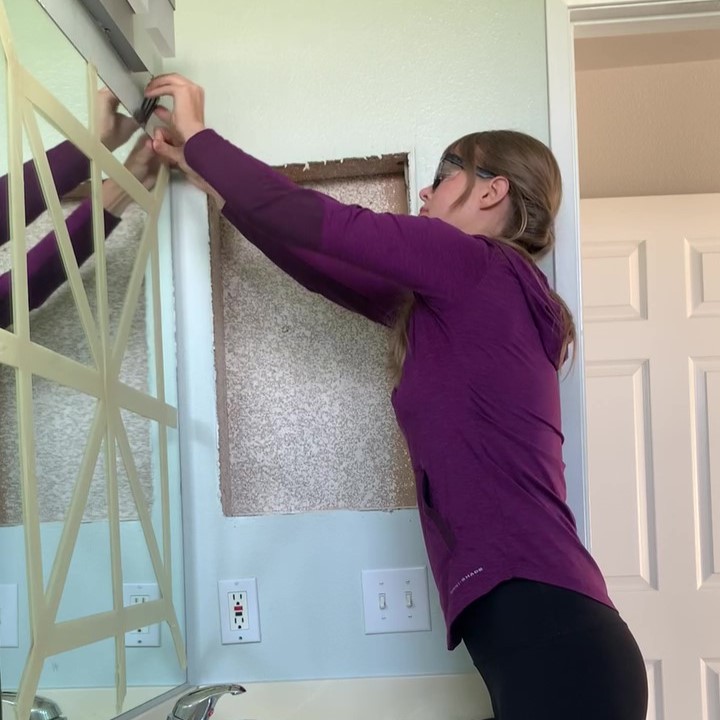
I heard it pop off a couple times (which meant I successfully broke the bond) and once I felt the mirror was lose enough, I gently tilted it off the wall.
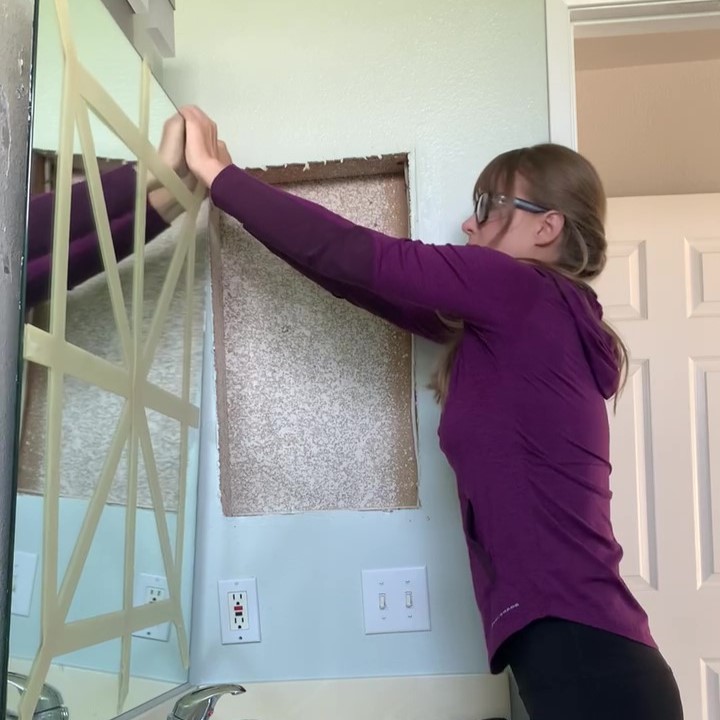
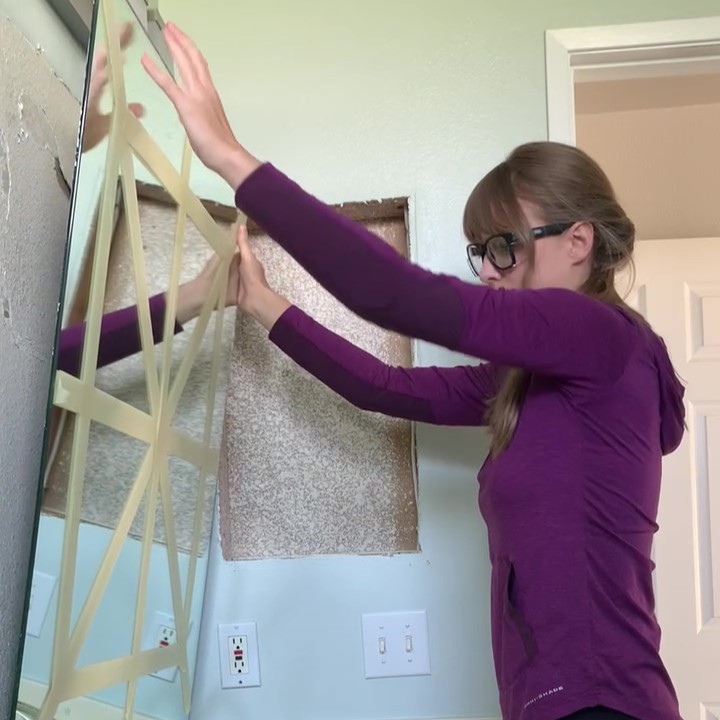
Thankfully, the mirror didn’t break in the process!
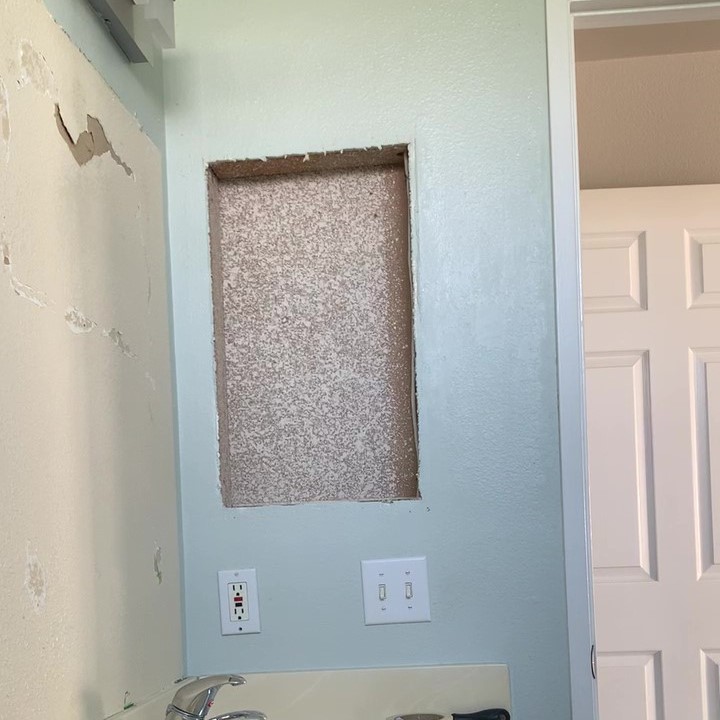
Step 3: Remove the vanity
First, we put a bucket under the sink and disconnected all the water lines and the sink drain. Then, we removed all the screws that were securing the vanity to the wall. Next, we scored the caulk between the wall and the countertop with a utility knife. The countertop was difficult to remove but we eventually got it out by using the pry bar and slowly prying it off the wall.
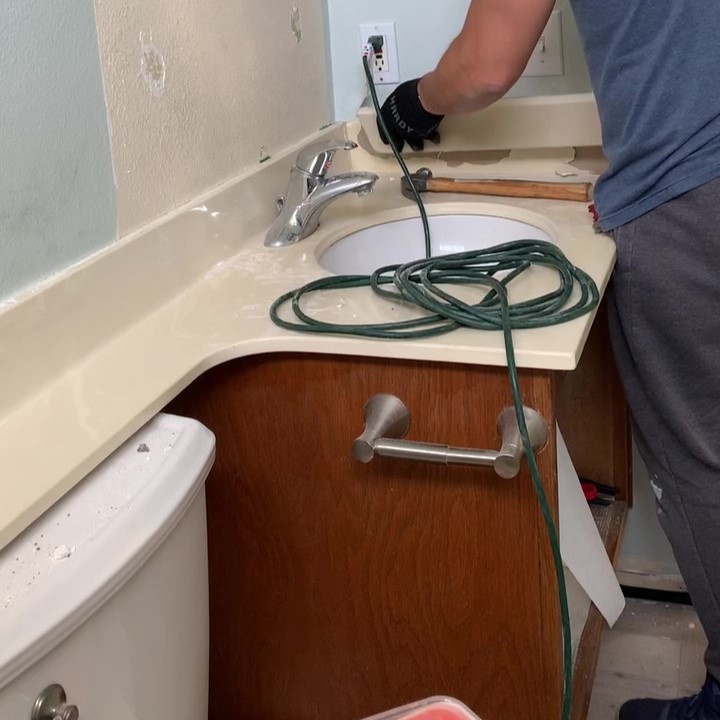
The backsplash part of our countertop was attached to the wall with glue. Unfortunately, there was a little bit of damage to the wall but I knew I would be adding a wall treatment later so I wasn’t too worried about the damage.
Next, my husband scored the seal between the countertop and the cabinet with a utility knife:
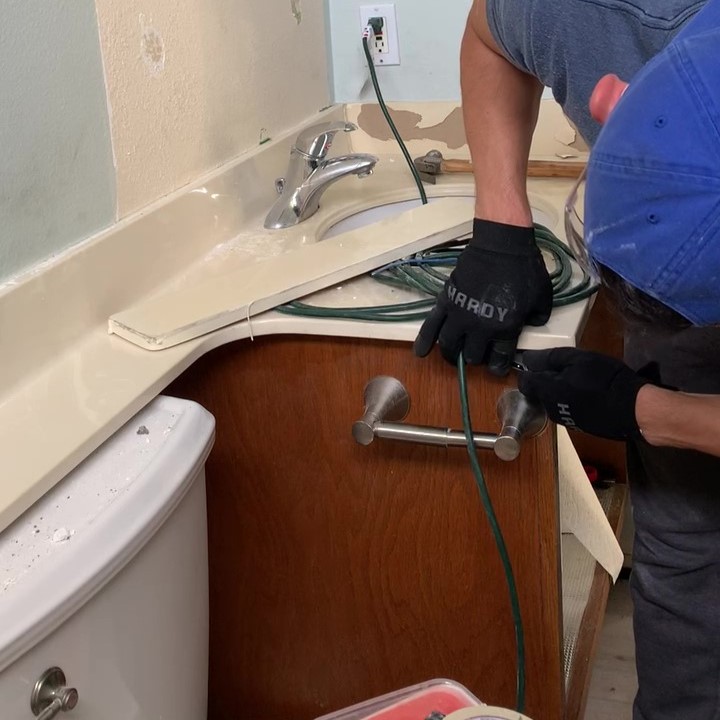
After that, he used a pry bar to start removing it:

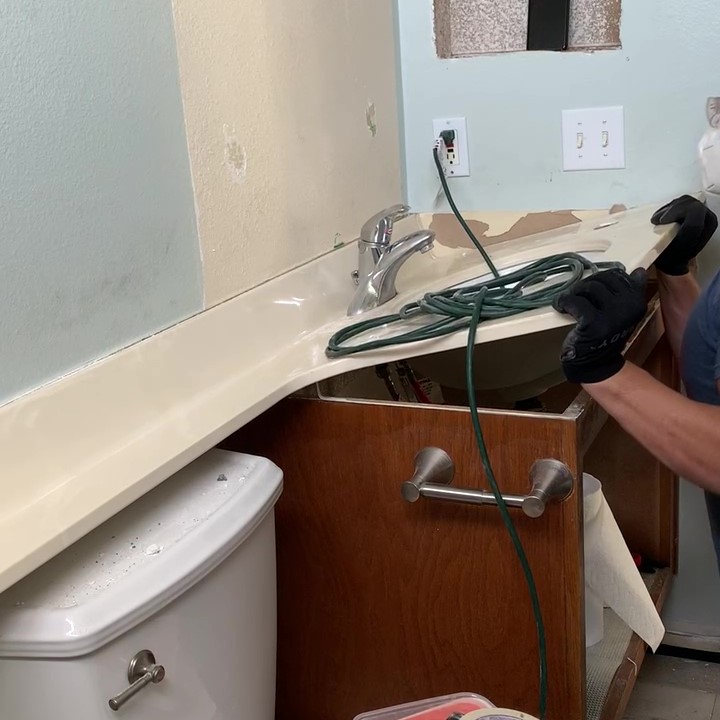
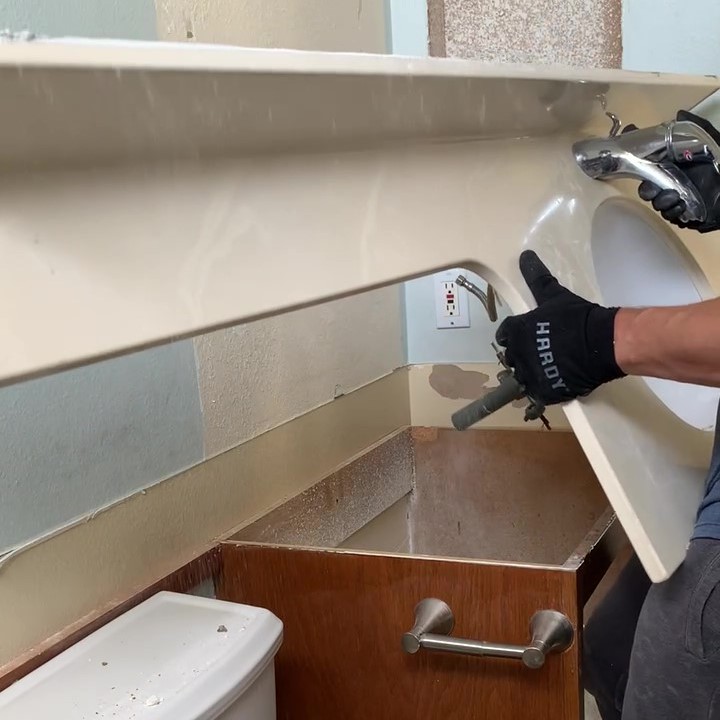
Once the countertop was removed, it was time to take down the cabinet.
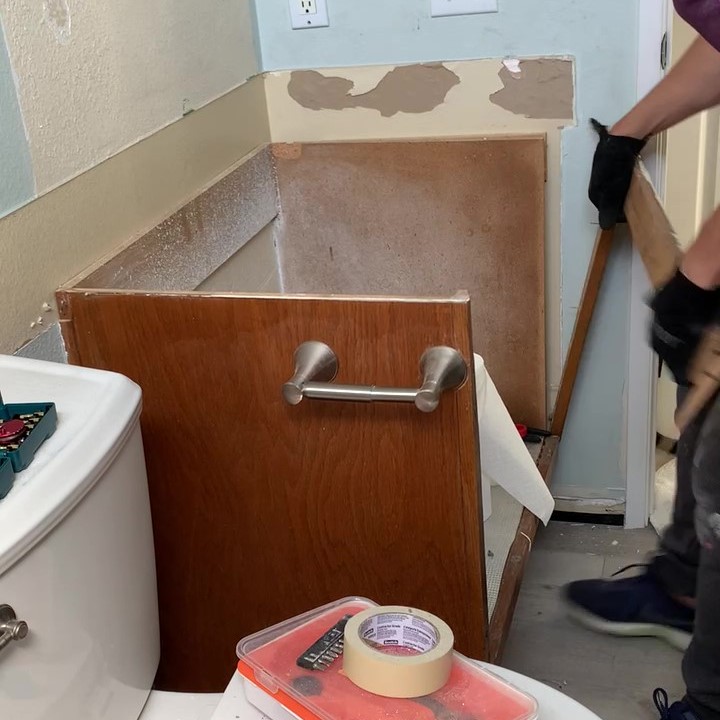
My husband used a hammer to pry the cabinet off the wall and pull it out:
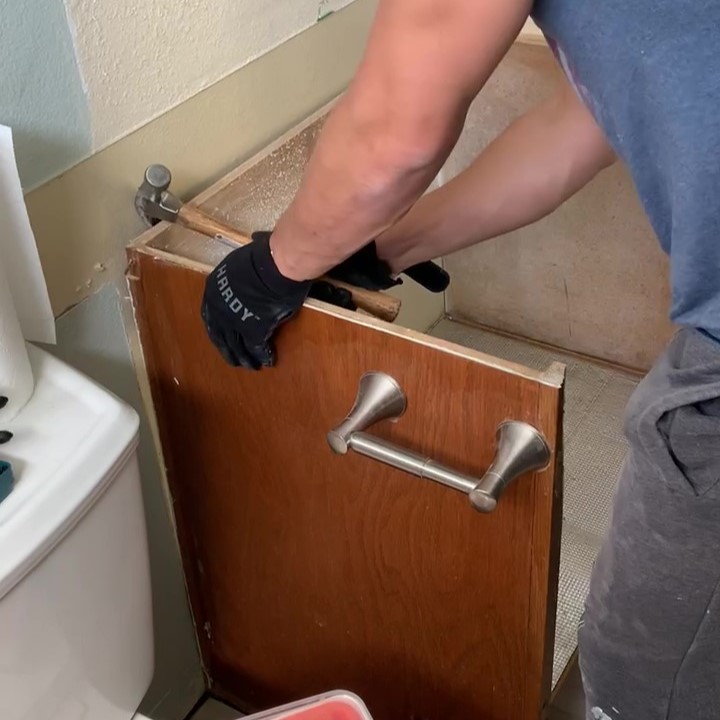
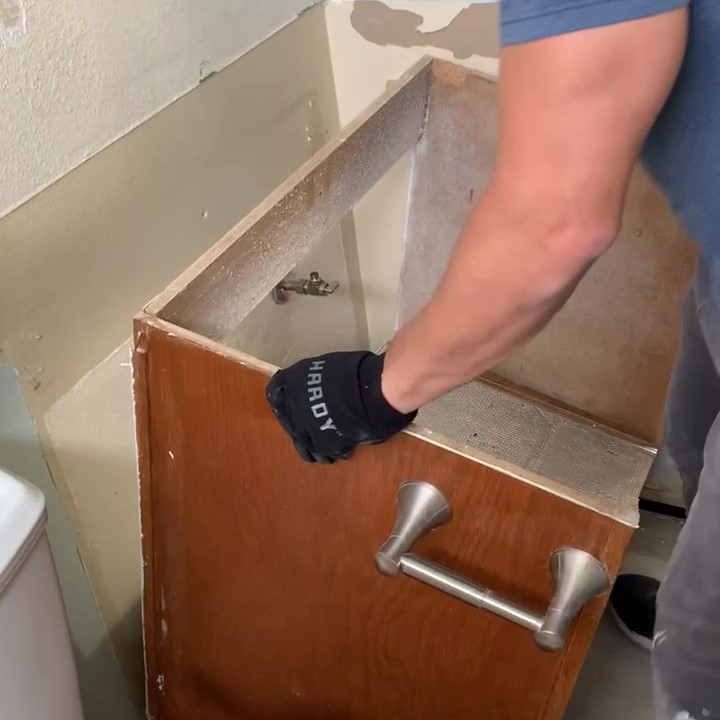
Side note/tip: We took a decent amount of paper towels and stuffed them loosely (so they can be removed easily) in the sink drain pipe to avoid any sewer gases to rise up during our bathroom remodel later.
Step 4: Remove the shower combo
The next step in our bathroom demo process was to remove the fiberglass shower combo. The good news is that, while this step may require involve some heavy lifting and can get messy, it’s pretty simple.
Remove shower walls
We started by removing the shower fixtures like the shower head and water control knob. Once they were removed I used my reciprocating saw to cut into the drywall around the fiberglass shower combo:
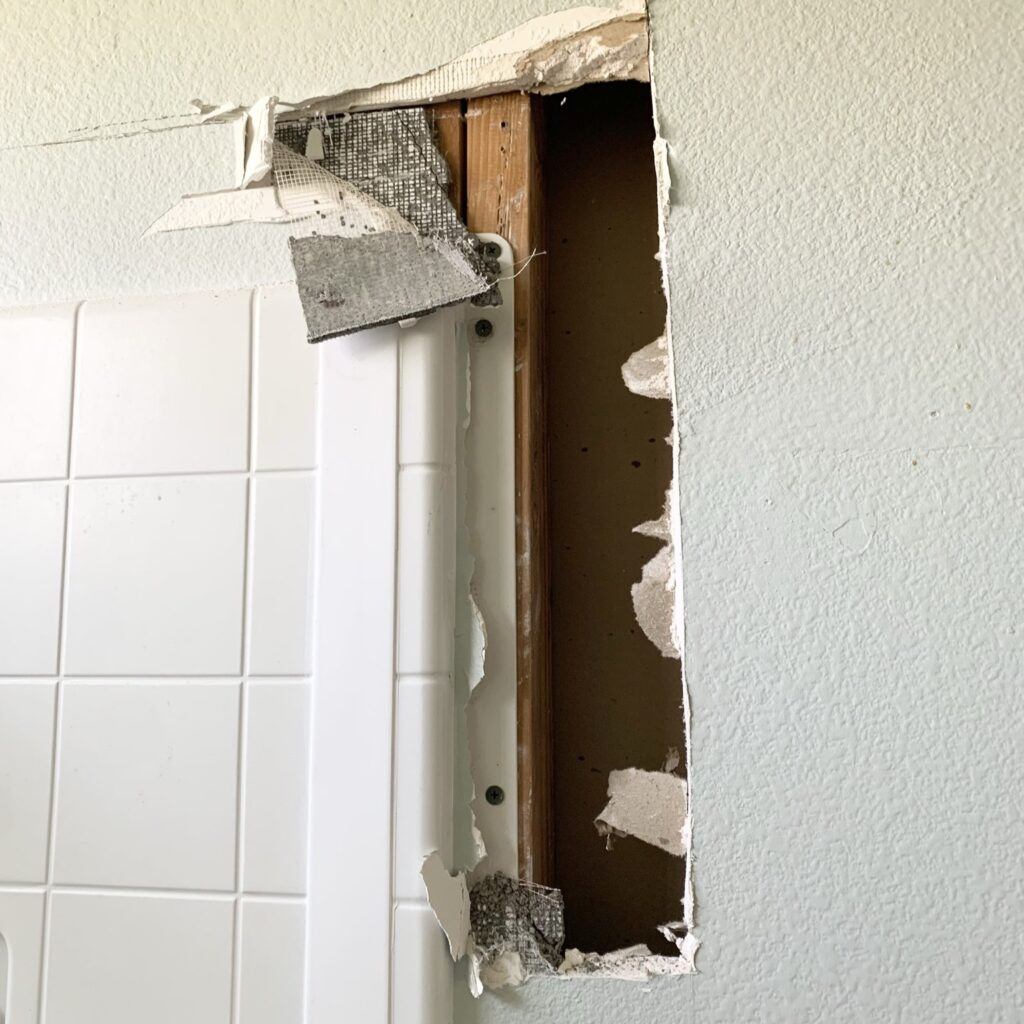
The point of cutting around the fiberglass shower combo like that is to expose the frame of it. This is to remove the screws that are used to attach it to the studs in the wall. Most of these fiberglass shower combos are installed direct-to-stud so I’m not sure there is a way to avoid this messy drywall situation!
We ran into the same thing with our guest bathroom reno so at least during this bathroom demo we were already prepared to cut into the drywall.
Once we removed the screws and the shower combo was no longer attached to the wall it was time for us to take it out by just ripping it out:


Note: Our shower combo in this bathroom consisted of 4 separate pieces of fiberglass: the bottom, the left, the middle and the right. In our guest bathroom, it was all one piece so it was a little harder to remove because we had to cut it into separate pieces ourselves. I think the one piece version is pretty common in older homes and I actually believe this bathroom’s 4 piece shower combo was not original to the house.
Remove shower pan
Once we got rid of the shower surround, it was time to remove the bottom which was the fiberglass shower pan. We tried removing the drain but it seemed stuck. Instead of risking any damage to the drain or the rest of the plumbing underneath the shower pan, we decided to cut around the drain to at least get the shower pan out. This would allow us to have more visibility later to make sure we weren’t damaging anything while removing the drain.
To cut out the drain, I drilled large holes around it and cut between the holes using my reciprocating saw:


Then, I cut the shower pan into smaller pieces so it would be easier to take out:

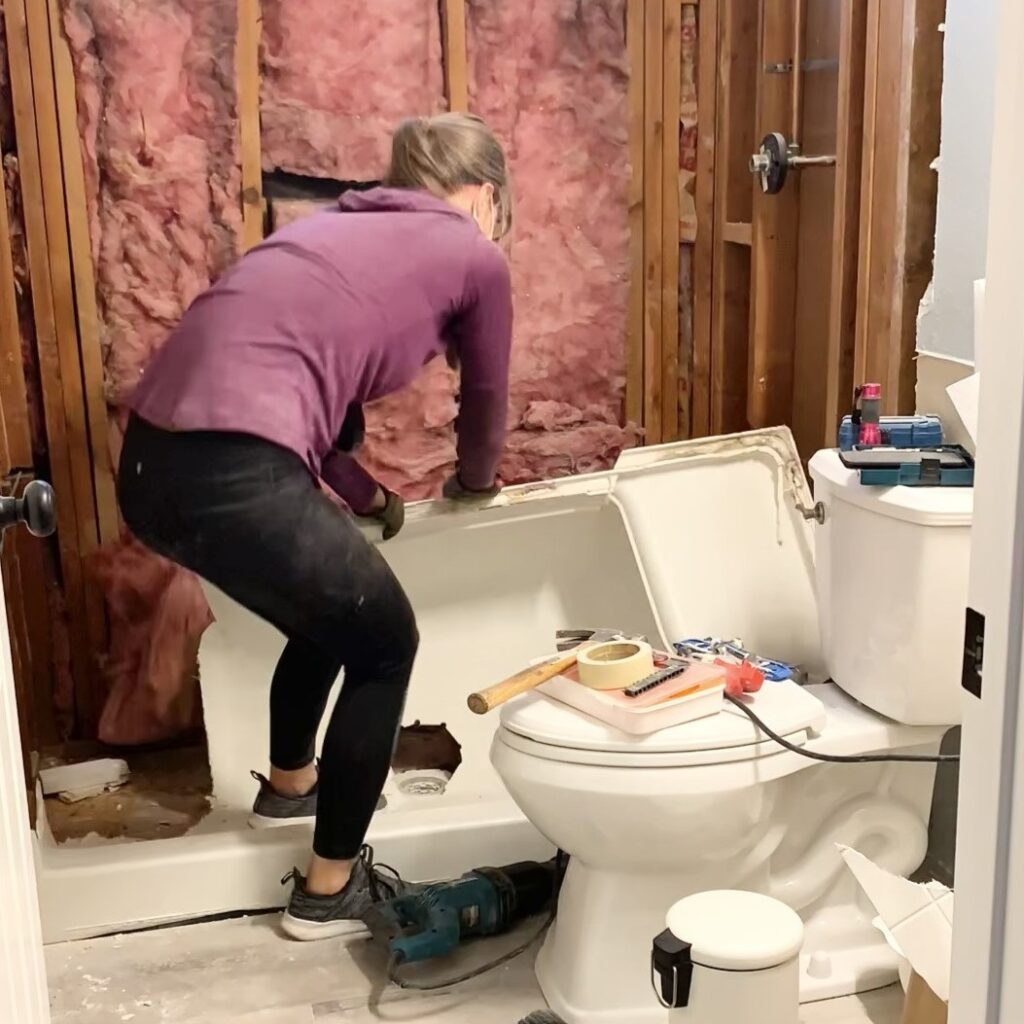

Here’s a picture of the fiberglass shower combo gone with just the small piece around the drain left:
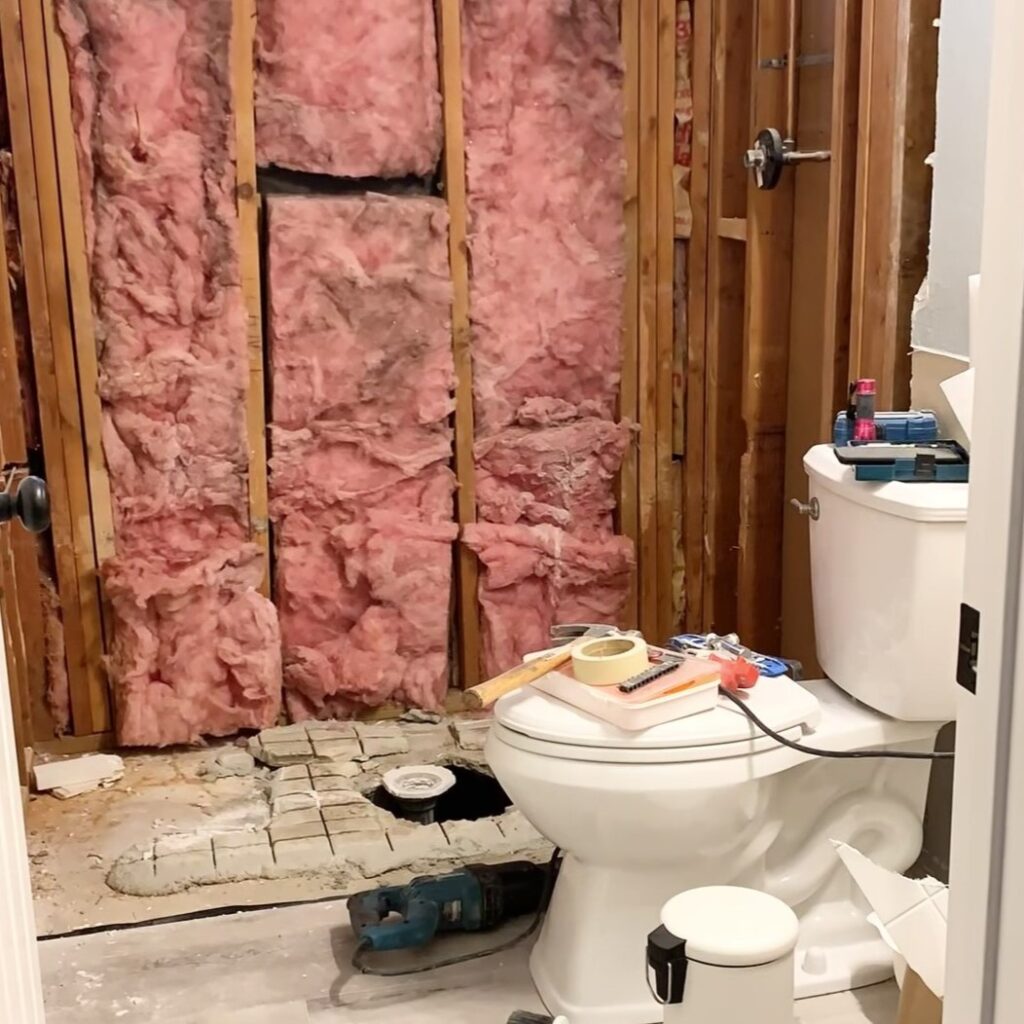
Once I gave the drain another try, it was actually easy to remove:

We were left with a gross hole that actually had water in it. My best guess is that the drain leaked at some point years ago.
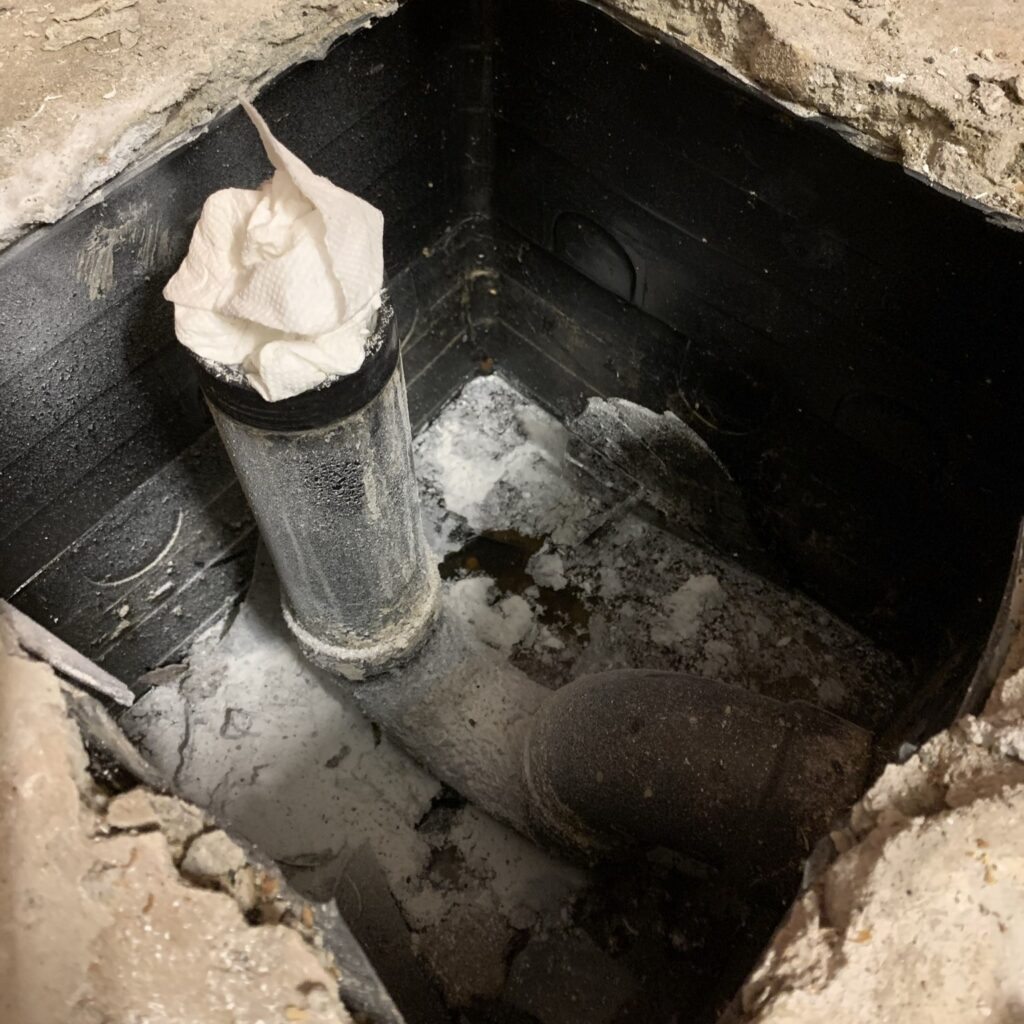
I ended up cleaning out the water but before doing that, I stuffed some paper towels (one large piece so it’s easy to remove later) in the drain hole so no sewer gases would make it up the pipe during our renovation. Nothing worse than a stinky work environment!
Step 5: Remove the toilet
This step was definitely not fun but necessary and not too difficult once you get the hang of it! I highly recommend this video on how to remove a toilet. It’s super detailed and we’ve watched it every time we’ve removed a toilet.
Note: We removed our toilet last but I recommend removing it early in the demo process. Once the toilet is out of the way, there will be more space to move around to remove the bathroom vanity and complete the rest of the demo.
Step 6: Remove light fixtures
I recommend removing the light fixtures last or leaving them in as long as possible especially if you intend on working on the bathroom in the evenings when it’s dark (like me on a friday night, ha!). We removed our light fixture when we reached the step of retexturing our walls.
Step 7: Dispose of trash
We decided to avoid a dumpster rental for our DIY demolition since our bathroom was a pretty small area and we actually didn’t have a lot of stuff to get rid of:
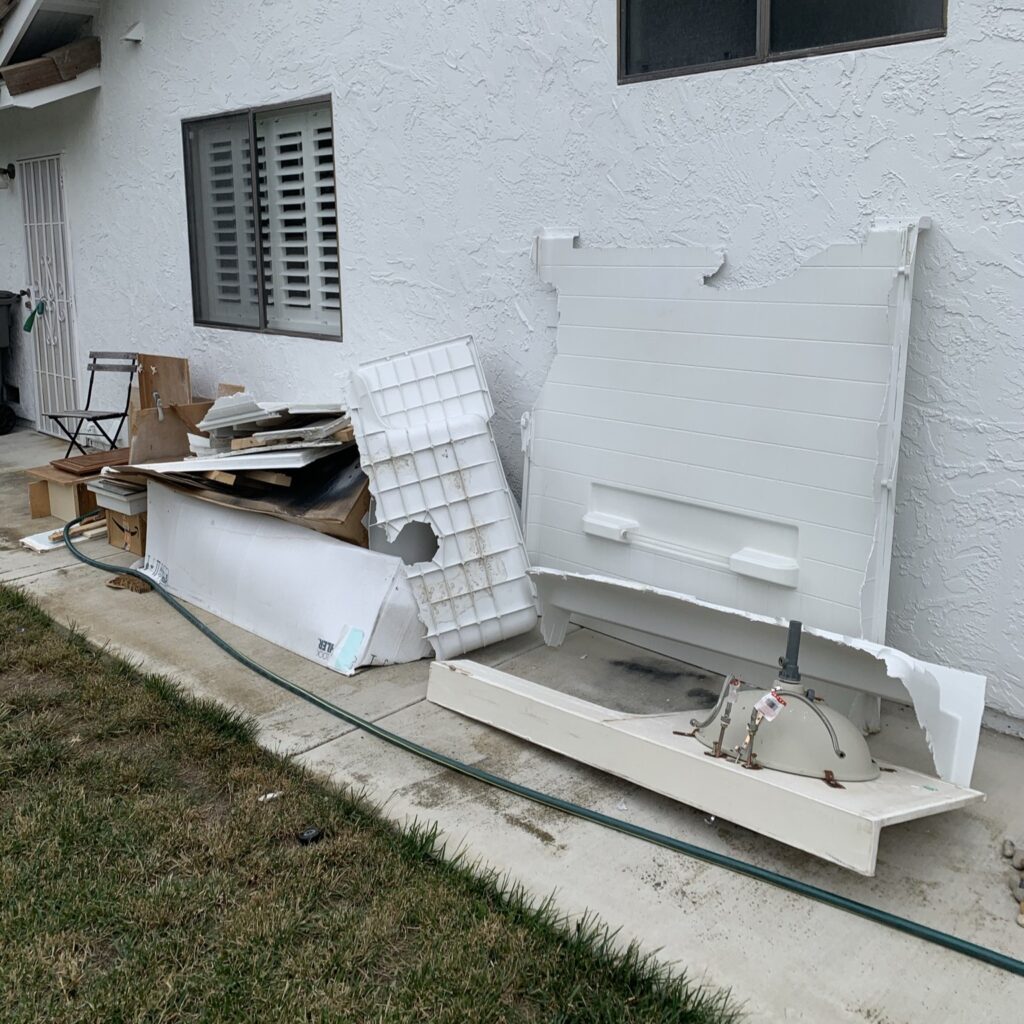
We used a truck to haul all of the demo debris from the entire bathroom to the local dumpster ourselves. It was significantly cheaper than a dumpster rental. The disposal of all of this cost us about $50 which was just the standard minimum fee in our area for a truckload at the dumpster.
Step 8: Clean up
The final step was to clean up after this bathroom demolition project mess! It’s so satisfying to clean up in preparation for a bathroom renovation.
Demolished bathroom
Here’s a picture of our demolished bathroom:

We didn’t take out our flooring because it was in great condition. We actually replaced all of the flooring in our house when we first moved in! That saved us one step during this bathroom demo.
We decided to take out the old insulation to replace it before putting the cement board walls up to prepare for the wall tile:
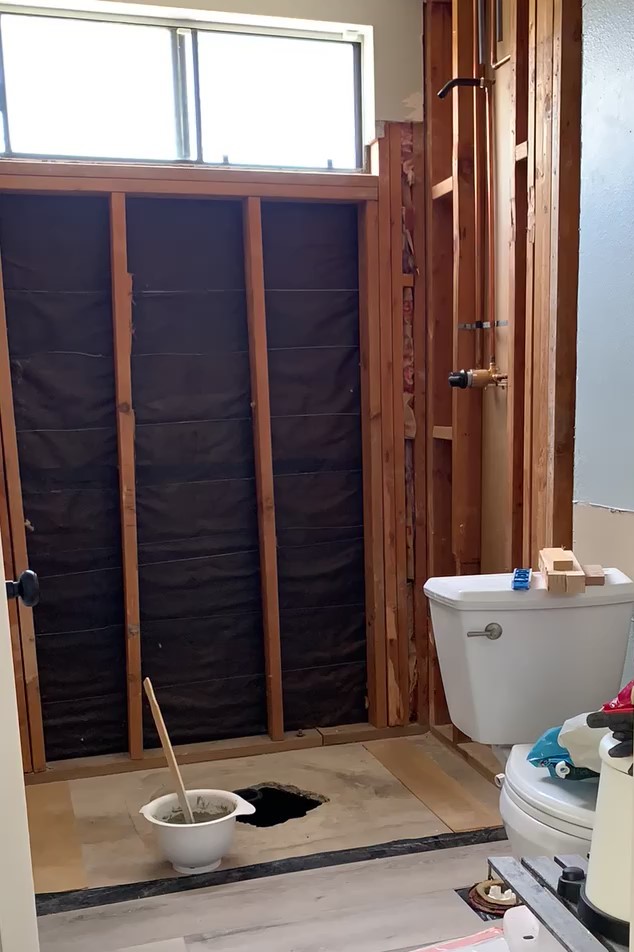
Nothing like a clean slate to get started on a fun bathroom remodel!
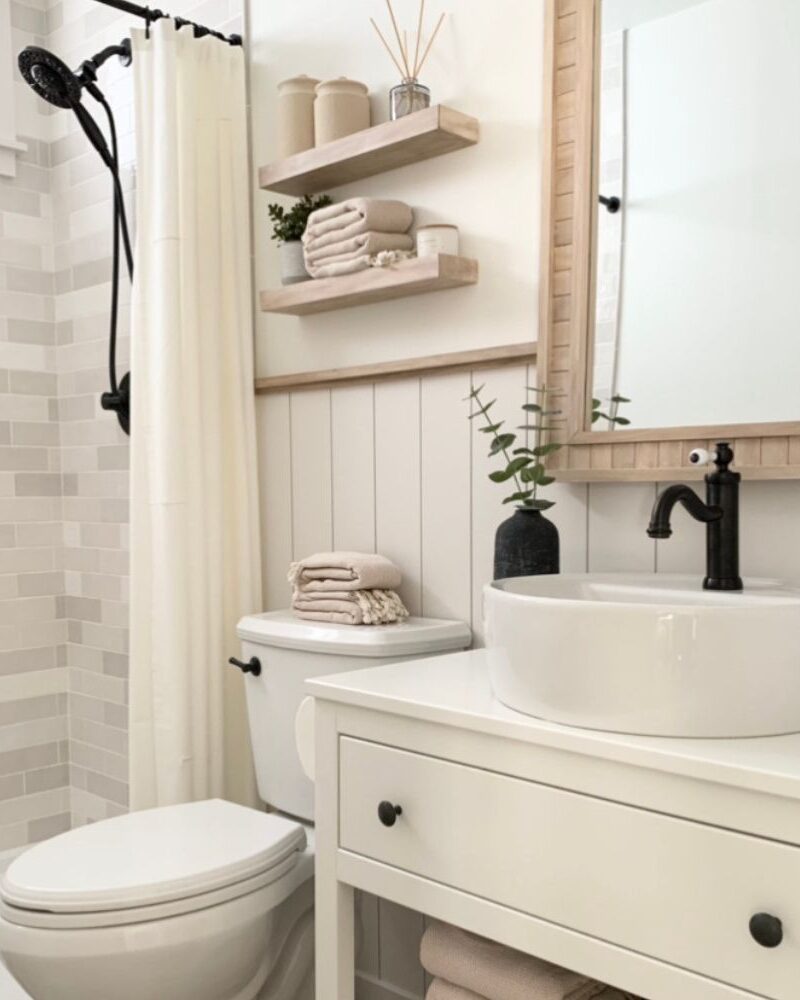
If you would like to see what this DIY bathroom renovation ended up turning into, check out our bathroom remodel here. You can also find a detailed tutorial for how to install new tile as part of a DIY shower remodel. I really love how the shower tile turned out in this bathroom and it really makes the new design!
I hope this description on how to demo a small bathroom was helpful and showed that it’s a messy job but a pretty simple process overall!
Tina
Leave a Reply