Did you know that you could build a custom kitchen island with seating using stock cabinets? We used IKEA cabinets for our whole kitchen remodel, including the big kitchen island with seating and tons of storage! In this post, I will show you exactly how we created our custom kitchen island on a budget!
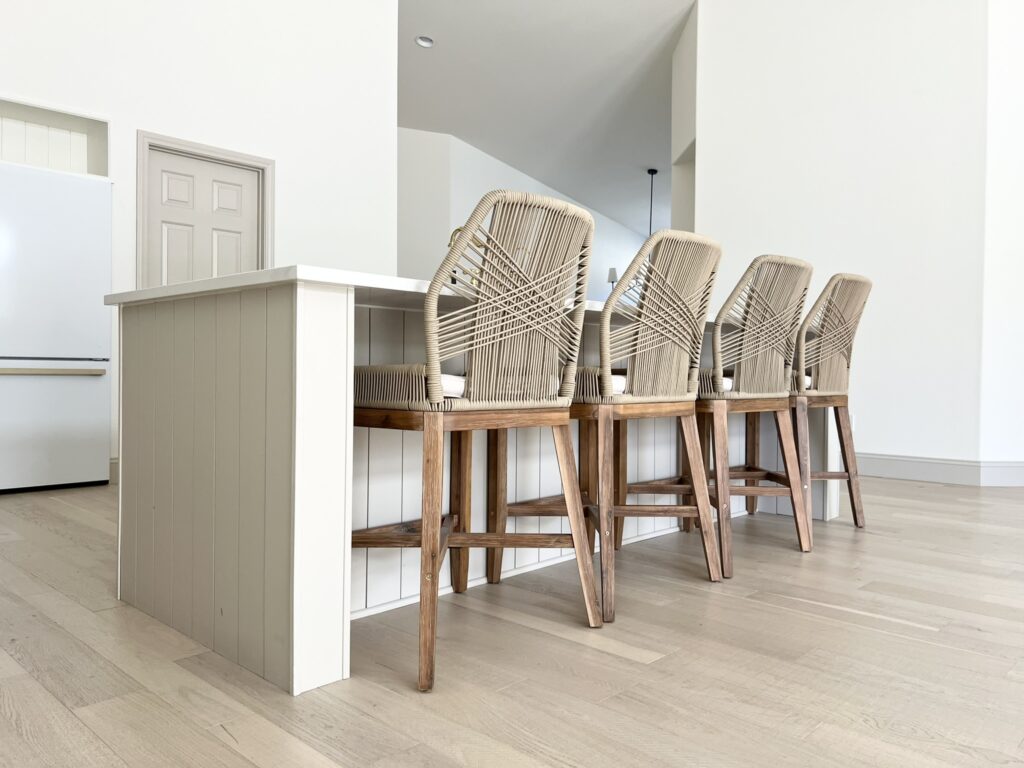
A few years ago, we built a DIY kitchen island using affordable IKEA cabinets during our full kitchen remodel. As soon as we toured the Hills House, we knew we wanted to remodel the kitchen. The plan was to replace the existing island with something more practical than the oddly shaped existing island:

Note: This post may contain affiliate links, you can find more information in my disclosures here.
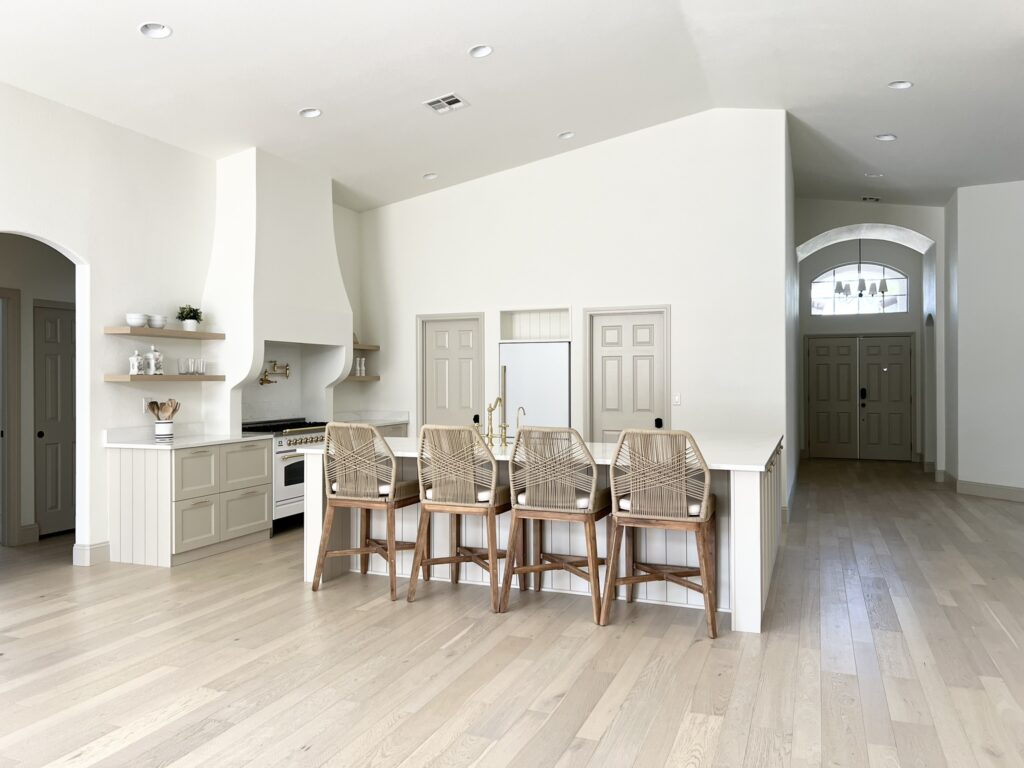
Our kitchen island with seating
Kitchen islands are typically made out of several kitchen cabinets that are attached together. We customized our new island to fit the space perfectly and our needs by selecting a combination of cabinets of various sizes with different functionalities. Our kitchen island includes:
- base cabinets
- base cabinets with drawers
- wall cabinets with shelves
- a corner cabinet with a carousel
- a sink cabinet
- a frame for a dishwasher
- an overhang for kitchen island seating
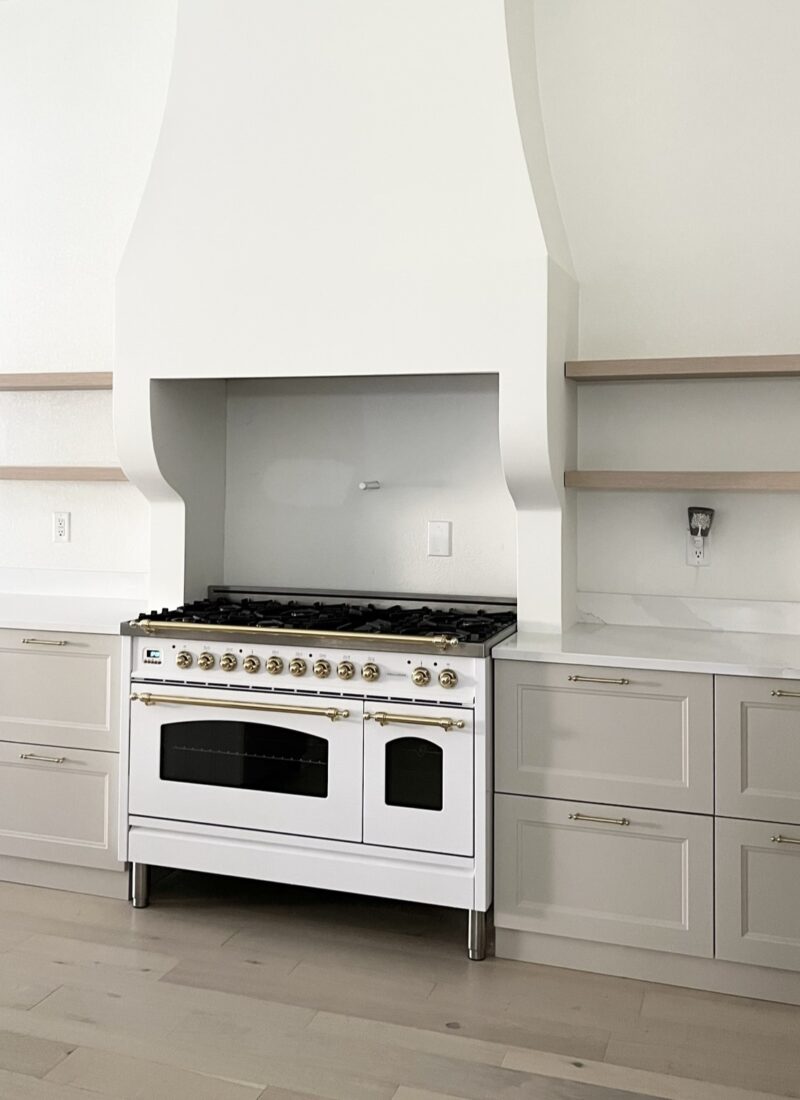
Here are a few photos of our kitchen island:

To create a custom look while still making our kitchen remodel affordable, I added vertical shiplap to our kitchen island and painted the cabinets and the whole island Accessible Beige by Sherwin Williams!


Building our kitchen island from prefab cabinets was not hard, but it did require some planning and we did have to modify a few things to use these standard cabinets for our island.
Due to the size of our island, leveling all the cabinets and ensuring all of them fit together perfectly was the trickiest part of this process. We spent countless hours on this part but in the end we did it!


You can find the sources for the kitchen here:

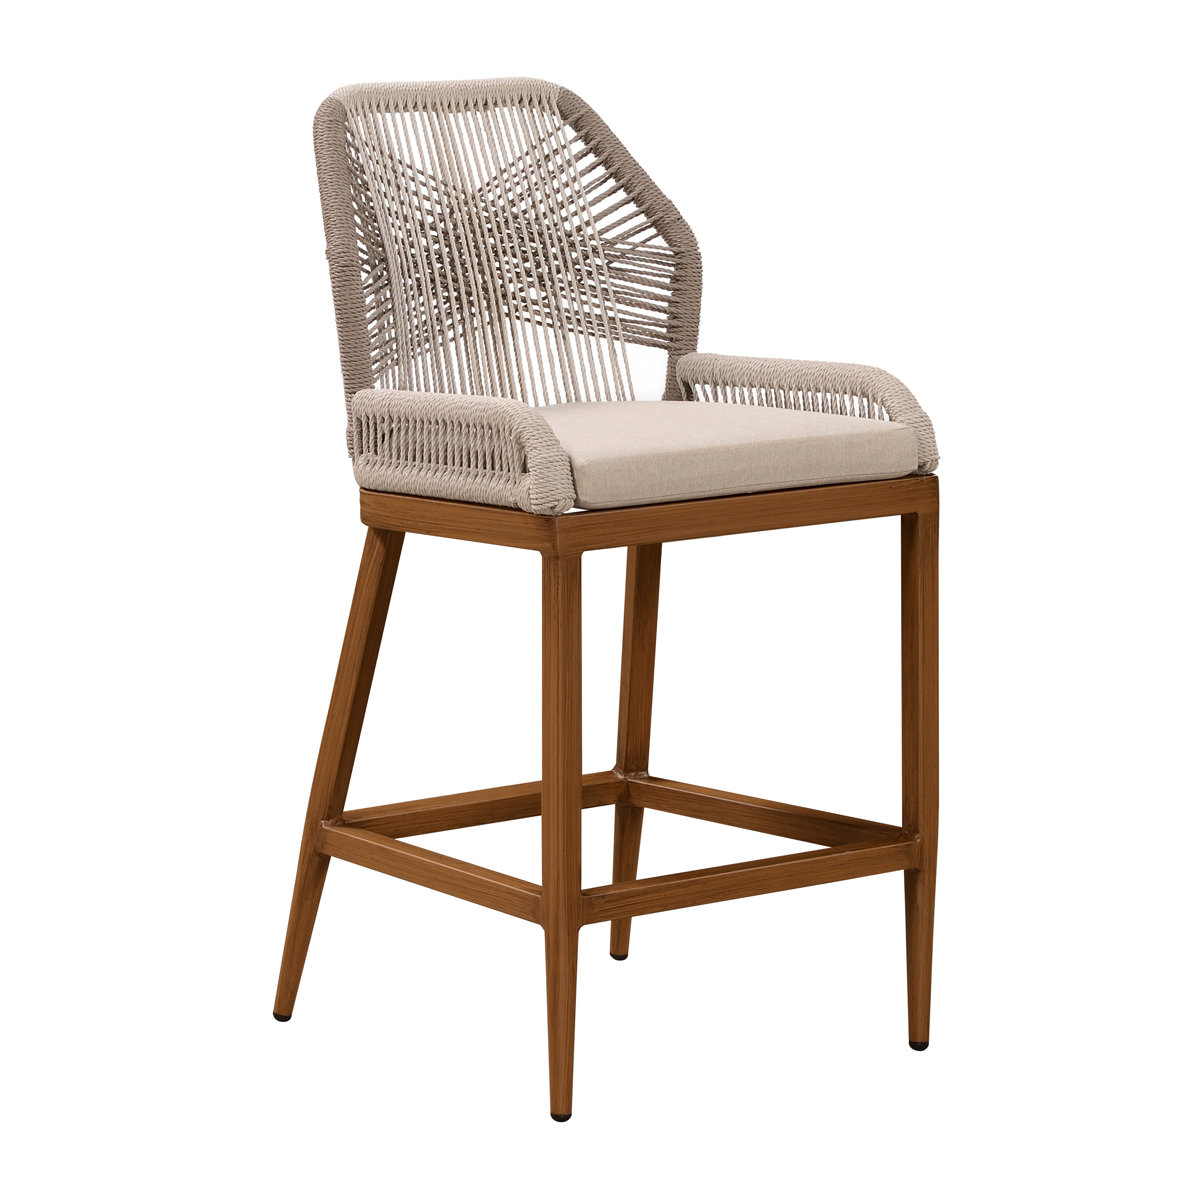
Note: Our chairs are sold out but here are a few similar options:


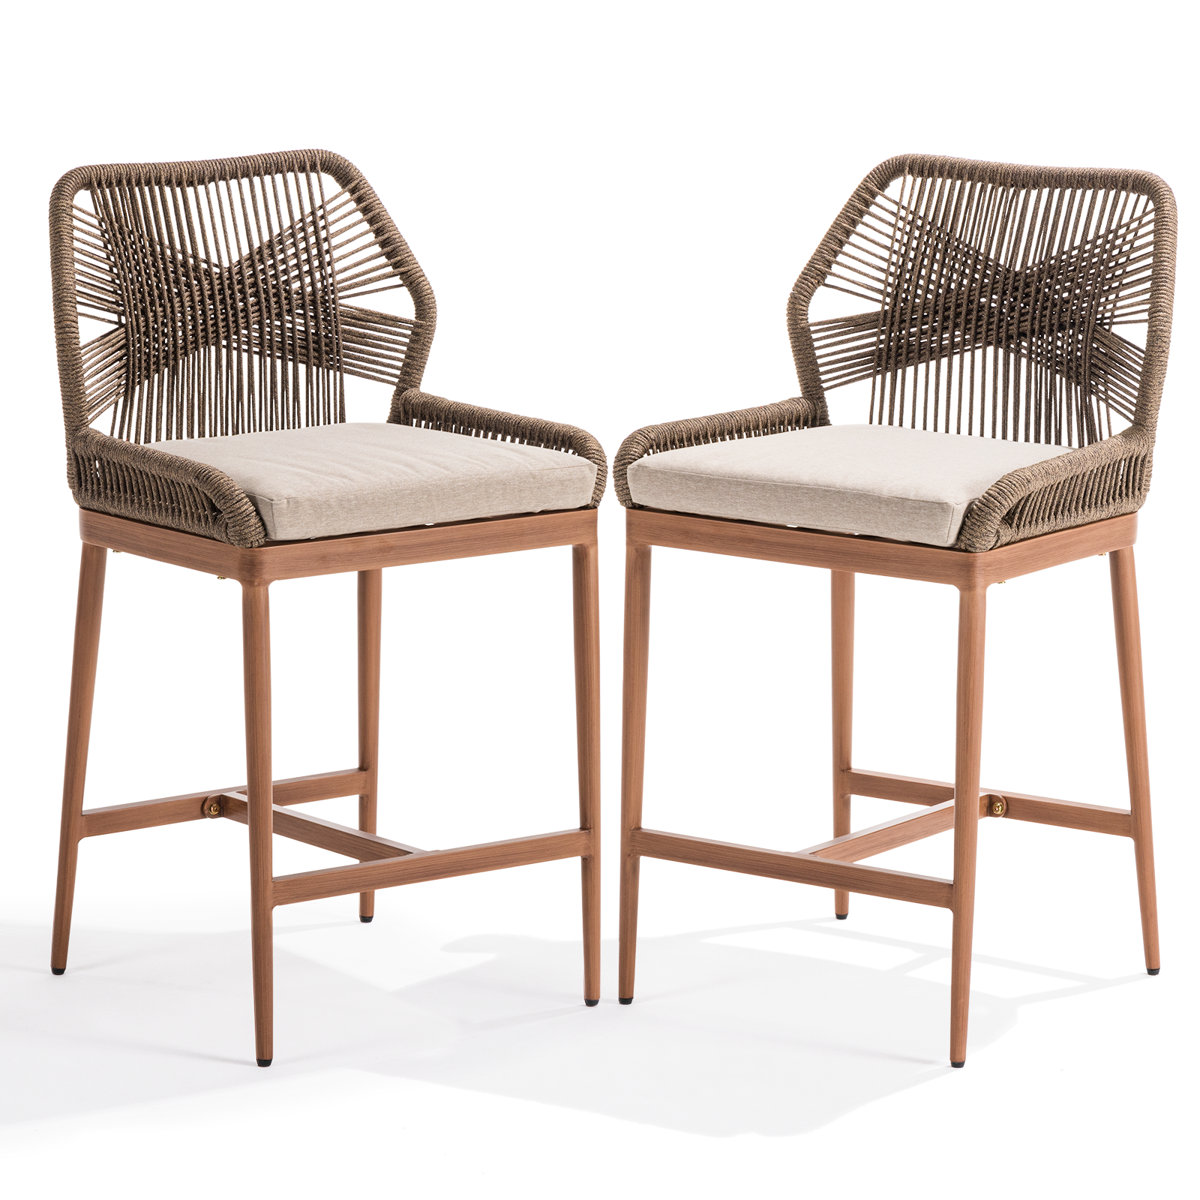
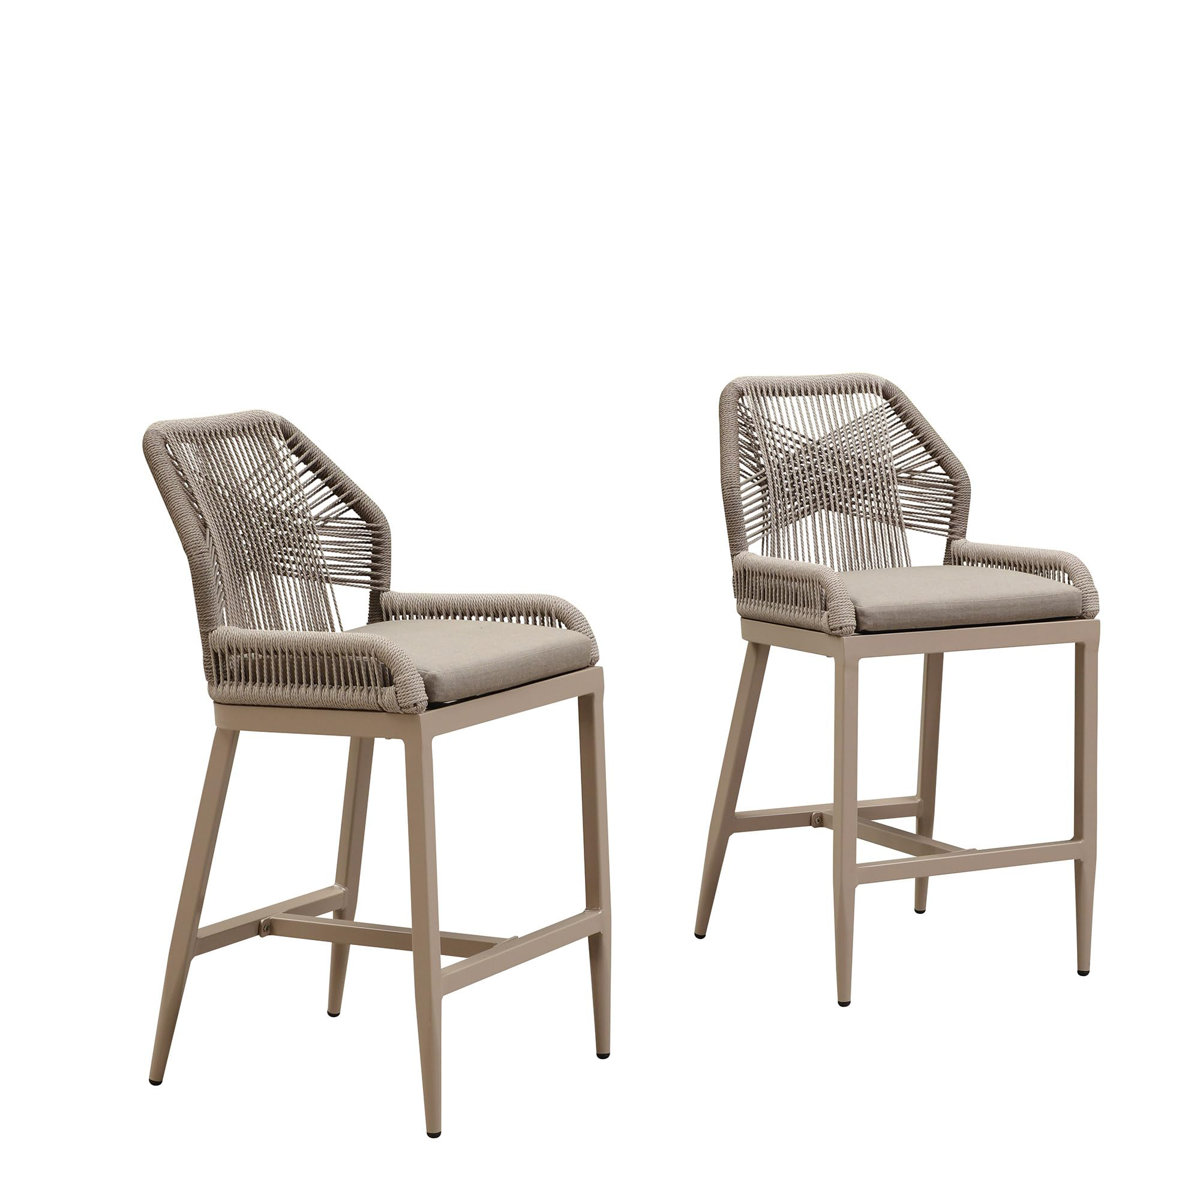
Building a kitchen island is a project that anyone can do with proper planning, the right tools and some patience. Okay, maybe a lot of patience, ha!
How we built our DIY kitchen island
Let me show you exactly what we did to build our DIY kitchen island with seating!
Plan and visualize size and functionality
The first step in building our kitchen island was to plan the size and functionality of it. We started this part of the process well before the existing kitchen was removed. This allowed us to plan the plumbing and electrical appropriately.
I measured the kitchen space and started drafting a rough plan of our kitchen and the island on paper.
Then, I created a more detailed visual in the IKEA kitchen planner. I actually recommend this tool even if you don’t plan on using IKEA cabinets. It’s very beginner friendly, easy to use and you can add custom elements (like a 48″ range) quickly!
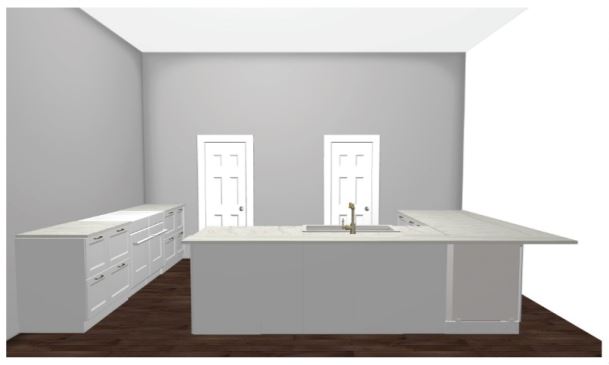
Once I created a rough plan for the island based on our measurements, I met with an IKEA kitchen planning employee online to go over the plan. She was able to make some great recommendations regarding the functionality based on her experience planning lots of kitchens. Some things brought up were the convenience of unloading the dishwasher and having the dishes stored nearby or having a space for baby bottles or dishes near the sink.
Once the old island was removed and we had an blank canvas, I taped out the dimensions of the kitchen island using painters tape:

This really helped visualize the scale of the island in real life. I ended up making some adjustments like removing a couple cabinets on the sides to increase the amount of open space between the island and the adjacent walls and cabinets.
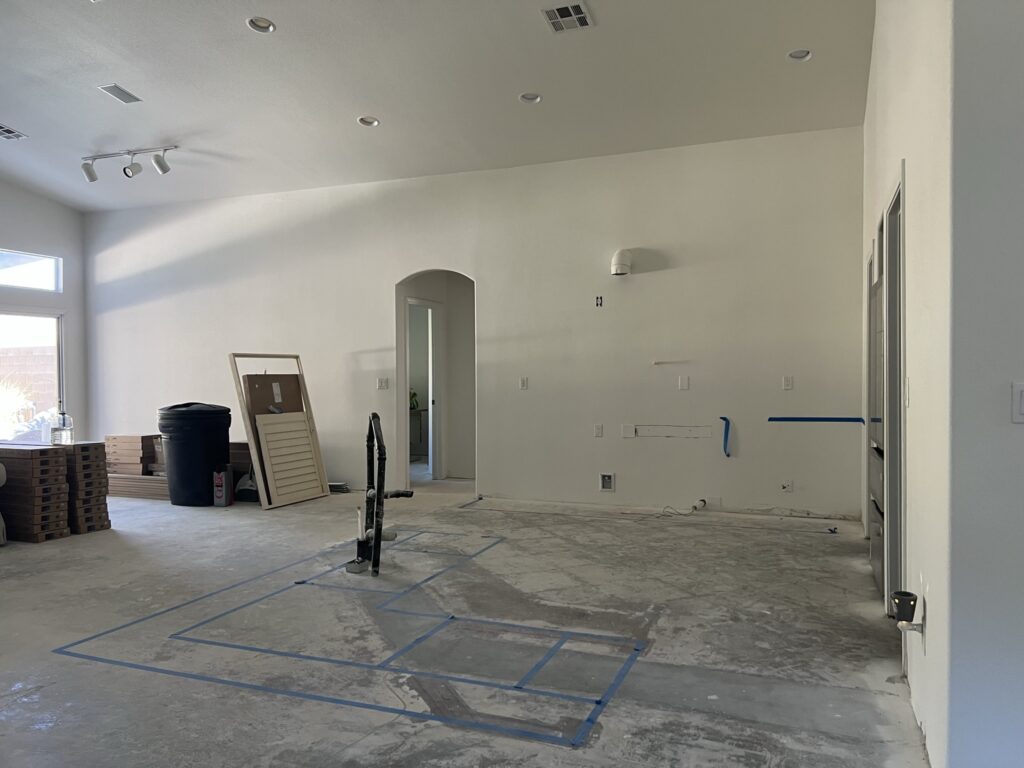
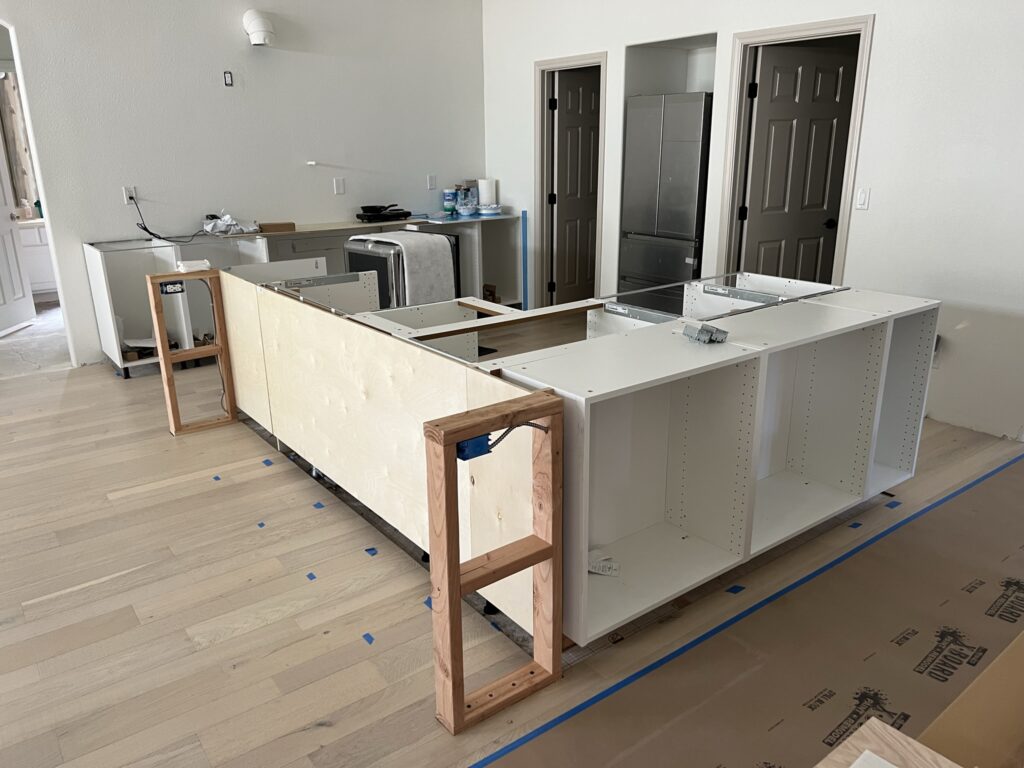
I also tested the spacing using the actual cabinets to make sure I liked the scale of the island:

Build supporting structure
Once the layout was final, we built the supporting structure for our island out of 2x4s. We screwed them into the concrete slab using long concrete screws:


Install cabinets
The next step was to install the cabinets:


The 2×4 base we built created a surface to attach the cabinets to so they could stay in place. It also added stability in addition to the cabinet legs.
Note: Three 2x4s were the perfect height for our kitchen island base to achieve the perfect countertop height in the end (considering the thickness of the countertop that would be installed later).
The step of installing the cabinets took by far the longest and was extremely frustrating. It was challenging to align all the cabinets perfectly and ensure that each cabinet was level:

Our kitchen island area was also very large and with the recent plumbing and electrical work that included digging and patching a trench, the concrete surface was not perfectly level to begin with.
We spent a lot of time on this part but in the end I’m so happy we were able to make it all work.
Reminder: We didn’t use special IKEA kitchen island cabinets. We built our island using a combination of different base cabinets and wall cabinets.
If you’re planning a smaller island or don’t have an uneven subfloor, this part would definitely be far less frustrating!
Build kitchen island overhang
Once the cabinets for the kitchen island were in place, I built the island overhang squares using 2x4s:

I built them to support the countertop on each side of the overhang like this:

We installed the floors and the additional row of cabinet supports:

Once the additional row of cabinets was in, we cut holes in the flooring and I attached the two overhang supports to the concrete slab:
Our electrician also came back to route electrical to the overhang supports:

Where we live, an overhang support was required based on the depth of the overhang I wanted to have for legroom. I also liked the look of an overhang that was enclosed on both sides. Lastly, it gave us a space for outlets which was so useful.
Design, functionality and regulations are all such important things to keep in mind when you’re building a kitchen island!
Install countertop
Once the cabinets and the overhang supports were in place, the company fabricating and installing our kitchen countertops came out to take final measurements:

A few weeks later, they installed our quartz countertops:

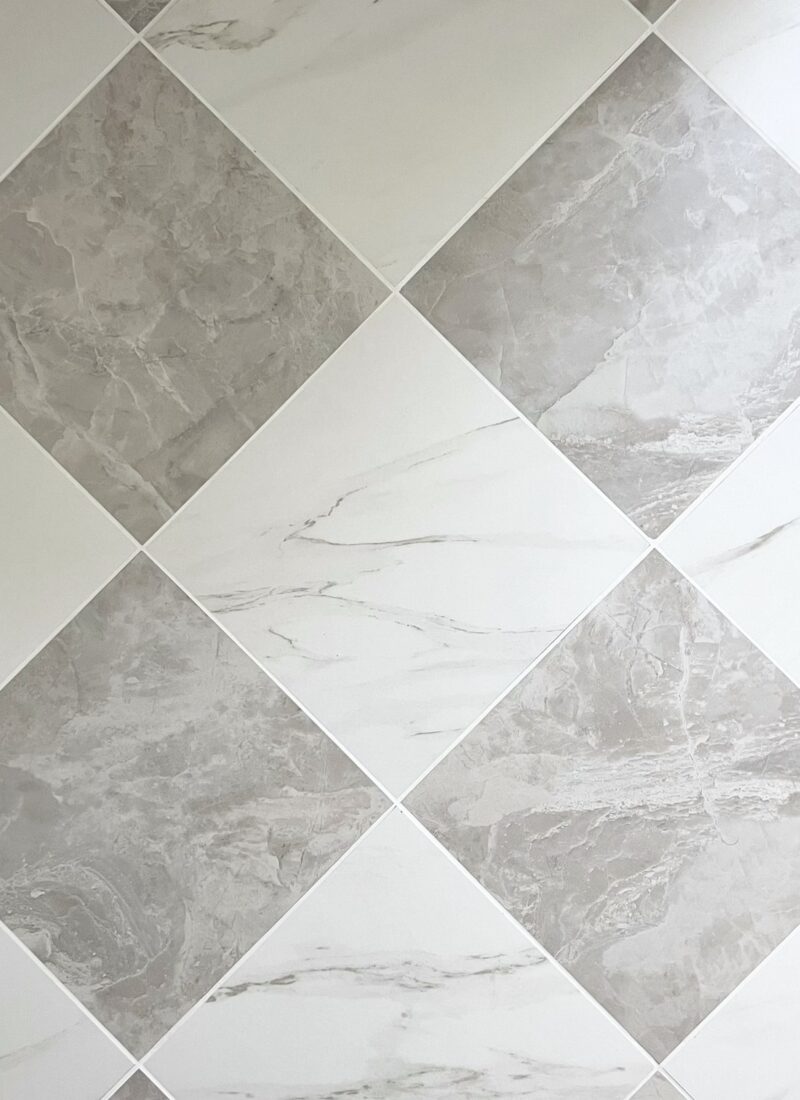
You can read all the details about our Silestone Calacatta Gold countertop here!
Add trim and finishing pieces
I decided to add vertical shiplap on the sides of our kitchen island:
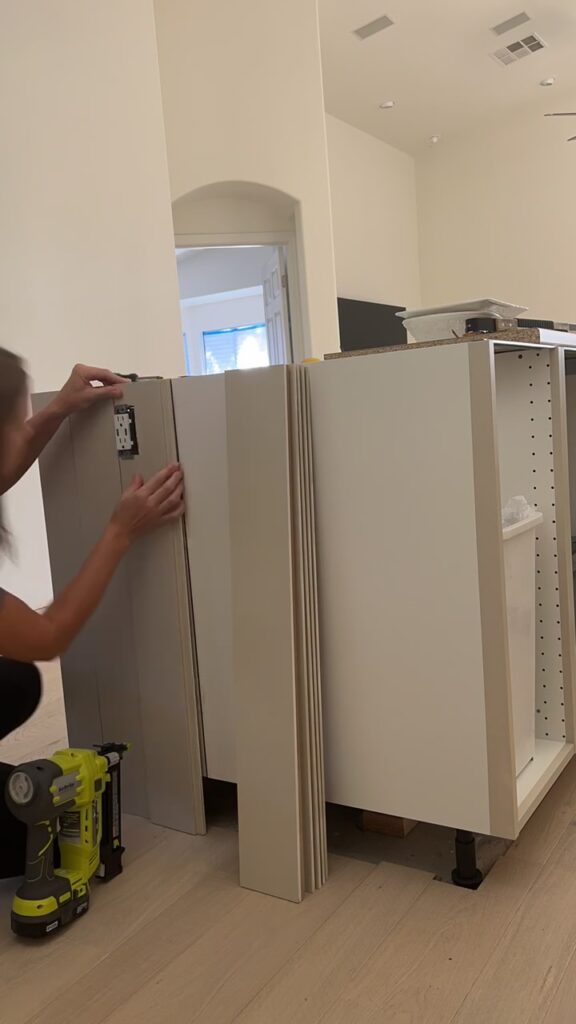
Tip: I painted the boards before installing them. When installing, I typically try to drive the nail through a spot that won’t be visible later to avoid filling holes.

I also installed shiplap under the kitchen island overhang:


I initially was planning on installing natural wood under the kitchen island but I’m so glad I went for this MDF vertical shiplap that matches the cabinets instead!
Fun fact: I added a fake/non-functional cabinet on the side of the island to complete a seamless row of cabinets, let me show you!
Here is the kitchen island overhang:

I added a blank side panel to it:


Then, I painted it just like the rest of the cabinets:

Finally, I added a door to this panel to match the remaining five cabinet doors:

Here’s what it looked like once I added all the trim:

We opted not to use the IKEA toe kicks and added MDF trim at the bottom of the island cabinets instead as the last step:
The shiplap, finishing trim and painted IKEA cabinets really created a custom look for our kitchen island. I’m so happy with how it turned out!
I hope this step by step breakdown of how we built a kitchen island using IKEA cabinet was helpful! I’d love to know if you end up building a kitchen island yourself!
You can find the full kitchen reveal here.
You can find the sources for the kitchen here:
As always, feel free to reach out with any questions,
Tina

Leave a Reply