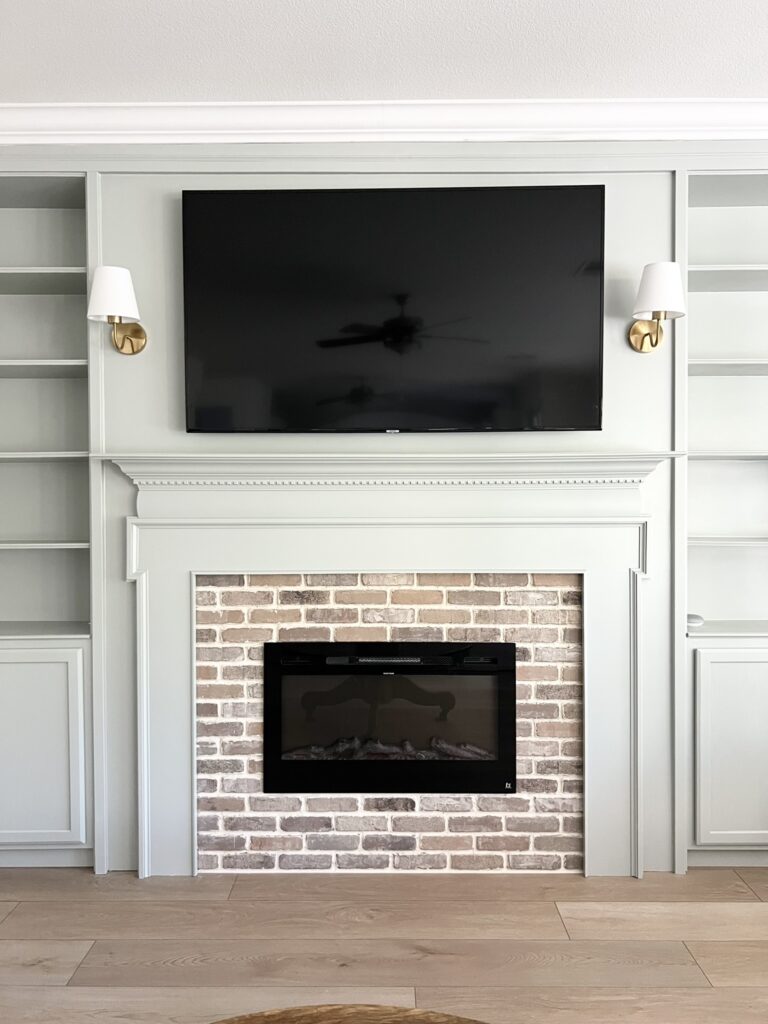
Do you want to build a custom fireplace surround and mantel for your electric fireplace or for your existing fireplace? I recently finished our new electric fireplace in the living room just in time for the holidays! I was going for a more traditional look for the design, so I built a custom fireplace surround and mantel along with it to fit my design vision for our living room!
In this post, I’ll walk you through the exact process of building a fireplace surround and mantel that I went through. I hope this will inspire you to make your fireplace dreams come true!
Note: This post may contain affiliate links, you can find more information in my disclosures here.
Materials
- 8 inch MDF boards
- 2 inch MDF boards
- base cap moulding
- quarter round
- cove moulding
- lattice moulding
- 2013LDF convex shiplap
- 455LDF dentil crown
- wood glue
- caulk
- my favorite primer
- my favorite cabinet paint (color matched to Light Blue by Farrow & Ball)
Tools
Before I got started, I saved tons of inspiration on my Living Room board on Pinterest and narrowed down the design for the fireplace!
Once I was done building the structure of our electric fireplace and the drywall was up, it was time to create the electric fireplace surround and mantel. These are the exact steps I took:
1. Planning the dimensions and scale
I decided to plan this whole project out in Excel to help me visualize the details! I know, that’s not what people typically use but it’s simple and it’s the program I know how to use, ha!
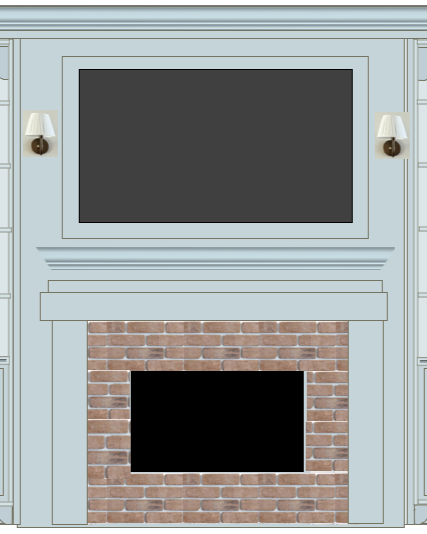
This worked out great to plan the dimensions and scale. I actually ended up increasing the width of some of the pieces based on this mock-up!
2. Building the fireplace surround
To build the fireplace surround, I went through a few different steps:
a. Building the structure
The first step was to build the structure. To do that, I cut three pieces of 8 inch MDF boards to size and arranged them:
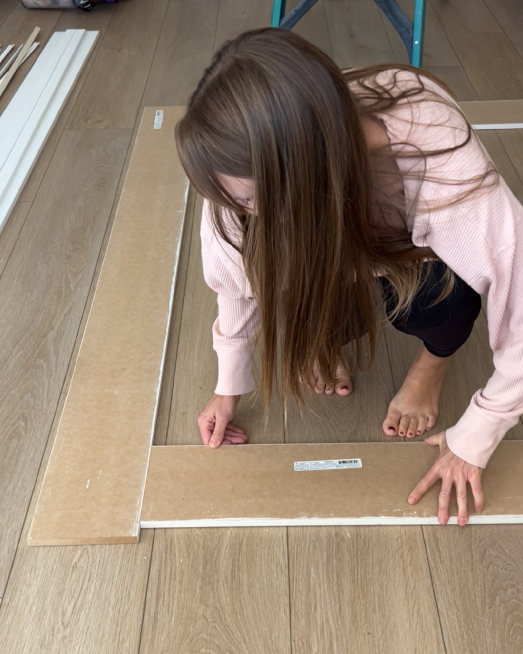
Then, I drilled two pieces of scrap wood to the back to attach the three pieces and hold it all together!
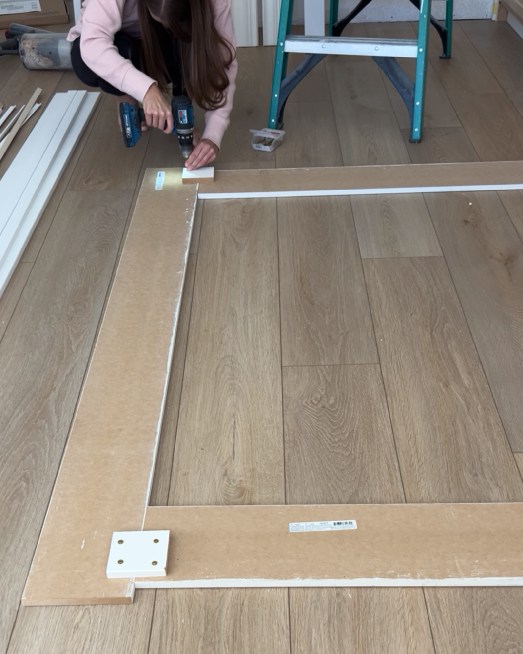
Next, I filled the gaps in the front for a smooth and even surface:
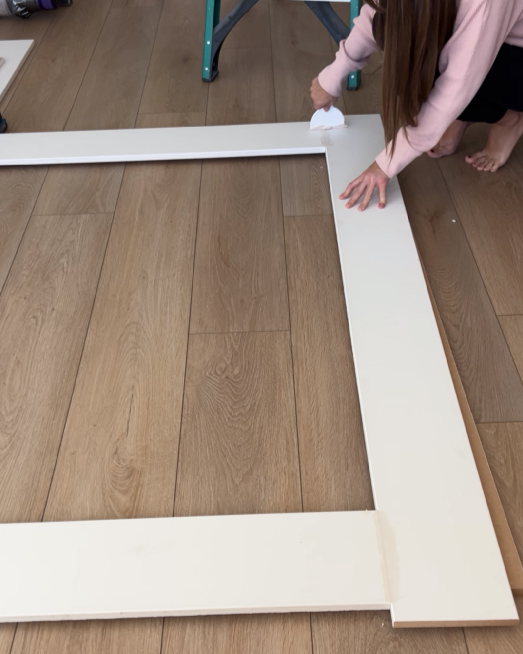
b. Adding trim around outer edge
Once I had the U shaped surround structure, I added trim around the outer edges:
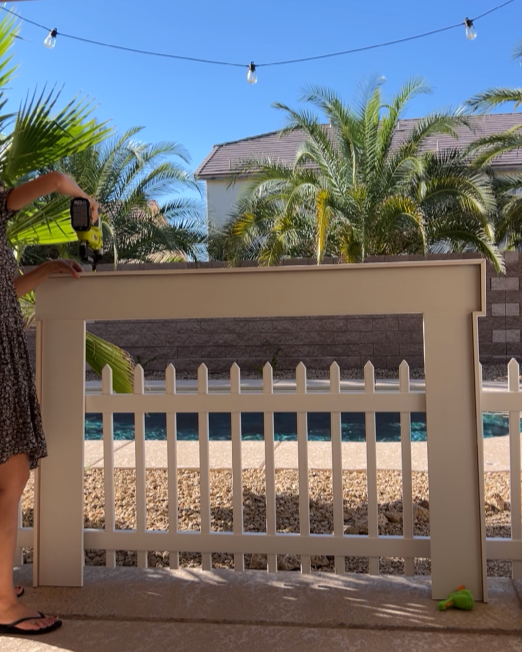
This included making several 45 degree cuts to achieve this look!
c. Adding decorative trim
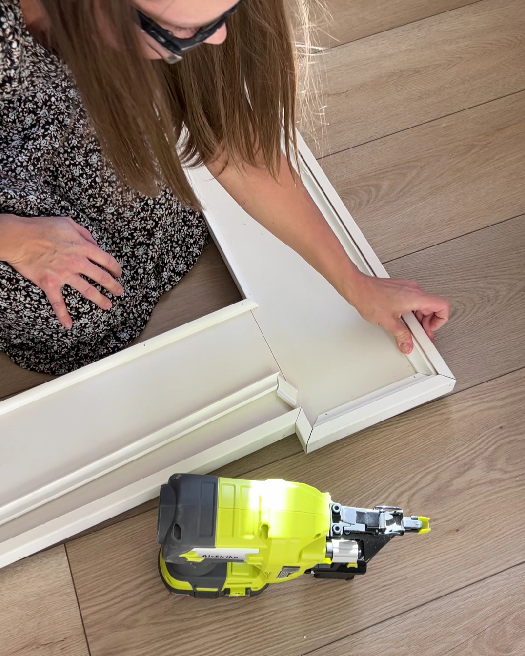
The next step was to add some decorative trim. I started by adding quarter round around the inner parameter of the surround and then added more trim around the outer parameter:
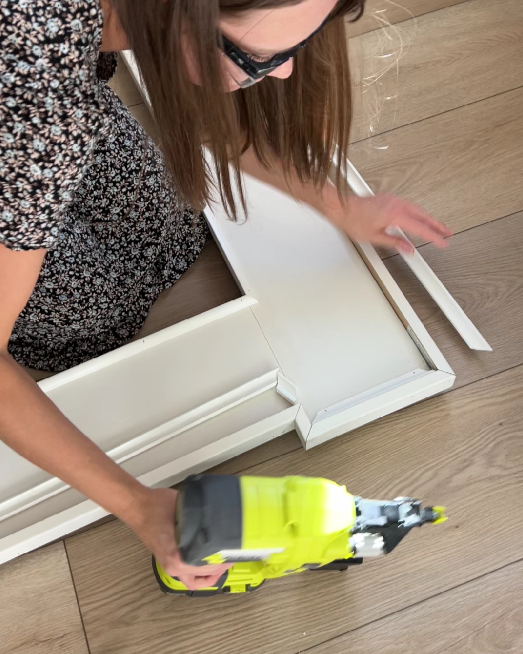
I used cove moulding for this part:
3. Building the fireplace mantel
I built the fireplace mantel out of one 8 inch MDF board, base cap moulding and 455LDF dentil crown.
First, I cut the MDF board to size and attached the base cap moulding to the three edges that would be facing the living room:
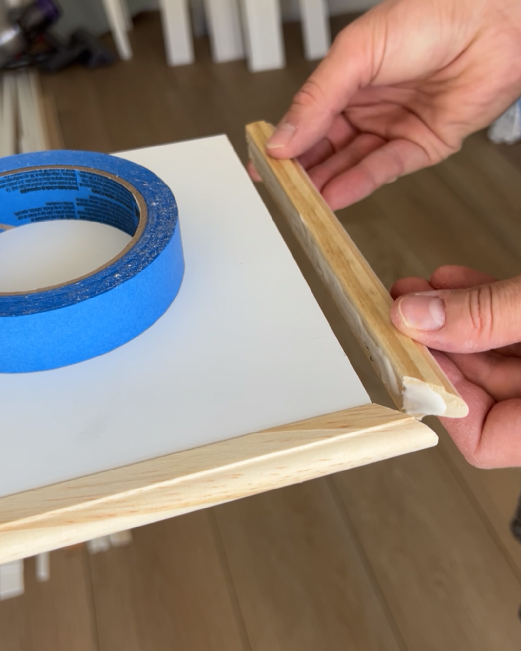
I used wood glue to attach the base cap moulding to the MDF board and held it all on place with painters tape while the glue dried!
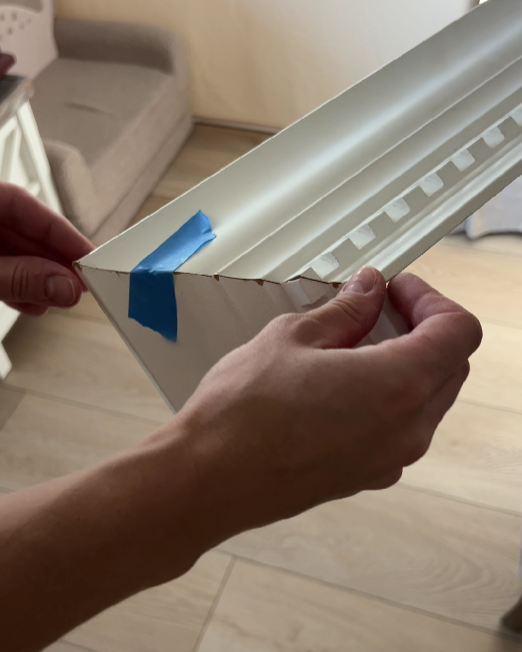
Then, I cut my dentil crown moulding to size and also glued it together:
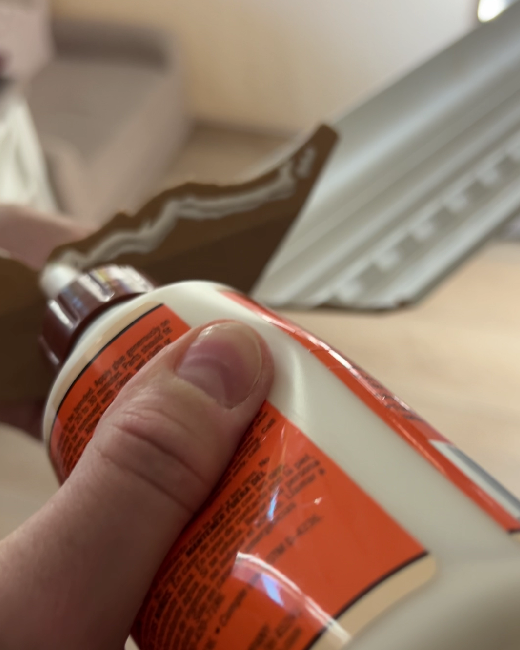
I prefer to use wood glue over nails for this part because it allows for more precision:
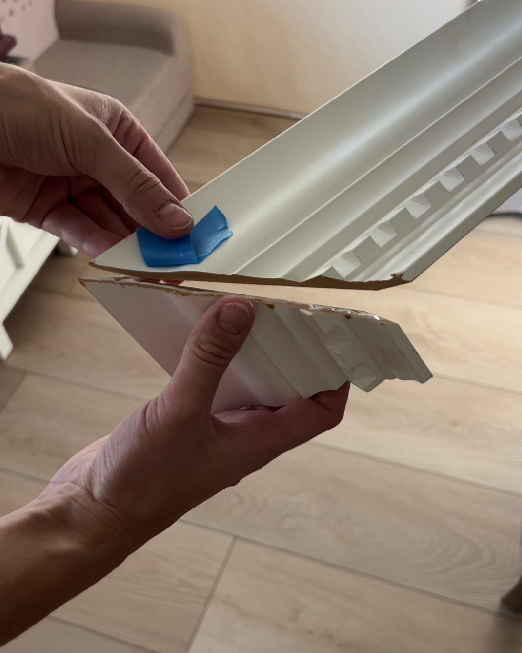
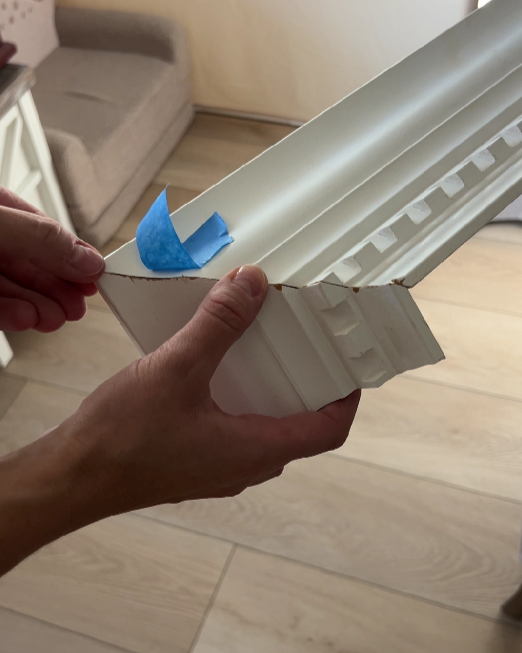
Then, I used painters tape to hold it all in place while the wood glue dried:
4. Attaching fireplace surround and mantel to the wall
The last step in building the fireplace surround and mantel was to attach it to wall!
I secured some leftover 2x4s and scrap pieces of MDF to the wall and studs:
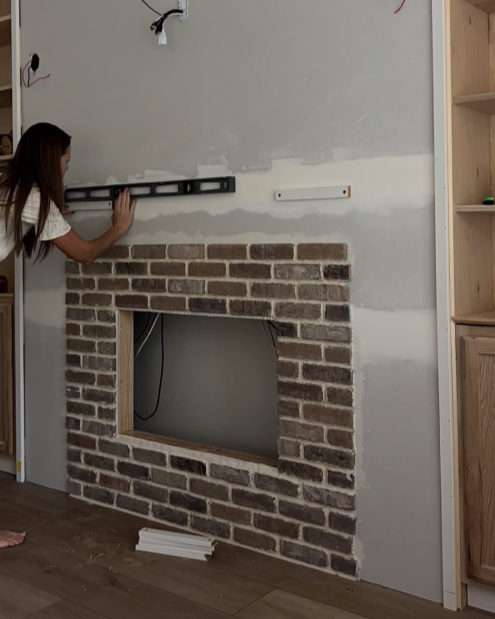

Note: The leftover MDF pieces were roughly the same depth/thickness as the brick so they also acted as the perfect spacers between the wall and the surround. This allowed the surround to sit flush against the brick!
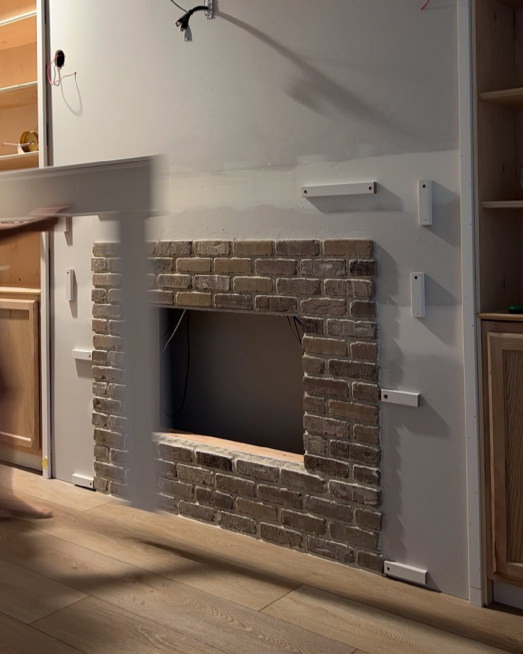
Next, I added more scrap pieces of wood to install the convex shiplap:
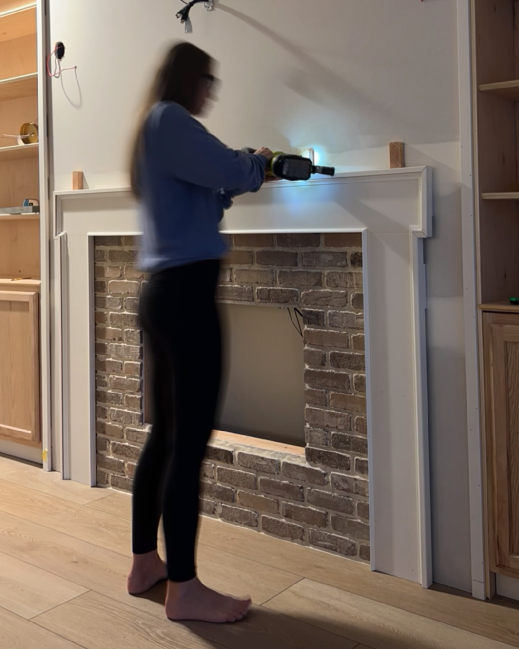
Then, I added 2x4s and a little ledge to mount the mantel:
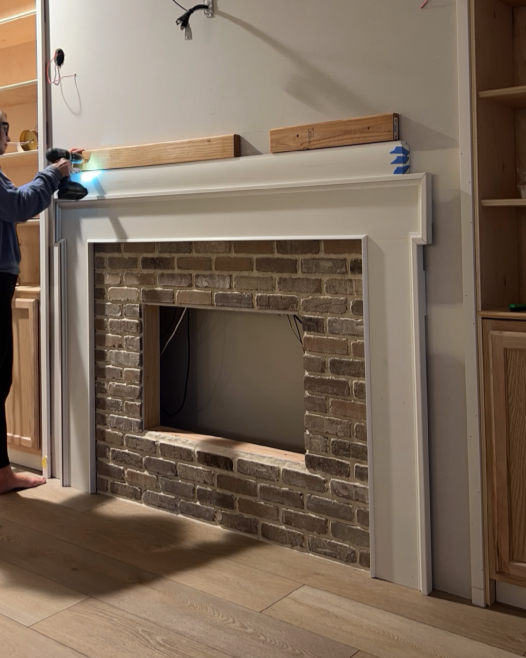
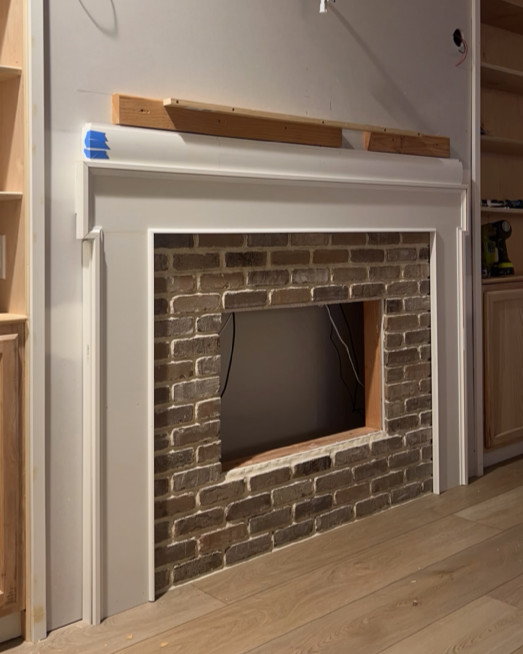
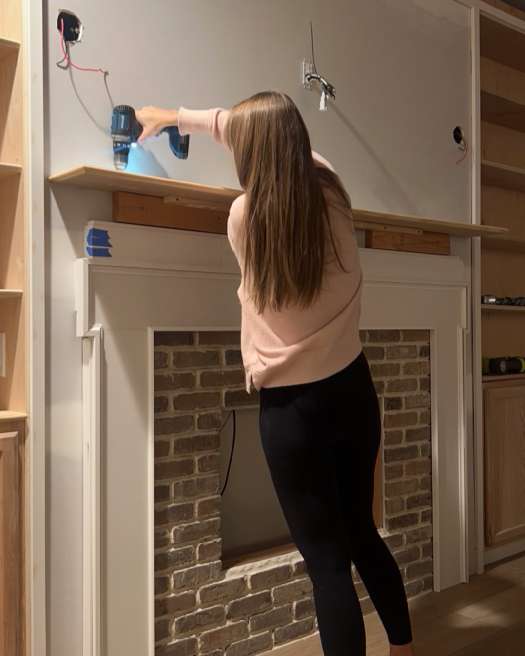
Once the mantel was installed, I added the dentil crown to the bottom:
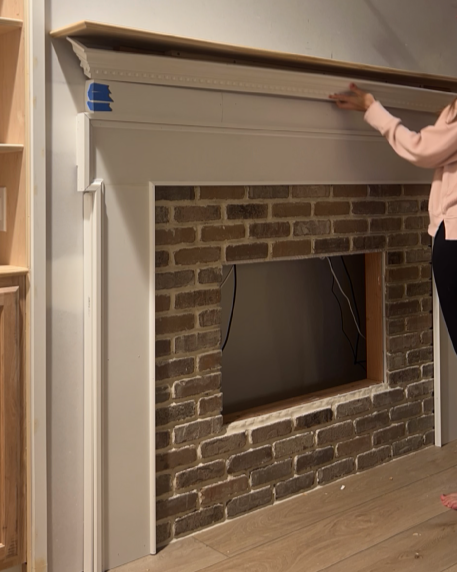
I secured it with my brad nailer:
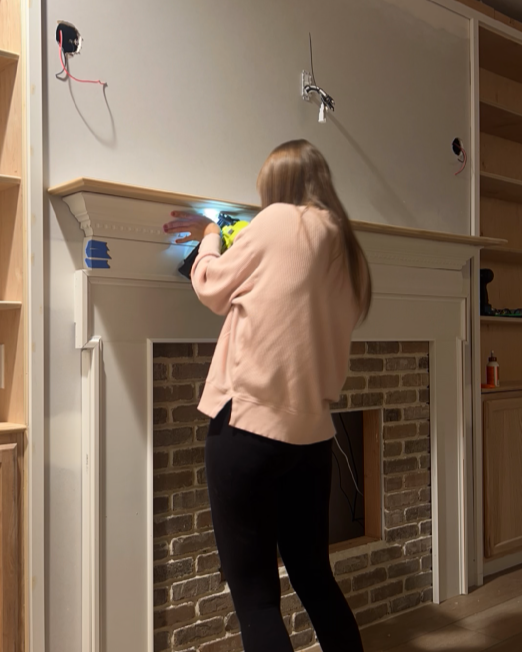
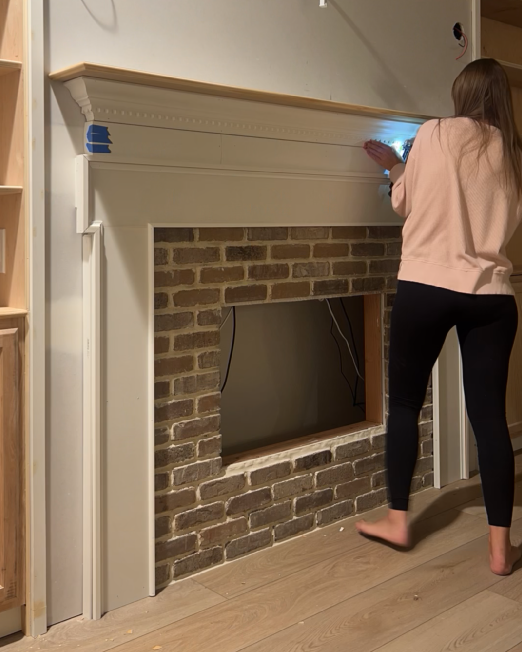
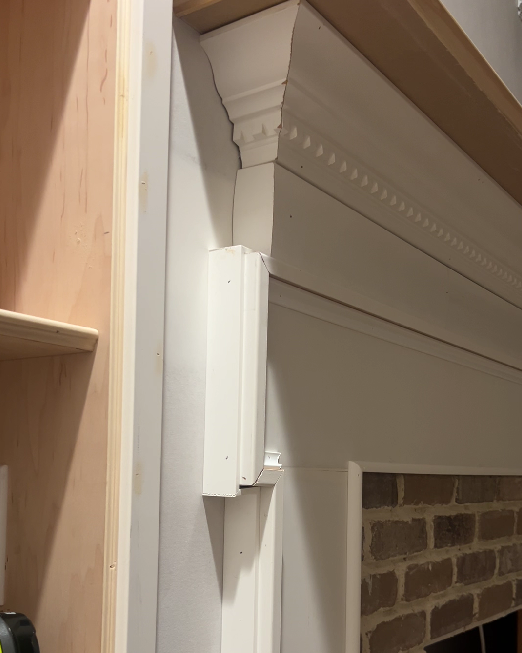
Once all that was installed, I added lattice trim to cover the gap between the wall and the surround for a nice finish:

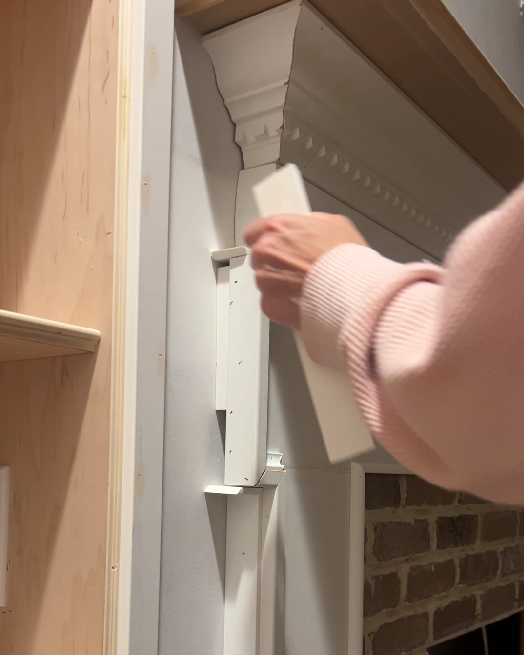


I think it looks so much more finished!
5. Paint prep
Next, I prepared the fireplace surround and mantel for paint by applying wood filler and caulk where needed:

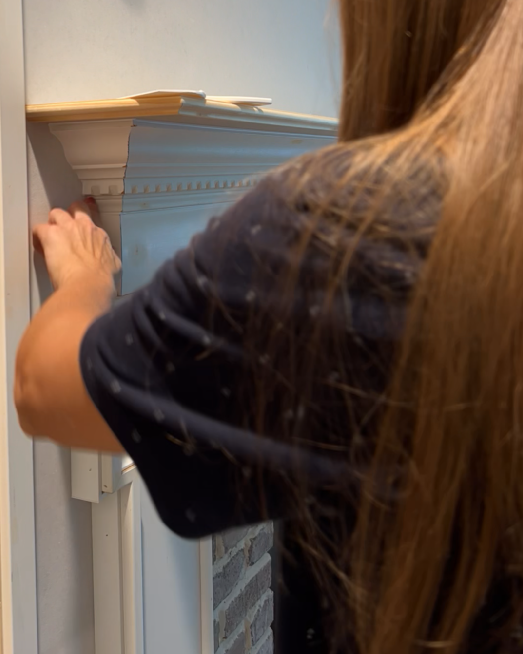

6. Priming and painting
The last step for me was to apply one coat of my favorite primer and two coats of my favorite cabinet paint (color matched to Light Blue by Farrow & Ball)!
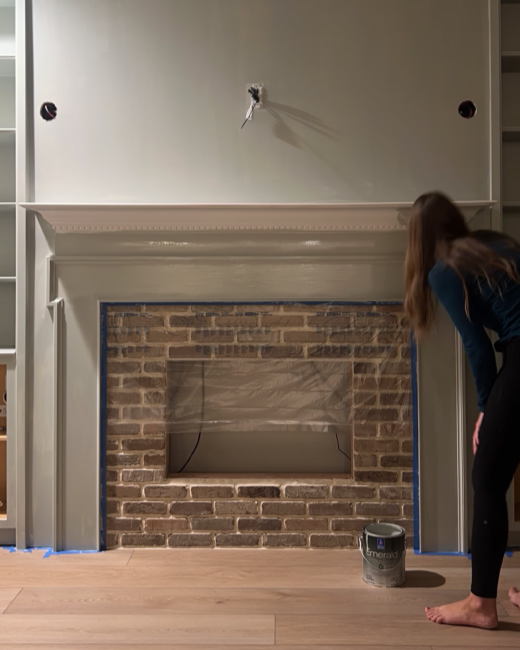
I have a post detailing my tried and true painting process here!
Finished DIY fireplace surround and mantel
I’m so excited about how this fireplace surround and mantel turned out!

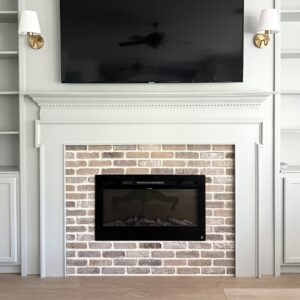
The DIY electric fireplace and built-ins completely transformed our living room:

Did you expect it to be this straight forward to build a fireplace surround for an electric fireplace?
I’m so glad I added all the trim work, I think it makes a huge difference and gives it so much more character and a more traditional look:
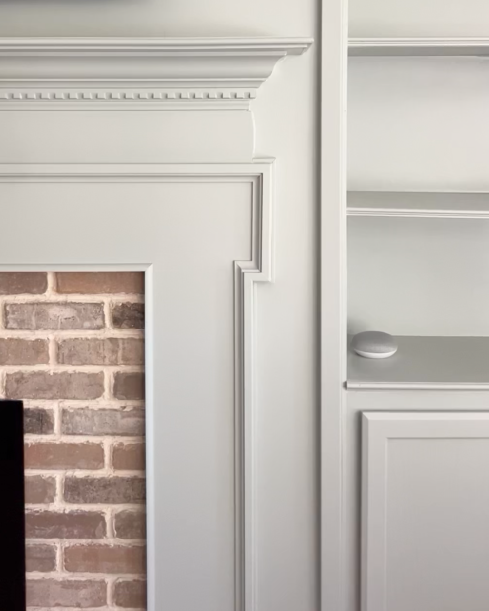
I hope this was helpful in showing you how to build a fireplace insert surround! You can learn more about how I built our DIY electric fireplace here.
Let me know if you end up building a fireplace surround and mantel and feel free to reach out with any questions.
The next step for me in this living room transformation is finishing up the crown moulding, adding trim around the windows and painting the rest of the living room. Oh and decorating those built-ins, stay tuned!
Tina

Leave a Reply