Have you ever stared at an awkward empty space in your home and thought “What should I do with this”? This post is for you! Today, I’m so excited to share with you how I transformed our boring early 2000s TV nook into a DIY kids reading nook that our little ones are loving!

Note: This post may contain affiliate links, you can find more information in my disclosures here.
Screens are everywhere these days so I wanted to give my kids a special place that encouraged quiet time and imagination. Our TV nook had been sitting empty since we rearranged the living room, and the space was just begging for a new purpose. I’ve been seeing cozy reading nooks all over the internet and got inspired by all the different reading nook ideas! A reading nook also made perfect sense: the outdated TV nook was already the right size, tucked away, and had a dedicated light switch.

Here’s how I built a cozy and cute space that is now our childrens’ favorite spot in the house!
Materials
- beaded MDF wall panels for the walls
- studs to build the structure
- fully assembled cabinets for storage and seating
- plywood for bench surface
- base cap moulding for the bench
- casing to frame the reading nook
- wood to build the bookshelves
- screws to build bookshelves
- wood glue for the trim on the bookshelves
- screws to use throughout the project
- dowels for the picture gallery rails
- brass spray paint for gallery rails
- trim for the fronts of the shelves
- caulk for finishing touches
- my favorite primer
- my favorite cabinet paint (color matched to Light Blue by Farrow & Ball)
- recessed power strip (optional)
Decor
Tools
- circular saw to cut beaded wall panels
- brad nailer to attach wall panels and trim
- stud finder
- miter saw to cut all other materials
- drill
- paint brush
- paint roller
1. Clearing out the space
The TV nook was already pretty empty so all I had to do was remove all the baseboards (that I just installed a few months prior, ha!) to get the space ready for this transformation:
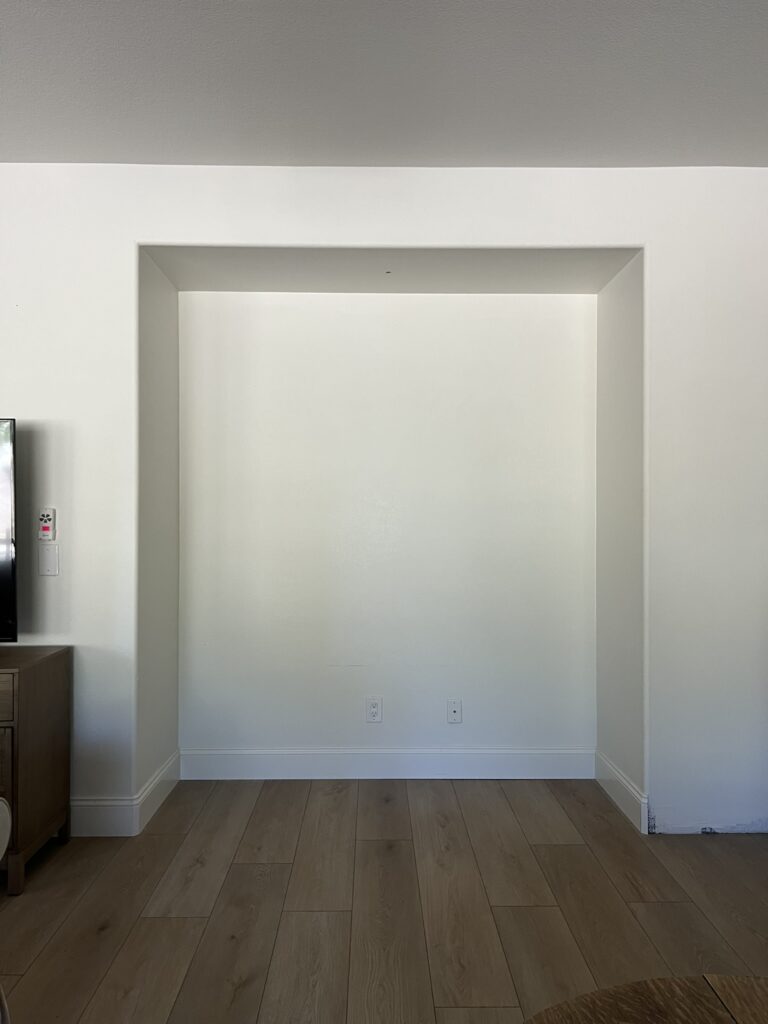
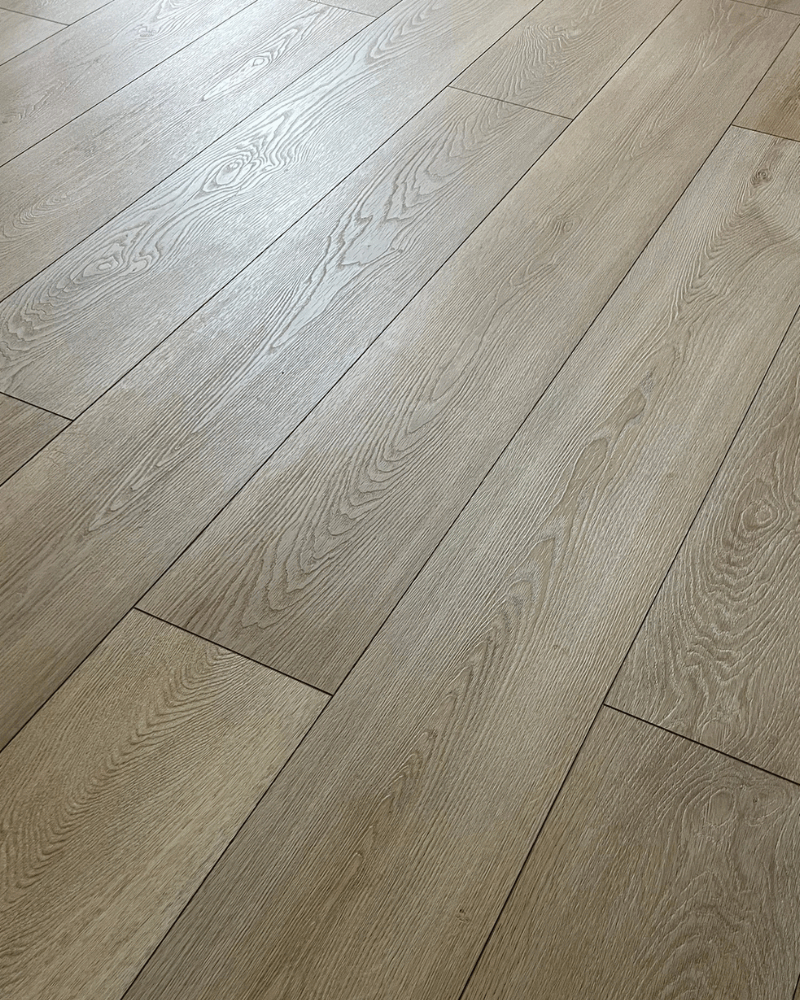
Note: Normally with built-ins (like the ones I just built in our living room), I would remove the flooring and have the build-ins sit directly on the concrete floor. However, the reading nook is in the middle of our living room. Removing the flooring would have involved shortening several planks of flooring. Those would be really difficult to replace if we ever changed our mind about the reading nook. It’s also a relatively small space and the reading nook won’t carry a ton of weight. For those reasons, I decided not to remove the floors underneath like I did for the built-ins on the other wall and keep our flooring in place.
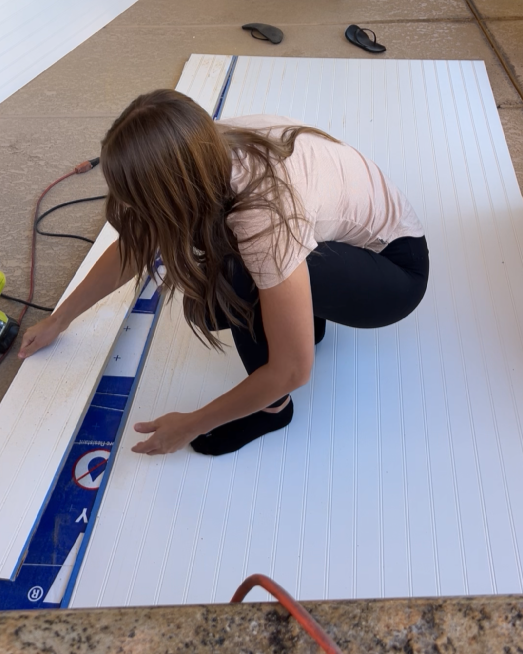
2. Installing the beadboard
The next step was to install the beadboard on the backside, the sides and the ceiling of the nook!
I cut the beadboard using a circular saw.
Tip: I taped the edge where I was going to cut off with painters tape to get a cleaner finish:
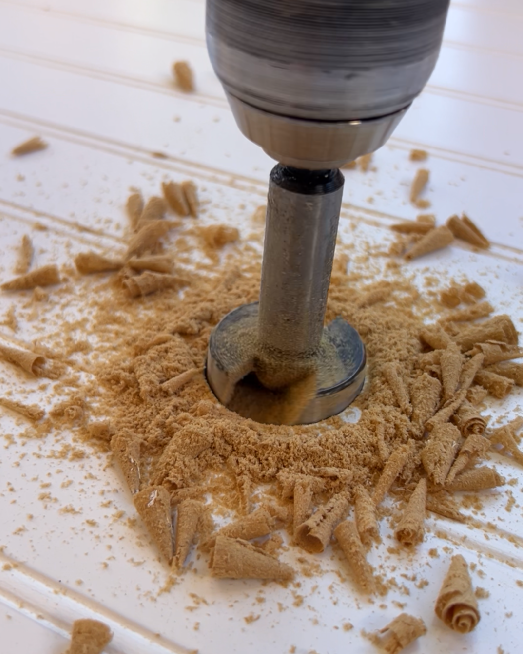
I used a stud finder to mark the position of the studs behind the wall and then used my brad nailer to attach the boards to the wall!

I also had to cut a hole for the electrical for the ceiling light and used this drill bit set for that:
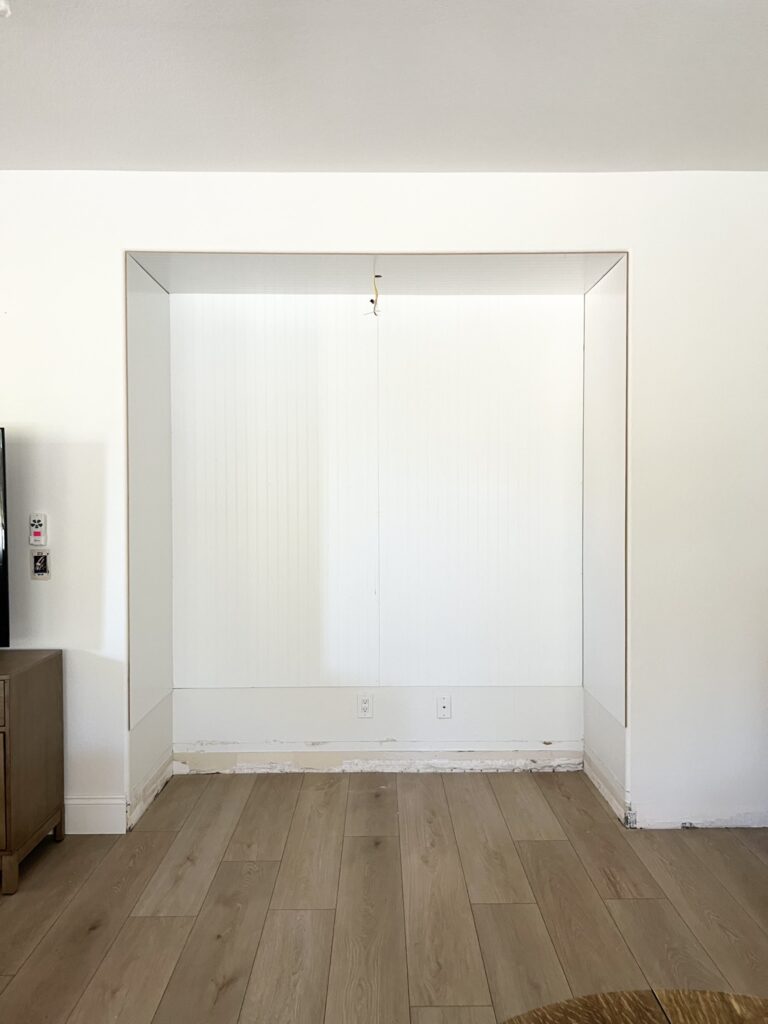
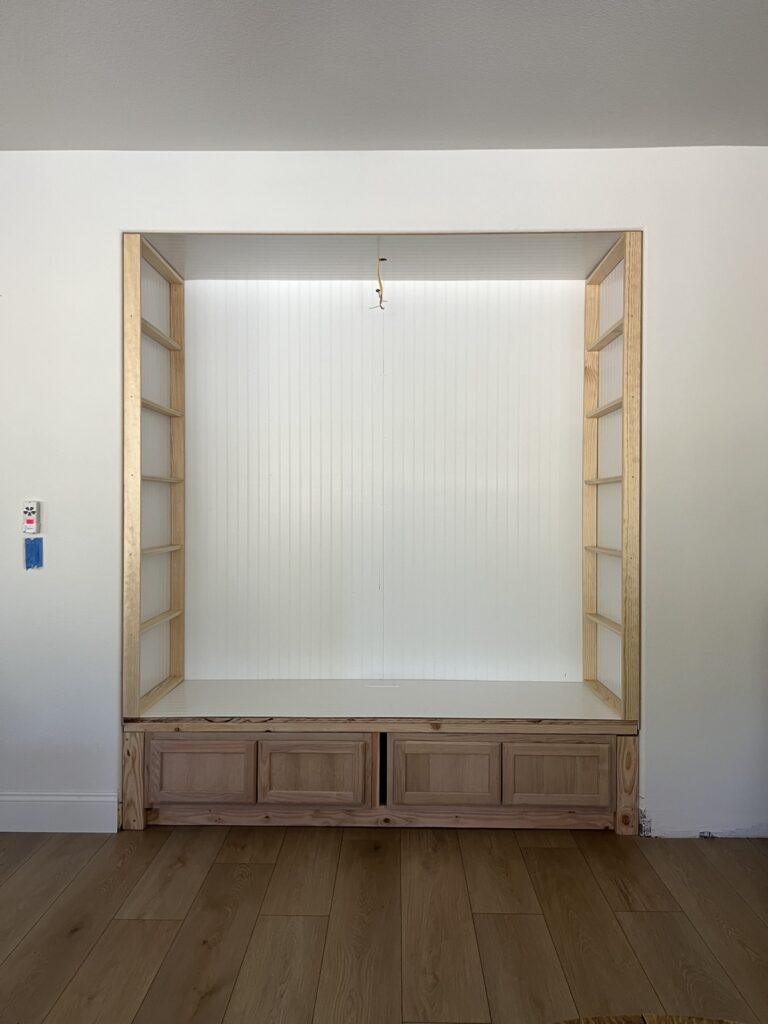
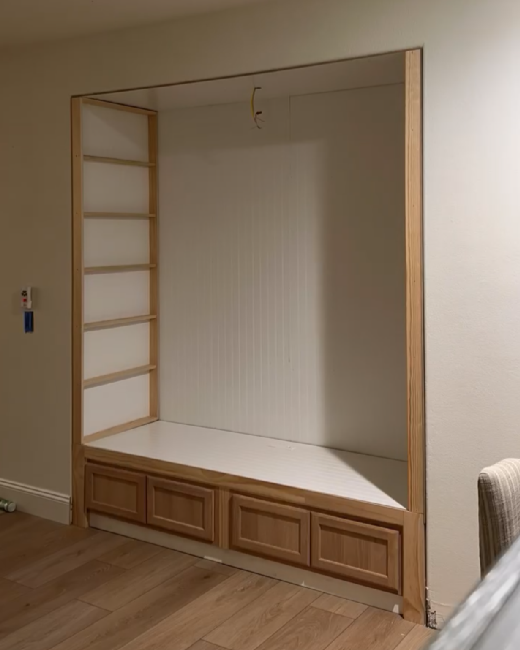
Here is the reading nook with the installed beadboard!
3. Building the structure out of 2x4s
Based on the size of the fully assembled cabinets and the size of the space I built the supporting structure out of 2x4s:
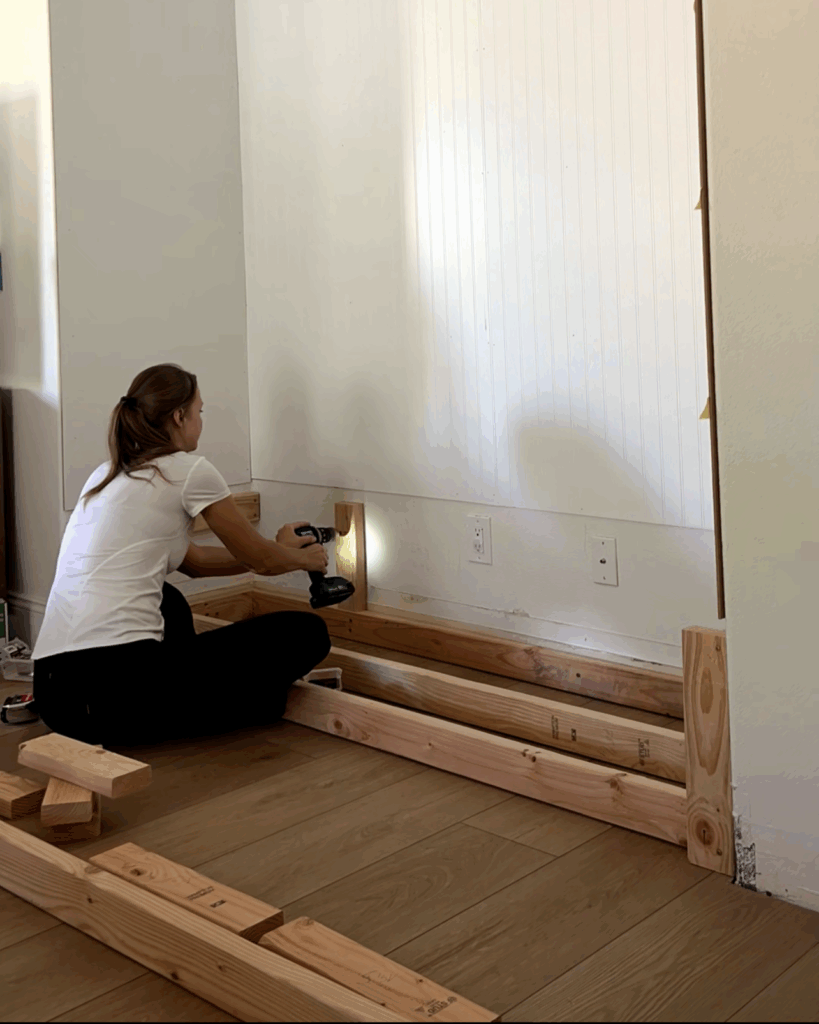

4. Installing the cabinets
Next, I added the assembled cabinets:

5. Finishing the bench
Then, I added more 2x4s on top:

Next, I installed leftover plywood on top:
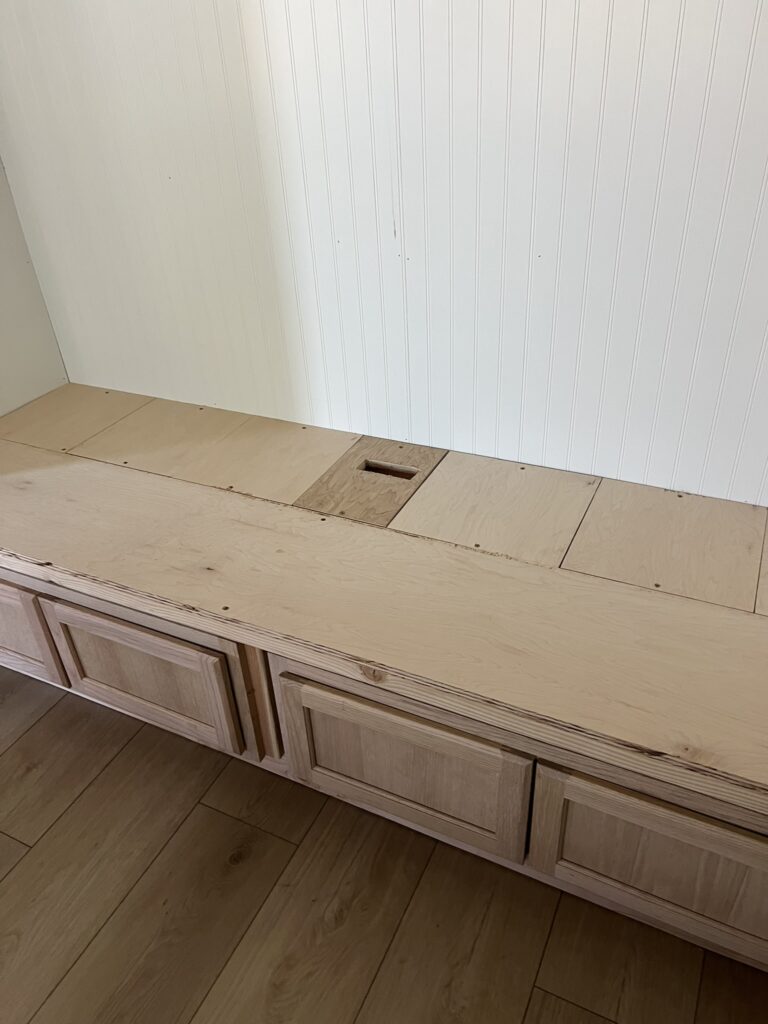
I left a small hole for a recessed power strip before adding beadboard on top of the bench for a cohesive and seamless look:

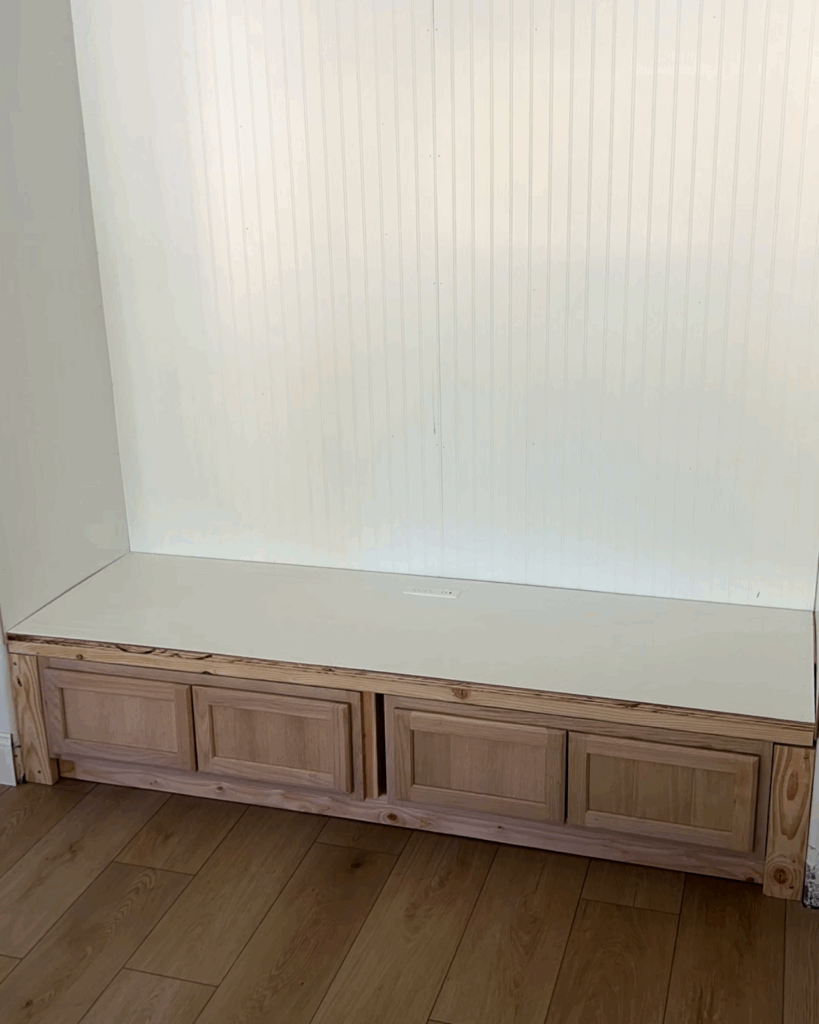
Then, I added the recessed power strip:

Here is the finished bench with the beadboard and recessed power strip:
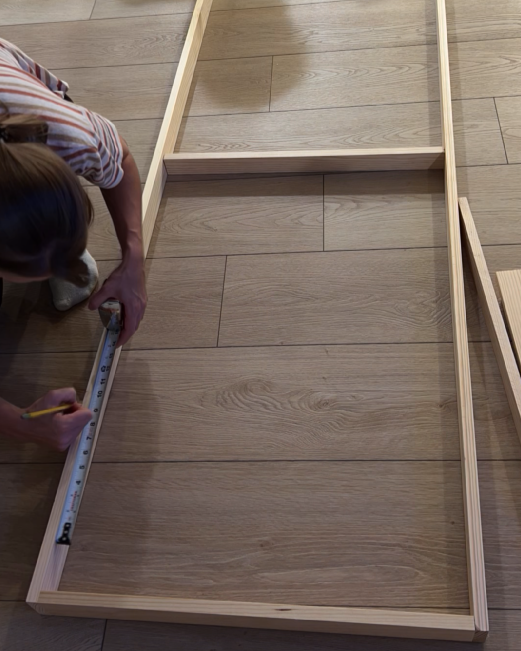
6. Building the bookshelves
Next, I built the bookshelves out of 1×3 pine boards. I started by cutting the pieces to length and then assembling them after determining even spacing:

Then, I secured the shelves using screws:
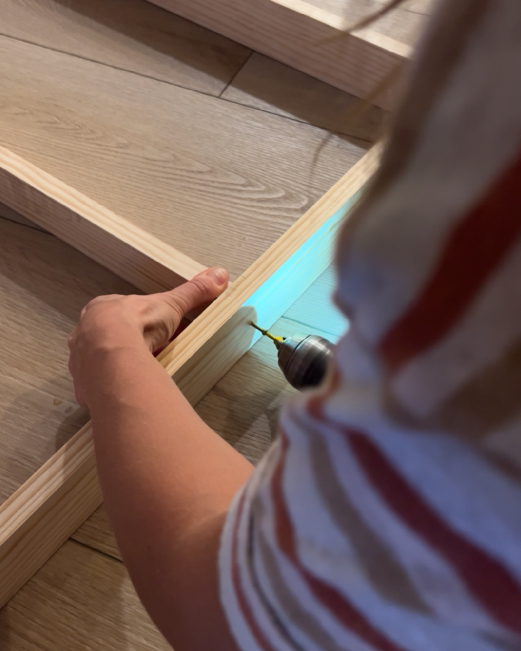
I ended up securing them more with two brad nails on each side:

Then, I added trim to the fronts of the shelves using wood glue:
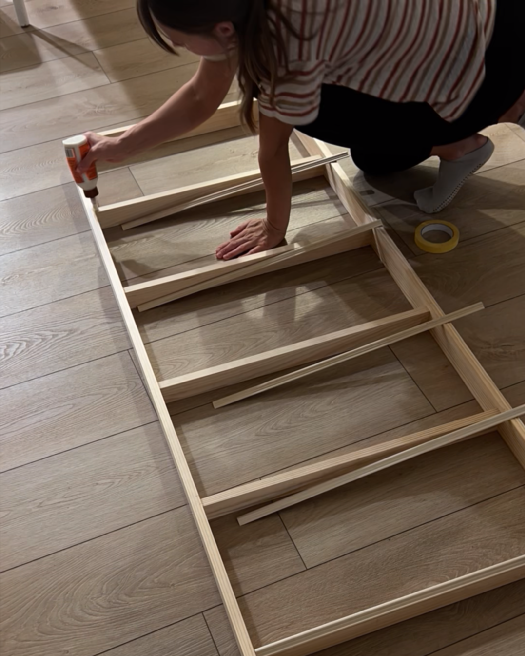
I held the trim into place with painters tape while the glue dried:
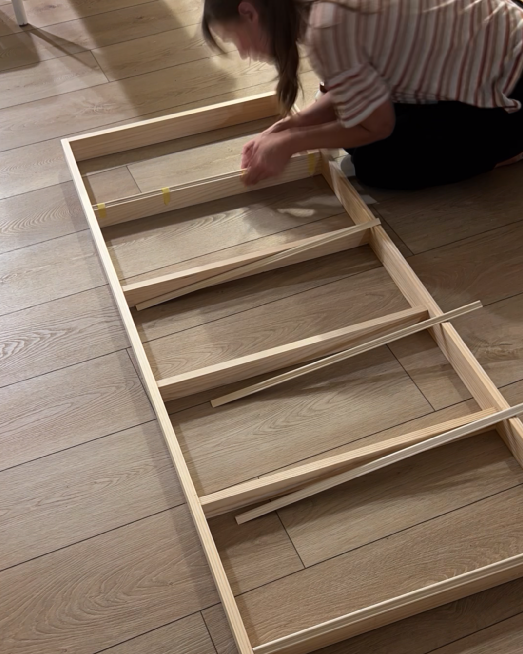
The next morning, I installed the shelves on each side of the reading nook:
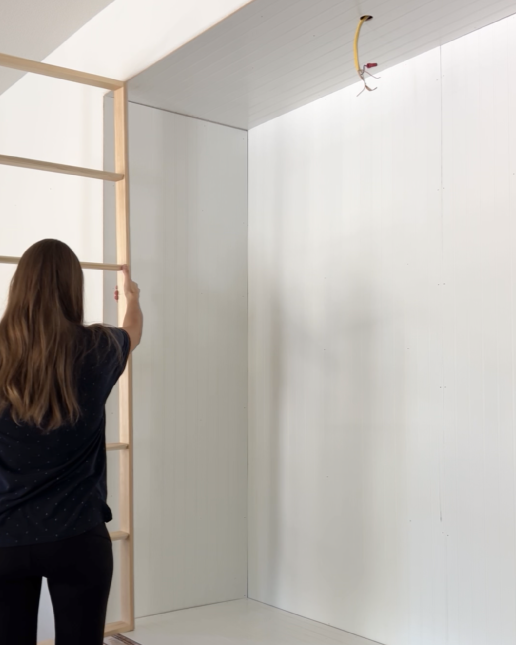

I attached the shelves to the walls using screws!
7. Adding finishing trim
Next, I added casing to frame the reading nook:

I also added trim to the bench for a nice finish:


I think all these little details really make a big difference!

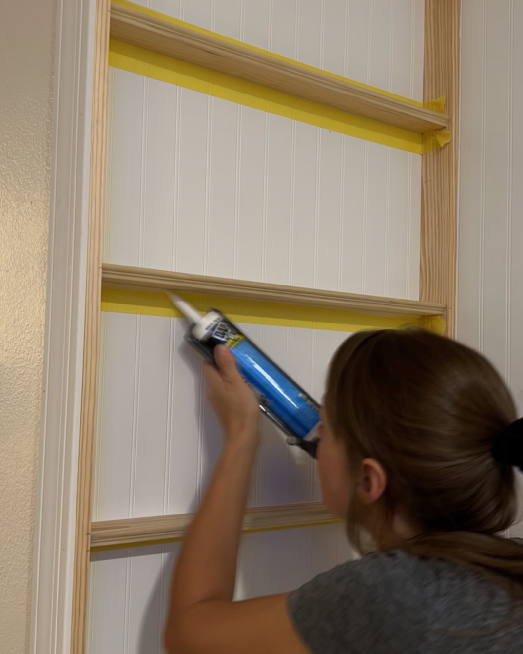
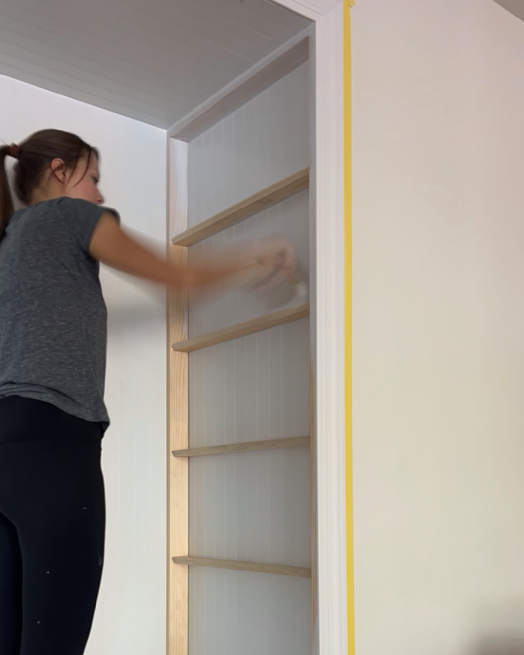
8. Painting the kids reading nook
Before I started painting the nook, I prepped it for paint by applying caulk and wood filler to any of the spots that needed it for a nice finish:

Then, I applied one coat of my favorite primer:
This is my tried and true favorite paint brush that I use on every paint project! On wood, furniture and cabinets, I typically use this paint roller for a smooth finish.
Once the primer dried, I applied two coats of paint:

Paint tip: I try to feather out any paint end/pause points (e.g. I feathered out the paint on the back panel at the top because I had to paint the transition between the ceiling and the back panel before being able to paint the back panel itself. This helps prevent harsh lines where you have to pause painting).
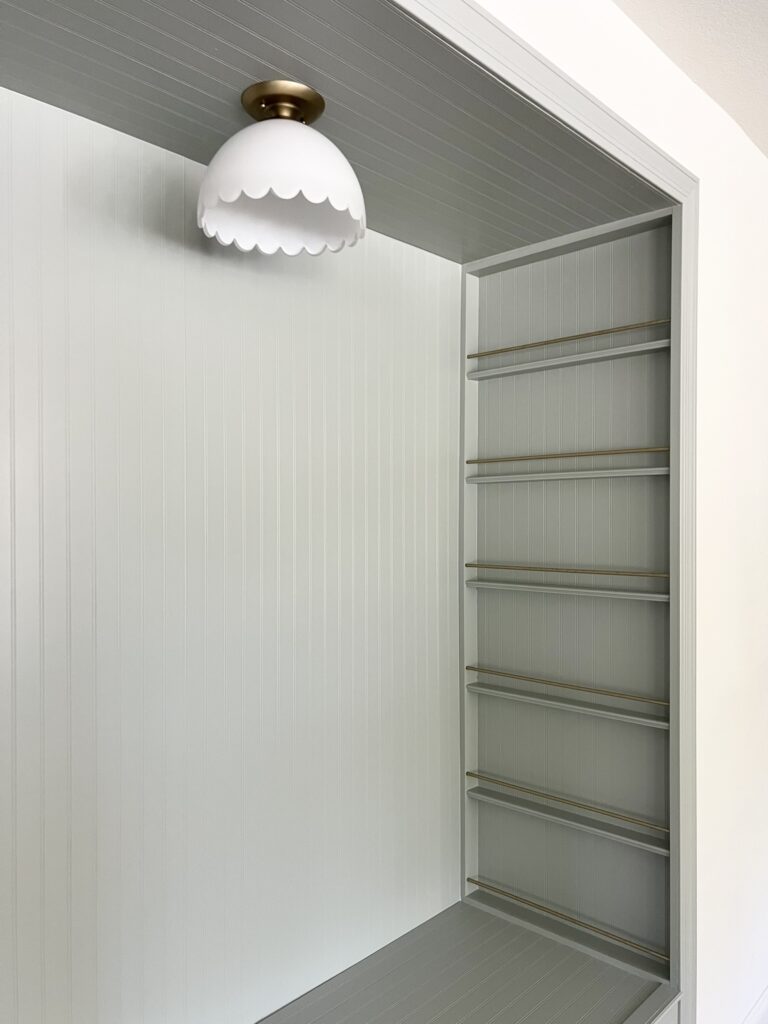
9. Adding the gallery rails
To add the gallery rails, I cut dowels to size using my miter saw:

Then, I spray painted them using this brass spray paint!

I drilled holes into the sides of the book shelves:

Note: I drilled the holes before painting the final coat of paint!
After that, I put the dowels in the holes on both sides:

Here is a close up of a bookshelf with the DIY gallery rail:

I love how these DIY gallery rails turned out!
10. Decorating the reading nook
The last step was decorating the DIY kids reading nook! I started by adding books:

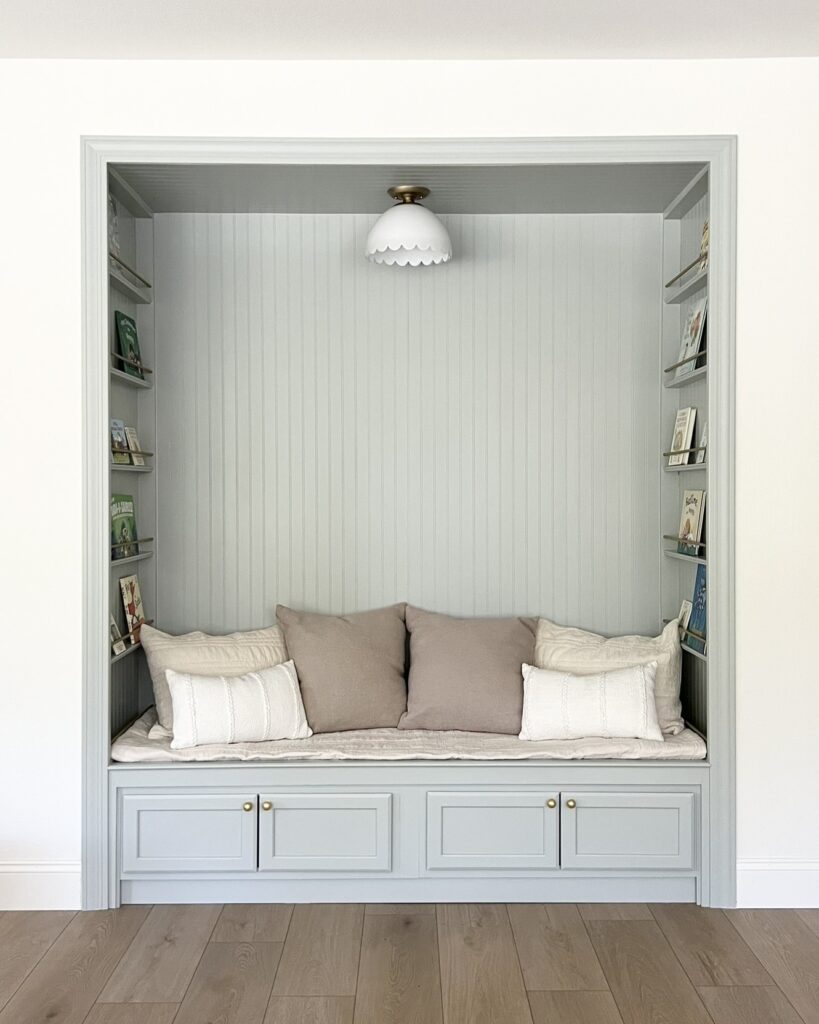
Finally, I made the reading nook look cozy with a quilt and pillows:

Finished reading nook
I’m so excited about this transformation! What used to be a boring, unused TV nook is now a whimsical kids reading nook that my children love.
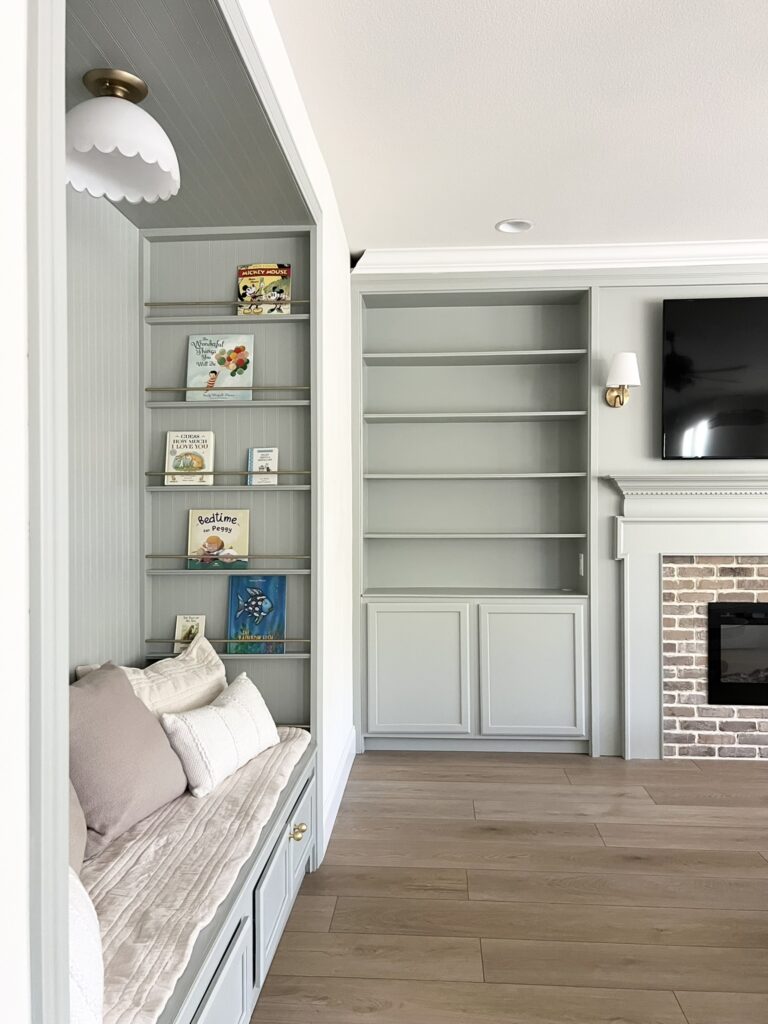
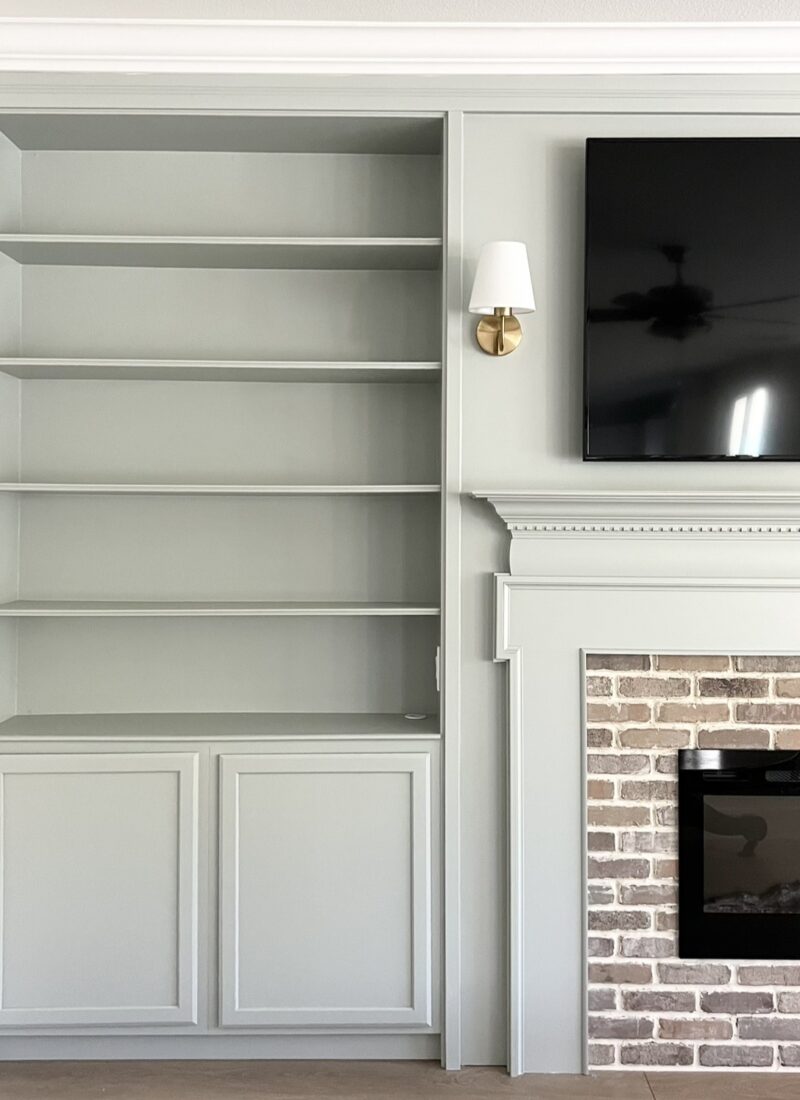
Here is the reading nook with our living room built-ins (ignore the crown moulding that I need to finish, ha!):
One of my favorite elements of this reading nook is the light fixture!

I also love how cozy this little corner of our living room looks in the evenings with all the lights on:

It has been so fun seeing our kids flip through books and play in this little area!

I love the bookshelves but I’m also so glad I included the cabinets, they are great for storage! The kids can easily put their toys away after they play.
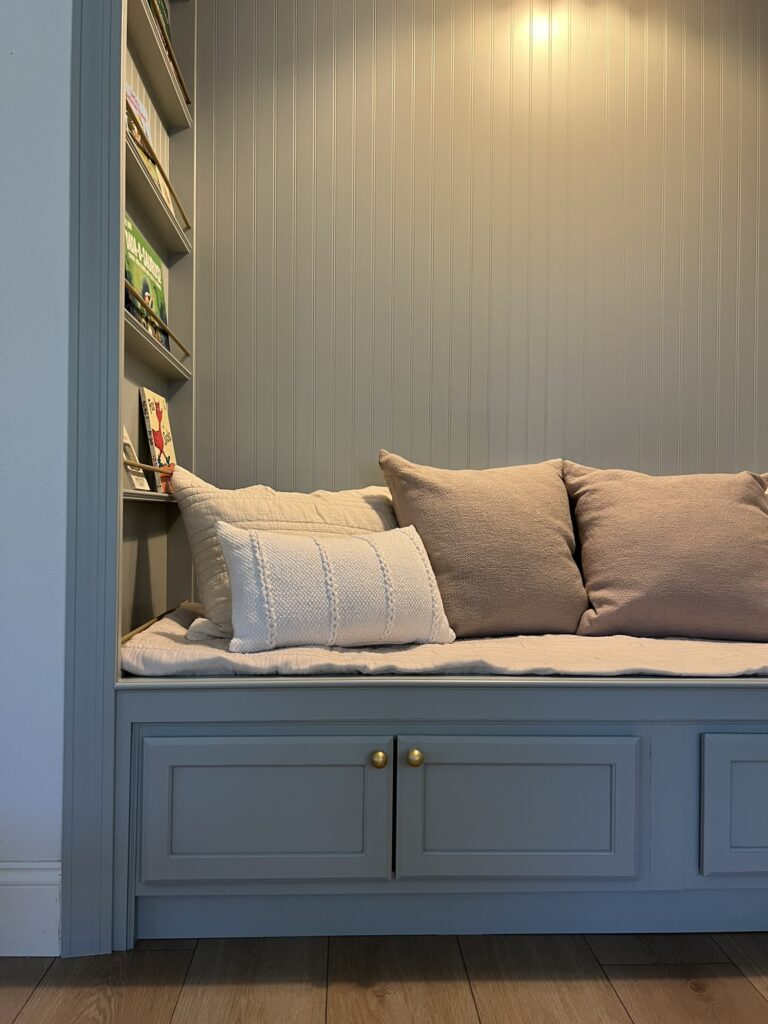

Our DIY kids reading nook has become our nightly story and hangout spot, and I’ve caught them there more than once, flipping through books quietly all on their own.
You can see more of this project in action in my Instagram stories and my Instagram reel, which was sponsored by Lowe’s.
Let me know if you end up adding a reading nook to your home!
Tina

Leave a Reply