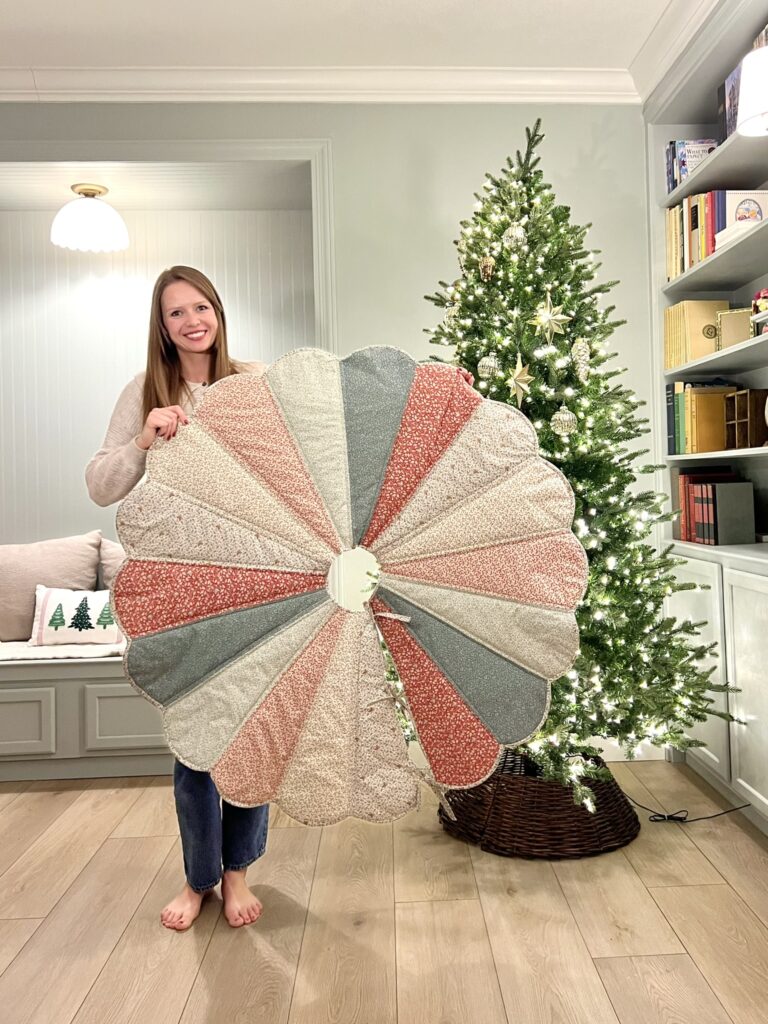
We got a new Christmas tree this year and it deserved a cute scalloped tree skirt! I’ve been saving inspiration for this project for months and I’m so glad I finally had time to work on it just in time for Christmas.
I’m so excited to show you how you I made my DIY Christmas tree skirt so you can also make the tree skirt of your dreams!
Note: This post may contain affiliate links, you can find more information in my disclosures here.
Materials
- 2 yards of fabric for the front
- 2 yards of fabric for the back
- quilting yarn
- 50 x 50 inches of batting
- iron on seam tape
Tools
- sewing machine (mine is discontinued but similar new version is linked here)
- scissors
- iron
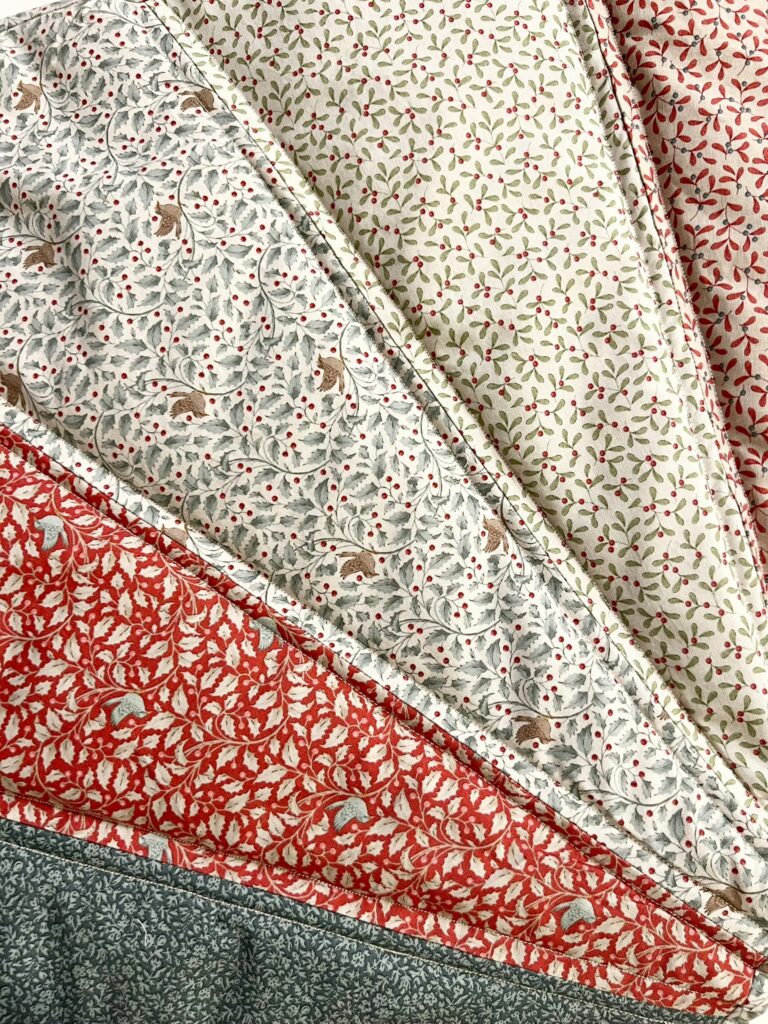
Step 1: Selecting the perfect fabric
I went to our local quilt fabric store and got so lucky: I found the perfect Tilda Christmas collection of fabrics for this project! All I had to do was pick my favorite ones:

One great reason to select fabrics from the same collection is that the colors and patterns are meant to coordinate with one another so there’s no need to scour the whole store for coordinating fabrics.
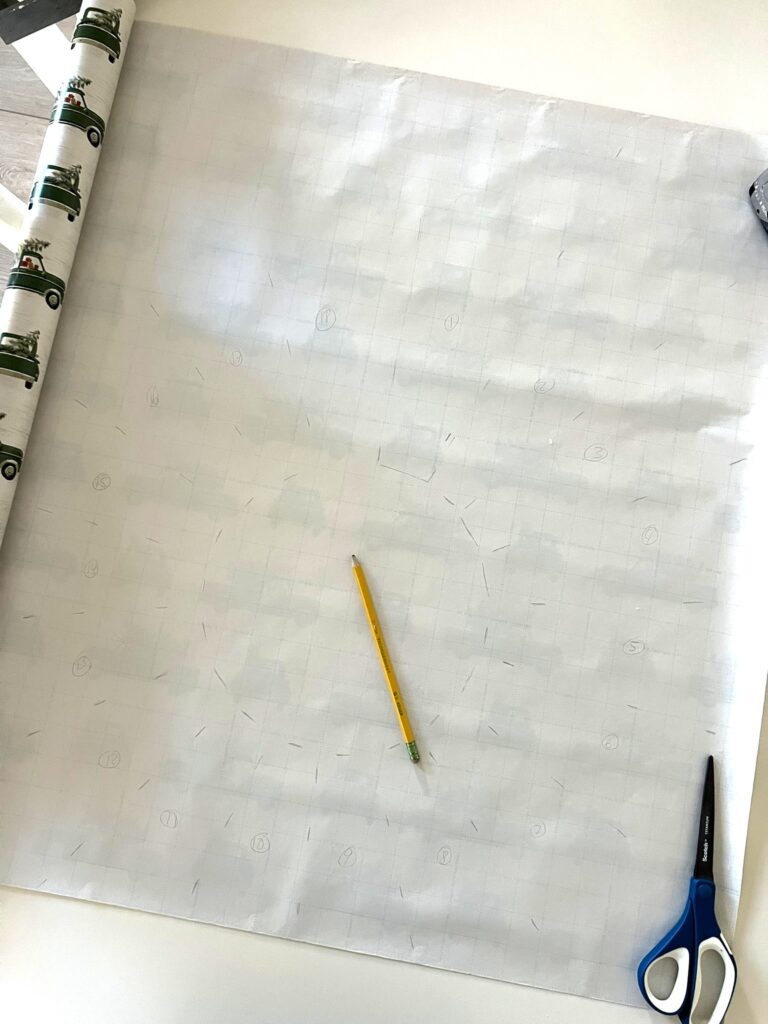
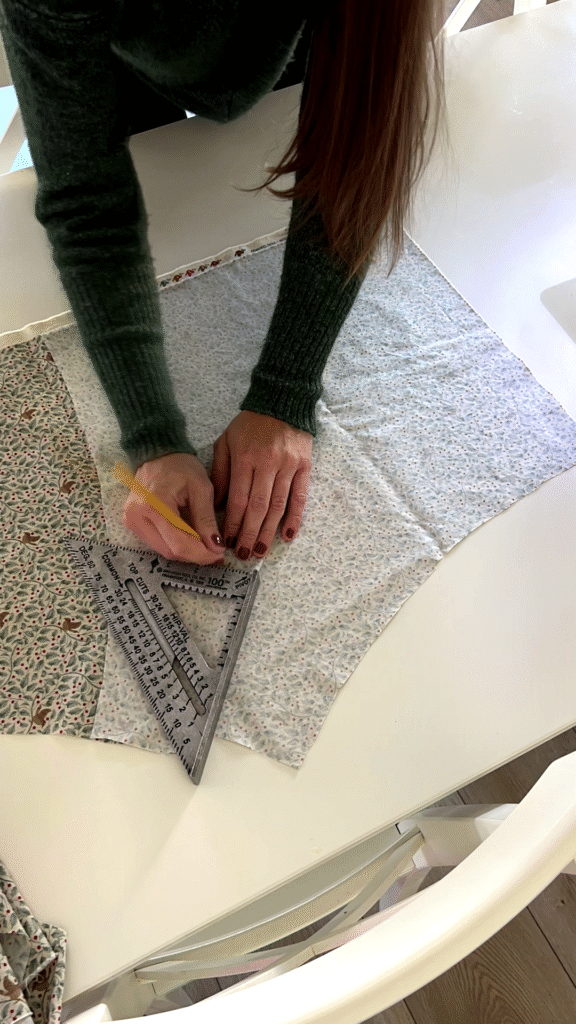
Step 2: Making the pattern (optional)
I saw nina.loves.to.sew‘s tutorial and loved how her tree skirt came out! I used her pattern as my starting point for my own DIY Christmas tree skirt but made a few minor changes by mocking it up on some gift wrapping paper:
Here is the final pattern I came up with!
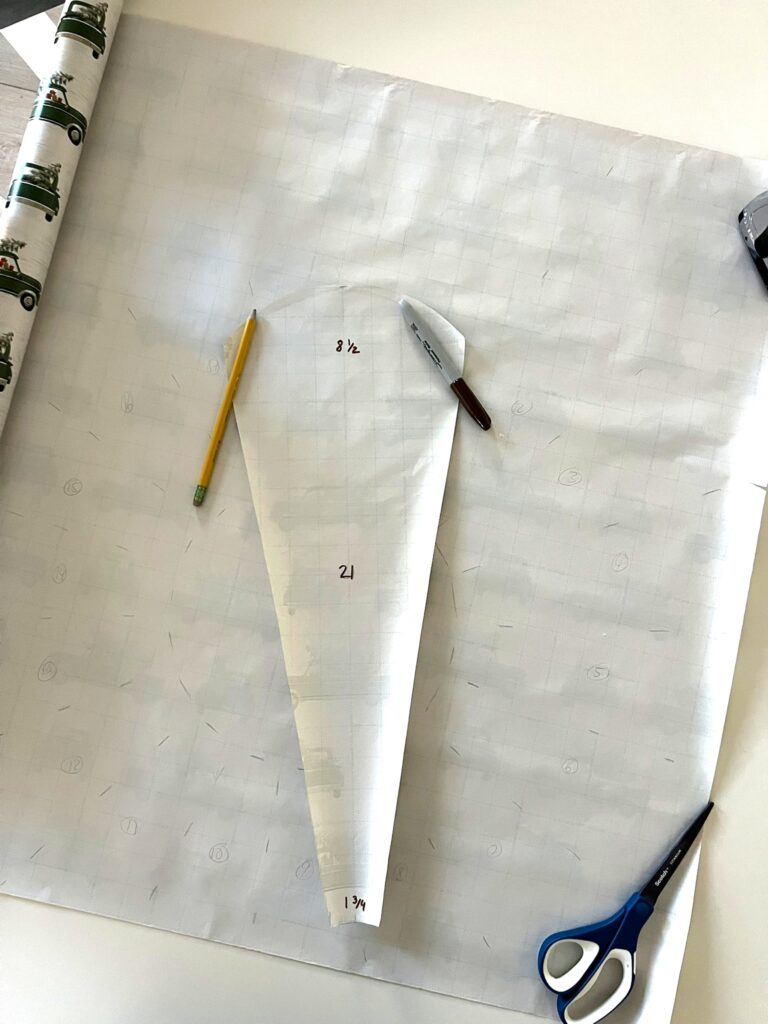
Each scallop is:
- 8 1/2 inches wide at the top
- 1 3/4 wide at the bottom
- 21 inches long
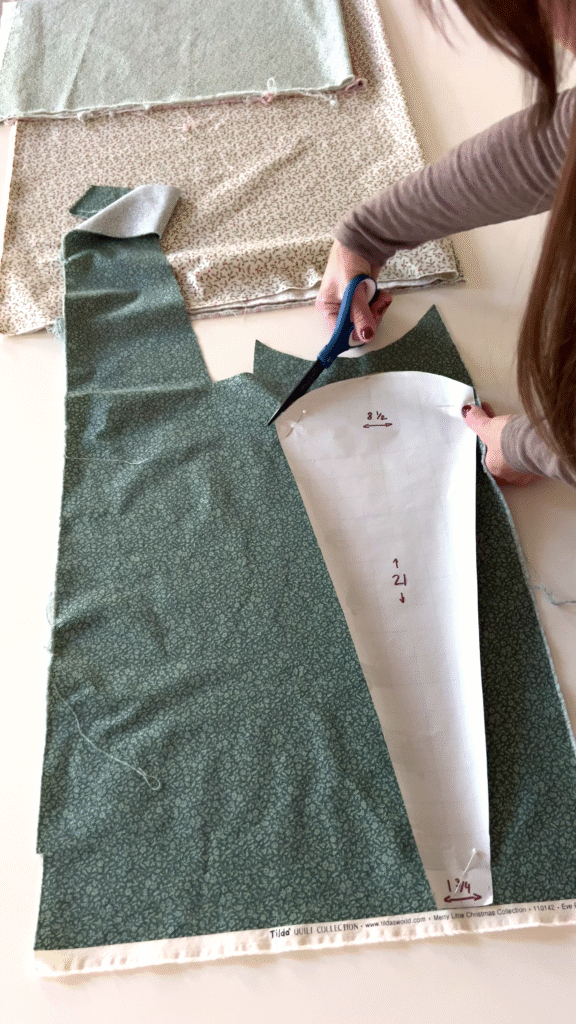
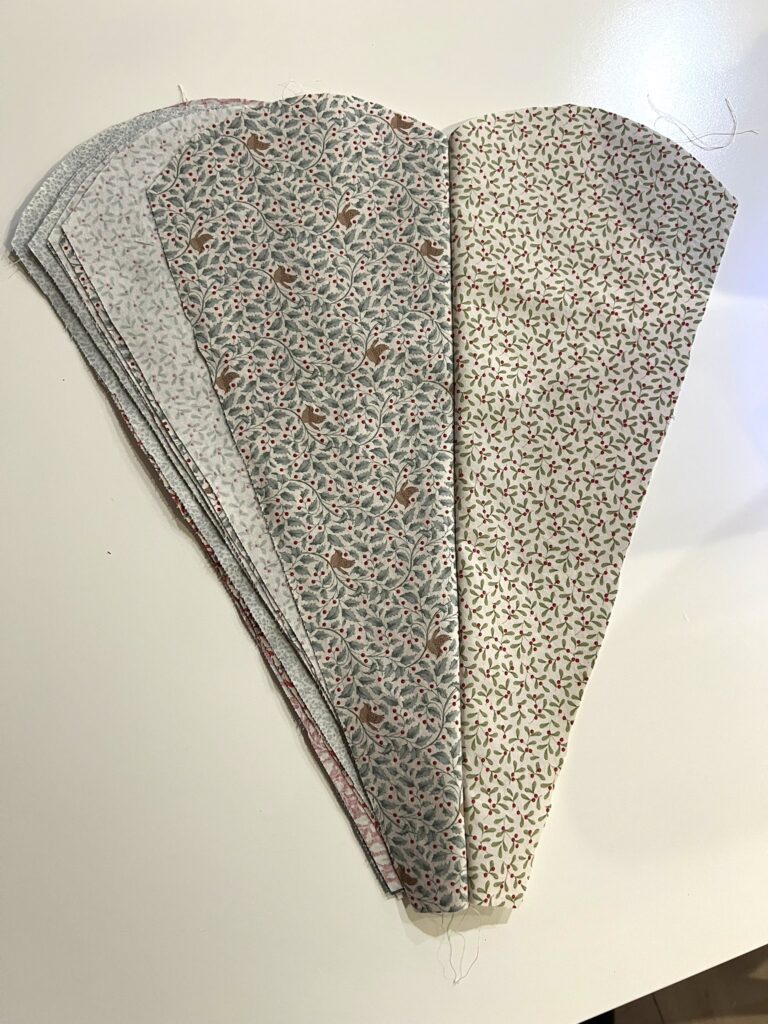
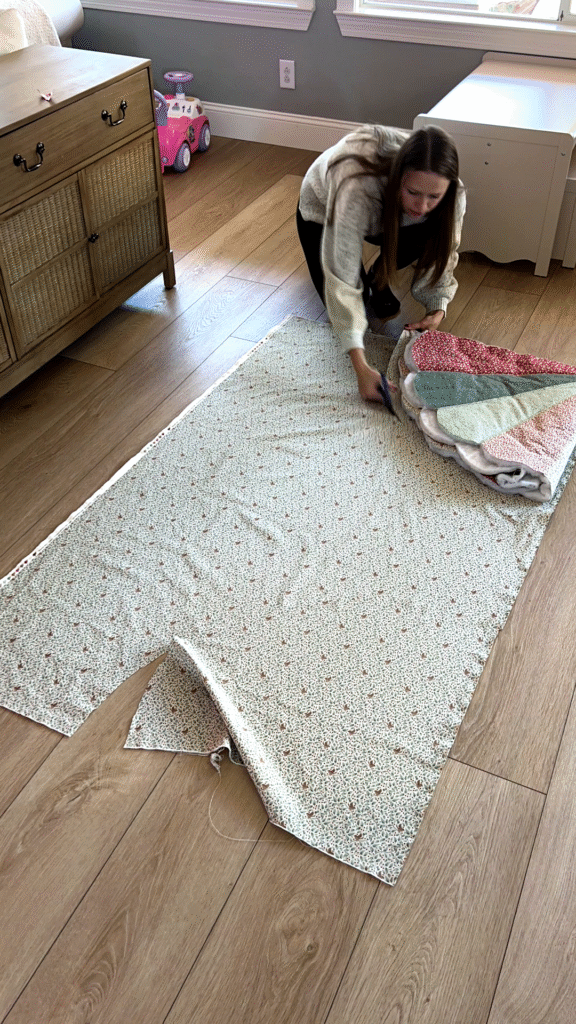
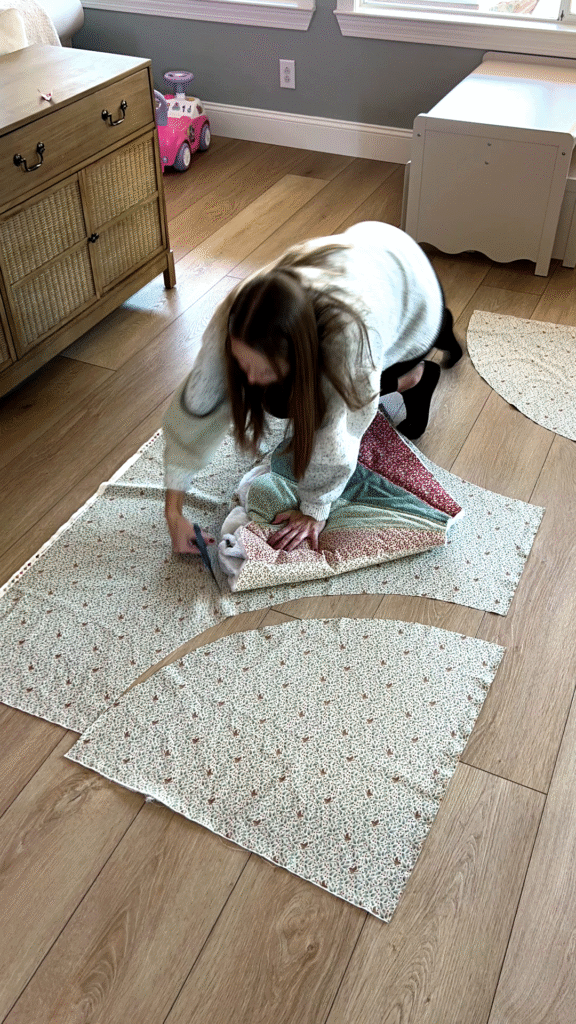
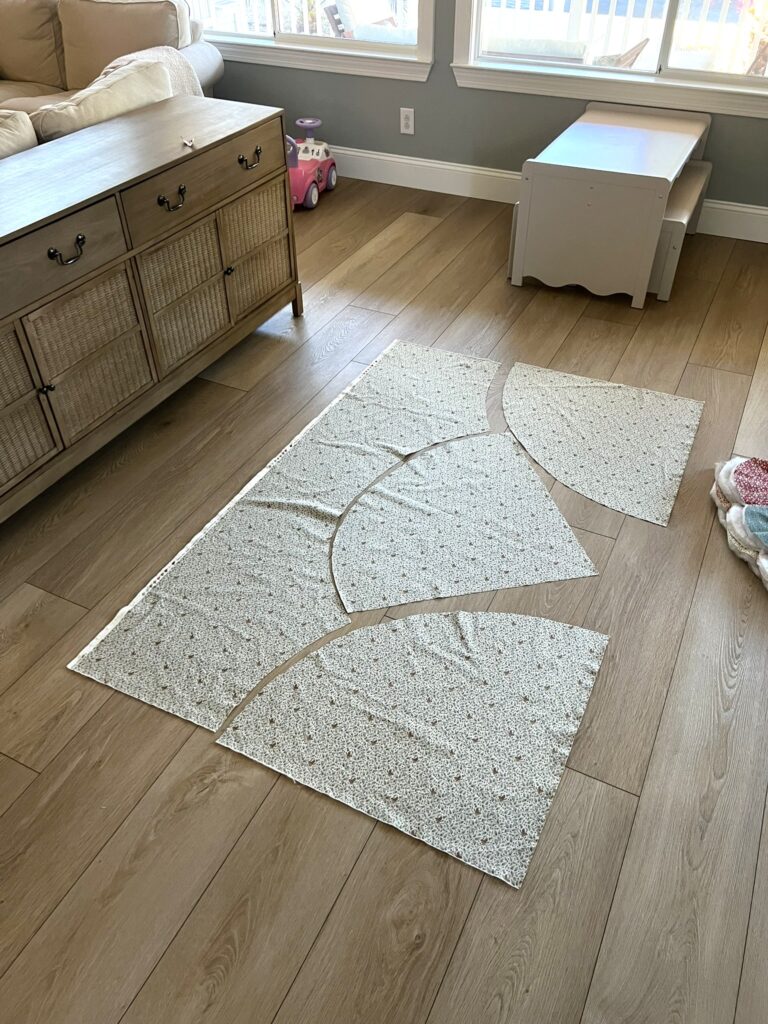
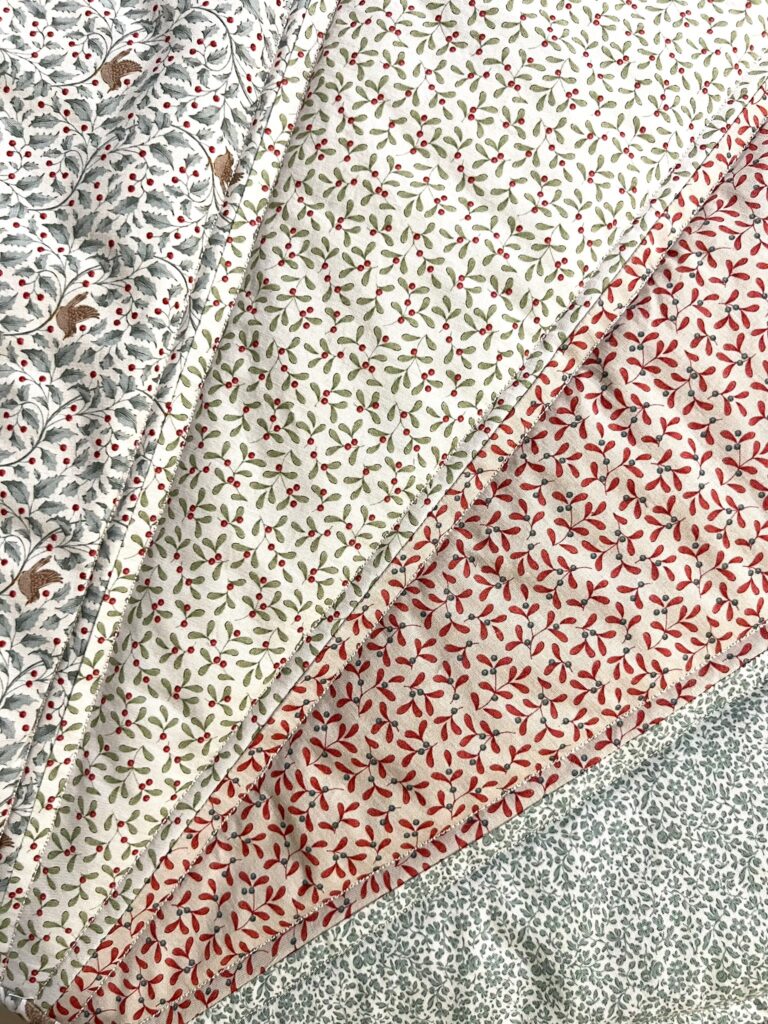
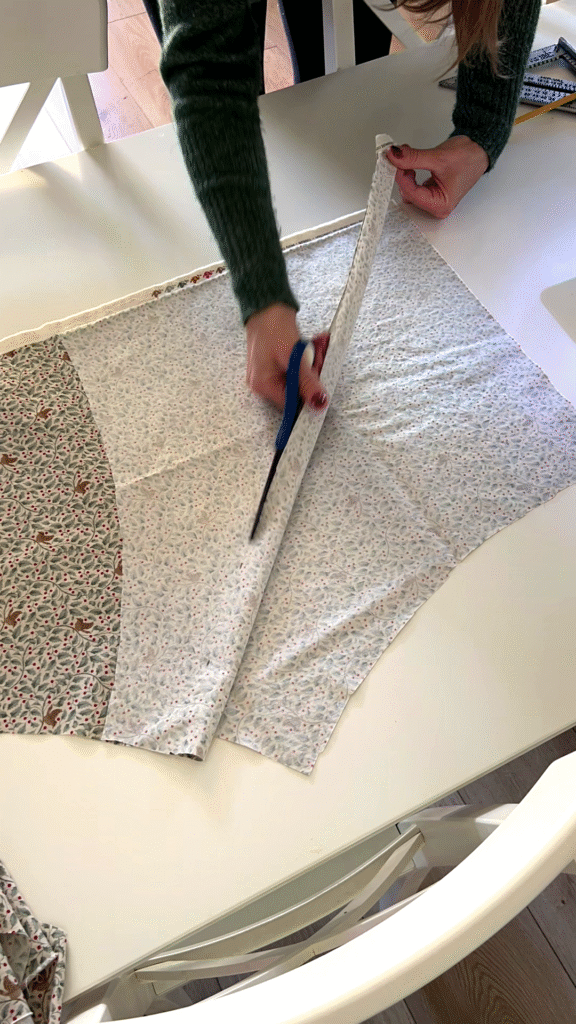
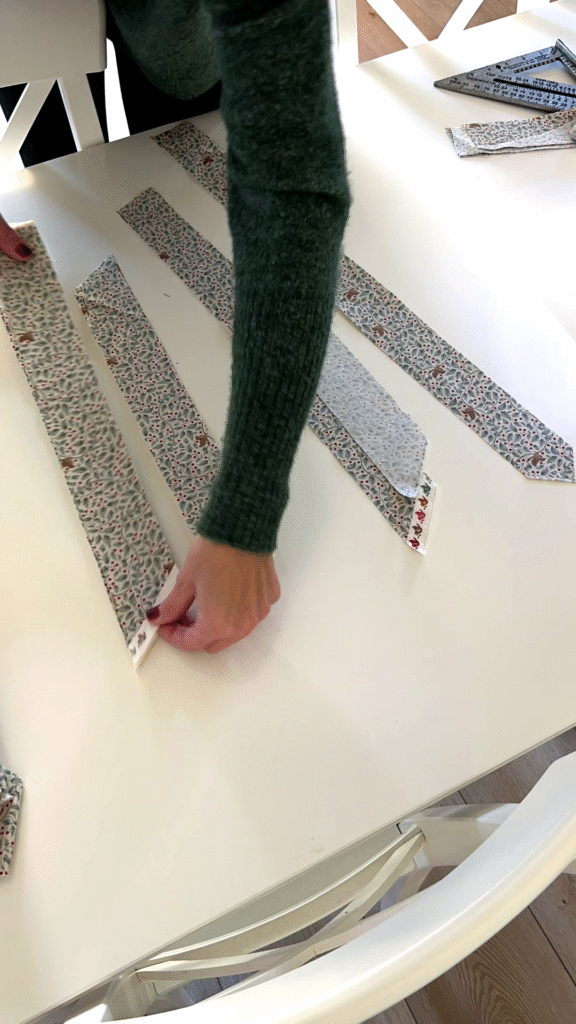
Step 3: Cutting out fabric
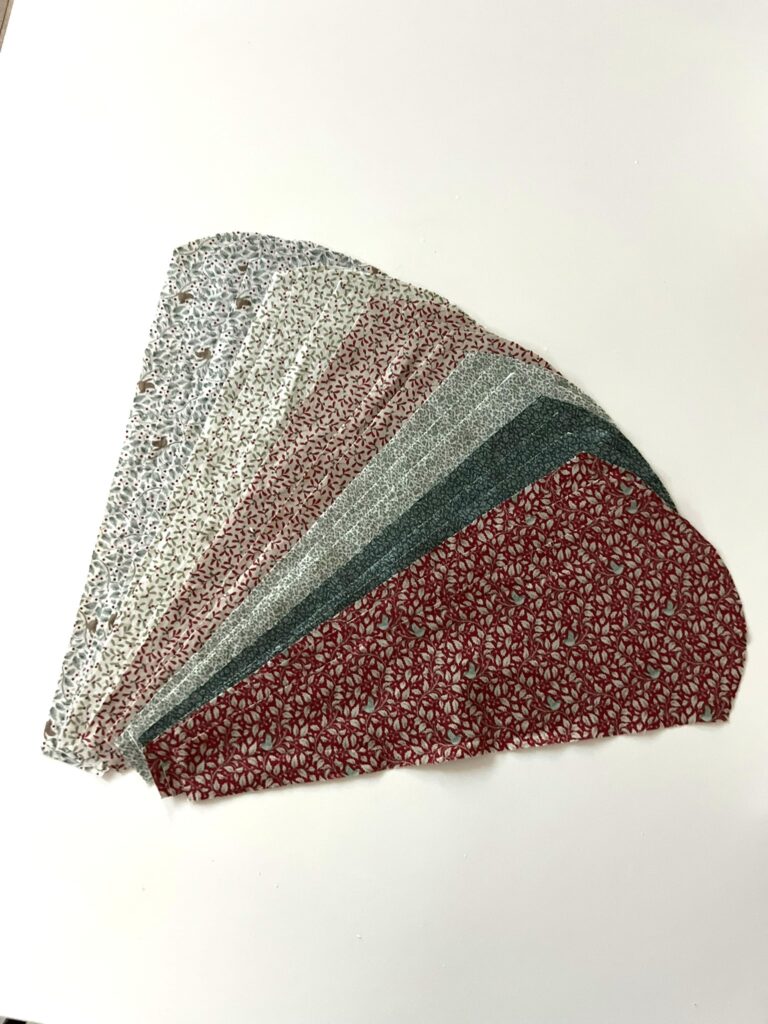
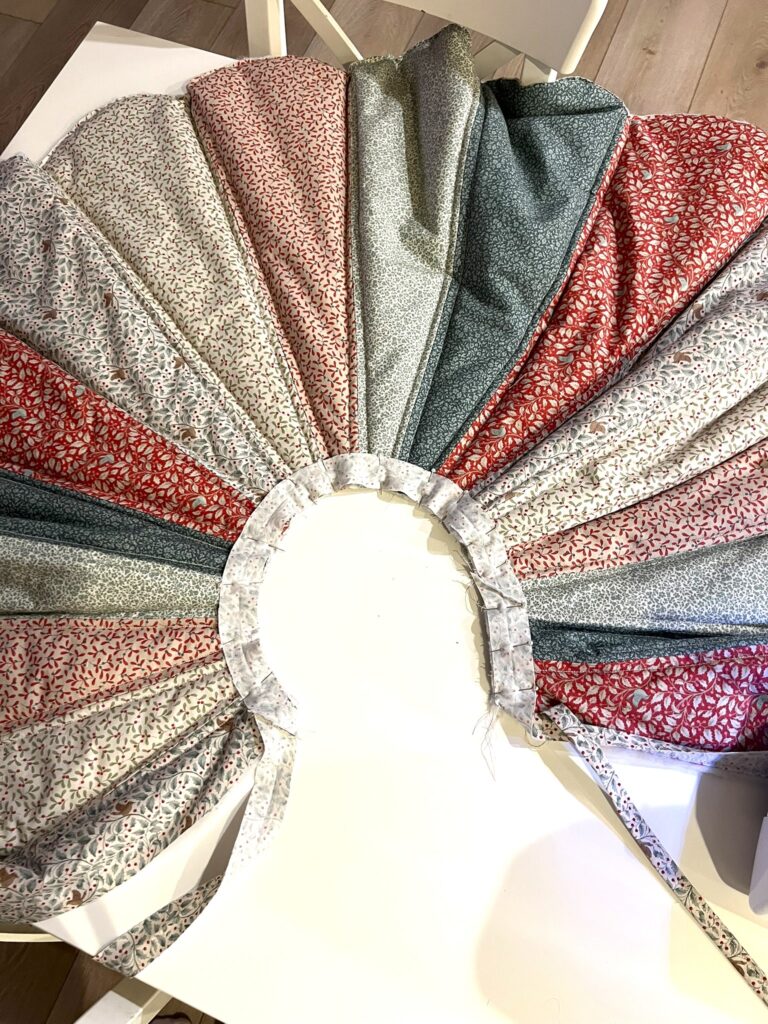
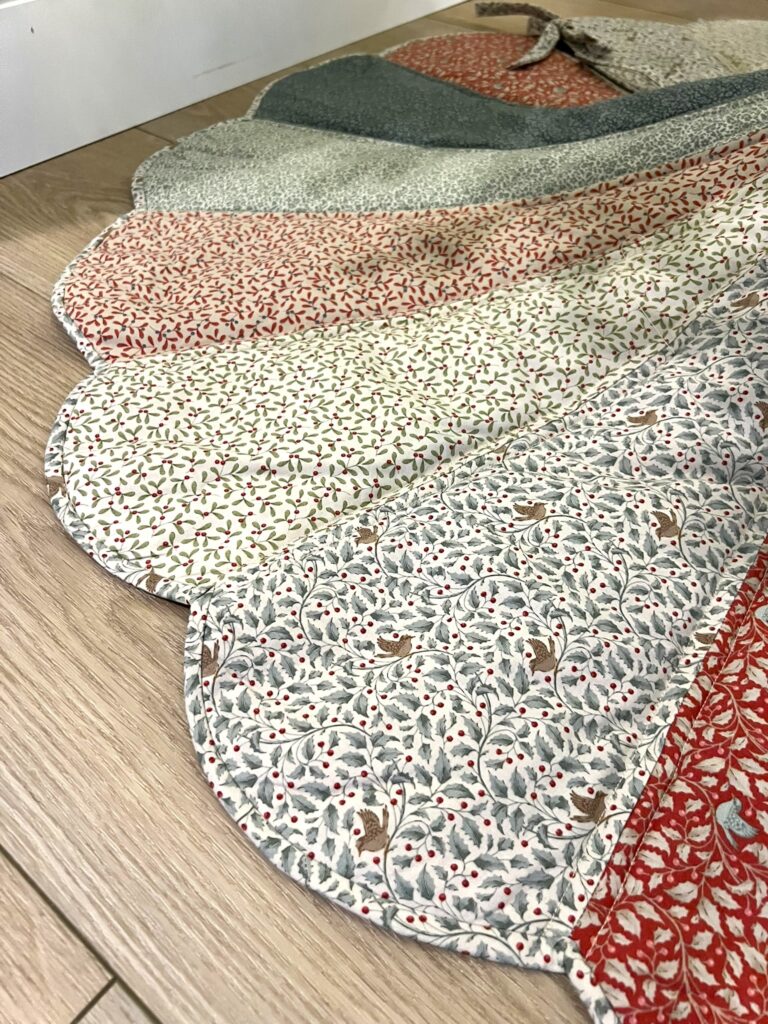
Once I had my pattern, it was time to cut out the fabric pieces! I used 6 different fabrics and cut out a total of 18 scallops:
Then, I arranged the fabric patterns in an order that I liked!
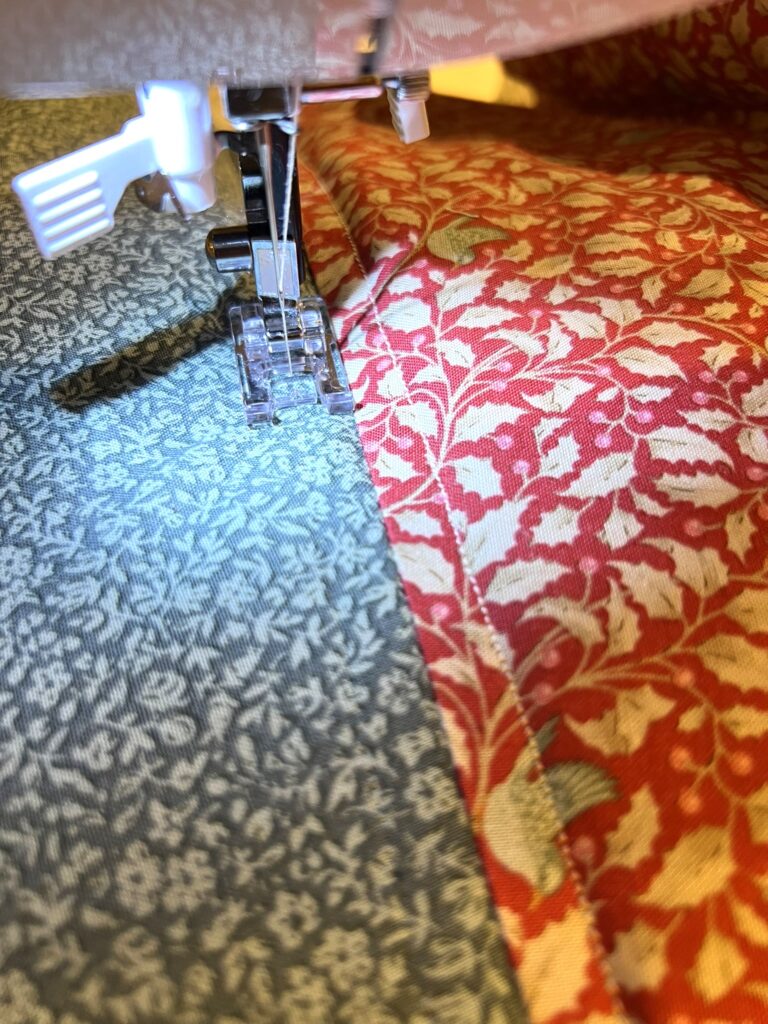
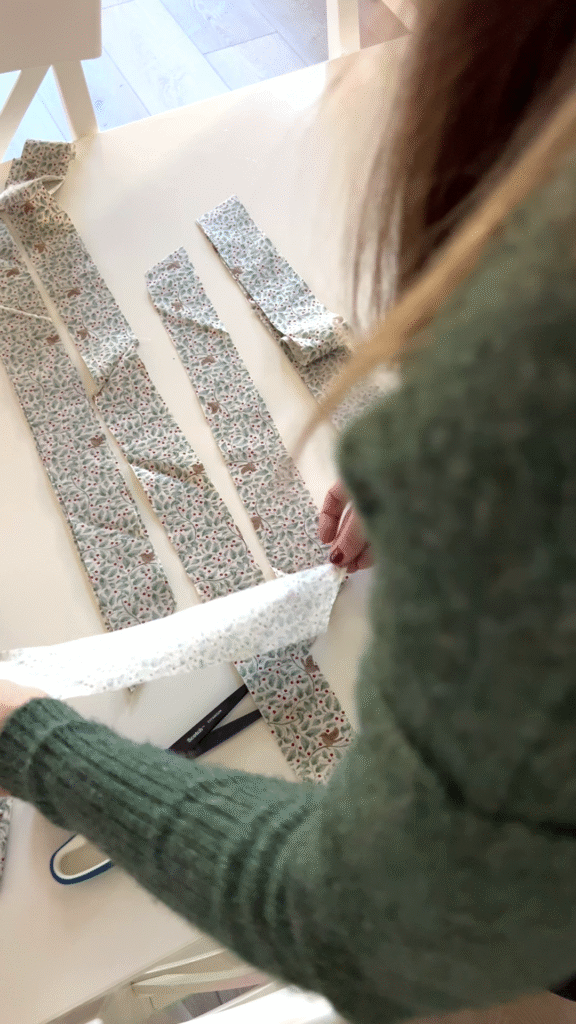
Step 4: Sewing fabric pieces together
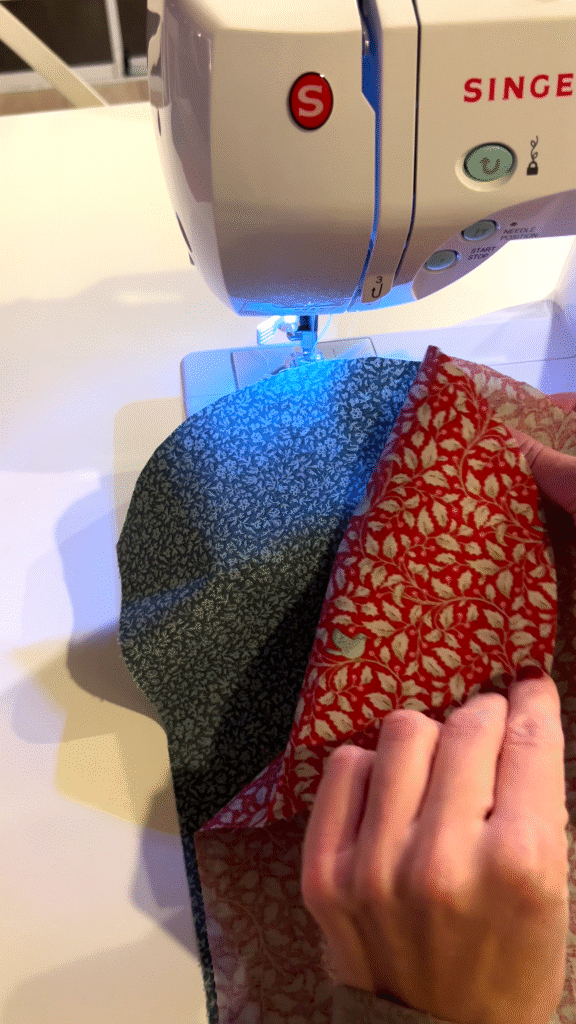
Next, I started sewing the fabric pieces together!
At first, I sewed one piece to another piece:
Once I had a stash of pairs, I started sewing these together for sets of four:
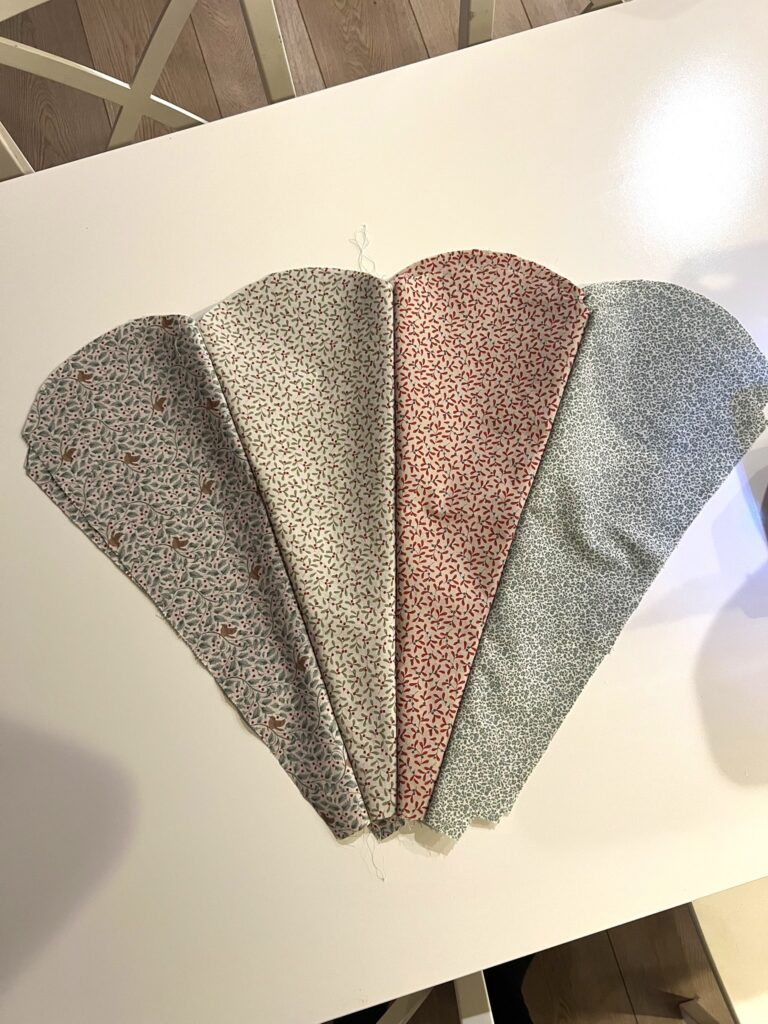
Then, I added a set of two to each set of four to create sets of six:
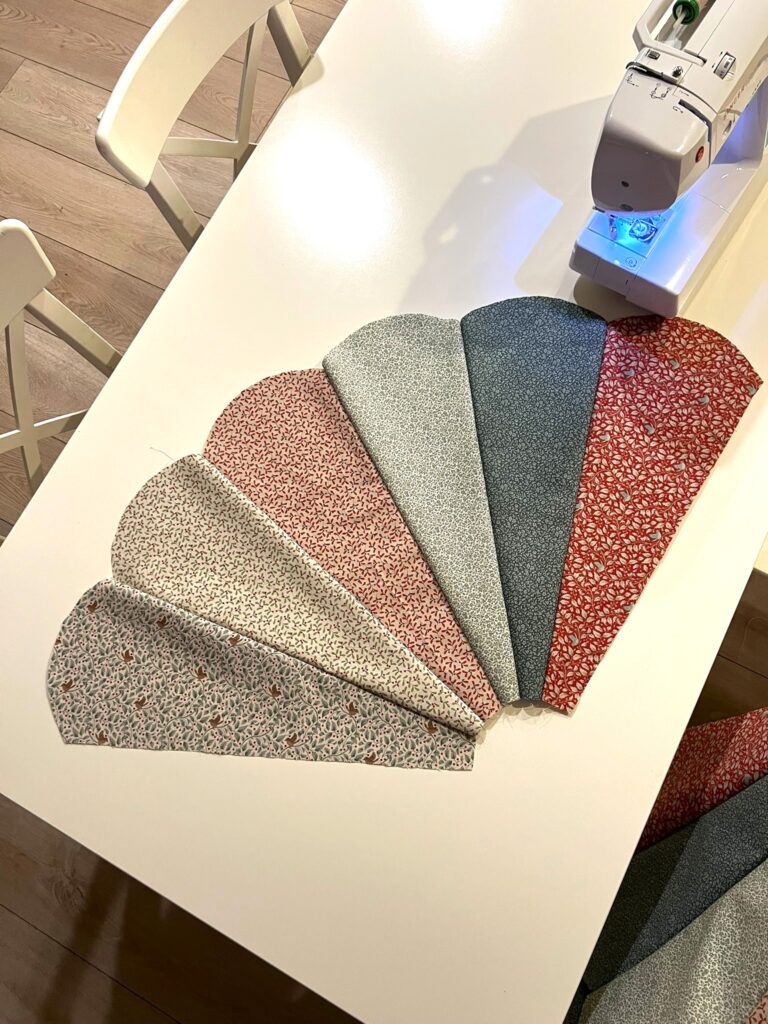
Finally, I added all three sets of six together:
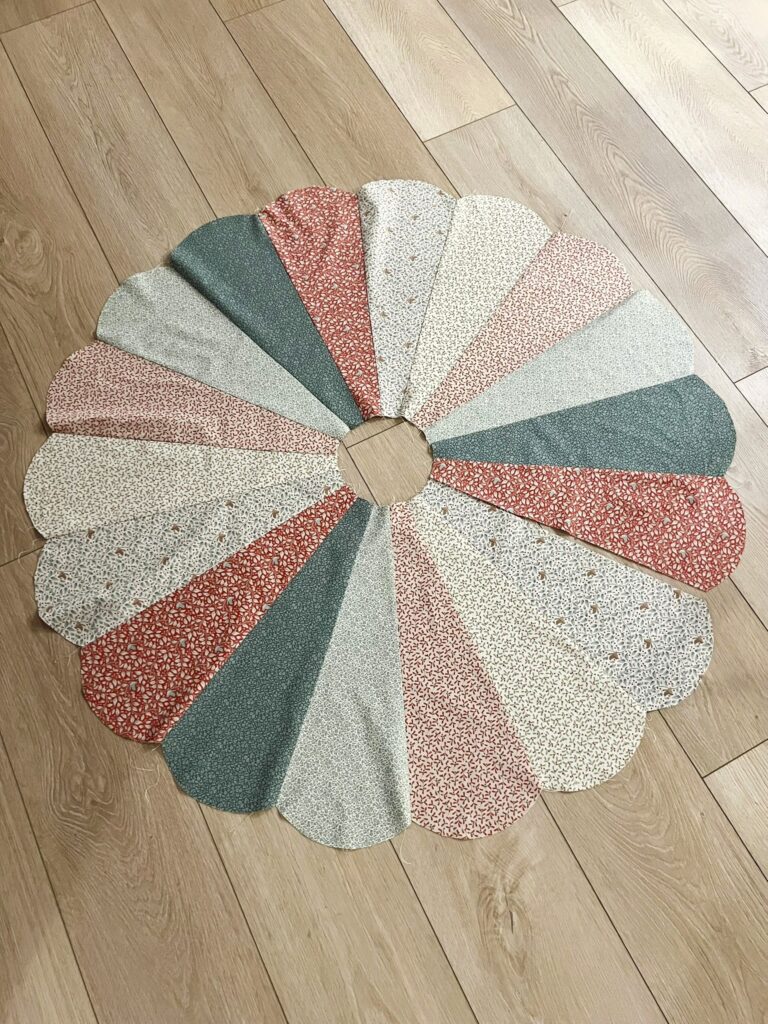
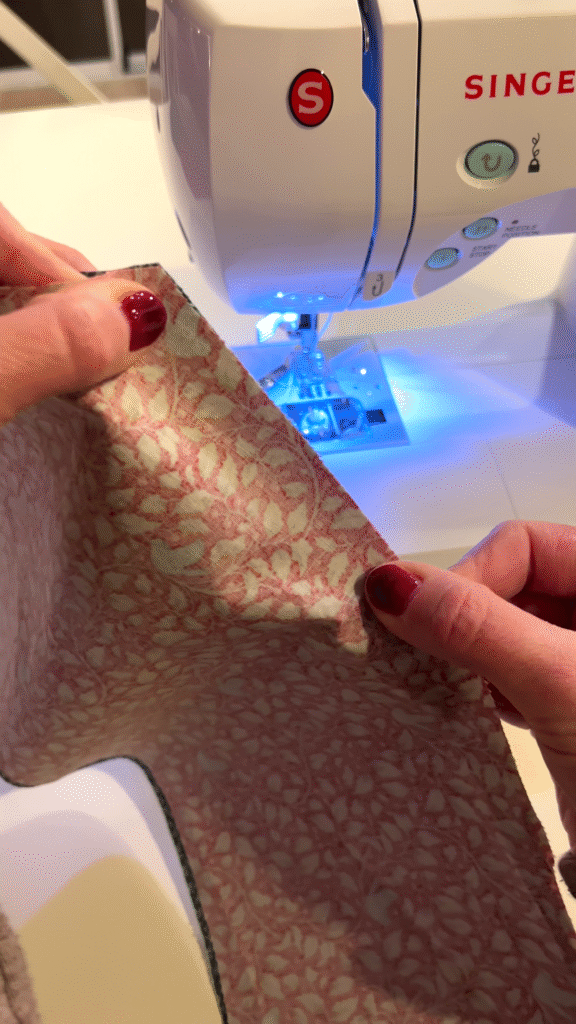
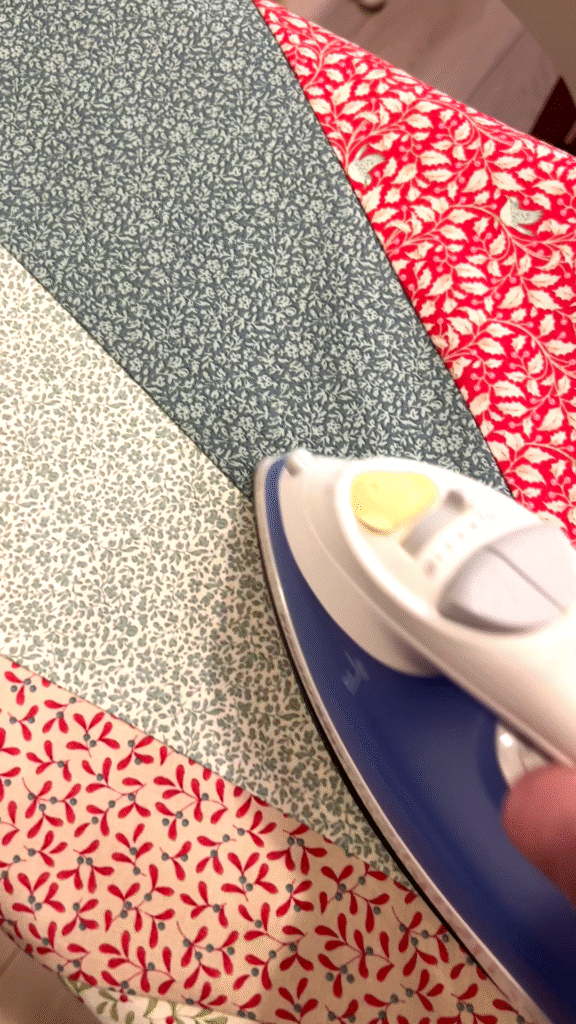
Then, I ironed everything to press the seams flat and get the tree skirt ready for the next step.
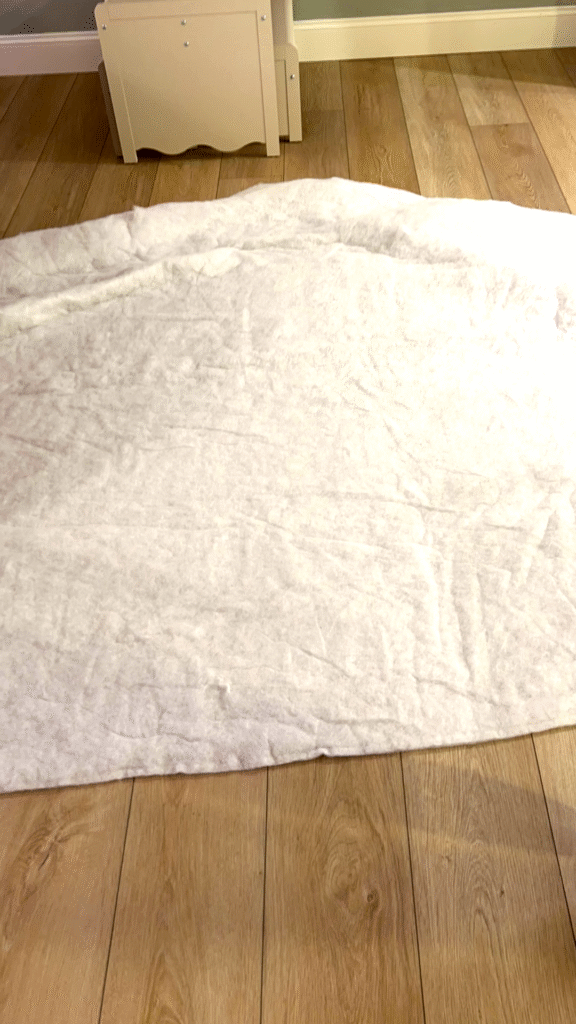
Step 5: Adding the batting
I still had some batting left over from the quilt I took apart for our shower curtain in the hallway bathroom at the old house so I decided to use that for this project!
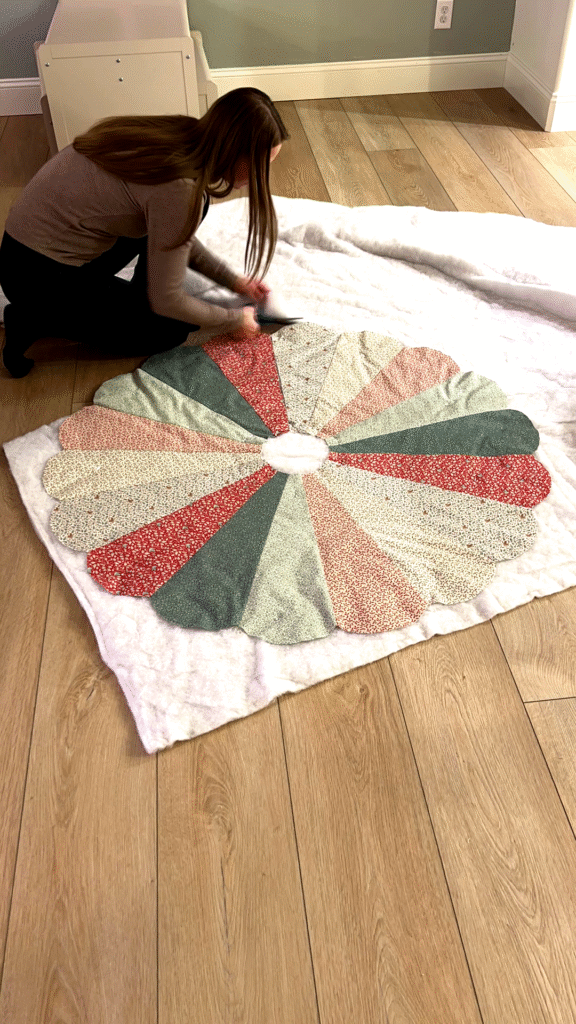
I started by spreading out the fabric on top of the batting:
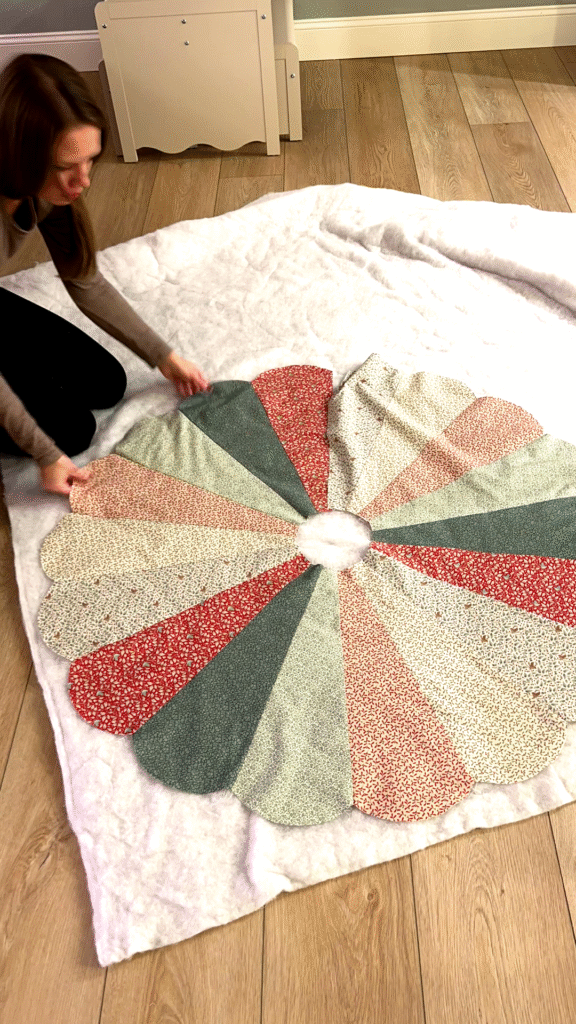
Then, I pinned the tree skirt to the batting:

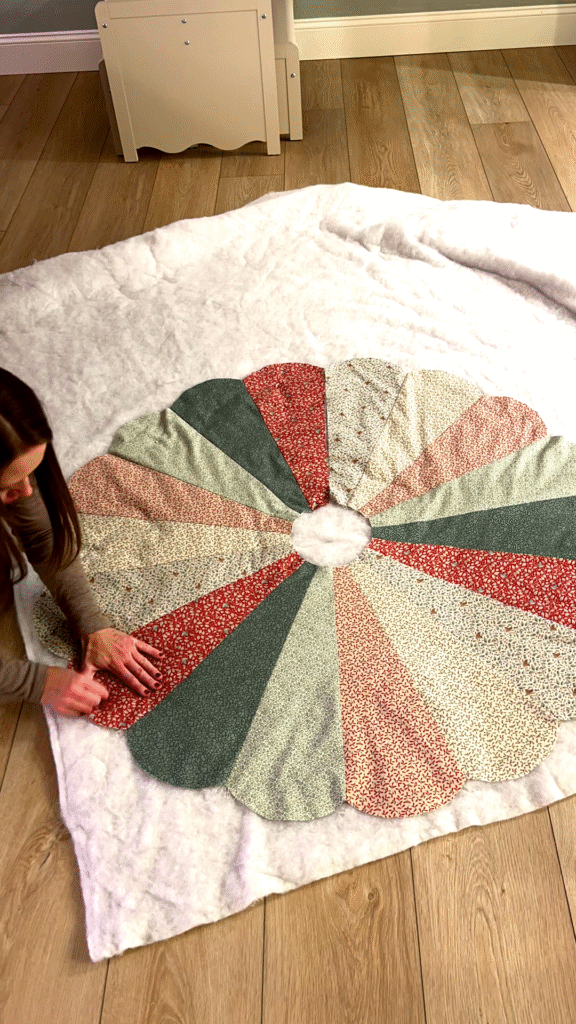
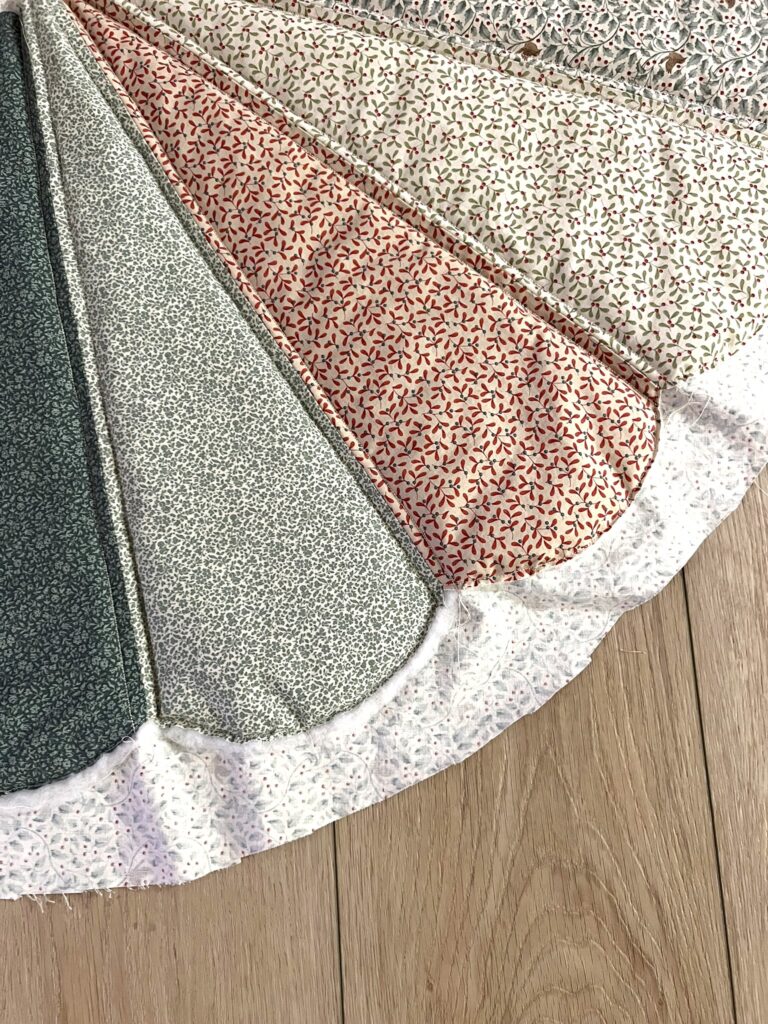
Once it was secured, I started trimming the batting!
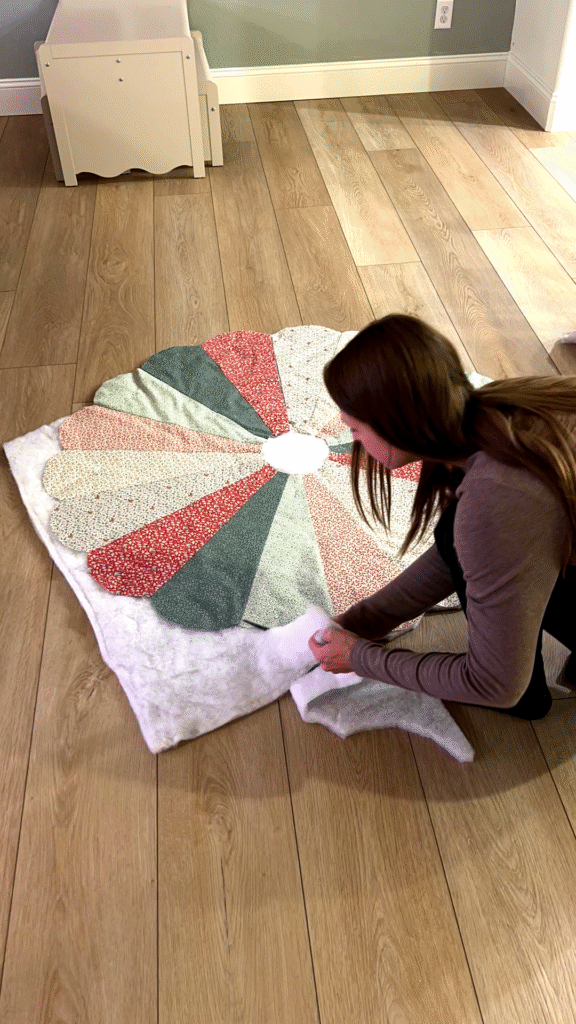
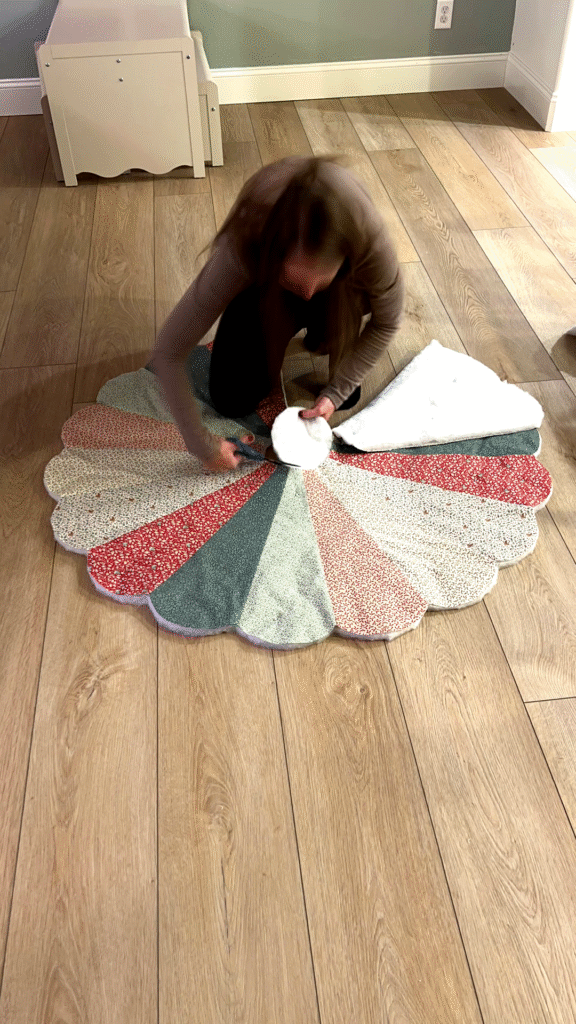
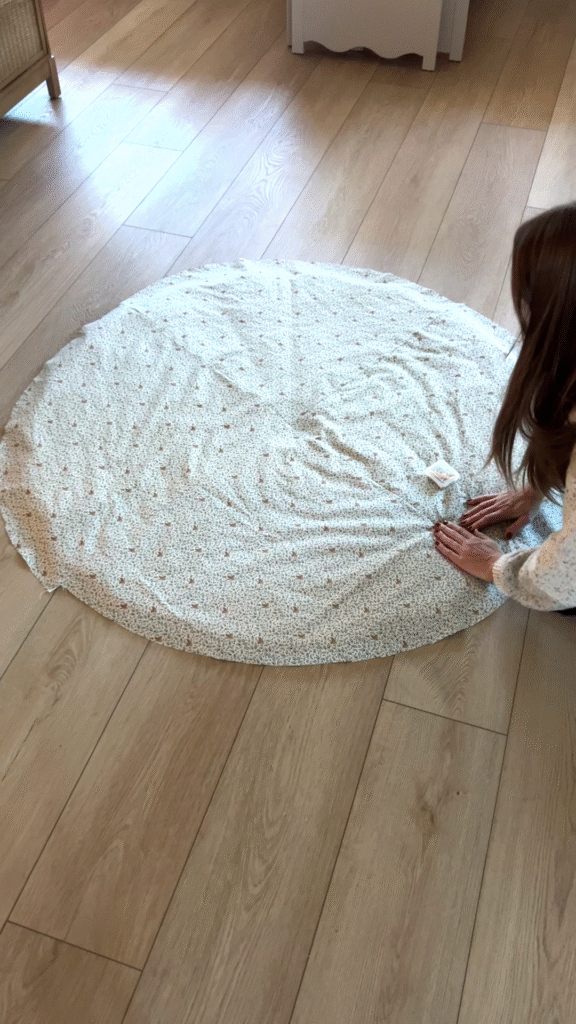
I also cut along the gap:

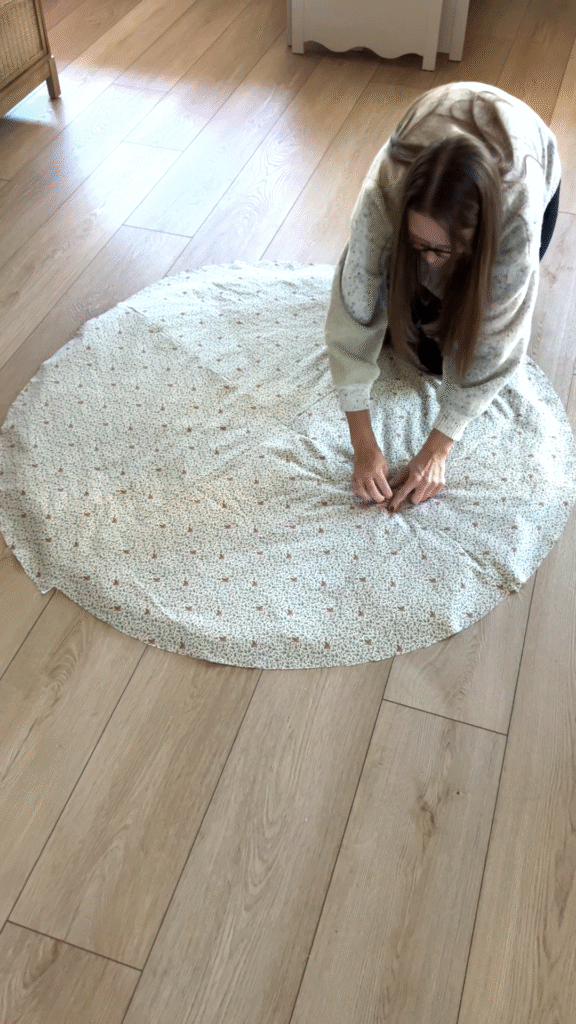
And I cut out the circle in the middle:
Caution: Then, I sewed them together in a few spots. However, I wouldn’t recommend doing this because I wanted a quilting pattern that would be the same on the front and the back of the tree skirt so that it would be fully reversible. Instead, I recommend using better pins, iron on seam tape or a spray on adhesive to hold the fabric and batting together before adding the back.
Step 6: Adding the back
Next, I added the back.
I wanted our tree skirt to be reversible so I selected a fabric from the same collection as the fabrics in the front. If you don’t want or need your skirt to be reversible, you could use any leftover fabric you have for the back.
The tree skirt is quite big once finished so I had to come up with a creative way to cut my fabric out of the piece I had:


Then, I sewed together all the pieces for one large tree skirt back side!


Next, I added the back to the front and batting:

I pinned all the layers together:
Next time, I might try out a fabric adhesive instead! The pins worked fine but I wonder if an adhesive would make this a little easier.

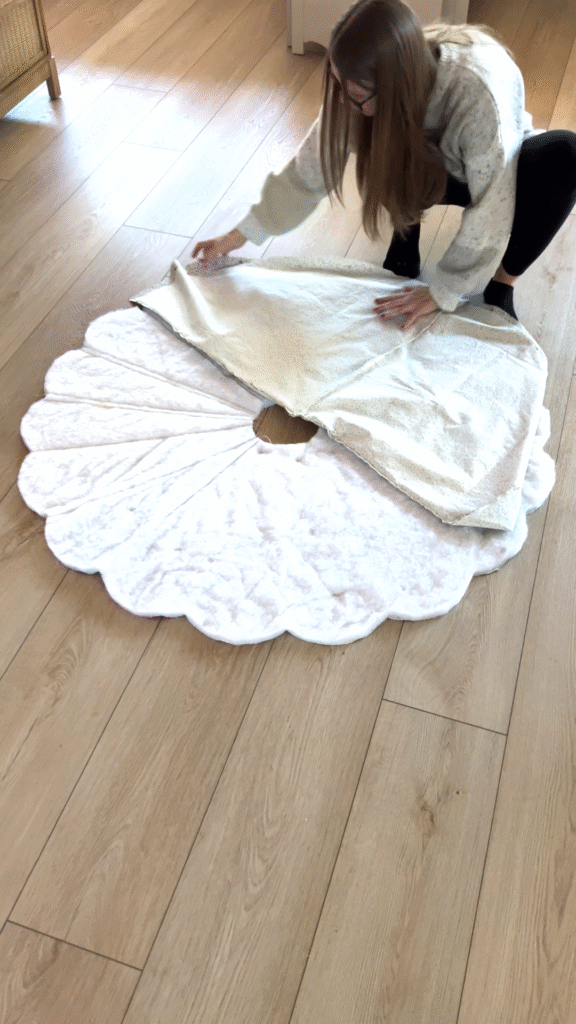
Once all the layers were combined, I cut along the gap and I also cut out the circle in the middle:

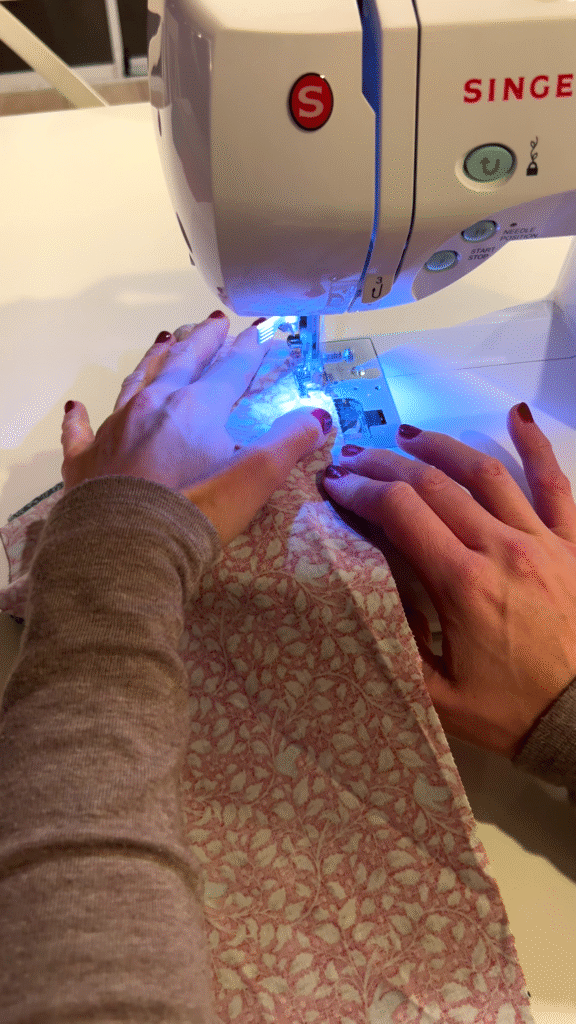
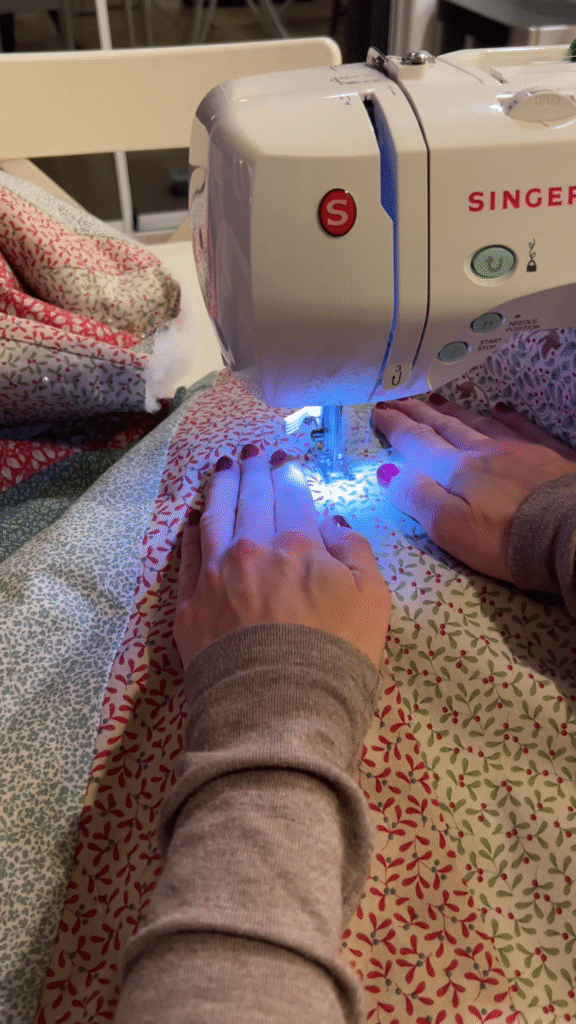
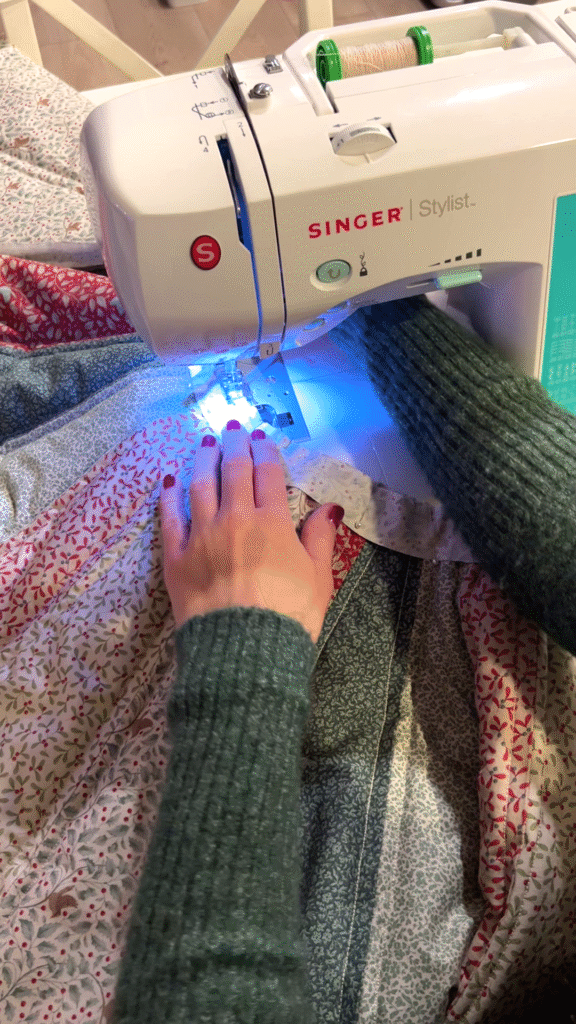
Step 7: Sewing the front, batting and back together
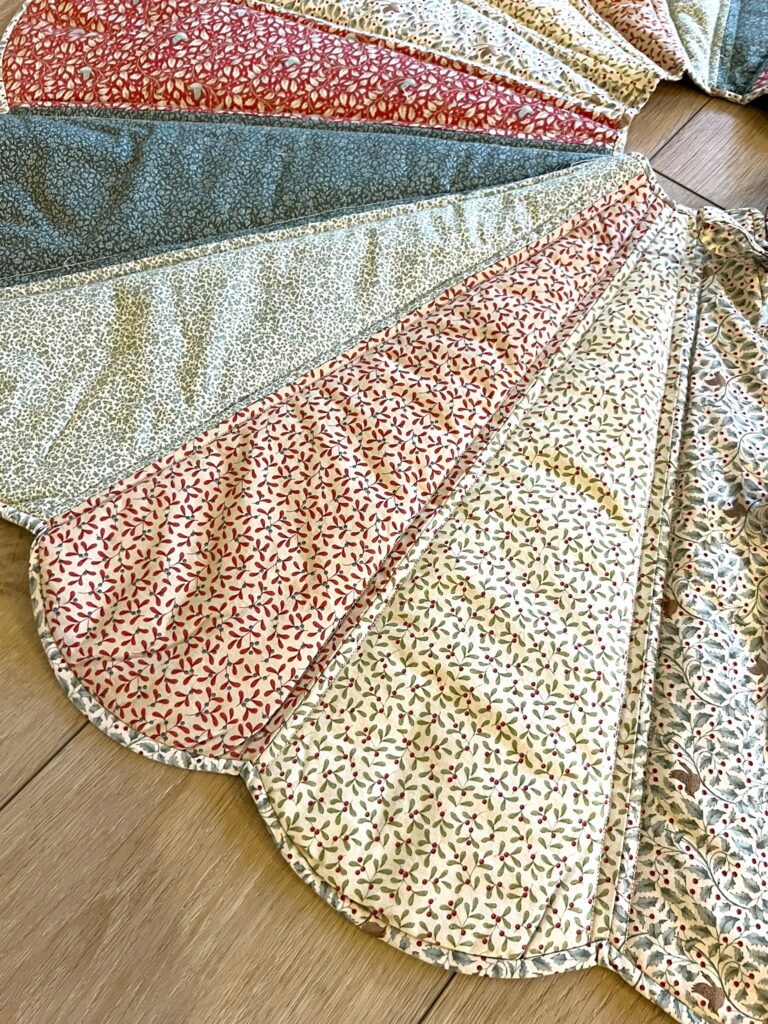
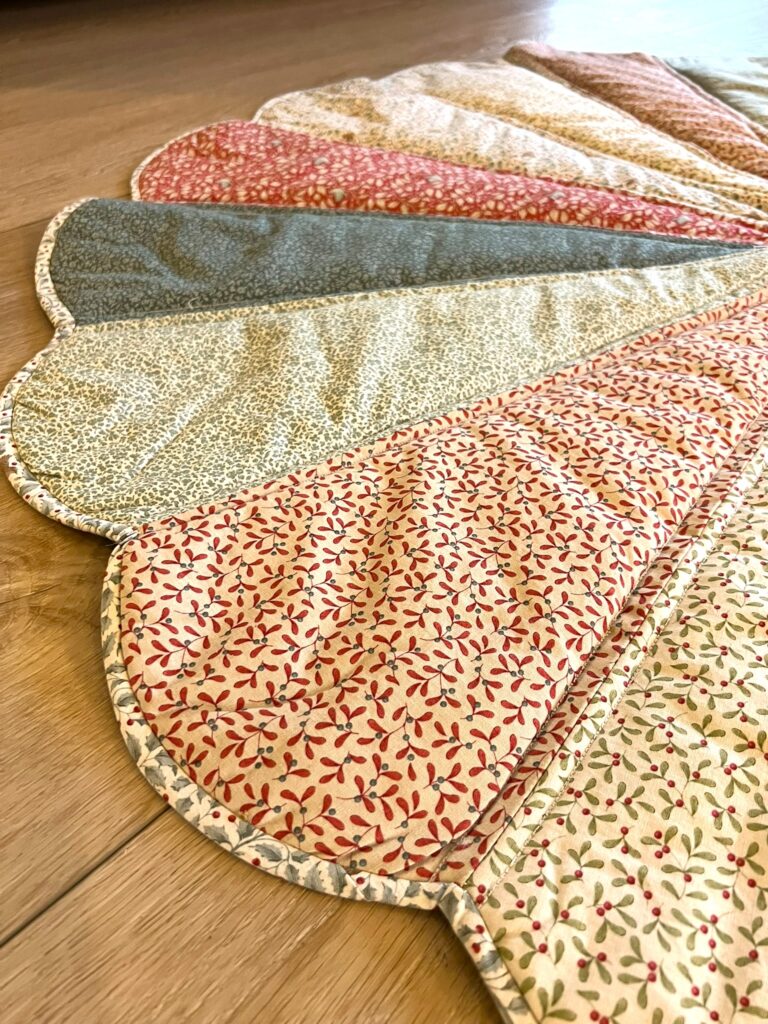
It was finally time to sew it all together! I sewed it all together by sewing along the sides of each scallop:


The quilted look gives the tree skirt a little more texture, which I really love!
I also sewed the layers together along the edges of the scallops:
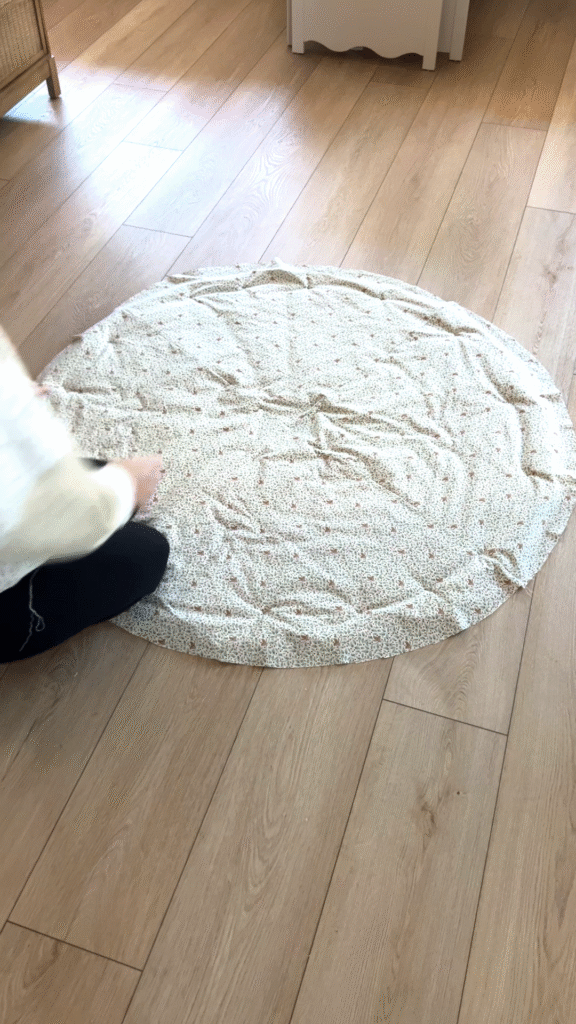
Next, I trimmed any excess fabric:
This is what it looked like once I was done:

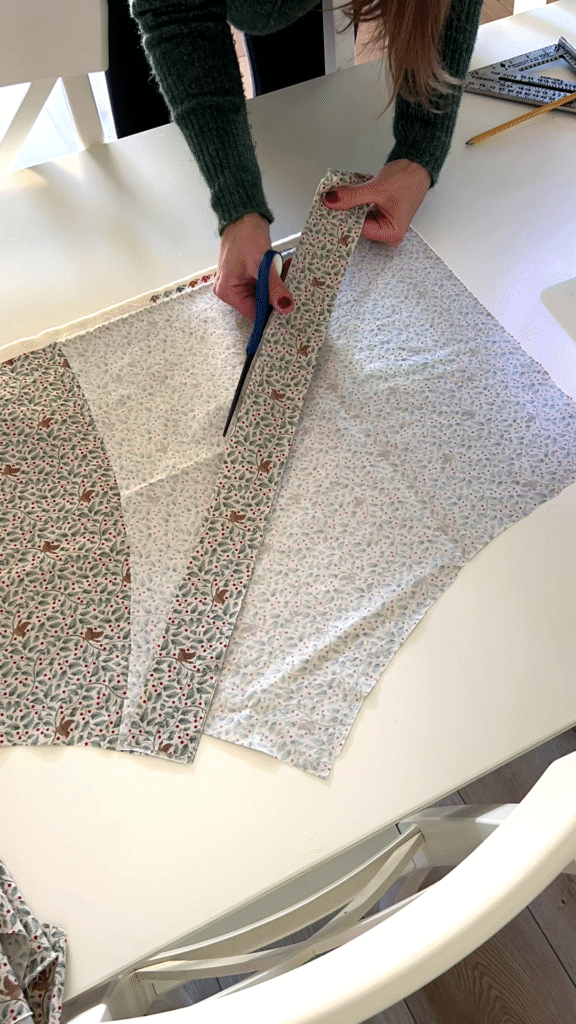
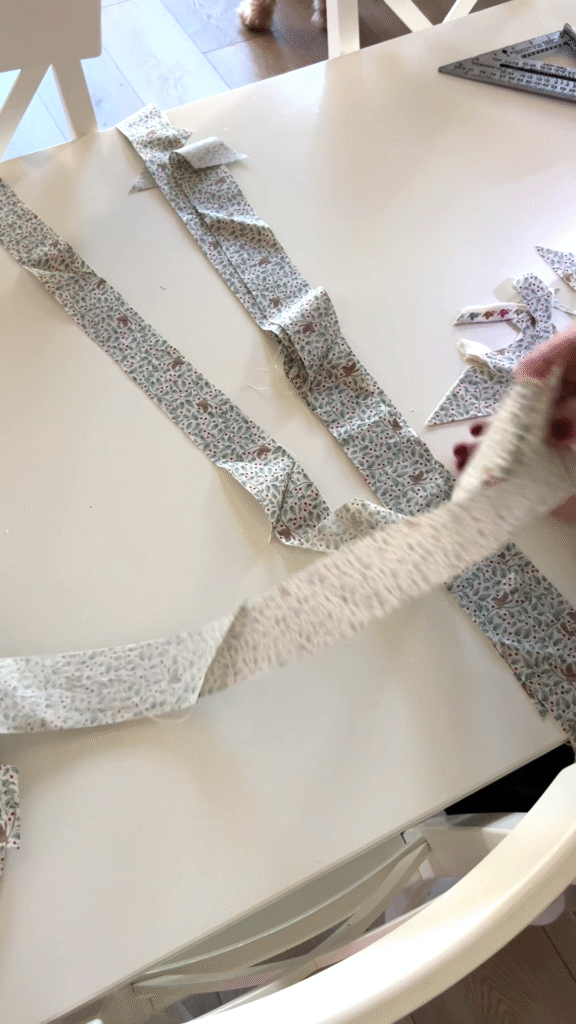
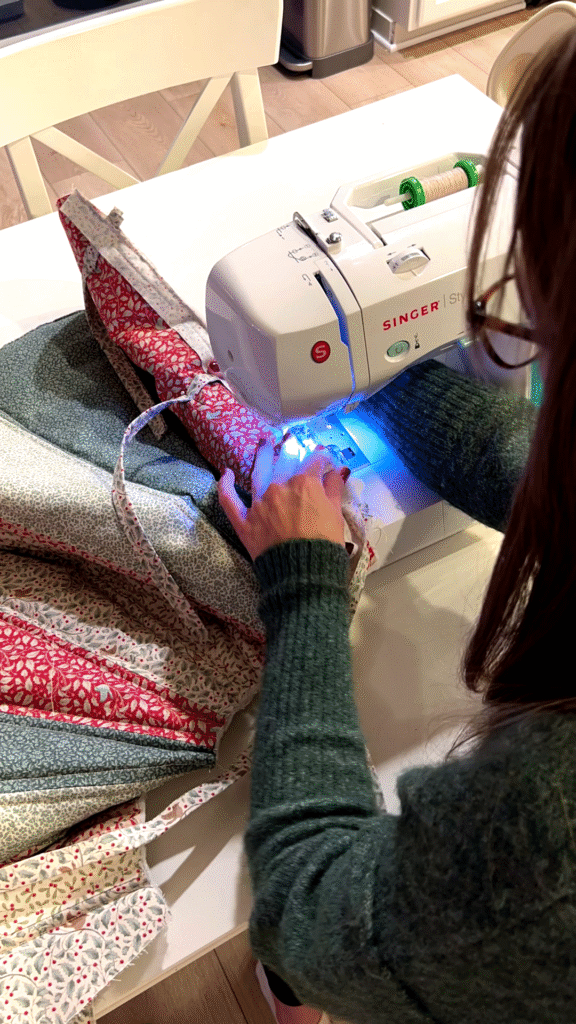
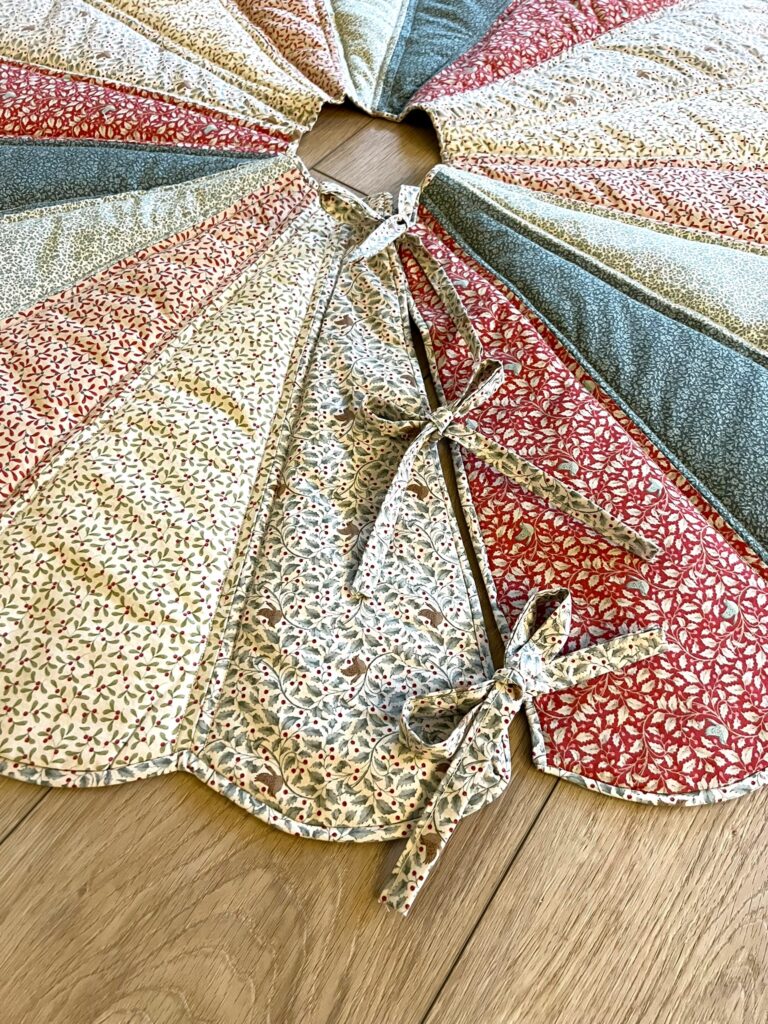
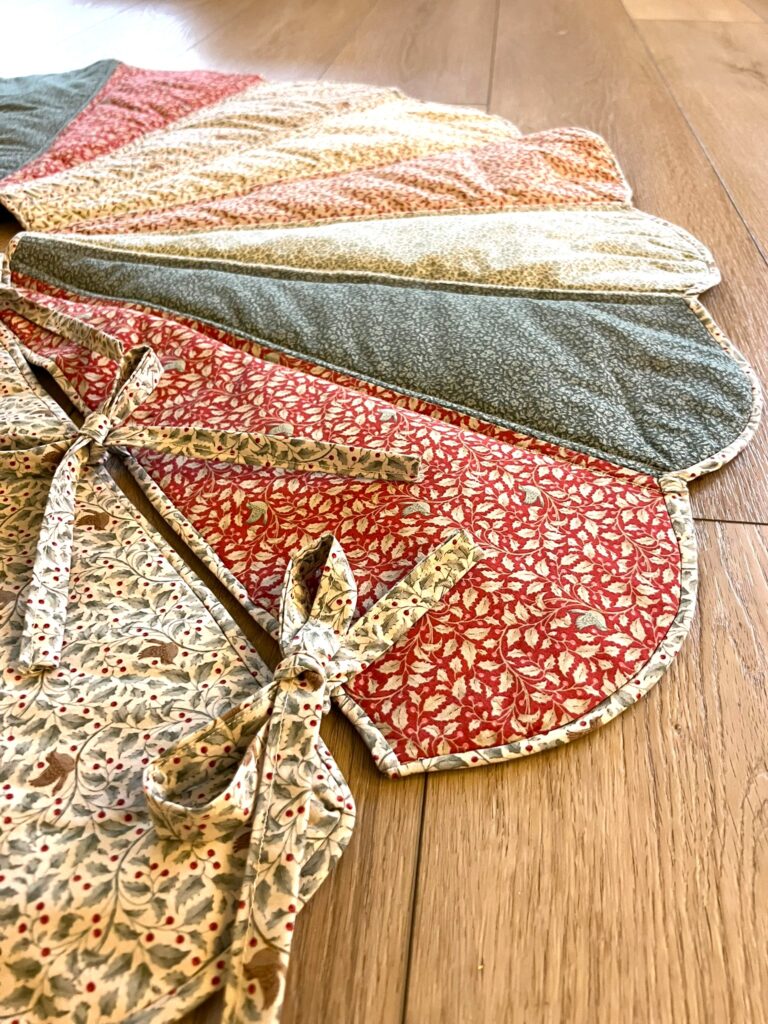
Step 8: Adding bias trim and ties
In this last step, I added bias trim. I actually made bias trim myself for the first time and it worked out pretty well!
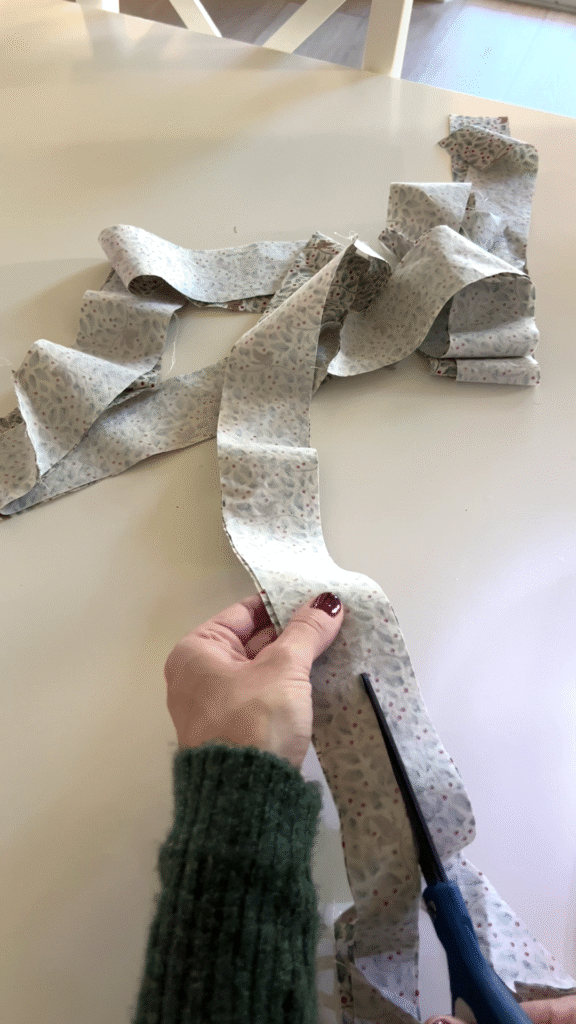
To make my own bias binding, I cut the fabric at a 45 degree angle:
Note: I made the strips double the width I would need so that I could basically make two strips at once. I’ll show you how I cut this in half later!
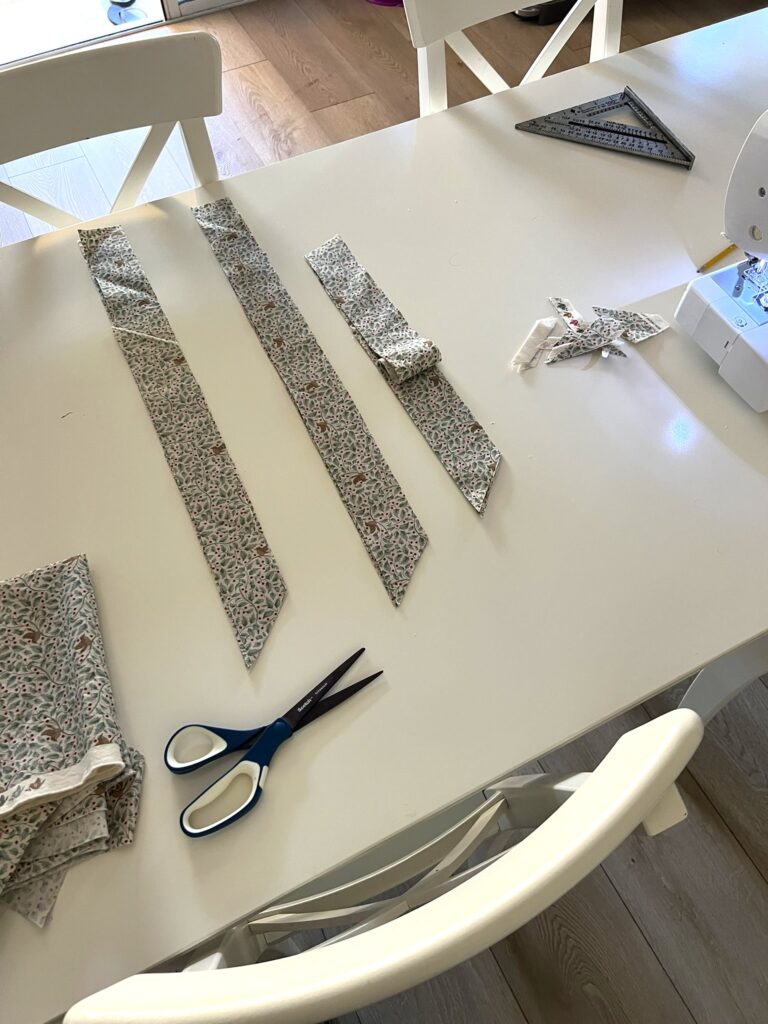
Once I had enough pieces cut, I started combining them at an angle:
I sewed them together for one really long piece:

Then, I cut the strip in half as I mentioned earlier:
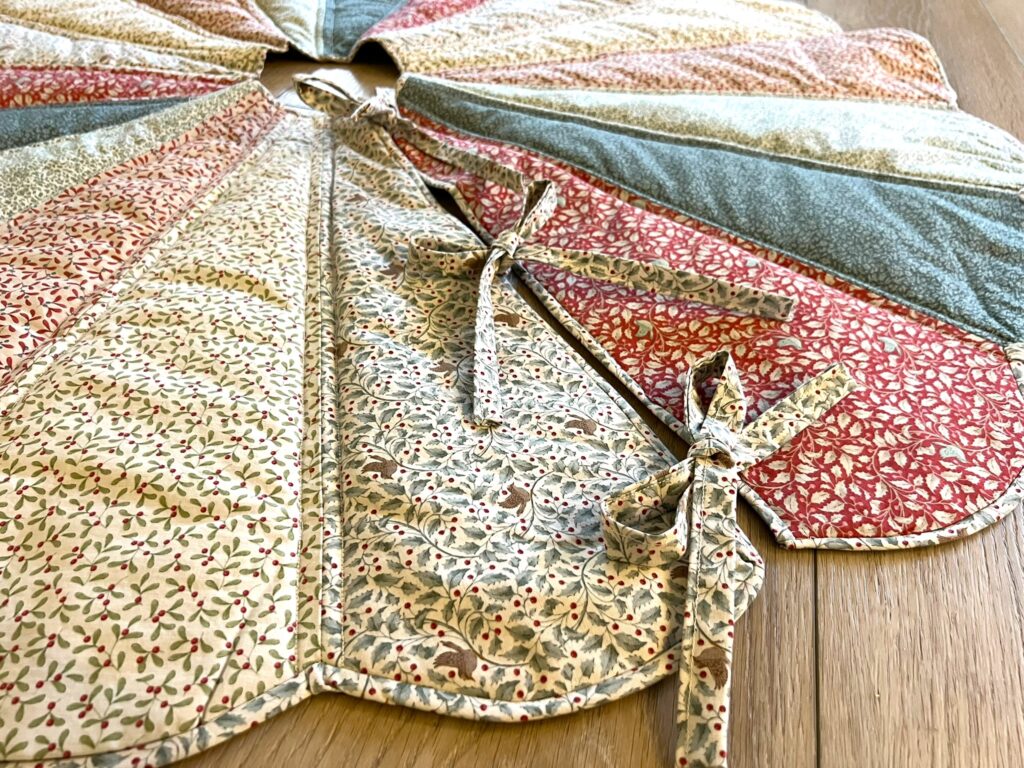
Next, I added three ties (not made from bias binding) to the tree skirt:

After that, I started attaching the bias binding to my DIY tree skirt:

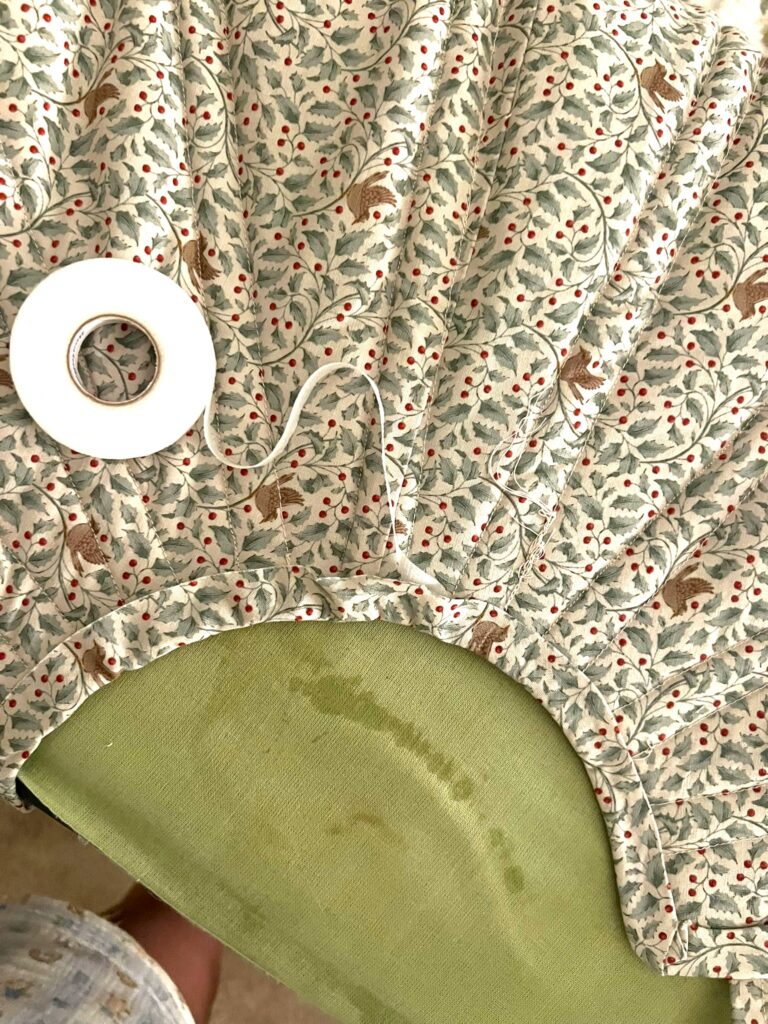
The trickiest part was the circle in the middle:
I sewed most of the bias trim on but there were a few parts where it wasn’t wide enough so I opted to attach it with iron on seam tape. That also worked well!
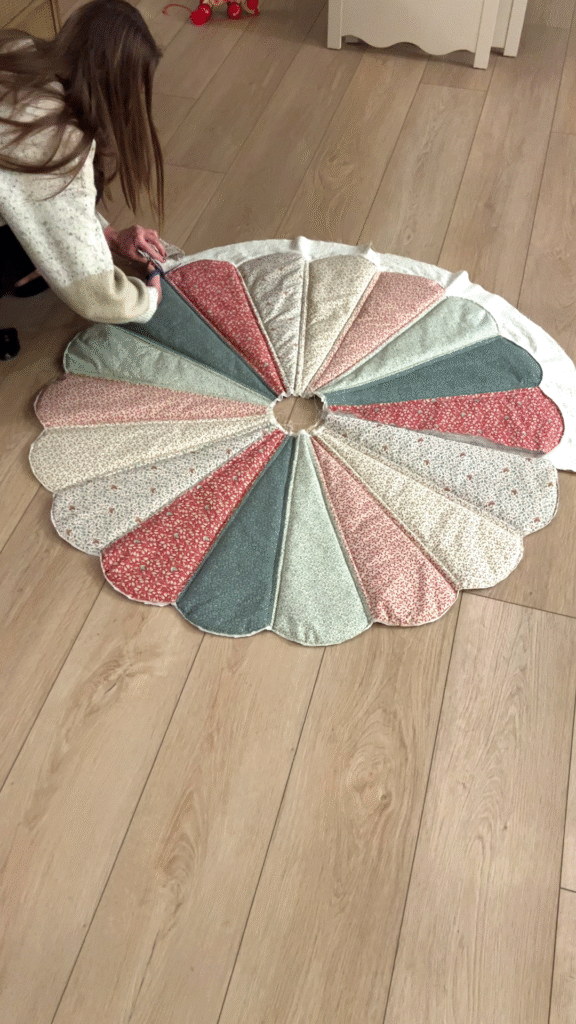
Finished scalloped Christmas tree skirt
Here is our finished tree skirt!
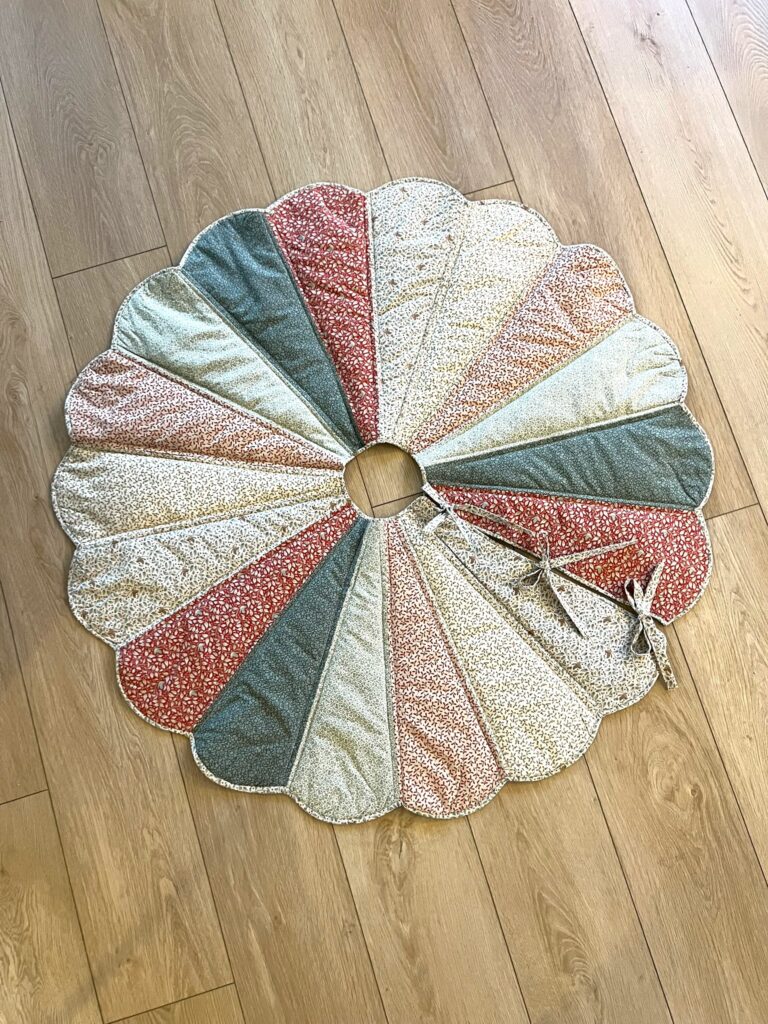


I’m so excited about how this turned out! I love that it looks traditional but cute and playful at the same time. We can’t wait to use this for many years to come!
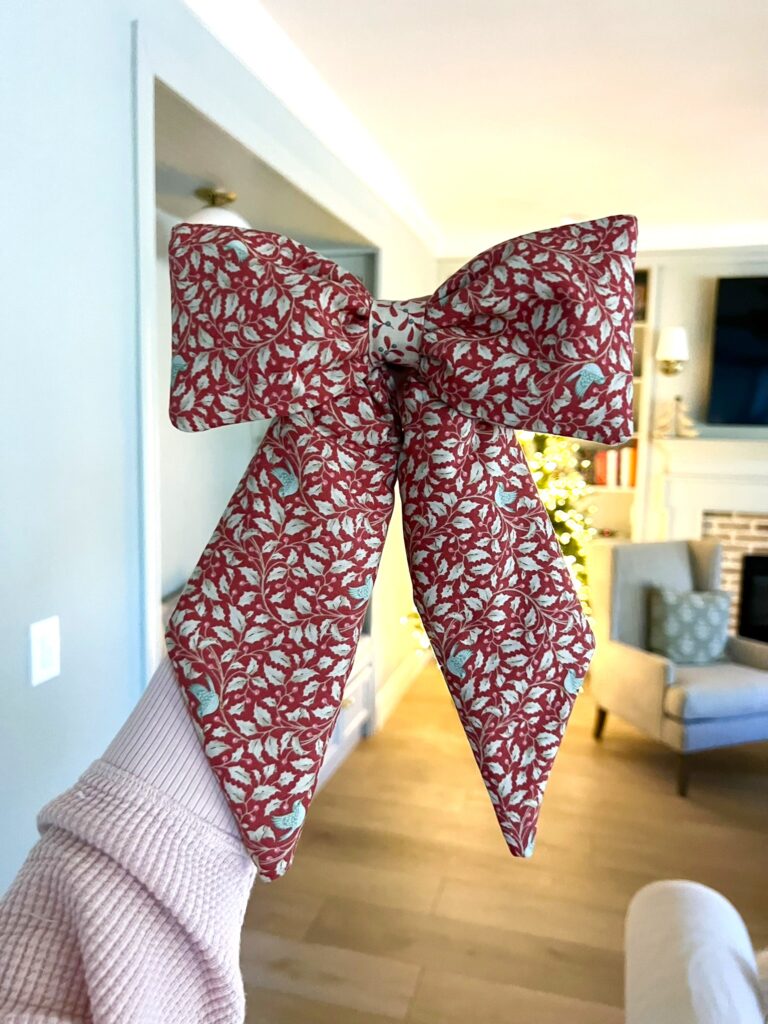
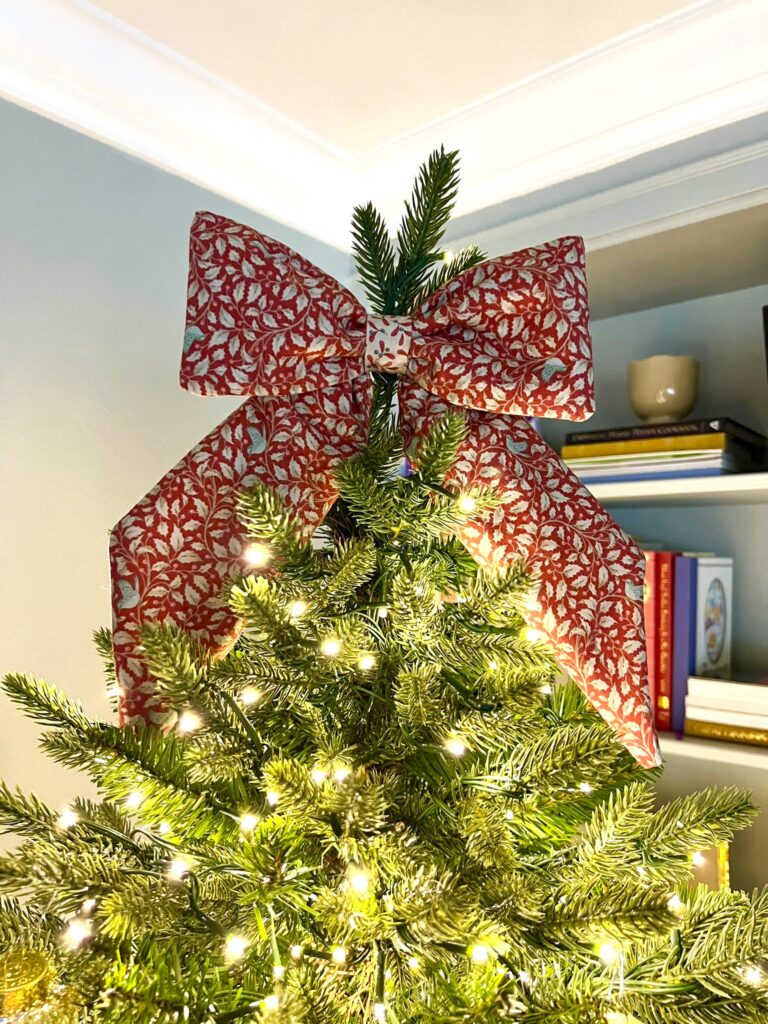
I had some fabric left over so I decided to make a matching Christmas tree bow:
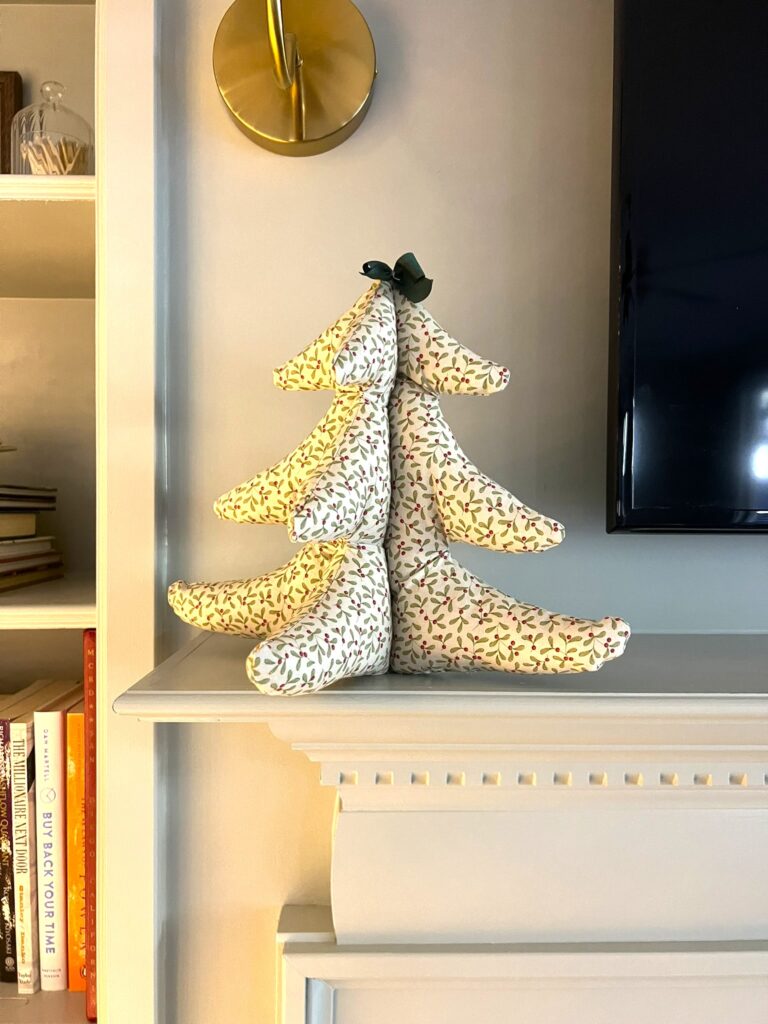
I also made a matching mini Christmas tree out of fabric:
With all the left over fabric I have, I’m excited to add more matching elements this Christmas! Maybe some matching Christmas tree ornaments?
Let me know if you end up sewing your own DIY Christmas tree skirt!
Tina


Can I have the pattern
It’s under Step 2!