
Do you want to turn your plain wall into a beautiful DIY accent wall? That’s what I did for a client with two of my DIY friends! We turned a plain wall in her family’s new build into a unique plaid wall. In this post, I’ll share with you the exact process to build a plaid accent wall so you can achieve this DIY paneling wall look in your own home!
Note: This post may contain affiliate links, you can find more information in my disclosures here.
Materials
- 1″x2″x10′ primed MDF boards
- 4’x8′ smooth brown hardboard wall panel
- Liquid nails
- 1 1/4″ brad nails and/or 2″ brad nails
- Wood shims
- Caulk
- Spackling
- Painters tape with plastic
- Painters tape
- Zinsser 123 primer
- 220 grit sandpaper
- Sherwin Williams Emerald Urethane Trim Enamel paint
Tools
- Measuring tape
- Level
- Miter saw
- Circular saw
- Brad nailer
- Paint brush
- Paint roller
- Paint sprayer
Step 1: Planning the accent wall
The first step was to plan the accent wall! One of my DIY friends measured the feature wall ahead of time and made a rough plan for the plaid wall design. This was so helpful! There were windows, outlets and crown molding to consider when planning out the layout of the plaid DIY wall paneling:
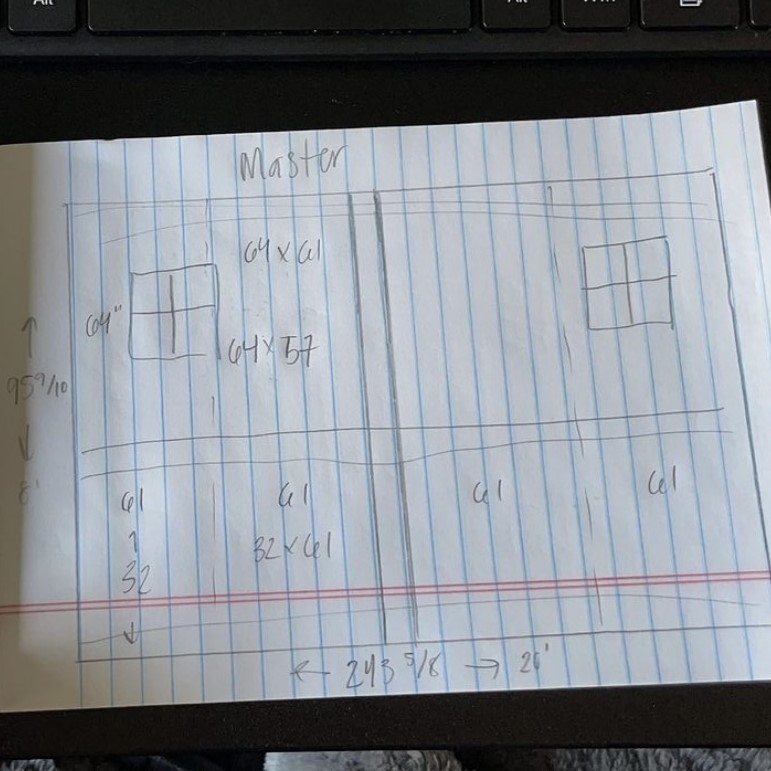
The exact design will depend on size of your wall and the length of the wall.
This rough plan for the entire wall also helped us with the next step!
Step 2: Getting the materials
Based on the rough plan for the DIY paneling wall we were able to shop for all the materials in the exact quantities we needed. I recommend putting together a list before heading to Home Depot or Lowe’s especially if you have more of a unique wall panel idea with details!
Step 3: Putting up the hardboard
The wall we were installing the accent wall on was textured. When you’re installing an accent wall over a textured wall, you have three options:
- leave the wall texture and only install the trim
- apply joint compound to the wall to create a smooth surface
- apply hardboard to the wall to create a smooth surface
Leaving the wall texture and only installing the trim is my least preferred option. I think it looks fine and can give you a similar look but to really get that professional looking finish, the wall behind the trim should be smooth. We decided to apply hardboard to the wall to create a smooth surface. It’s a really fast and easy option as opposed to joint compound!
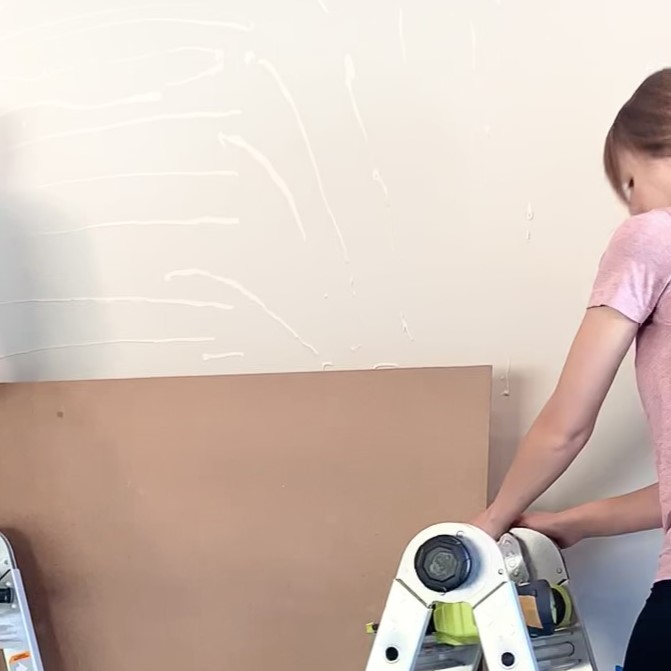
There are different ways to install the hardboard. We started out by applying liquid nails (a type of construction adhesive) to the wall for the first panel:
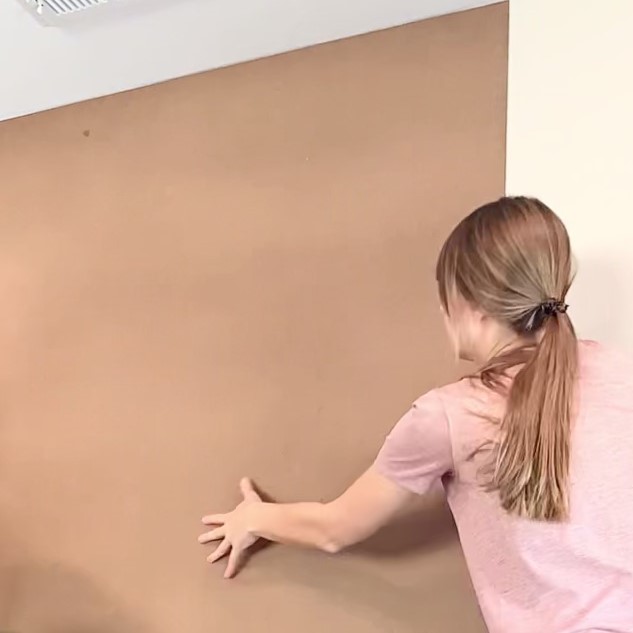
Then, we attached the hardboard panel to the wall:
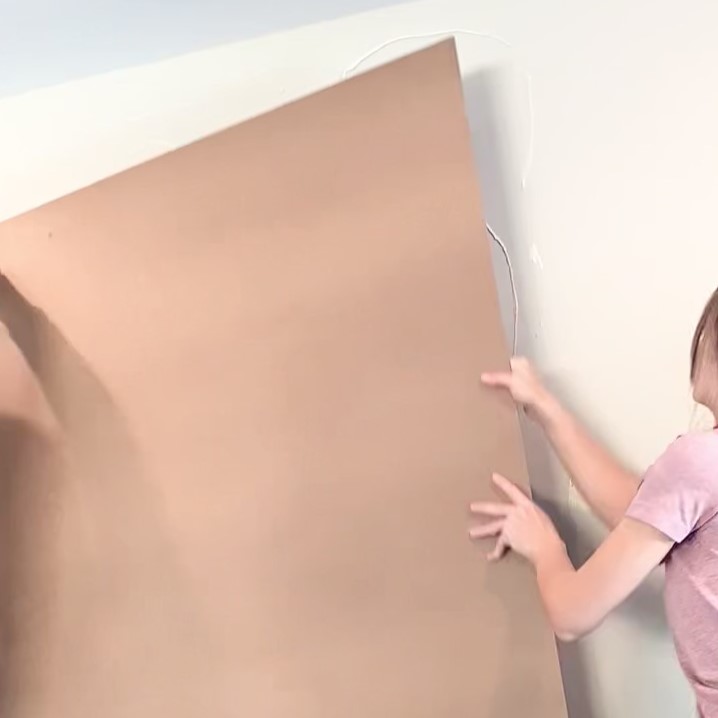
You could also apply the liquid nails to the back of the panels.
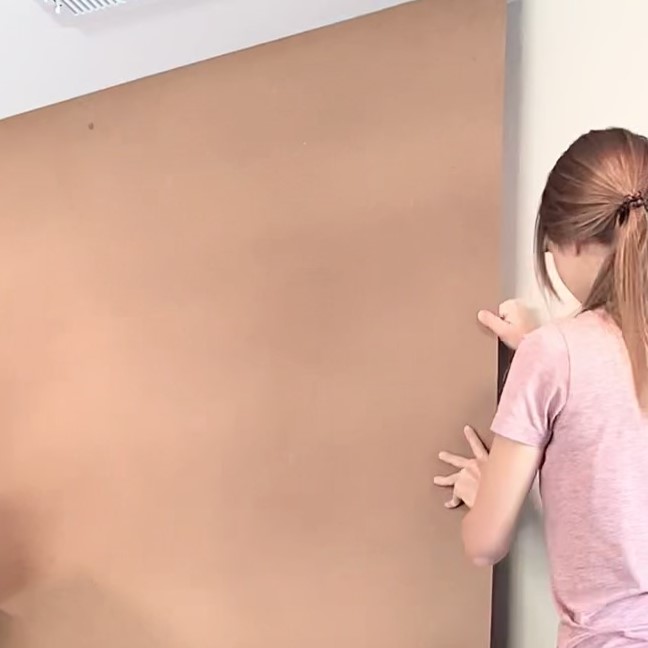
Next, we smoothed it out with our hands to make sure the hardboard was sitting flat on the wall:
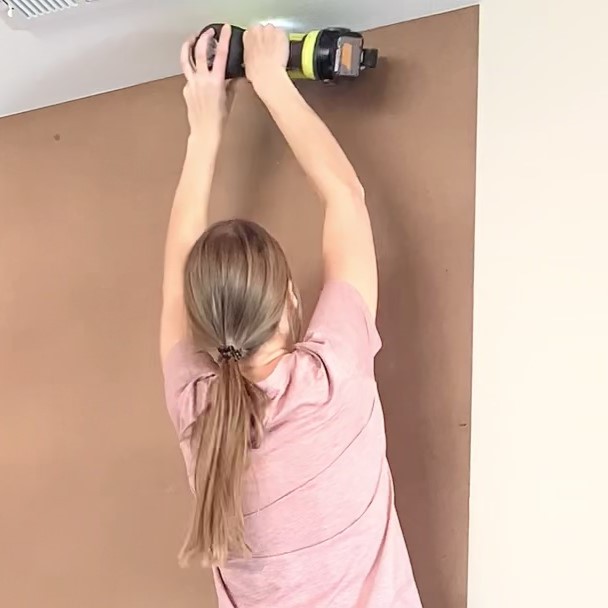
Then, we used a nail gun and secured the hardboard with brad nails along the edges:
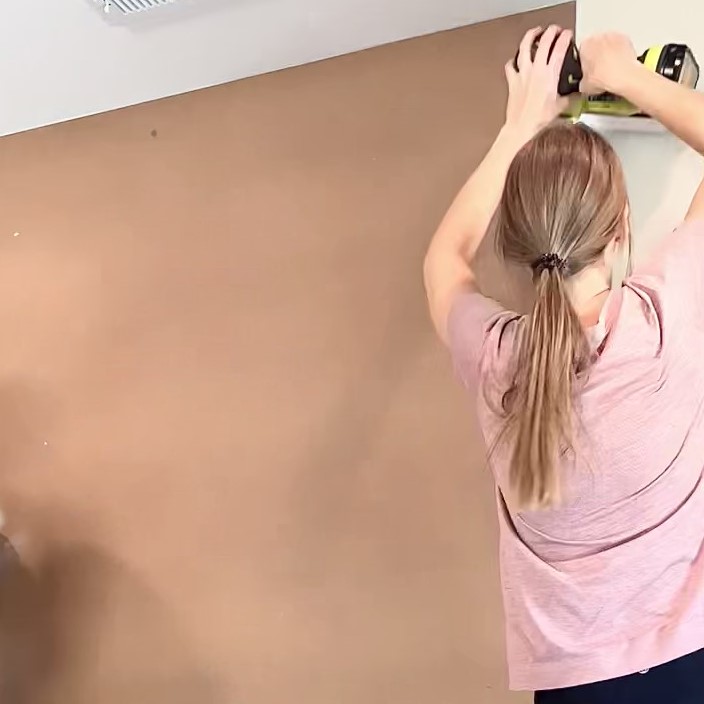
Between the liquid nails and the brad nails, these hardboards weren’t going anywhere!
They quickly gave us that perfectly flat surface with a smooth finish for our accent wall! Applying hardboard is definitely one of the easiest ways to prep a textured wall for an accent wall. They’re a great choice and a perfect solution compared to the joint compound option especially if you’re on a tight timeline like us.
Step 4: Measuring and dry fitting
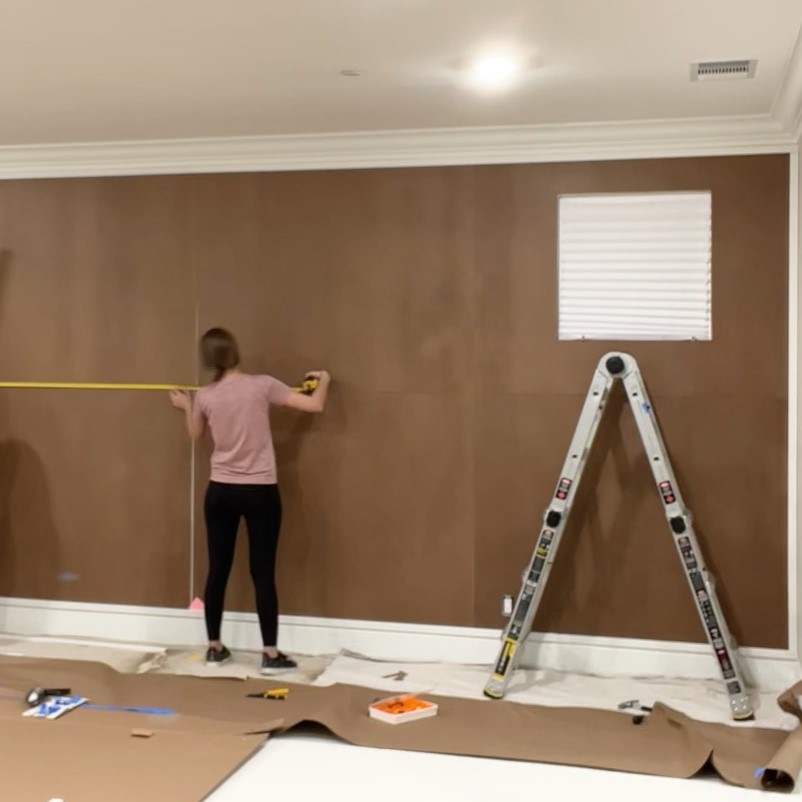
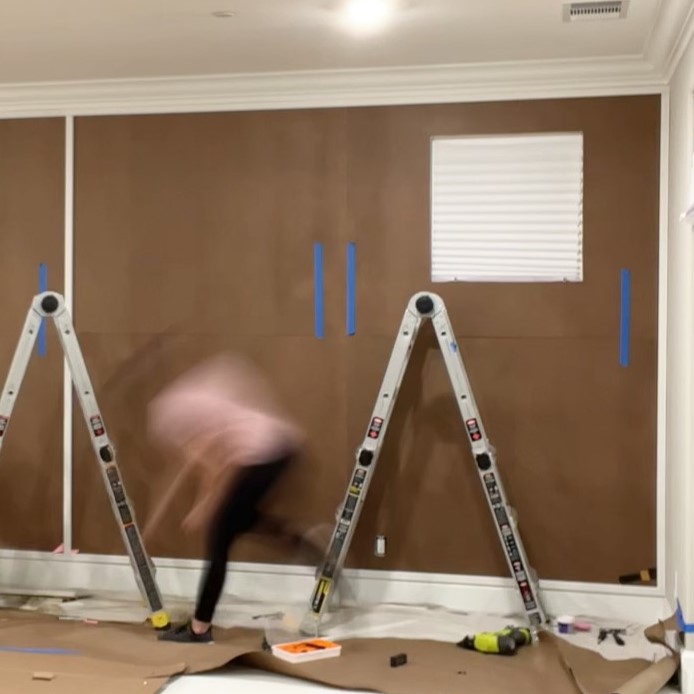
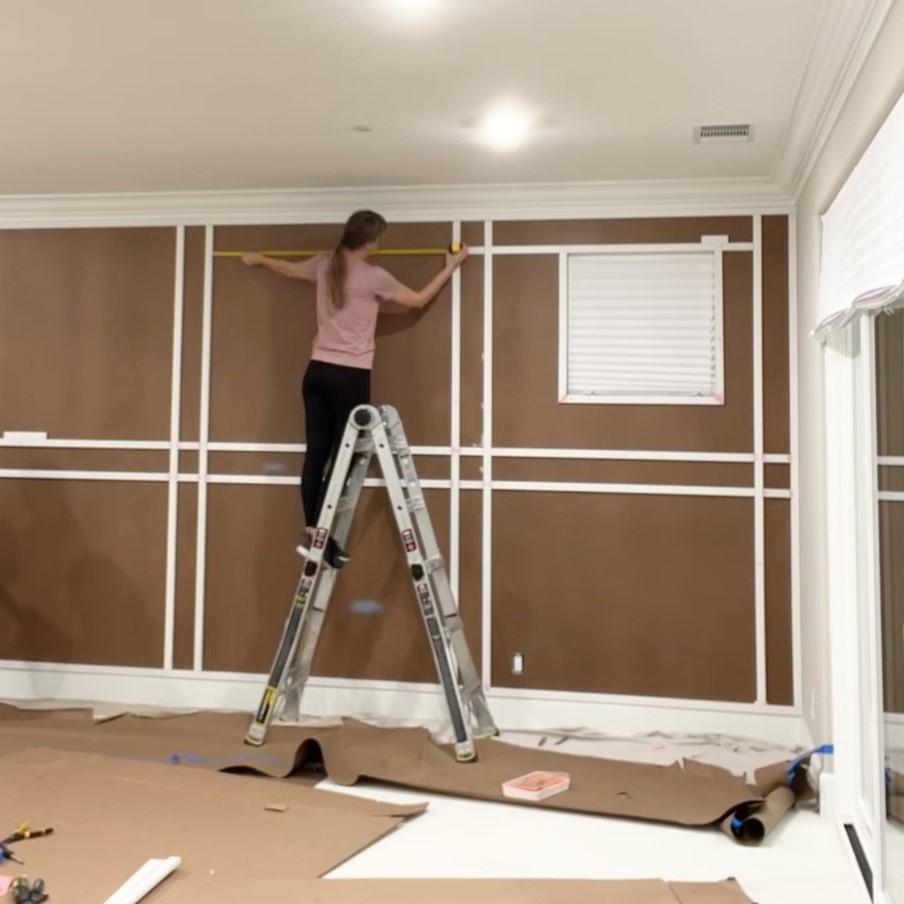
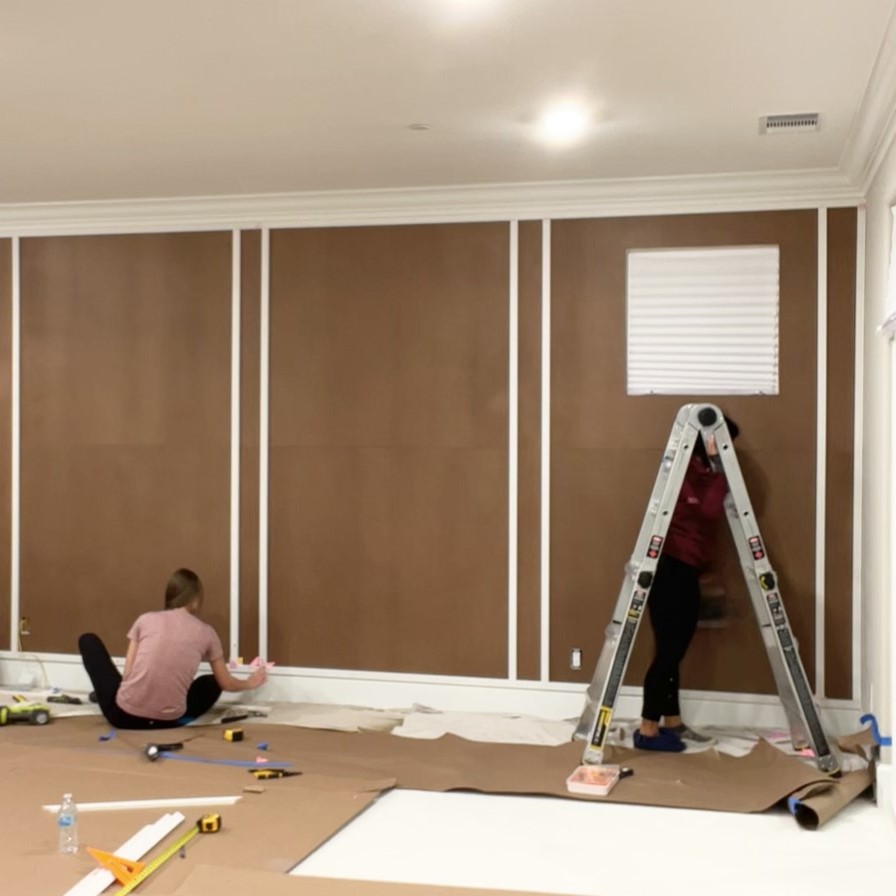
Even though we had the rough plan for the trim placement that my DIY friend created, we still wanted to get an understanding of the placement in real life before actually installing it. We measured the wall again:
Then, we did a dry fit of the vertical panels using painter’s tape. I highly recommend doing this, it’s an easy way to visualize the spacing based on the actual width of your wall and confirm the placement around any obstacles.
Note how the vertical boards intentionally cover the seams between the hardboard wood panels!

Once we were happy with the layout, we were ready for the next step!
Step 5: Attaching the trim
We started out by cutting the trim pieces and attaching the outer frame of the plaid accent wall!
Note how the top panel of our trim frame is a straight line right below the crown moulding that was already installed by the builder:
The bottom piece of our trim frame is at the bottom of the wall, directly above the baseboard.
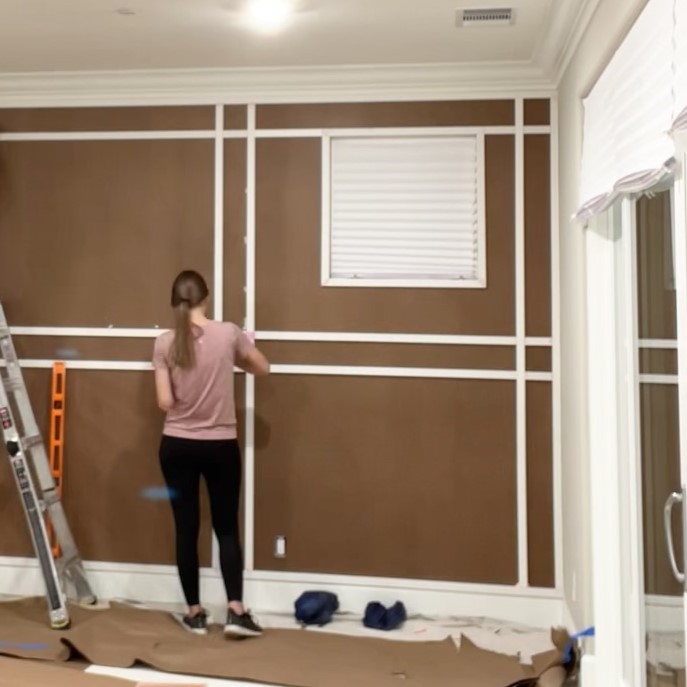
Next, we moved on to the vertical pieces and then got started on the horizontal pieces:

We also framed out the window using the same trim:
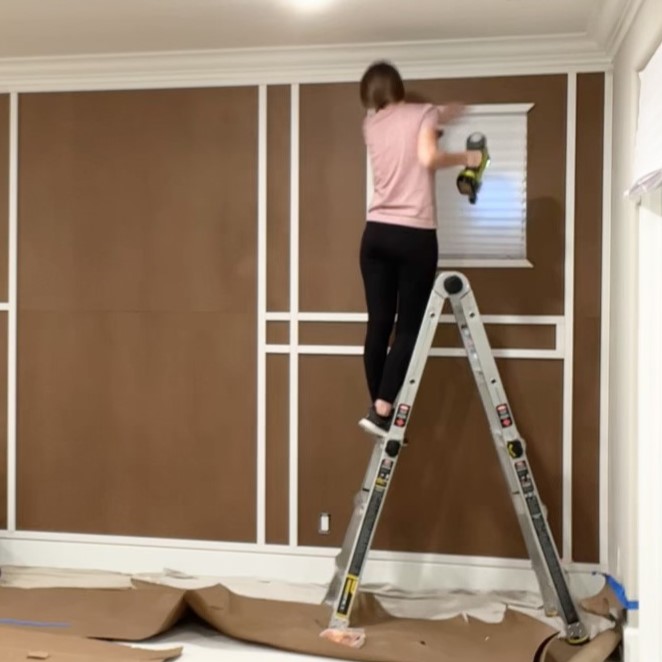
At this point, our plaid wall was really starting to take shape with almost all of the horizontal panels in place!

Note: Before using our brad nailers to attach the trim pieces to the wall, we first made sure each piece was level and perfectly straight! You could also use a laser level here instead.
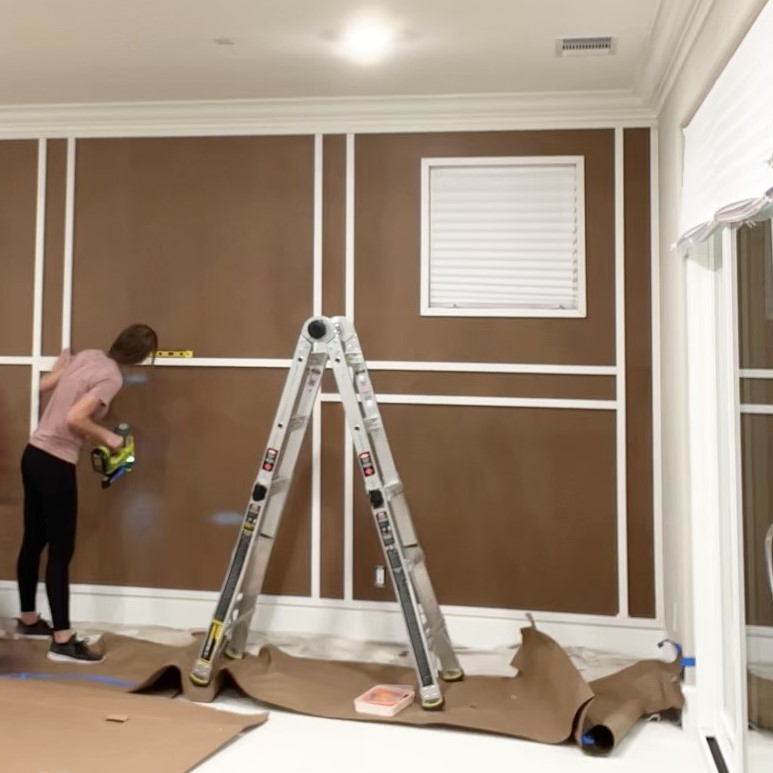
We also used tape measure to measure each open space before cutting each piece to avoid any large gaps. My advice is: measure twice, cut once!
Step 6: Filling, caulking and sanding
Once all the trim was attached to the wall, it was time to fill, caulk and sand! This was not the hardest part of the project but by far the most time consuming and tedious part of this DIY paneling wall project. However, this is one of the most important steps to achieve a smooth and professional finish for your accent wall!
First, we filled all the gaps between boards:
We used spackling but you could also use wood filler.
Next, we filled all the nail holes:
Then, we caulked all the edges and sanded any of the spots we filled.
Step 7: Prepping for paint
One of the final steps was to prep the paneled wall for paint! We filled so many spots and had some dust from sanding on our accent wall so we dusted it off to make sure we had a clean and dust-free surface to paint:
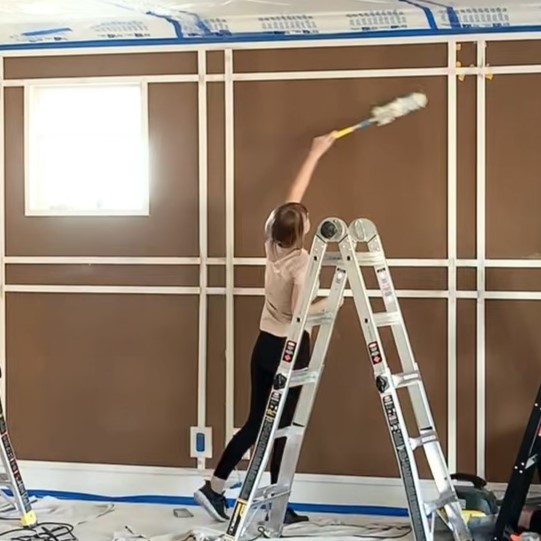
I highly recommend this extra step of thoroughly cleaning the surface!
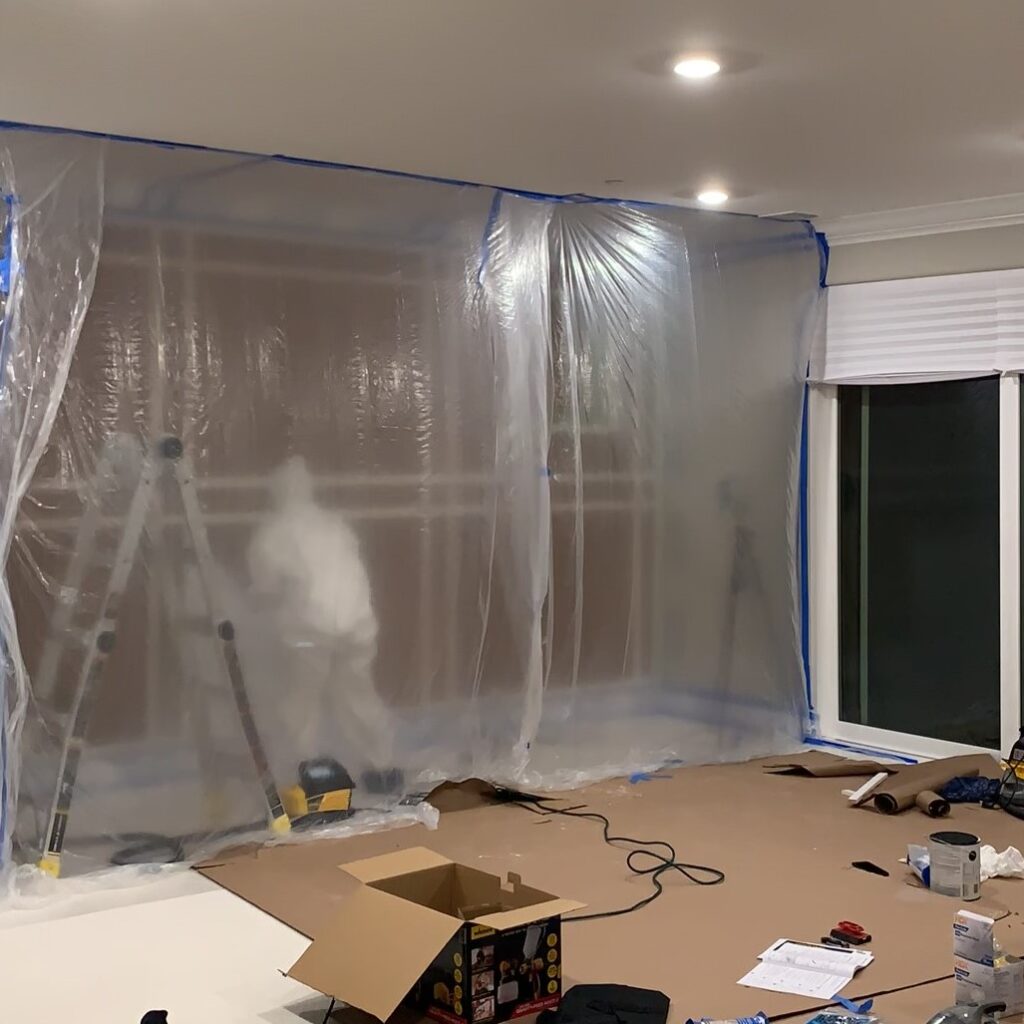
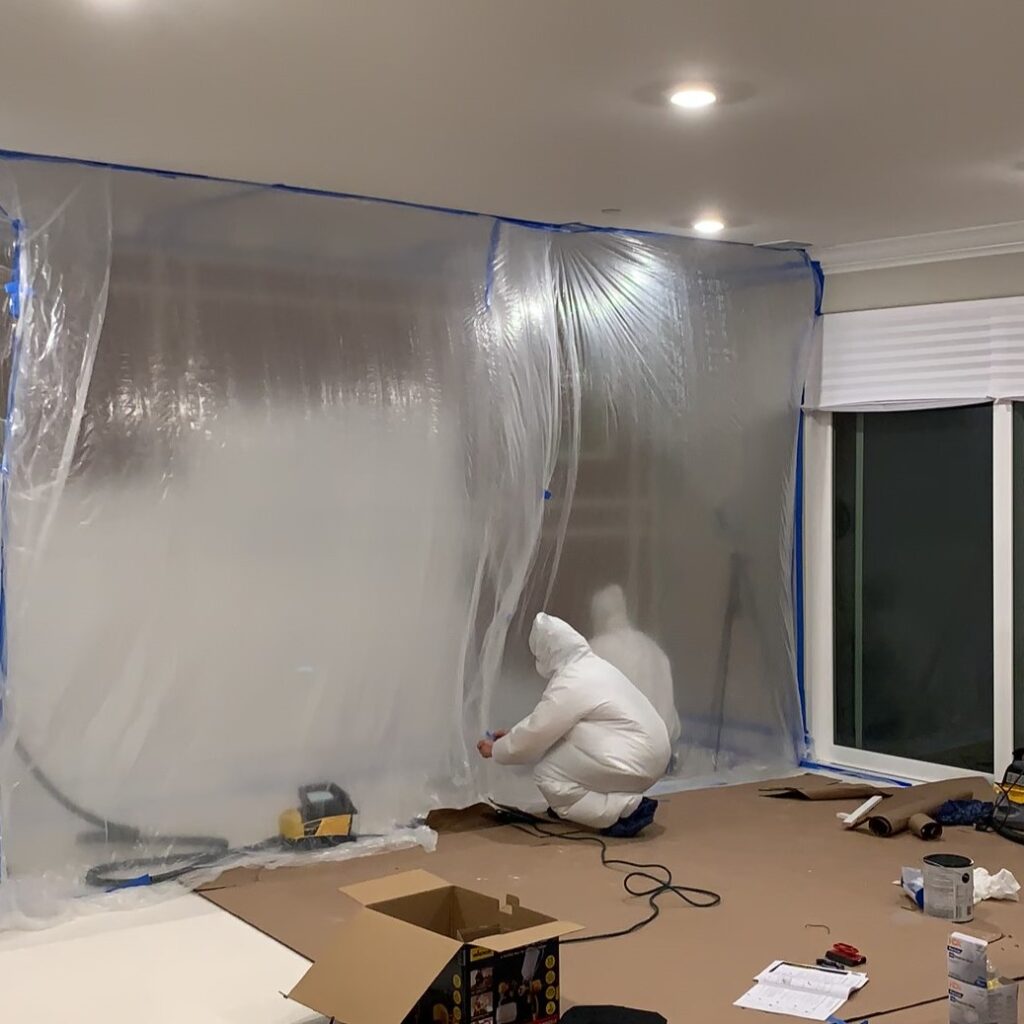
We decided to use a paint sprayer to paint the plaid accent wall so we prepped our paint booth! It reminded me a little bit of the show Dexter!
We made the paint booth just deep enough for us to move around comfortably in it while painting:

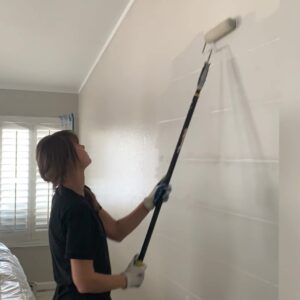
Step 8: Painting
We started out by priming the wall with the Zinsser 123 primer. Then, we applied two coats of paint! The paint color we used was Sherwin Williams Pure White.
It was so satisfying to see the paint progress:
We had one paint sprayer so we had two of us in the paint booth at a time: one person spraying and the other person helping out (moving the ladder, cables, refilling paint, etc.).
It was really fun to watch the accent wall turn from brown to white:

We let the first coat of paint dry for a while before applying the second coat that same evening.
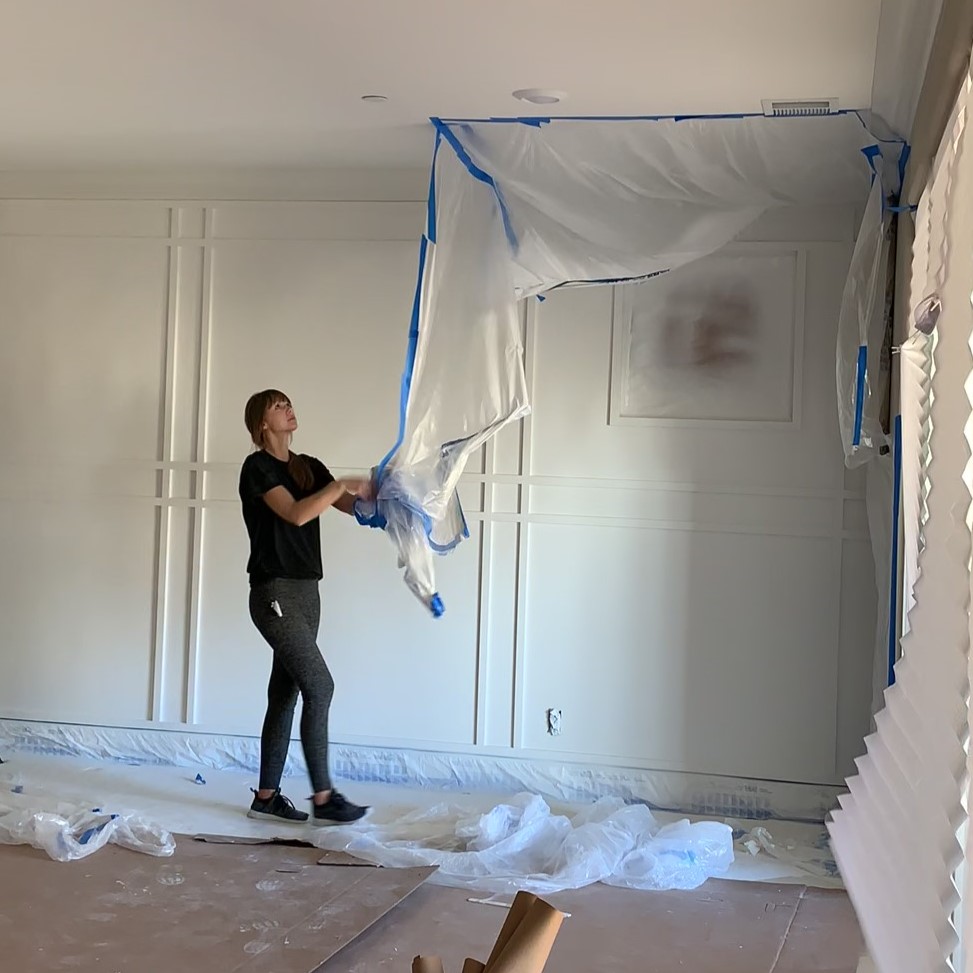
We let both coats of paint dry overnight and came back the next morning to take down our paint booth!


This was such a fun part of the project and so satisfying to finally see the painted panel wall!
I don’t think all accent walls need to painted with a sprayer but with all the intricate details on this plaid wall it definitely made sense here! It was worth the extra time to prep the paint booth and tape everything off to achieve that smooth finish.
Finished DIY paneling wall
Here is the finished plaid wall!
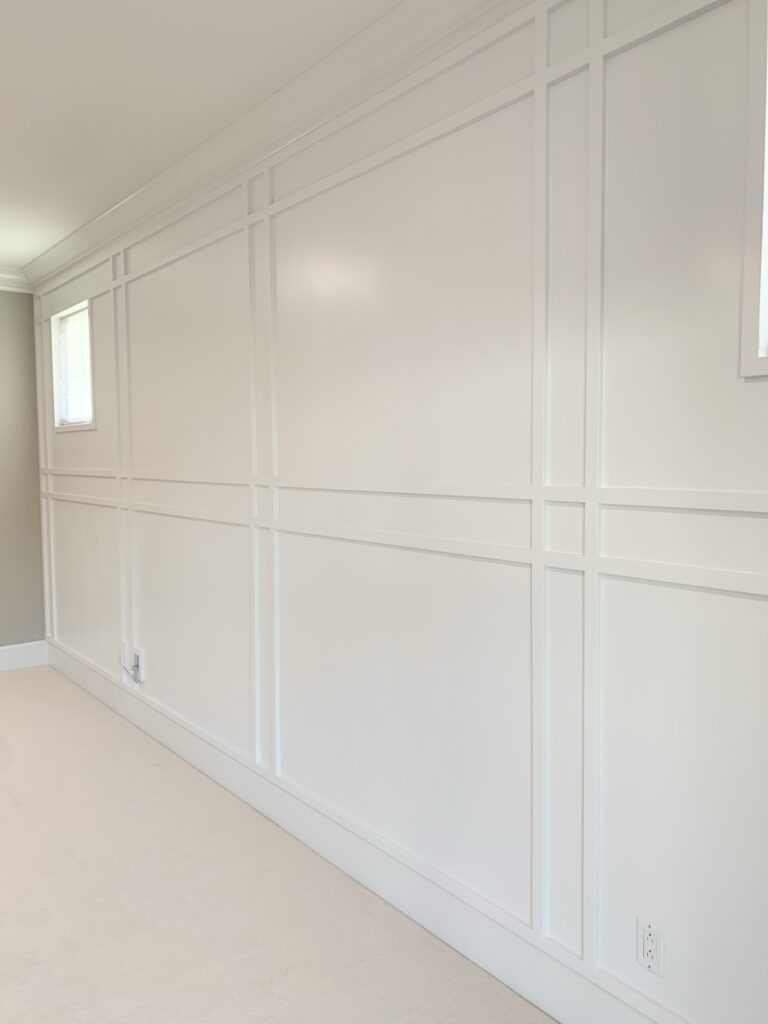

I love how this unique accent wall design and room makeover turned out! We installed this in a bedroom but I think this wall panelling would also be a great accent wall design for a living room or dining room depending on your interior design goals! Accent walls can really change the look and feel of an entire room and add some visual interest at fraction of the cost of some other options.

This was not a super easy DIY but it was such a fun learning experience to tackle this DIY project with two of my DIY friends! It was my first project with DIY friends I meat online and I got to learn so much from them throughout this DIY wall panelling project. It was also fun to try out some of their power tools that were new to me!
I hope this DIY paneling wall tutorial was helpful! I have a few similar projects planned for our new house and can’t wait to share those soon.
As always, let me know if you have any questions!
Tina

Leave a Reply