
One of my favorite recent projects in our house so far is the custom fireplace wall that I built for our living room, I love it so much! Our family has enjoyed it and made so many memories in that space over the holidays. It has quickly become the heart of our home.
I recently shared how I built the DIY electric fireplace and the fireplace surround and mantel. Today, I want to show you how I built the DIY built ins with stock cabinets and lots of trim to make them look like they belong in an older more traditional home, not a plain Las Vegas builder grade home!
Note: This post may contain affiliate links, you can find more information in my disclosures here.
Materials
- cabinets (I used four of these)
- plywood
- studs
- screws
- base cap moulding
- cove moulding
- lattice moulding
- wood glue
- wood filler
- putty knife
- caulk for finishing touches
- my favorite primer
- my favorite cabinet paint (color matched to Light Blue by Farrow & Ball)
Tools
- miter saw
- circular saw
- brad nailer
- drill
- my favorite paint brush
- paint roller
Step 1: Plan/Mock up the fireplace built ins
The first step for me was to measure the space and create a mock-up of the fireplace built-ins based on the exact dimensions of the wall:
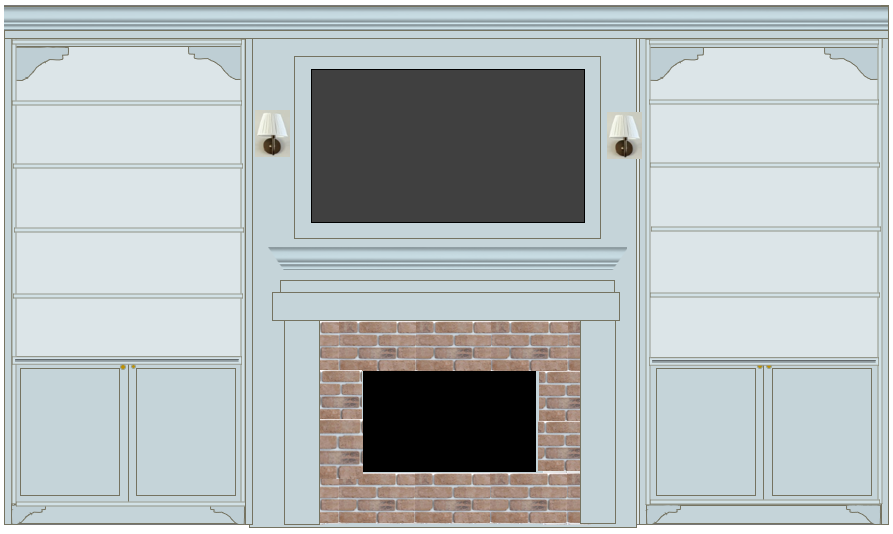
Usually, I will just “wing it” when it comes to building things and think through the details as I go but his was a huge project so I decided to avoid any surprises and plan the dimensions ahead of time!
I created this simple mock-up in Excel! I know, it’s not what people typically use but it worked great for me in this case.
I’m so glad I did this because it allowed me to visualize our DIY built ins with stock cabinets and adjust the dimensions and scale of all the elements before getting started.
Step 2: Prepare the space
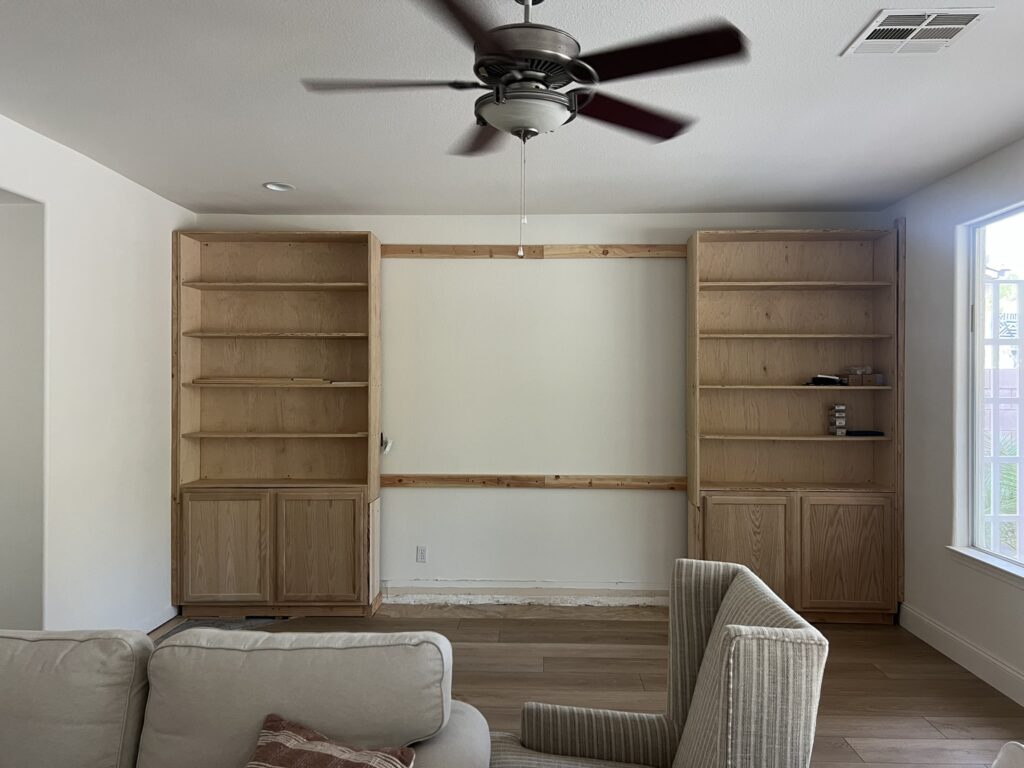
Once I had a solid plan and design, the first step for us was to clear out the space and remove the existing corner gas fireplace!
Here’s what our living room and fireplace looked like before:


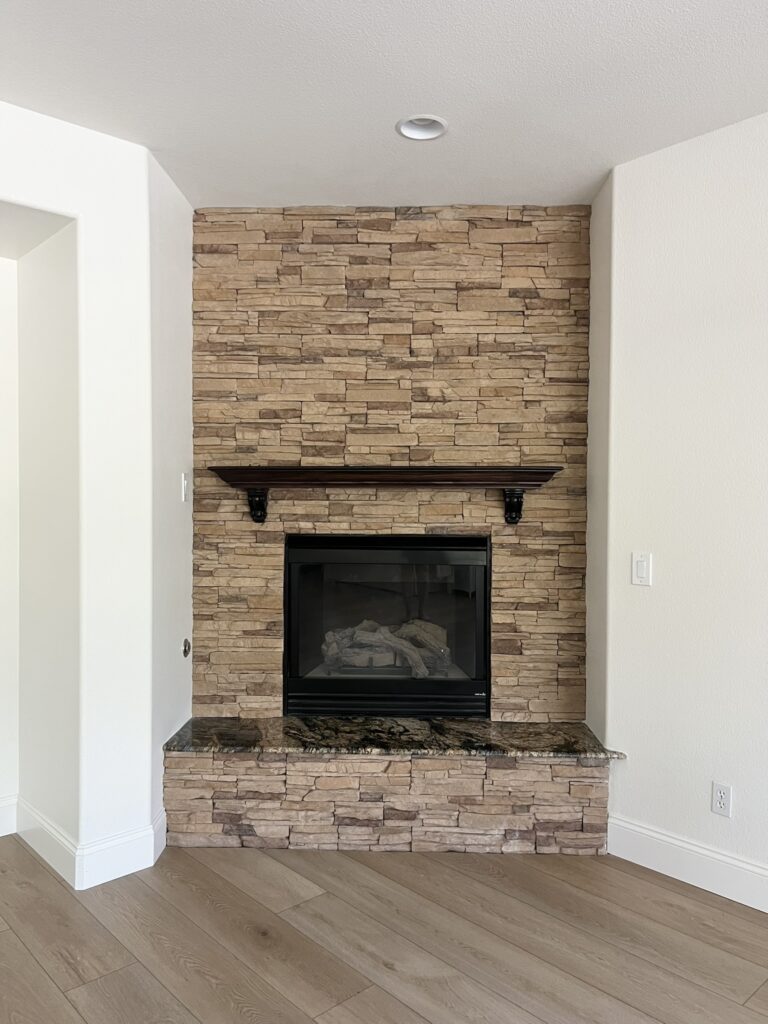
We hired out the removal of the old gas fireplace and I’m so glad we did!
Our contractors were fast and efficient, the old fireplace was gone and the hole was patched within just a couple of days.
We have two little ones and living in a construction zone for too long was something I wanted to avoid!

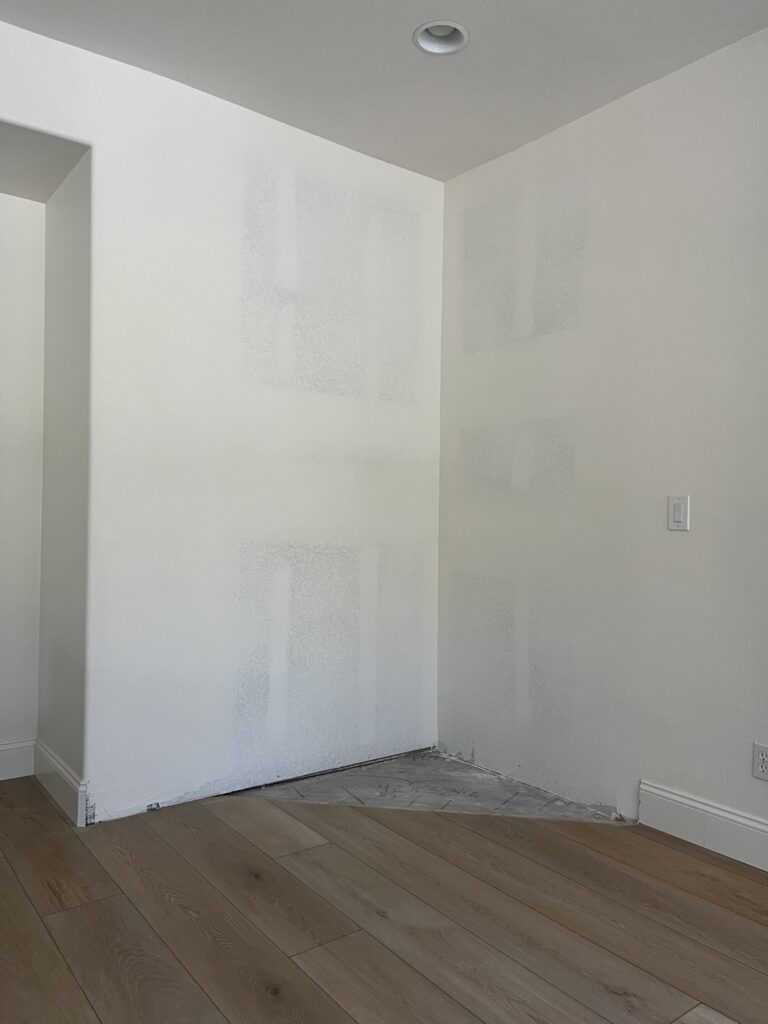
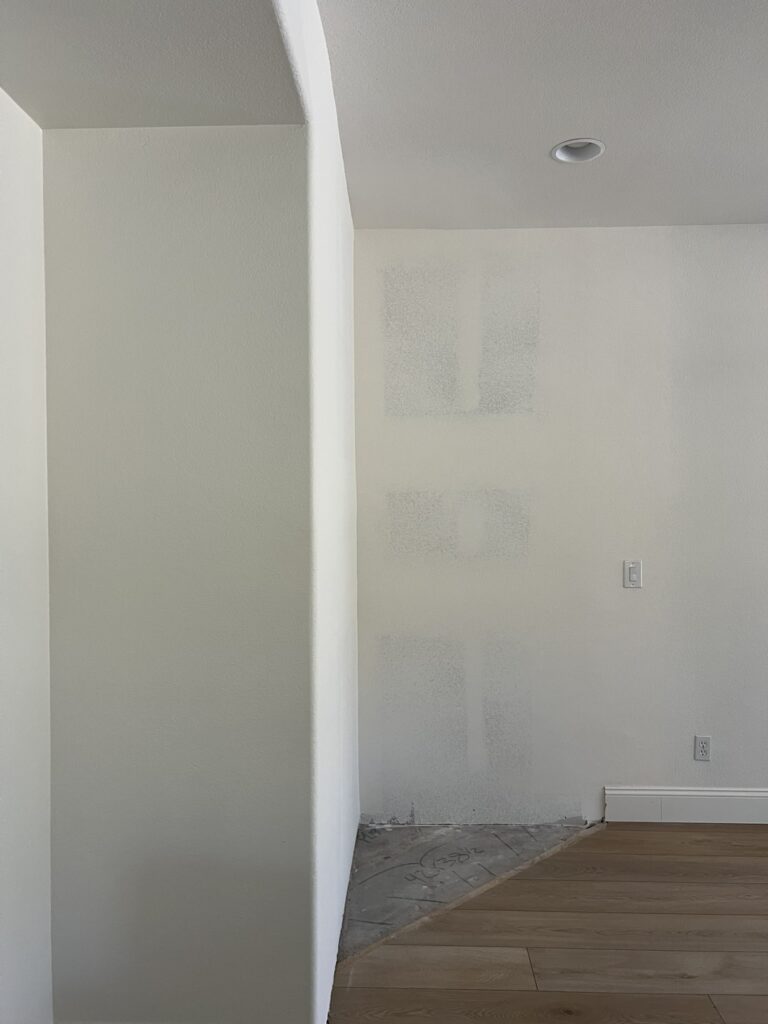
The last part in preparing the space was to remove the baseboards and the flooring!
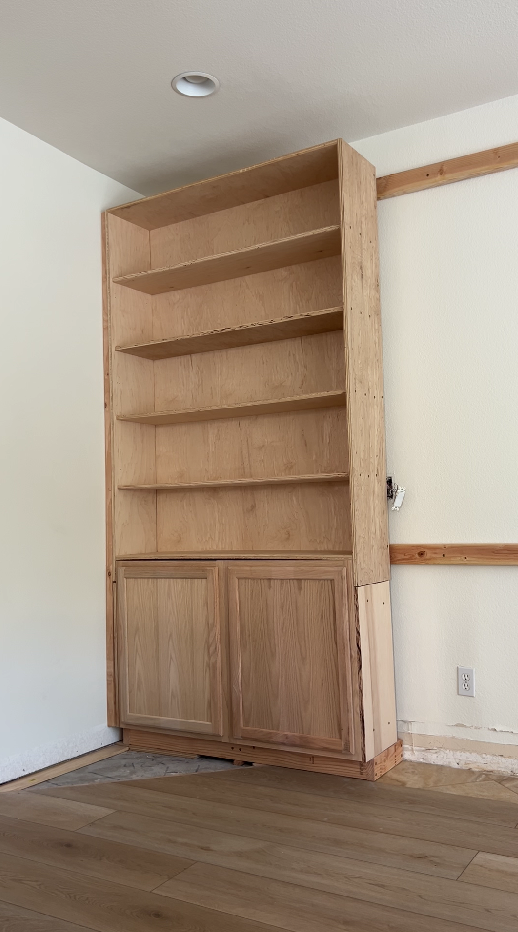
Step 3: Assemble the stock cabinets
The cabinets already came pre assembled which helped save a ton of time!
I ordered four 24 inch wide cabinets to create two 48 inch wide cabinets to go on each side of the fireplace.

To create the 48 inch cabinets out of the 24 inch cabinets, I used screws and spacers to attach two cabinets together making sure that each of the doors opened in the correct direction:

Step 4: Attach wall supports and cabinet base
Next, I attached 2x4s to the studs in the wall:

These 2x4s would serve as my supports to drill all the elements of the DIY living room built ins and fireplace into:

I also added a support on each side and a base for the cabinets to sit on:

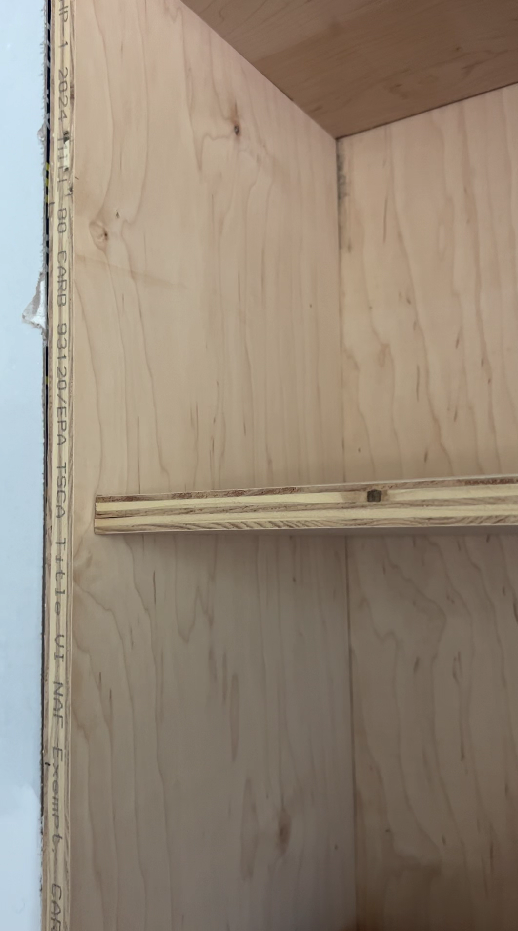
Step 5: Build the shelves
This was the part that was the most custom!
I built the shelves to go above the cabinets from scratch using plywood. To calculate the exact size of the shelves, I used the 48 inch cabinets as my starting point.
The shelves would be 48 inches wide and 65 inches tall (this was my calculation: height floor to ceiling – cabinet base – cabinet – room for crown moulding/supports at the top).
Note: While I was building the shelves, I took into account what trim I wanted to attach to the faces of the shelves to plan for any offsets.
Once I knew all the plywood pieces I needed, I planned my plywood cuts out in optiCutter. It was so helpful!

Remember how I planned out the layout of the built ins ahead of time in Excel? Once I built them and saw the spacing between each shelf in real life, they felt COMICALLY large!
I ended up disassembling them and adding one more shelf which ended up being the perfect spacing.
Here are the two versions side by side:

It’s hard to show the real scale in photos! I went with the version on the left. We have 12 1/2″ inches between shelves now and I think the proportions are great: it looks cozy but there is also enough height on each shelf for most sizes of books.
Step 6: Install base cabinets
I built these floor bases for the cabinets earlier:

These were squares that I built out of 2x4s spanning the whole width of the cabinets.
Their purpose was to serve as pedestals to lift the cabinets off the ground slightly and also provide more stability by being another anchor point.
I drilled the bases into the studs in the wall as well for extra stability.
Next, we installed the cabinets by attaching them to both the wall supports and the floor bases I built.

Step 7: Install shelves
Then, my husband and I lifted the custom shelves out of plywood onto the cabinets. Those shelves were large and HEAVY, so this was definitely a two person job!

Before attaching the shelves to the wall supports and the cabinets, we made sure that everything was level:
Note: We moved the light switch to the inside of the cabinet later! That switch would later control the sconces on the sides of our TV above the fireplace.
Step 8: Build the fireplace in the middle
This next part was such a fun and satisfying step in our living room transformation! You can find all the details in my dedicated post here about how to build a DIY fireplace for that full DIY built ins around fireplace look.
Step 9: Add decorative trim
This was my favorite part of the project! Now that the structure was in place, it was time to add all the trim I had been dreaming up.
I used three different types of trim for the DIY built ins:


I installed the trim using wood glue and my brad nailer:


Here’s a close up of the fireplace built ins trim:


Here are the DIY fireplace built in cabinets before all the trim:

Here they are after all the trim I added!

Step 10: Prep for paint
This was not my favorite part but it’s so important! I prepped the whole area for paint by filling any holes with wood filler and sanding any uneven spots. Then, I applied caulk where needed.
Next, I primed everything for paint using my favorite my favorite primer!
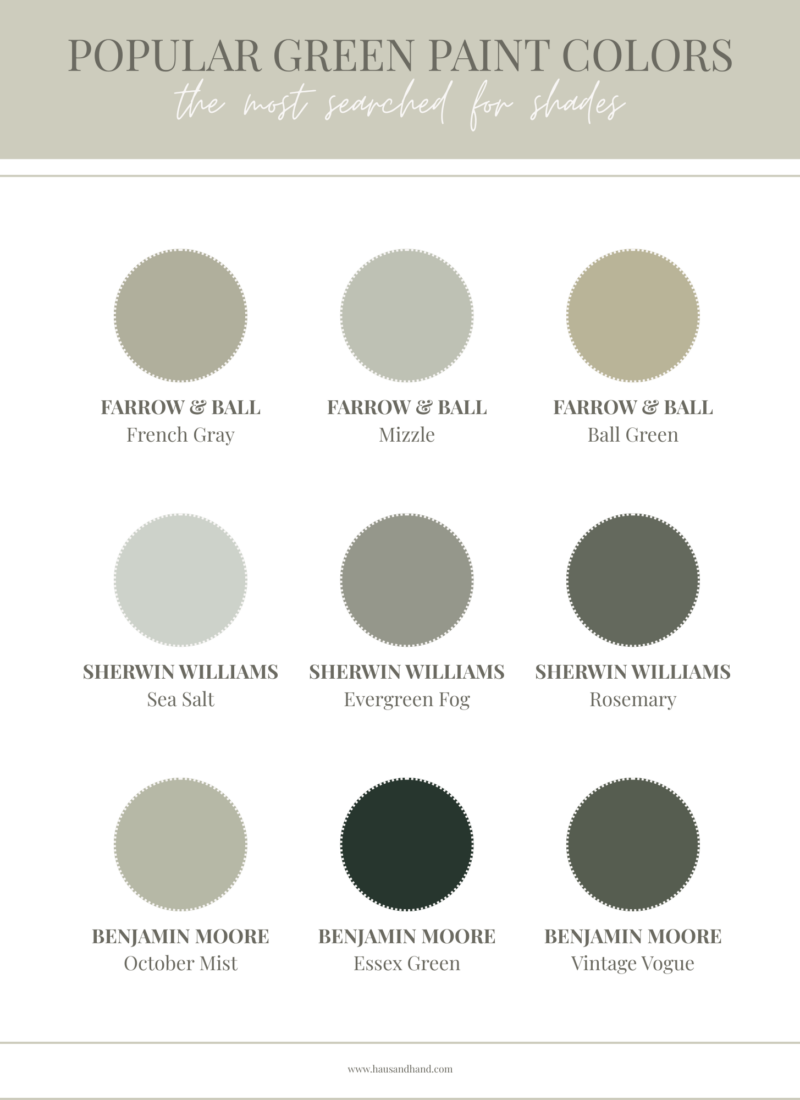
Step 11: Paint
Moment of truth! I bought so many color samples to try and find the perfect color for this space so I was nervous to see my final choice on the built ins.
I got my favorite cabinet paint (the right cabinet paint makes all the difference!) color matched to Light Blue by Farrow & Ball.
At first, I left the fireplace white during the first coat of paint:

After seeing it during the daytime, I decided to paint the fireplace as well though!
Finished DIY build ins around fireplace
Here they are, our DIY living room built ins!

I’m so happy with how these fireplace built ins turned out and they completely transformed our living room! It finally feels inviting and cozy.
Stay tuned for more living room updates and feel free to check out my other living room posts!
Tina
Leave a Reply