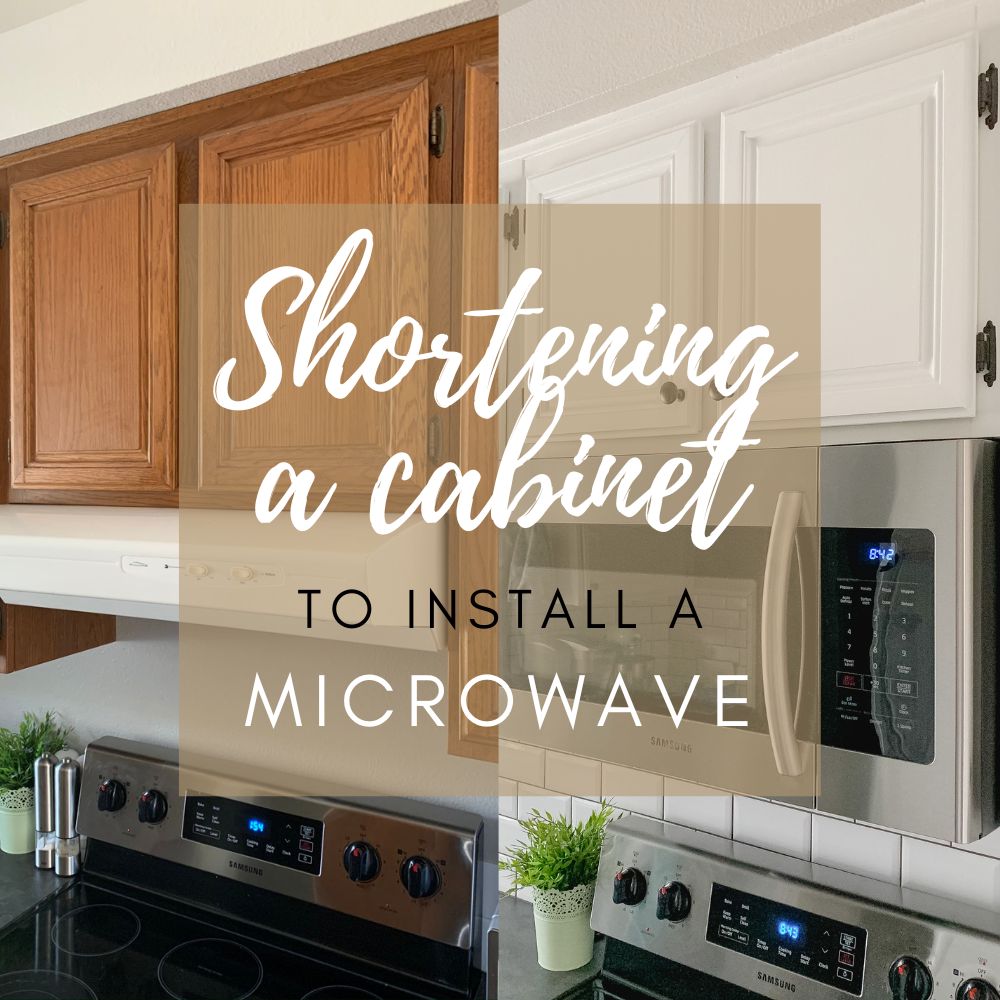
Can you shorten a kitchen cabinet? Yes, you can! I’ll show you how to cut down a kitchen cabinet to fit a new microwave above the stove without having to completely replace it.
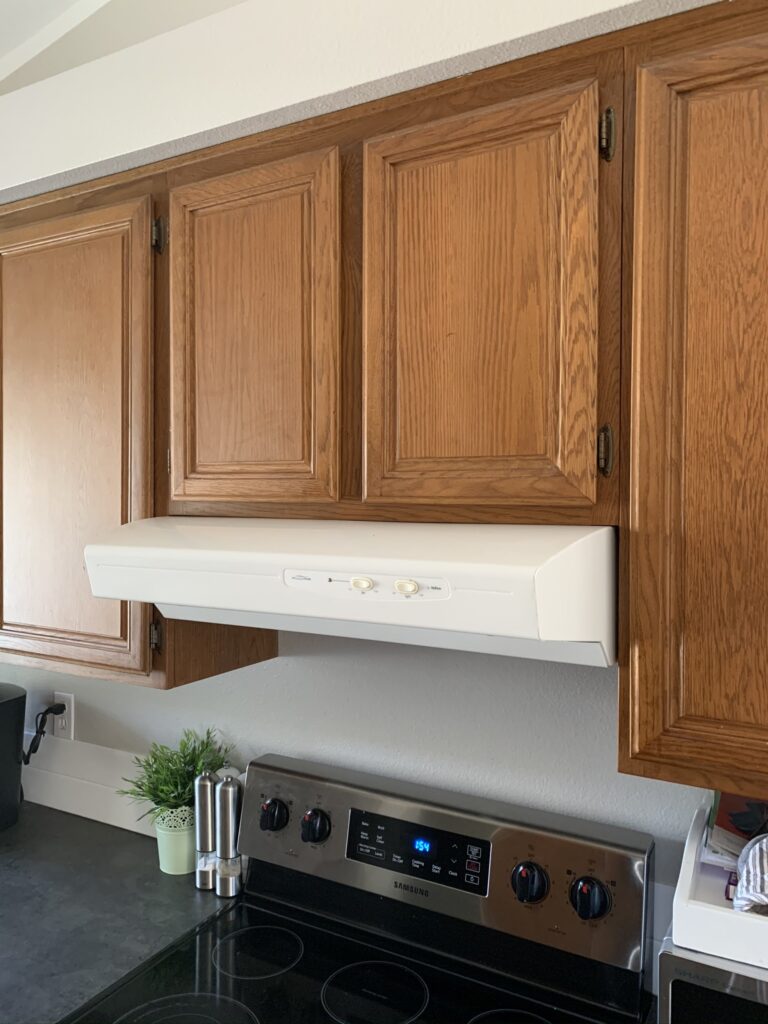
After we got our new appliances for the California Cottage, the new over-the-range microwave was sitting in its box in our guestroom for almost a year! The new microwave was going to replace the old hood vent but the cabinet above it was too tall for us to just install the microwave below it.

We were going back and forth on the options we had: tear out the cabinet all together and replace it with something else or shorten the cabinet somehow? We decided to adjust the height of our kitchen cabinet to install our microwave. I knew I was about to paint the kitchen cabinets so the timing was perfect!
Here’s How We Shortened Our Kitchen Cabinet to Install Our New Microwave:
Step 1: Shortening the Cabinet Frame
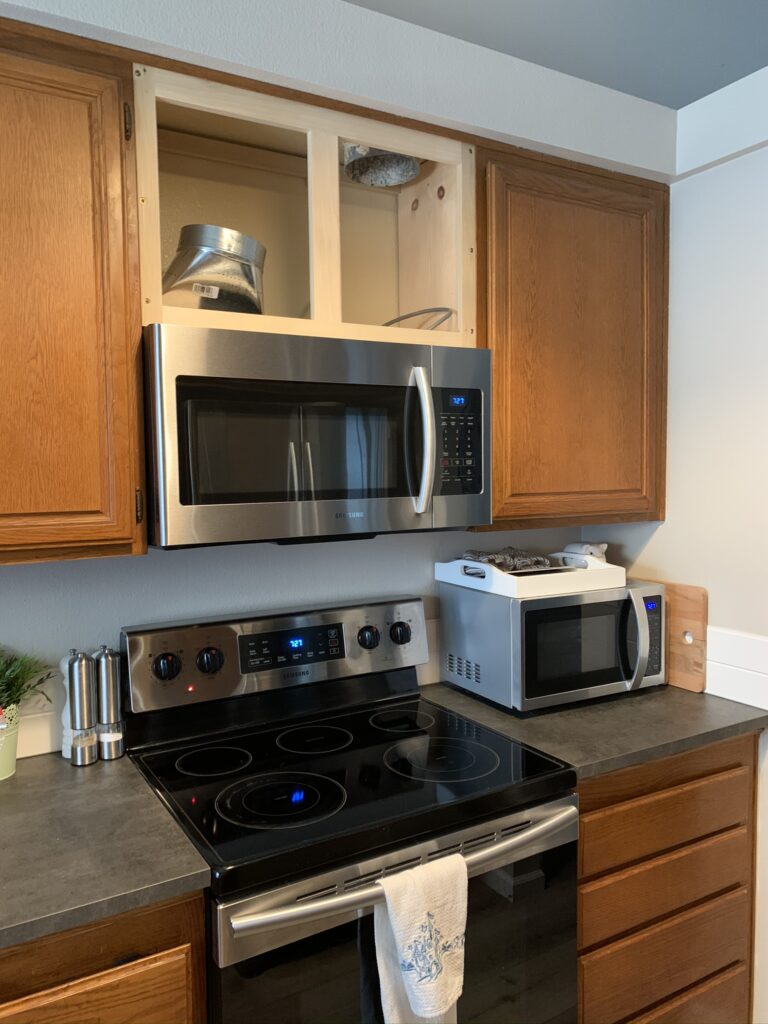
Let me start by sharing that we made a big mistake in the very beginning: when I was looking up the local regulations on the required distance between microwaves and ranges I didn’t read carefully enough and missed the distinction between combustible and non-combustible materials – oops!
We ended up with this ridiculous cabinet:

We just looked at each other and started laughing! That’s when I looked it up again. After looking through the local code more thoroughly, I realized that a microwave would actually be allowed to sit much lower. There was no way to salvage the old cabinet frame at that point. I had to buy new wood and start from scratch:
Much better!
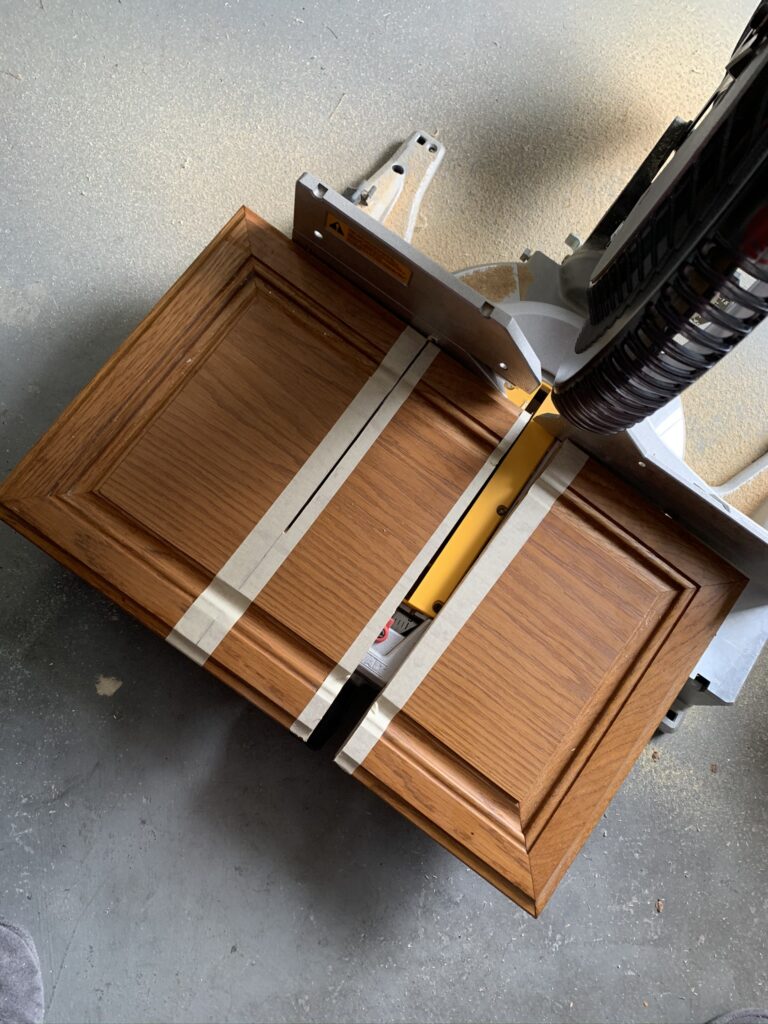
Step 2: Shortening the Cabinet Doors
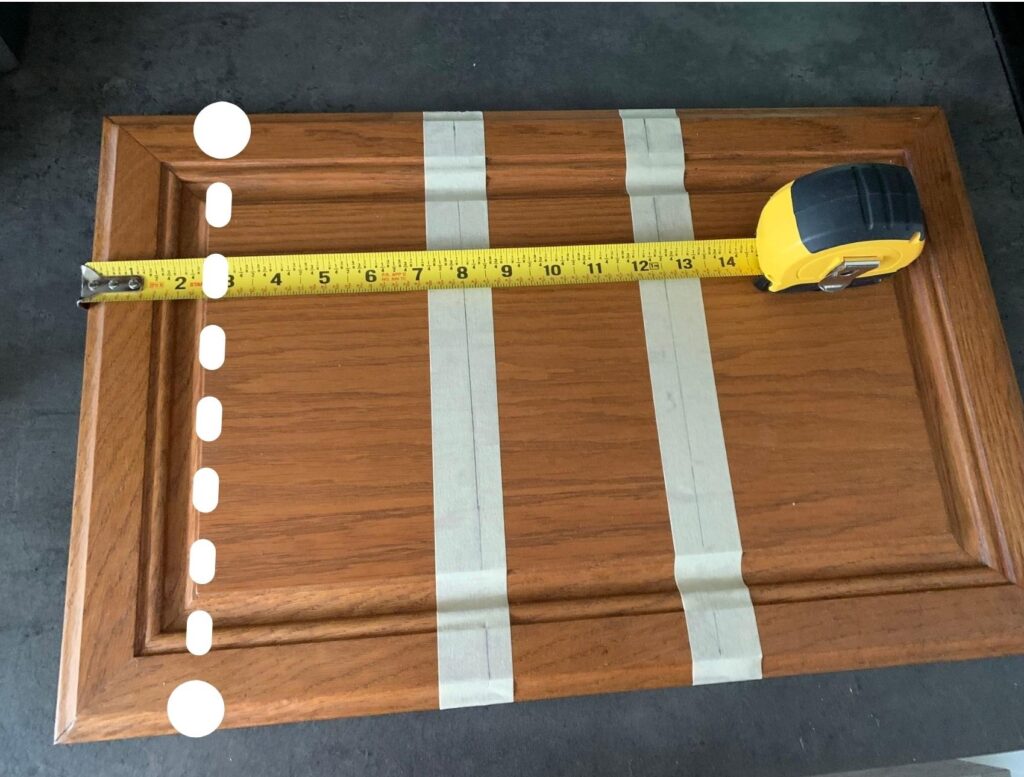
Next, I measured how tall the cabinet door would need to be.

I could have cut along the dotted line but decided that the middle would give me more wiggle room, make it easier to fill with wood filler and sand later:
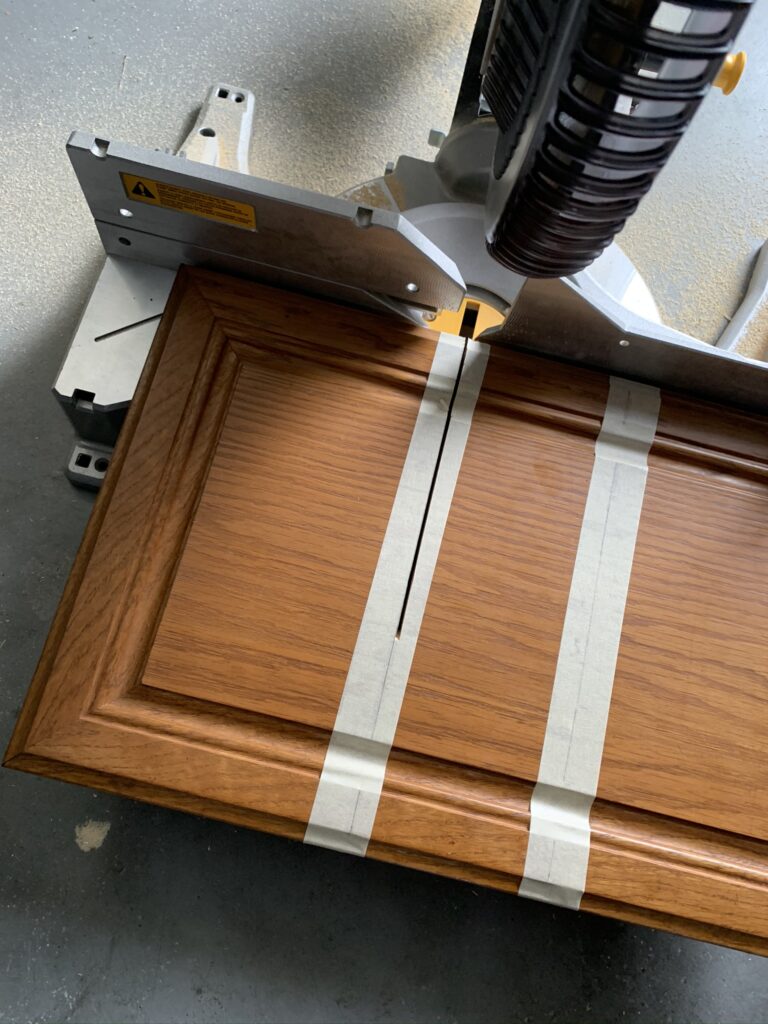
Hands down the scariest part of this project: the first cabinet cut! I knew I only had two doors so I double and triple checked to make sure I measured everything correctly for the perfect cabinet cut.

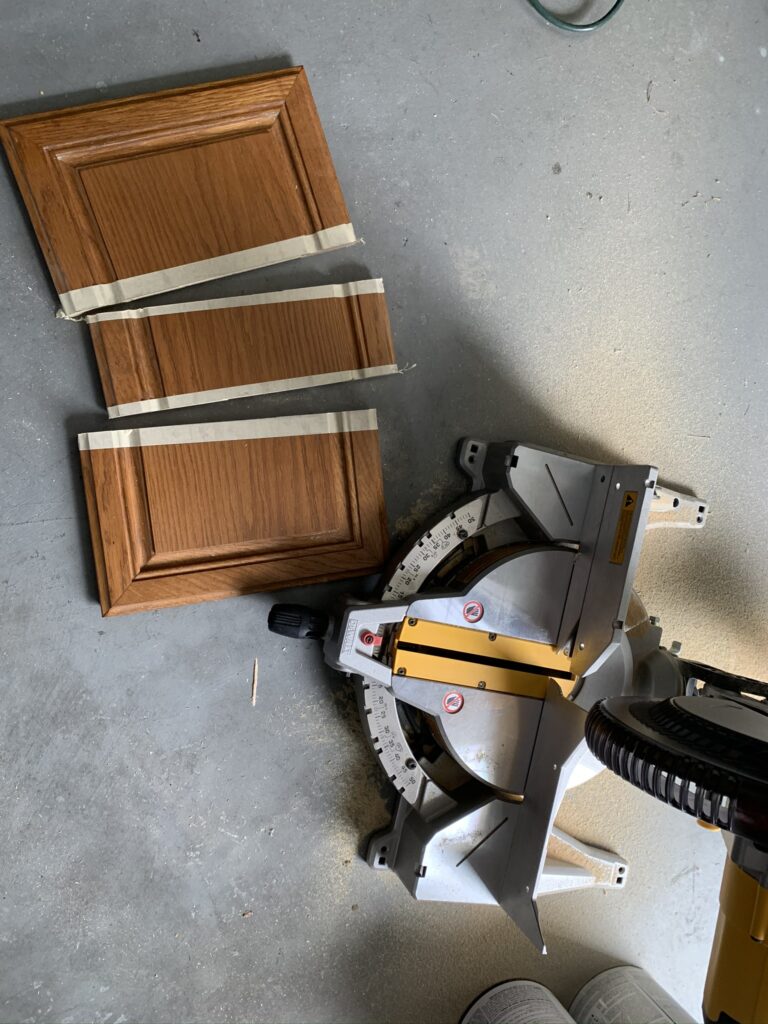
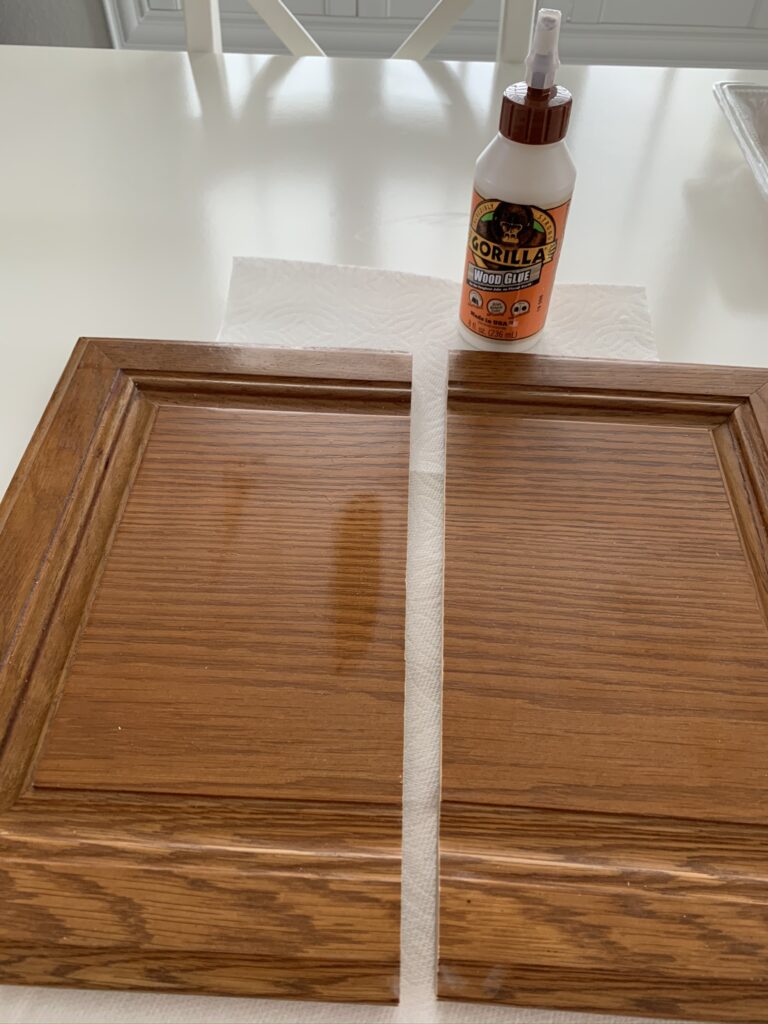
Once the cabinet doors were cut, I wiped them down and decided to use wood glue. I probably would have used screws if this was a cabinet that was going to be used frequently. For this one, I felt that glue would be enough to hold it together!
Not too bad!
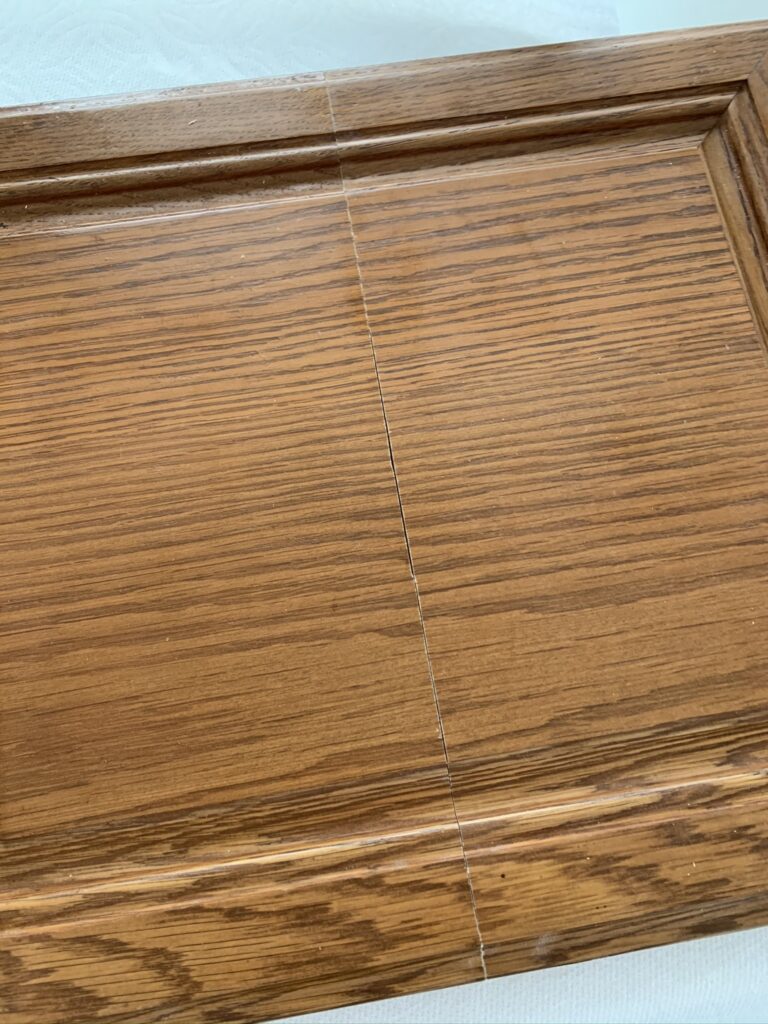
Finally, I filled any gaps with wood filler:

A few weeks later, I painted all of our kitchen cabinets and made sure to spend some extra time sanding these two cabinet doors. I’m so happy with how this little Frankenstein cabinet turned out!
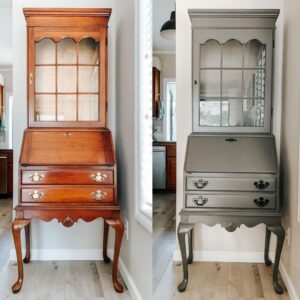
Here is the before and after:
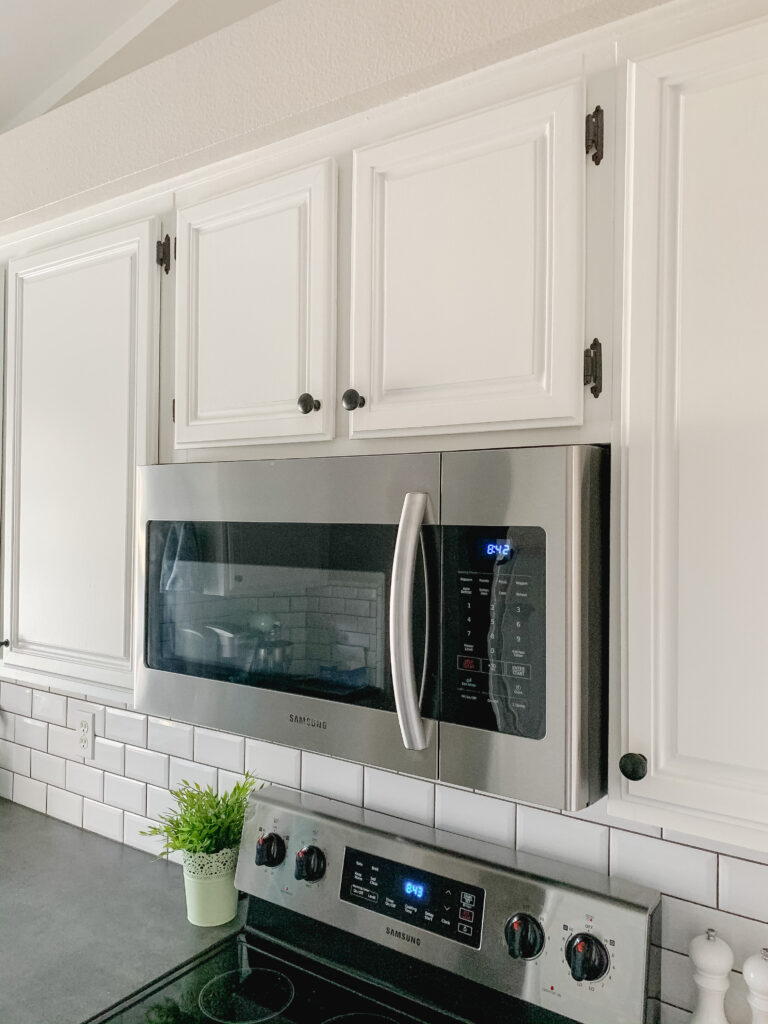
You can’t even tell that that this is not the original cabinet size! I think the white paint is also more forgiving when it comes to imperfections than a darker paint color.
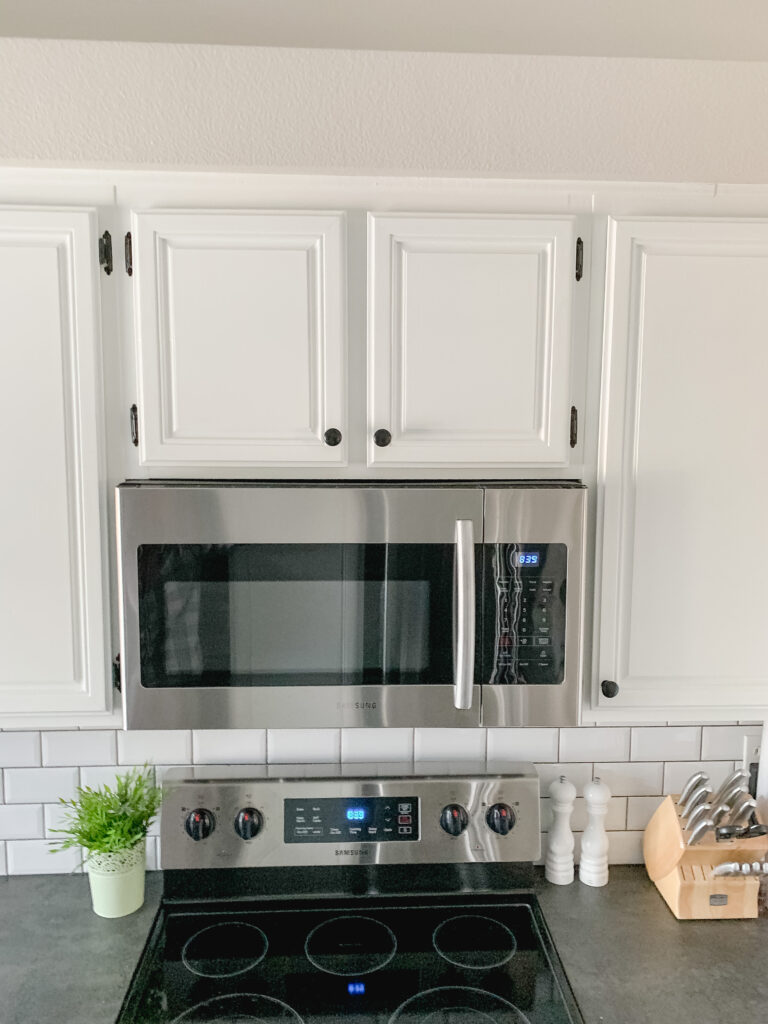
I’m also really excited about the extra counter space we get now that we no longer have a microwave on the counter. I’m so glad we decided to shorten our kitchen cabinet to install the microwave and it was easier than I expected. I hope you found this tutorial for how to cut down a kitchen cabinet helpful!
Tina


Leave a Reply