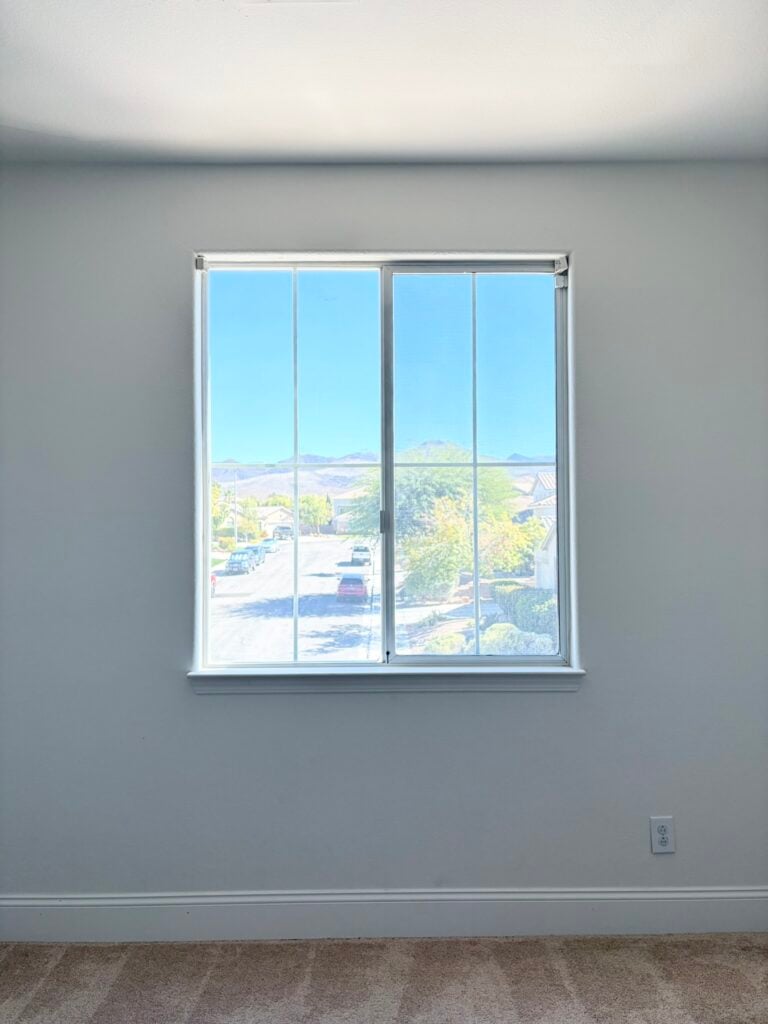
I’m so excited to share the room I worked on in October: my daughter’s big girl room!
This space actually used to be an open loft area that we turned into an additional bedroom by having contractors put up a wall and a doorway for us:
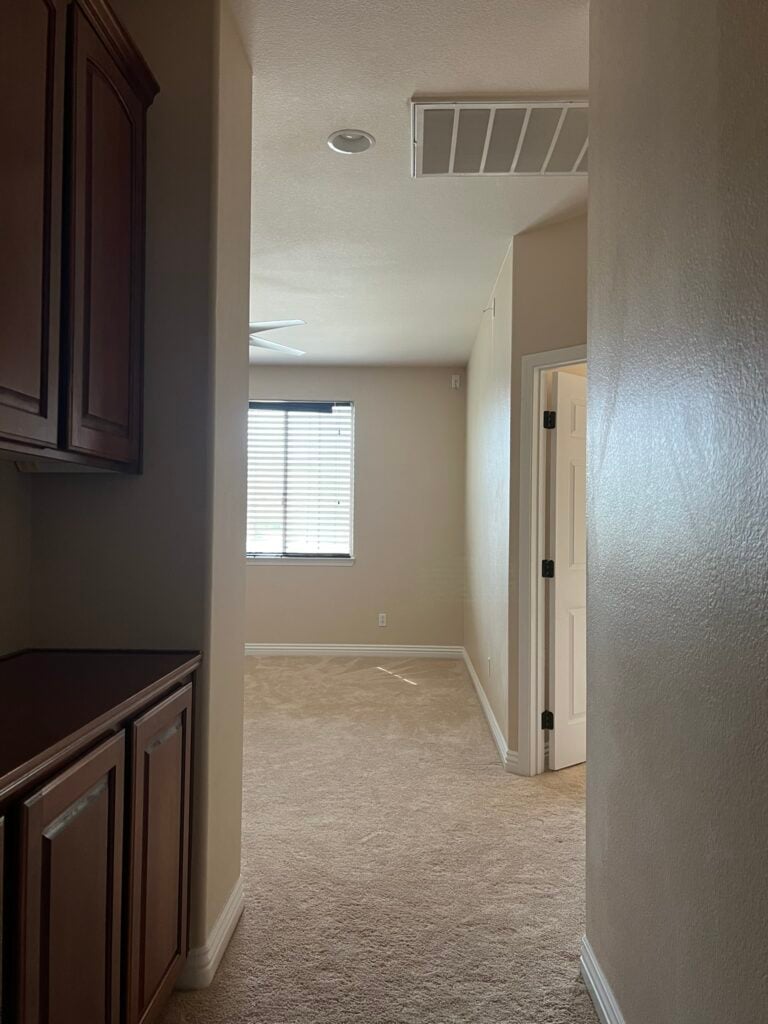
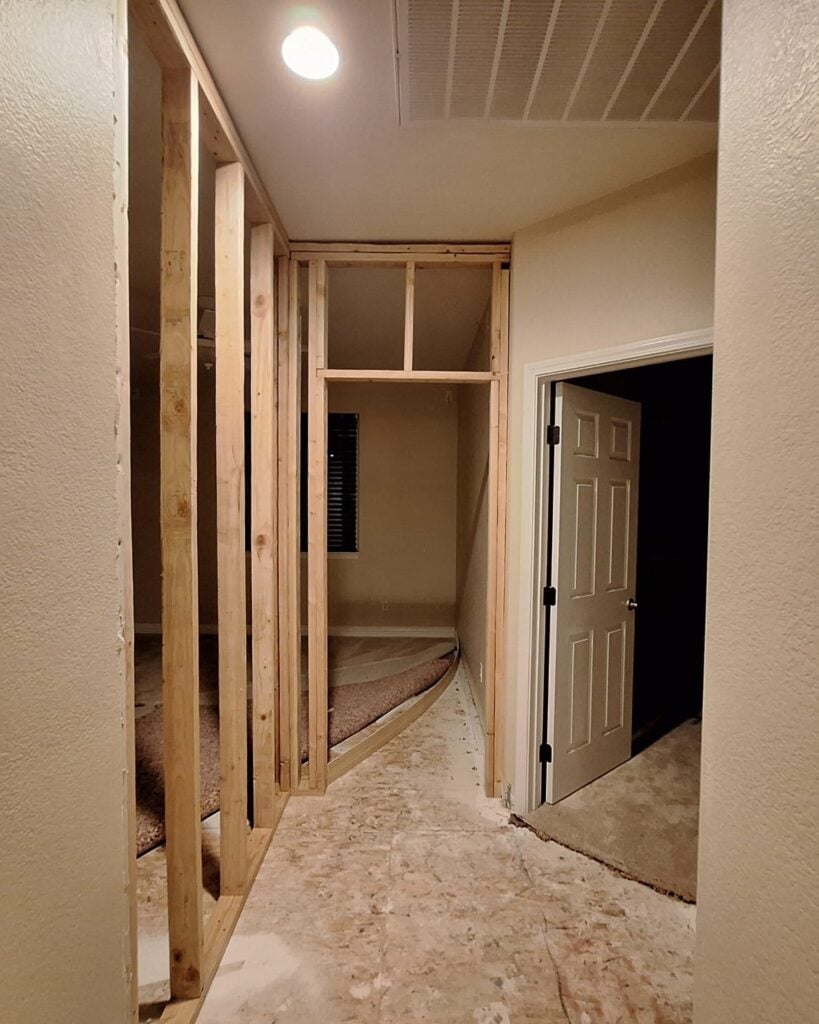
For the last two years, I’d been using it as my office.
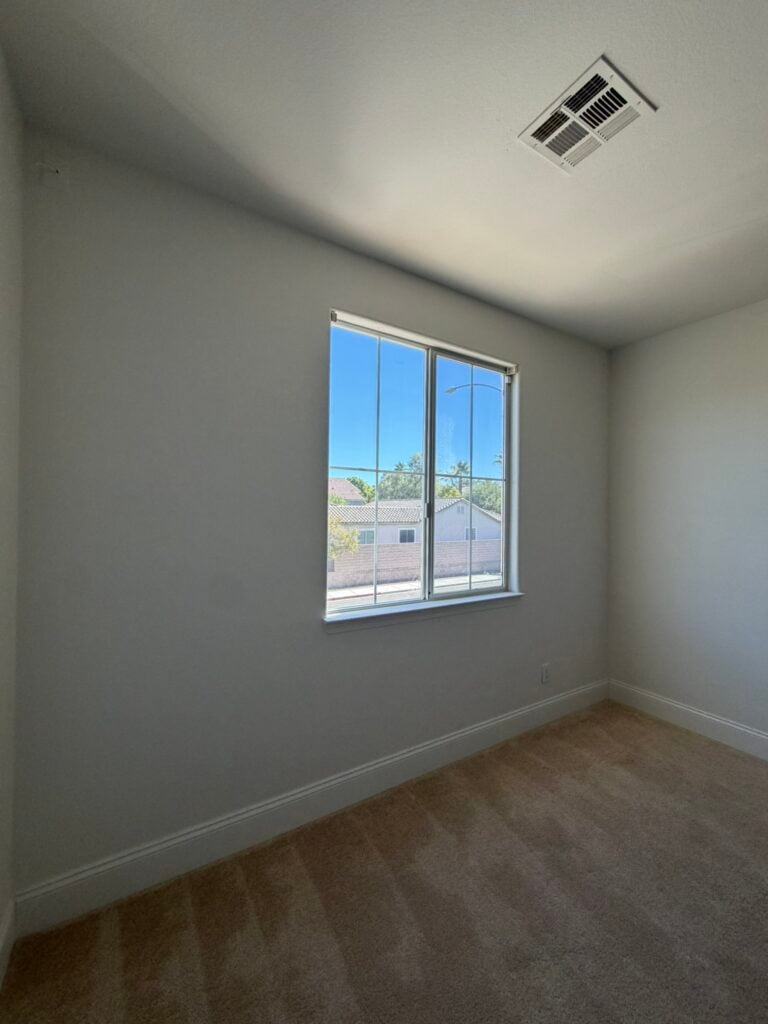
Here’s one last picture I took of my desk while I was working on this room:
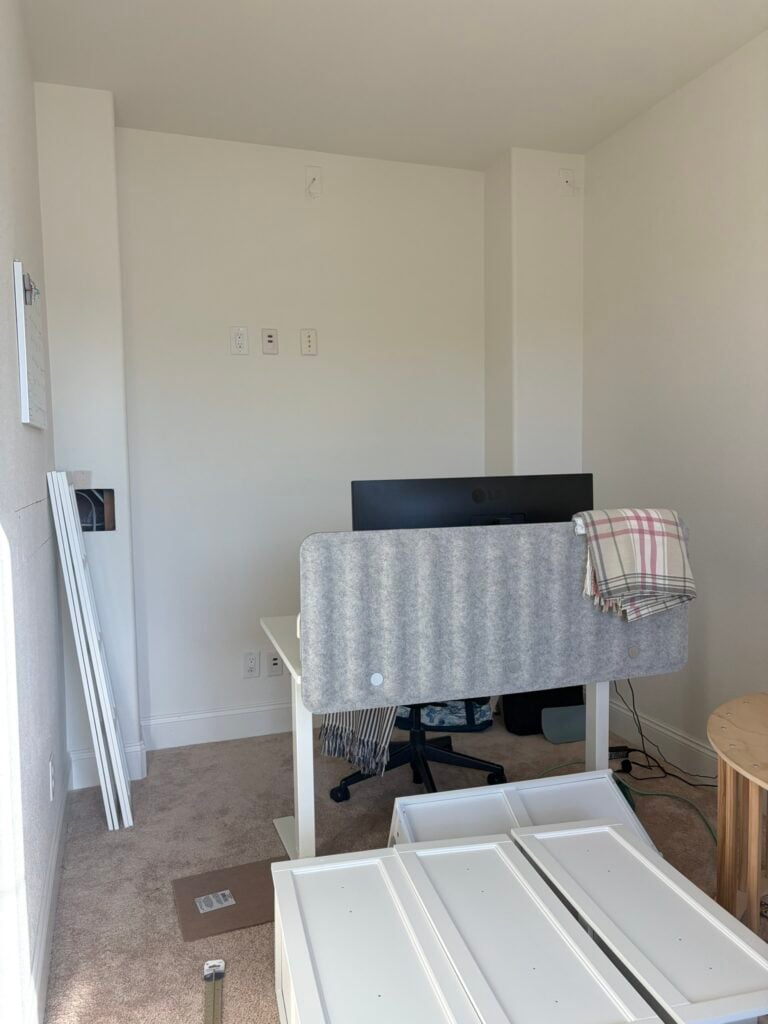
When we moved into our home over two years ago, we decided to turn the two smallest bedrooms (that are also closest to our primary bedroom) into our kids’ rooms/nurseries. We figured the kids were small and wouldn’t spend much time in their rooms upstairs so those rooms felt perfect for a set up with a crib.
However, now that our kids are getting older, we wanted to give our oldest a bigger room and her moving out of her crib into a big girl bed felt like the perfect reason to switch her room now!
This was also the kick off to a big musical chairs situation regarding our bedrooms, haha! My husband will move his office into our daughter’s old room soon, our son will actually be moving into my husband’s office after that, and I will eventually move my office into my son’s old room. So many fun projects ahead!
Note: This post may contain affiliate links, you can find more information in my disclosures here.
The Design Plan
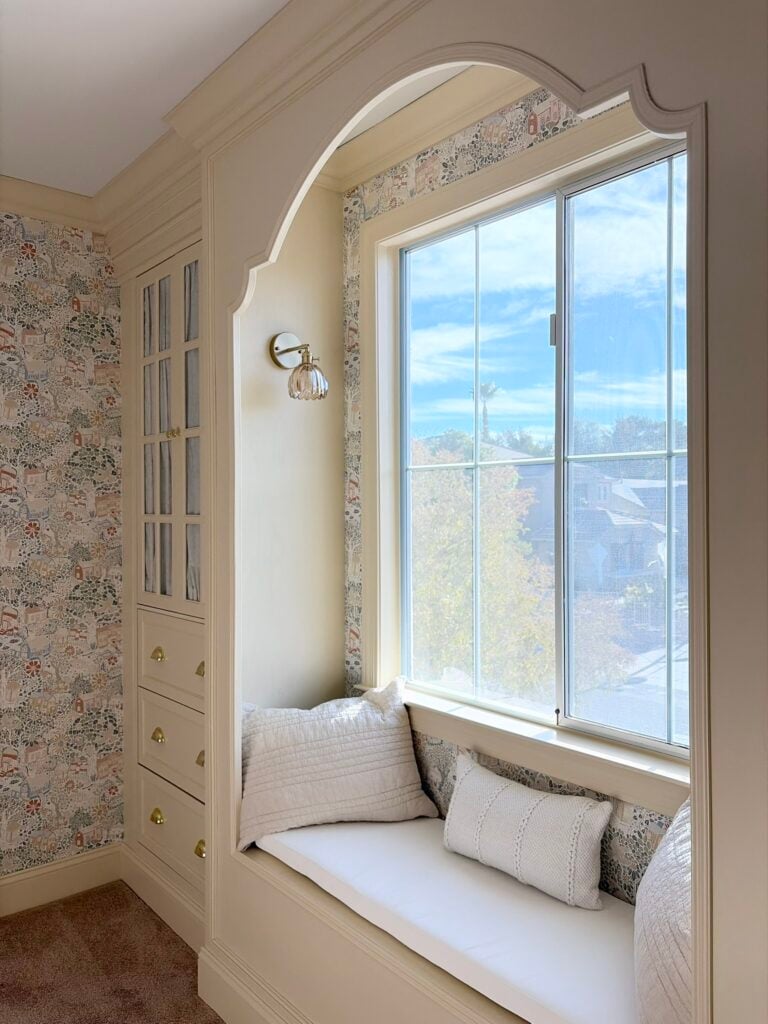
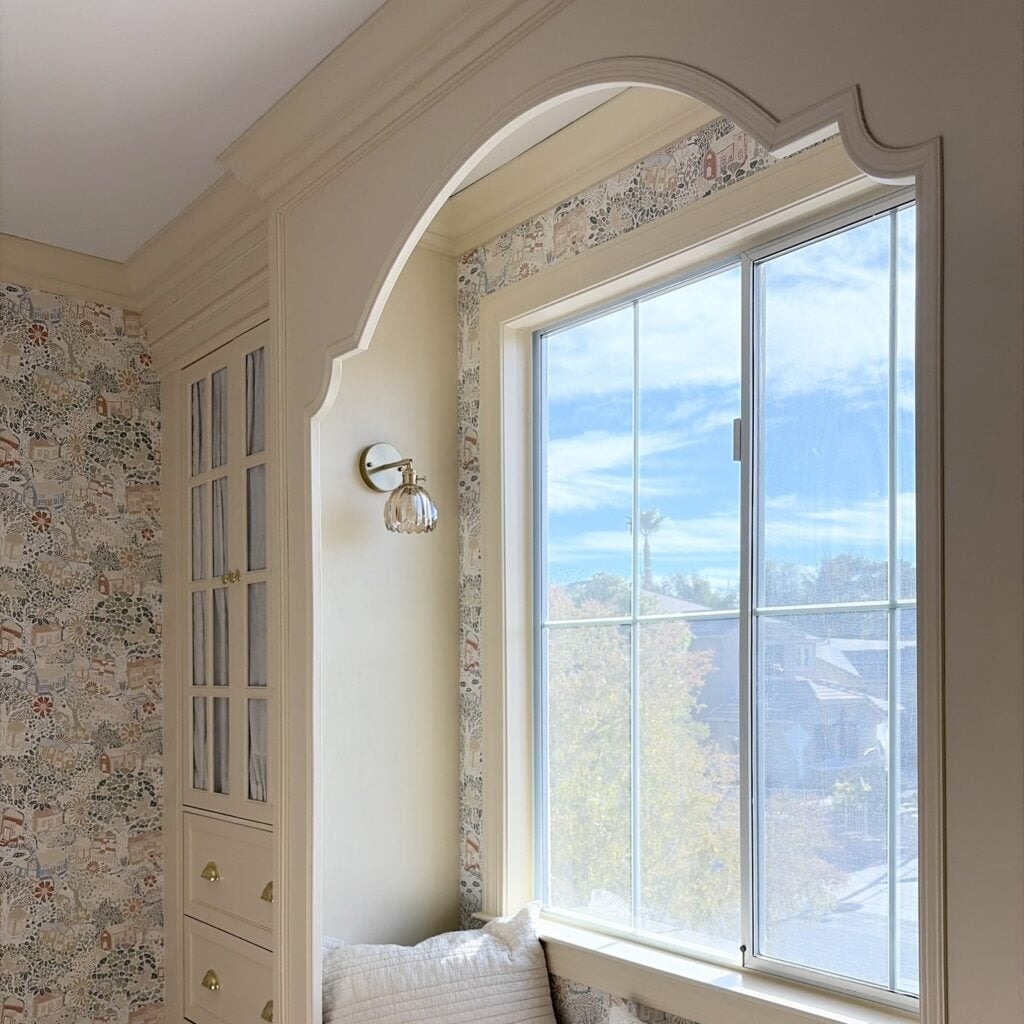
All we got added to this space before moving in was the walls and a doorway but no closet. The first step in the design of this space was to find a good spot for a closet and storage. After lots of thought, I decided to add two wardrobes on the left and right side of the window connected by a bench with a canopy:
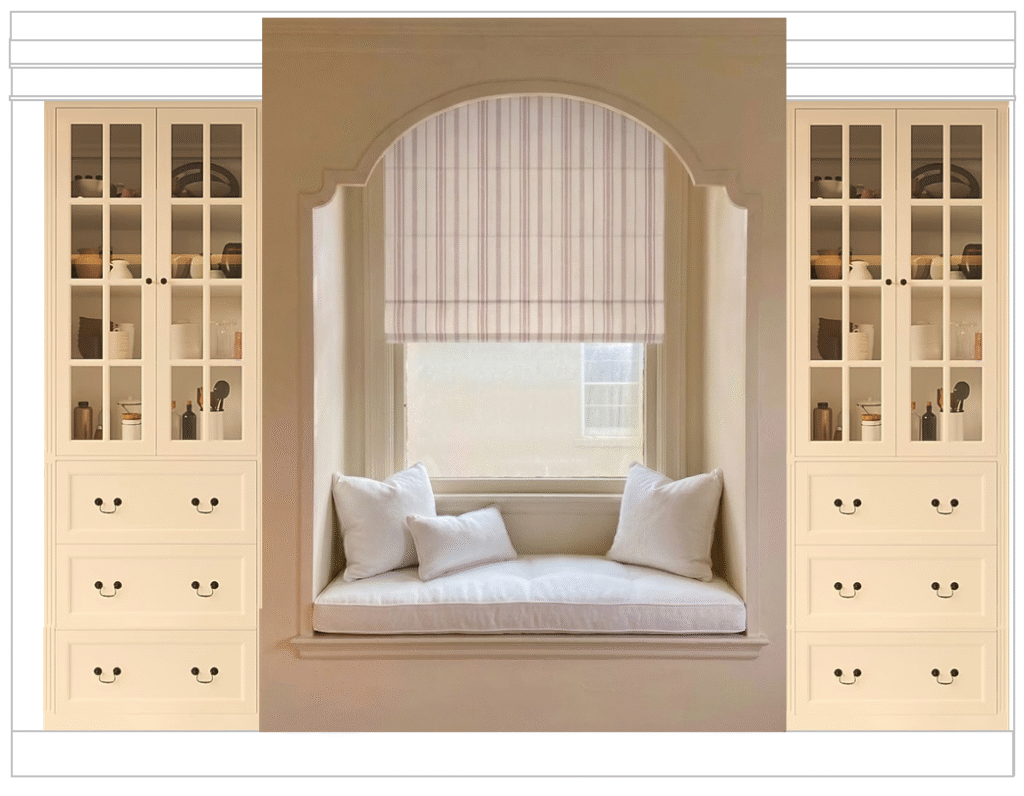
This would give our daughter lots of closet space and also some additional storage inside the bench and a cozy sitting area by the window. Once I figured out the layout, it was time to pull together the final design!
My plan from the start was to include lots of color. I went very neutral with the nursery for my daughter at the last house and I wanted to create a more fun and playful space for her with her big girl room!
I originally had this wallpaper saved for months
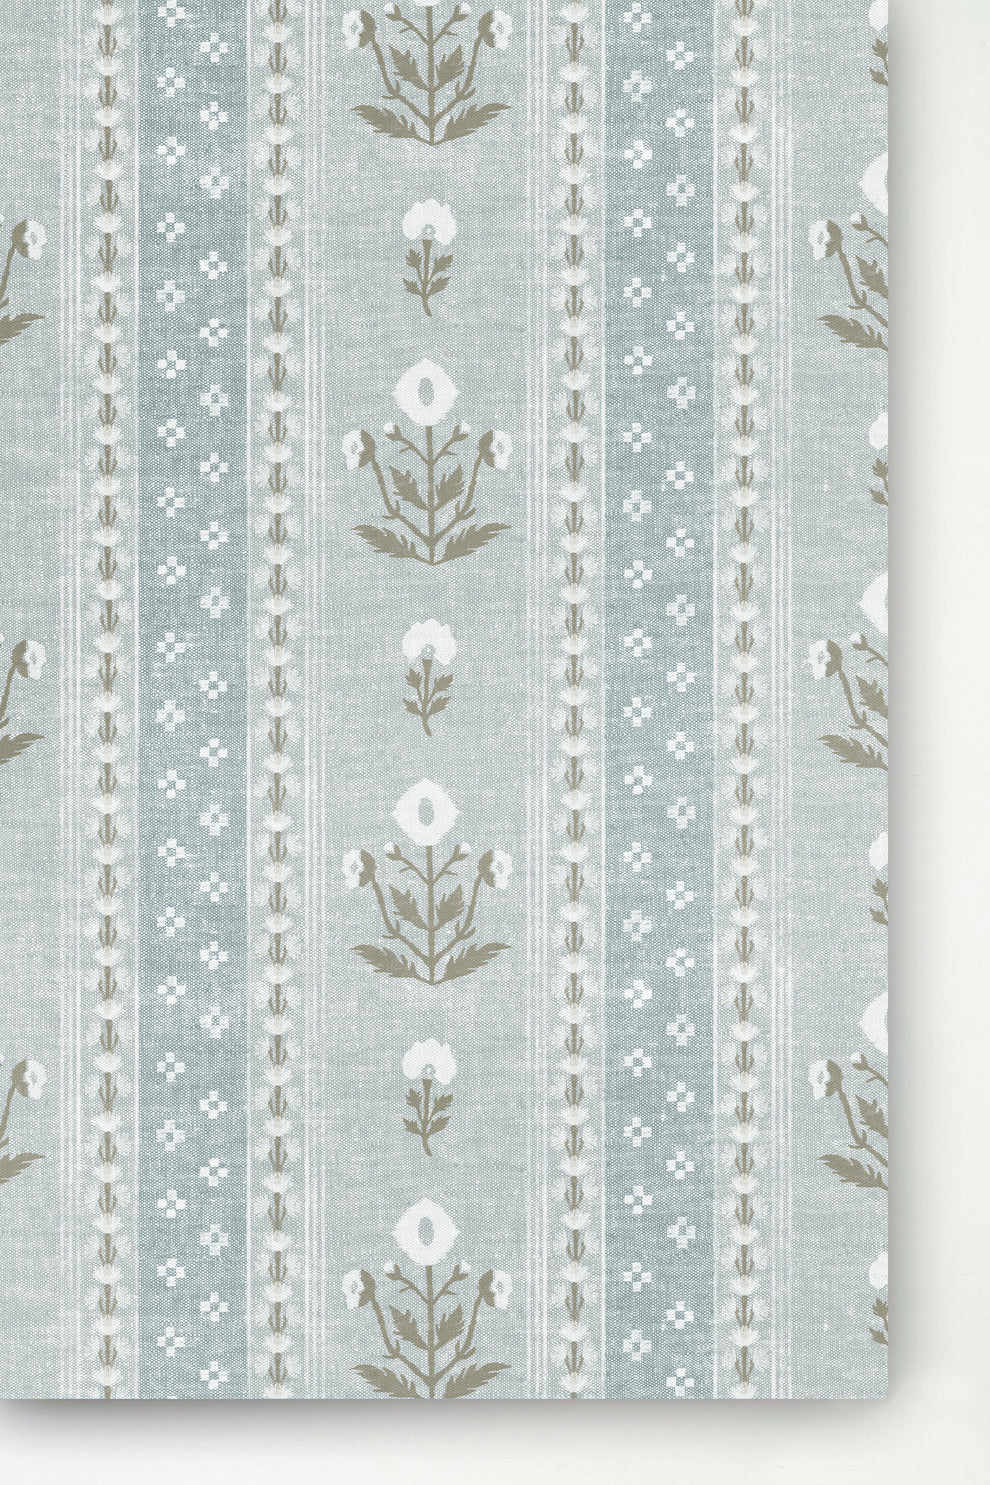
but after receiving the sample it didn’t quite feel right and I eventually landed on this playful and whimsical wallpaper:

It’s stunning in person and I’m so thrilled I went with this one!
Side note: The quality of this wallpaper is absolutely amazing! I kept talking my husband’s ear off about it after I installed it. I thought about smoothing out our walls before installing it because they are textured. I’m so glad I didn’t waste time doing that. This wallpaper is really thick and with the glue it basically made all the texture disappear. You can’t even tell. It was also SO EASY to install and line up the pattern, 10/10!
The Process
I started this room makeover by creating the built-ins around the window first!
These cabinets is what I used as the starting point for my built-ins:
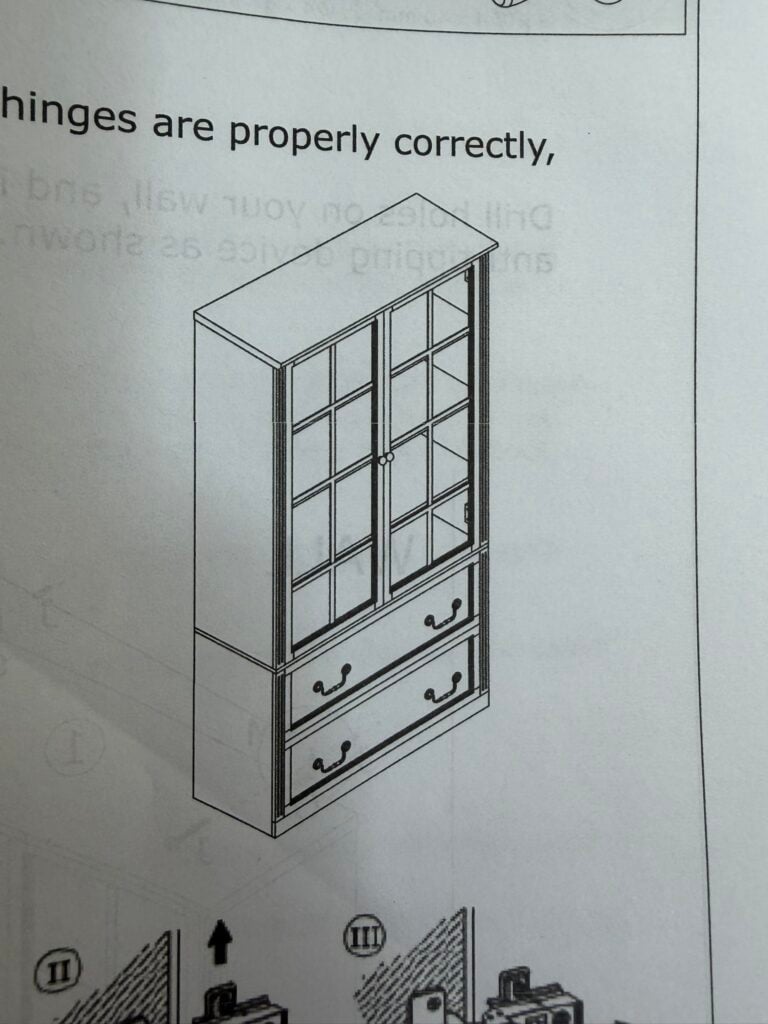
I bought three of them and adjusted them to make the most out of this space by chopping one of them up. I’ll share more on that in my detailed YouTube video but this allowed me to add one more drawer to the remaining two cabinets!
From there, I attached them both to the wall, built the bench in the middle and started mocking up the canopy with gift wrap:
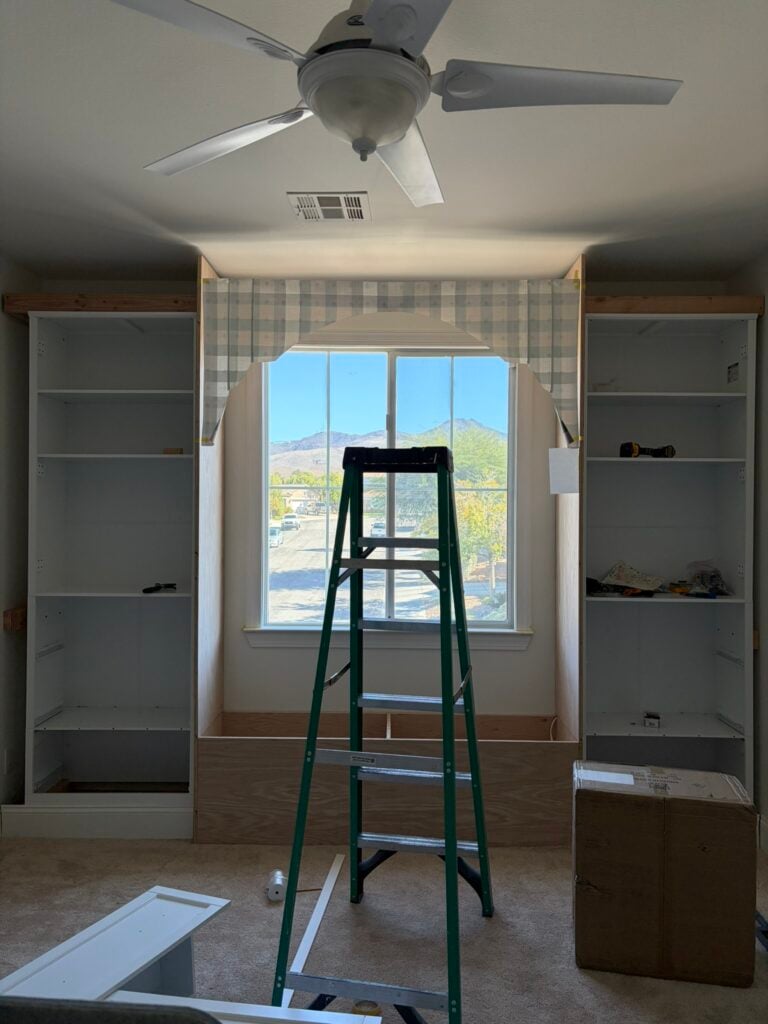
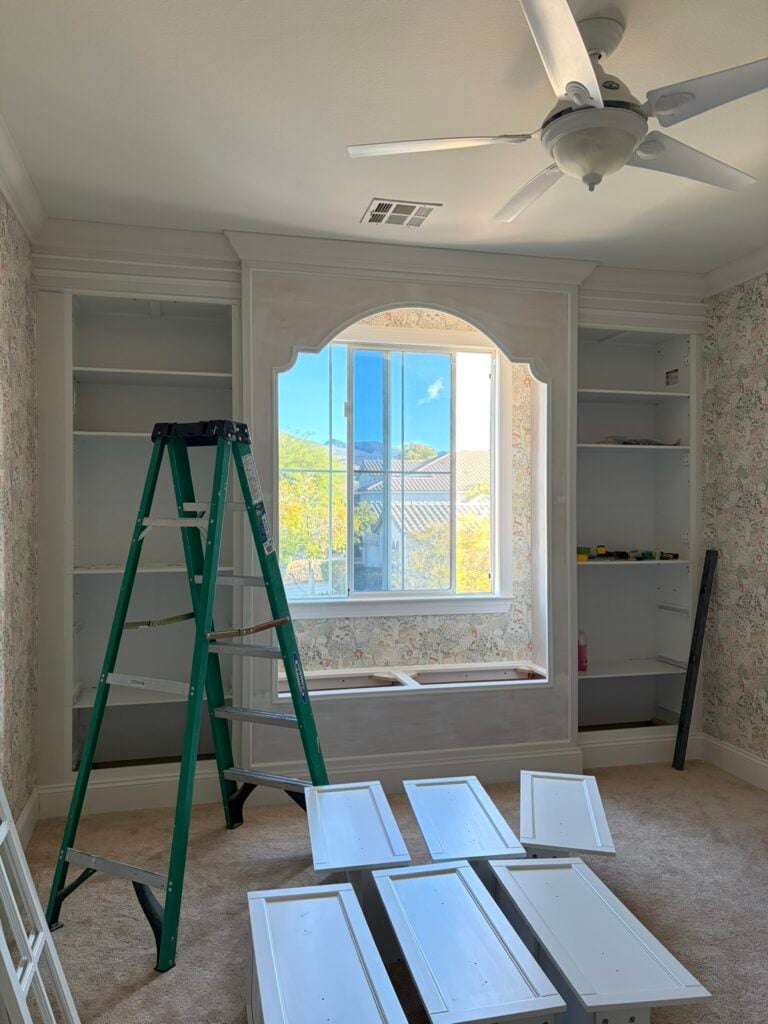
Once I was happy with the shape and scale of the canopy, I cut it out of plywood and installed it. After that, I added a bunch of fancy trim to make this space look super custom.
I also primed everything and installed the wallpaper:
My Daughter’s Finished Room
Here it is, my daughter’s finished room!
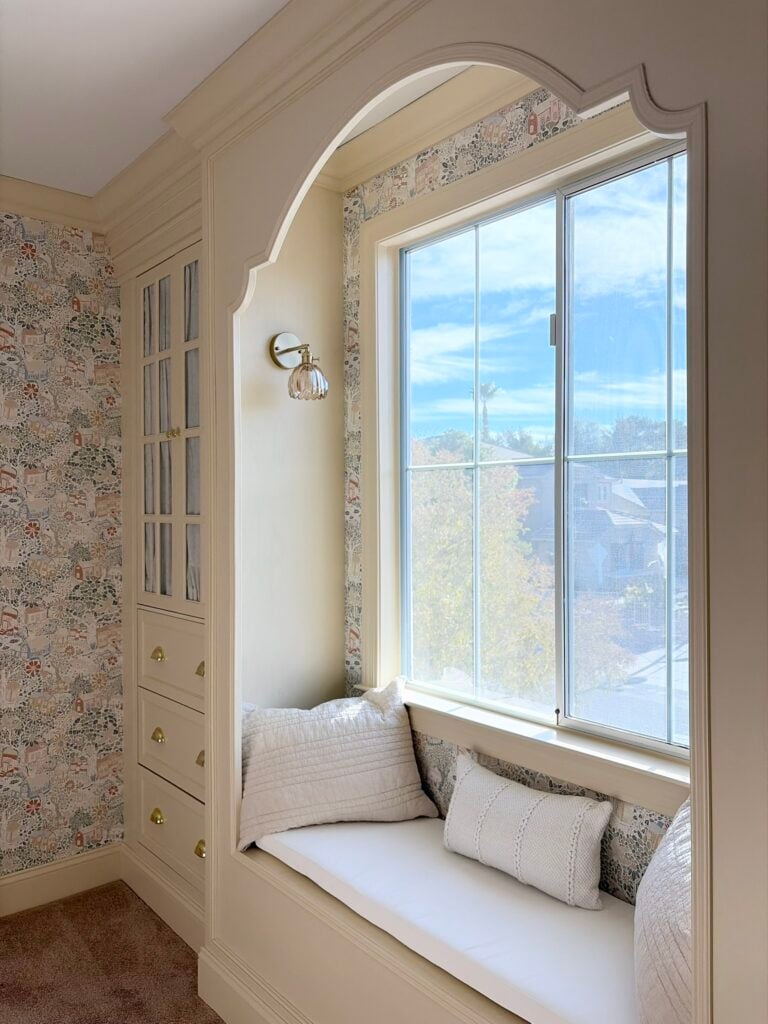
I’m thrilled with how this turned out! It makes me a bit emotional to think that this is the room she will remember when she grows up.
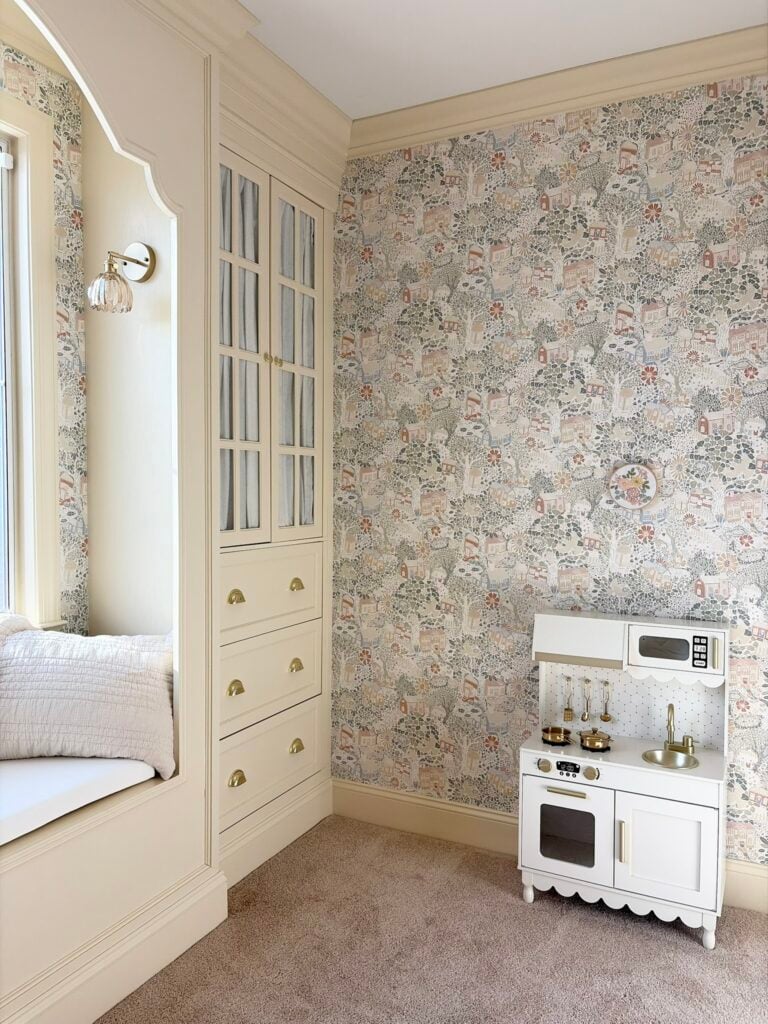
One of my favorite things about this room is the wallpaper, it’s the perfect mix of whimsical, fun and colorful! I also love that it has so many different colors. If we ever get bored of the yellow paint, we can easily repaint and it will feel like a whole new room!
One of the first things my daughter was really excited about when we revealed the room to her was this little play kitchen:
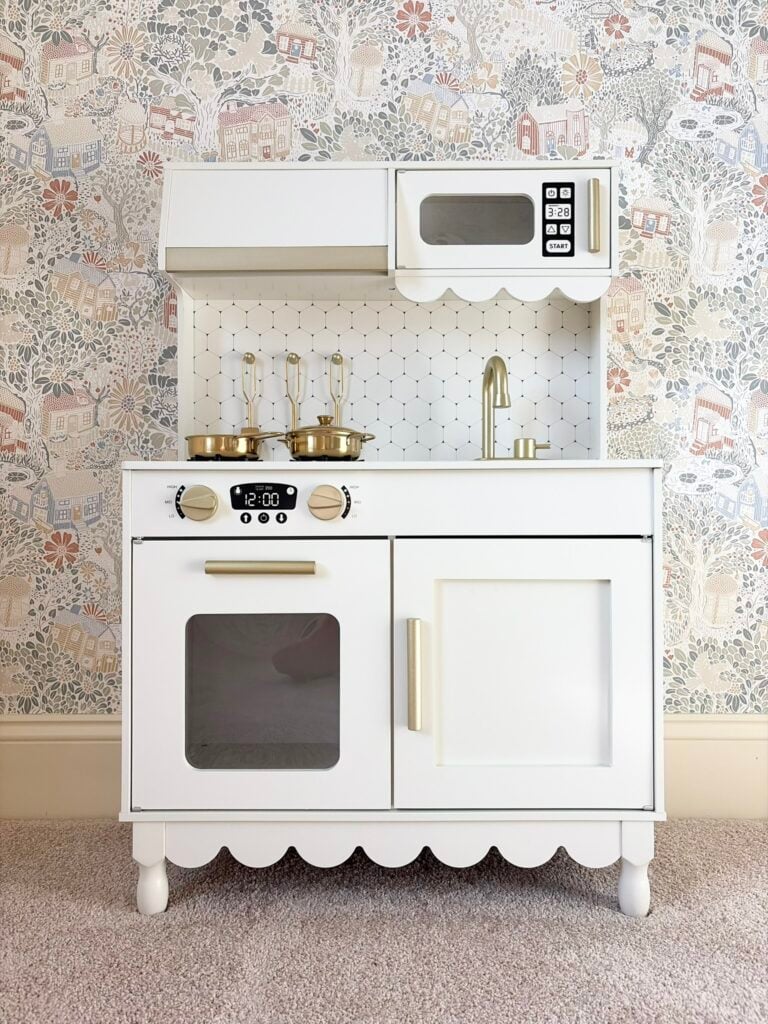
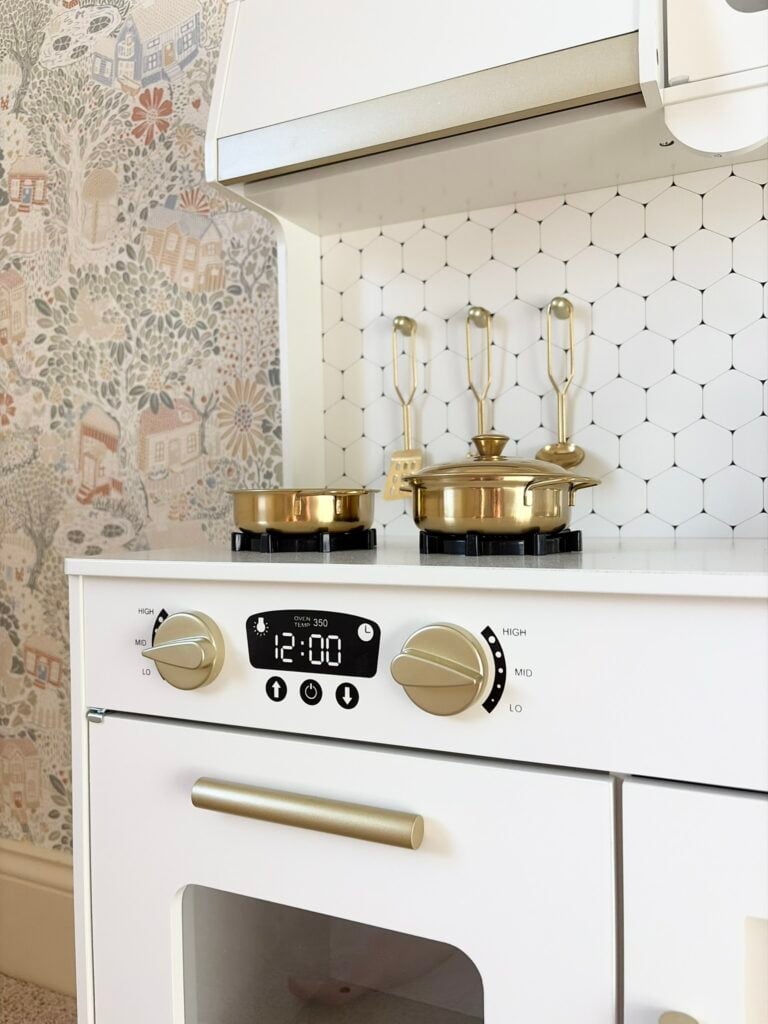
All the details are adorable like the scallops and the brass cookware:
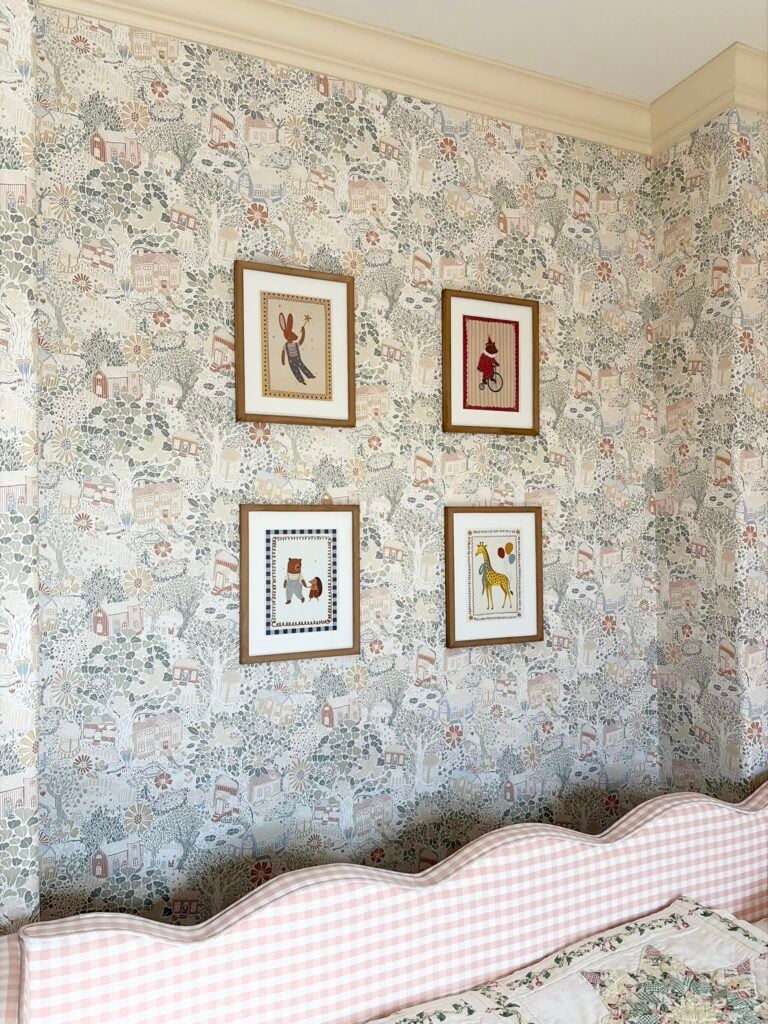
I also wanted to add some fun art and found this artwork on Etsy! Our local UPS printed them for me and then I used these frames:
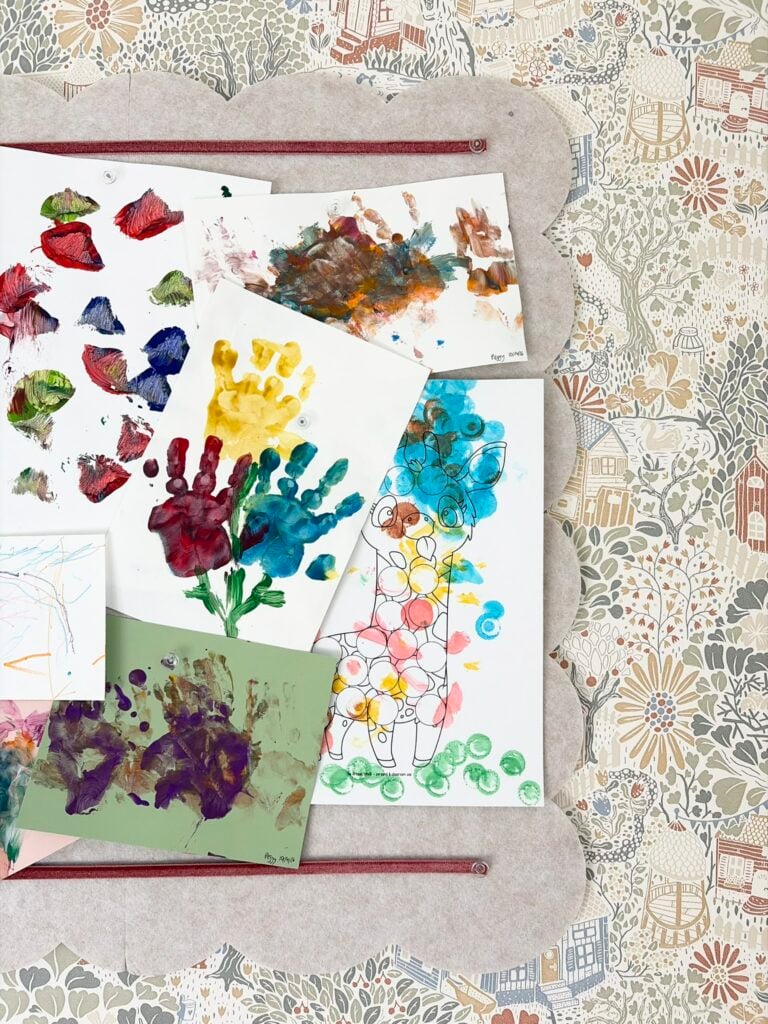
I also got this scalloped bulletin board for my daughter’s art and an adorable scalloped bookshelf that she can reach herself:
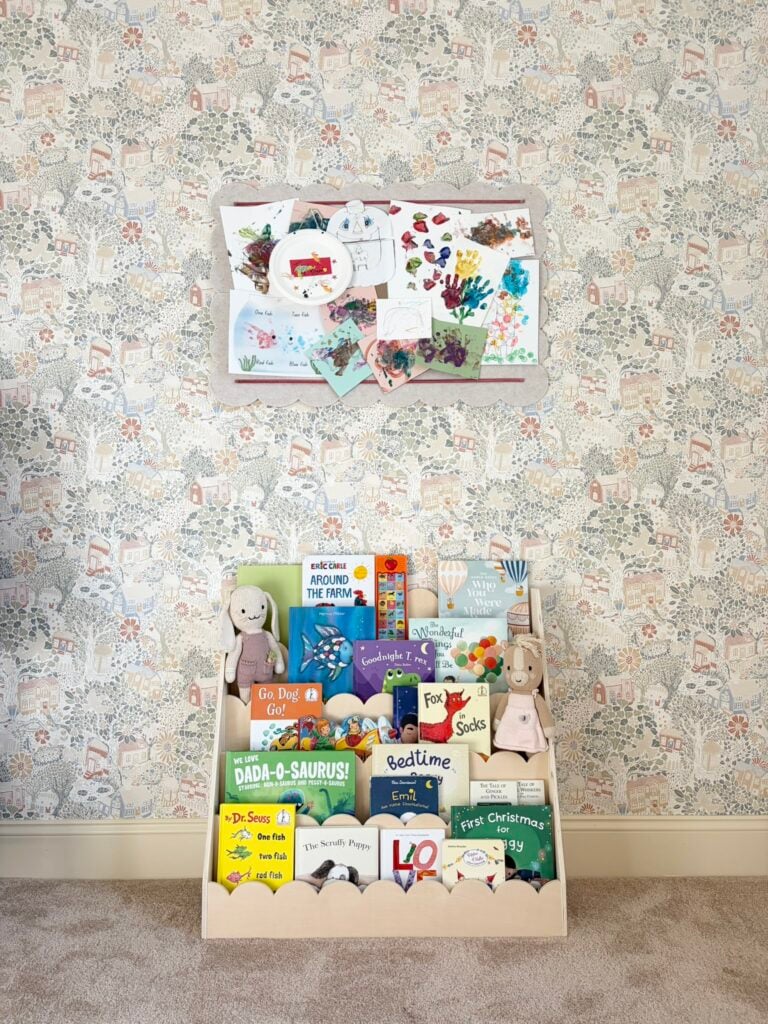
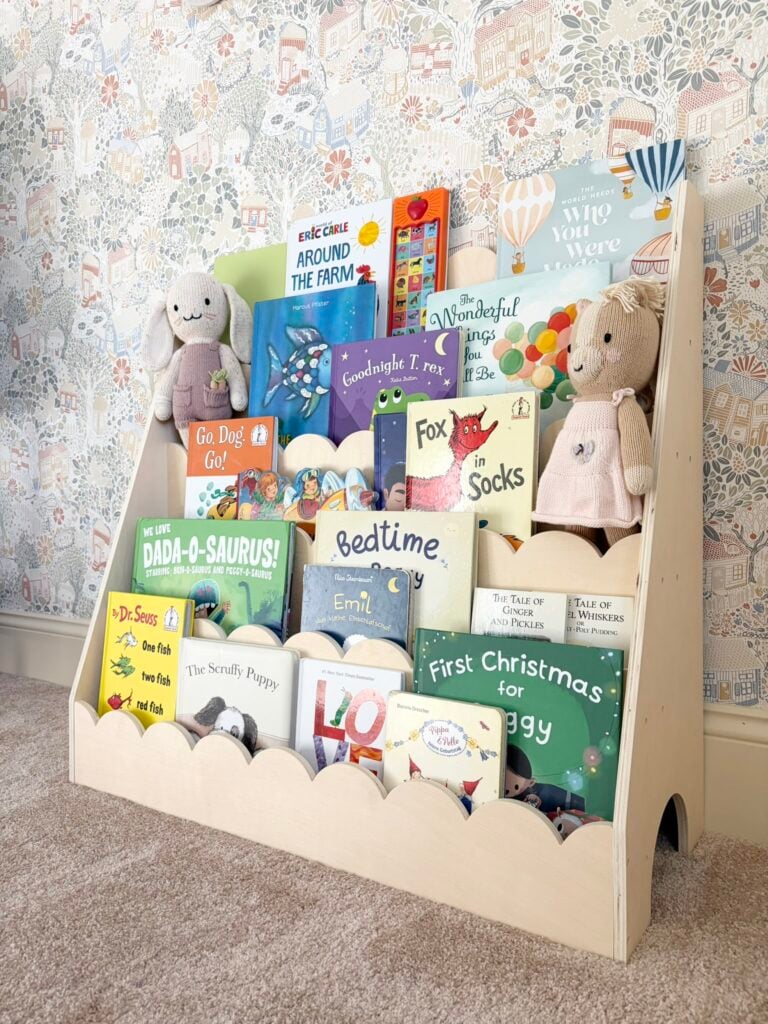
Our kids love the custom books from Wonderbly, the Dada-O-Saurus is one of their all time favorite books!
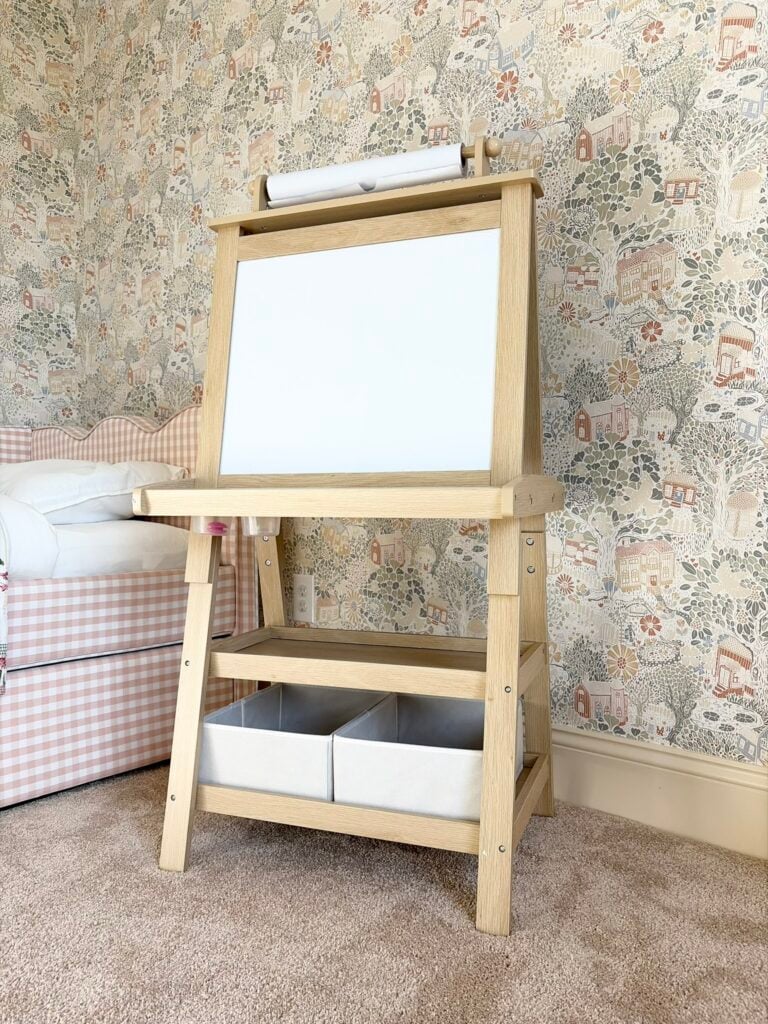
I also got my daughter this easel with a chalkboard and whiteboard:
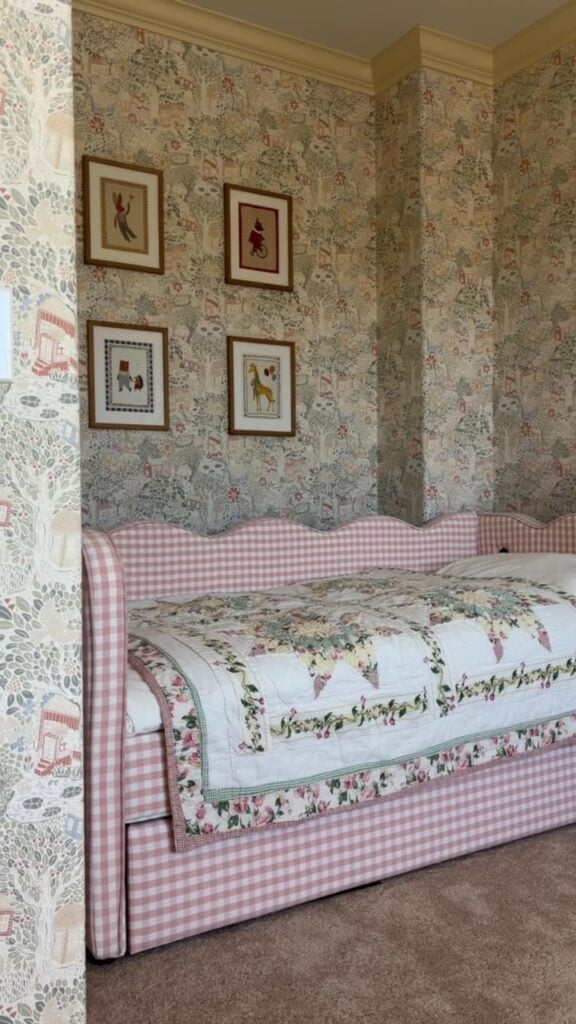
The biggest change for our daughter with this room is moving from a crib to a big girl bed. So far, she’s been excited to go to sleep in her room and I love this scalloped gingham bed!
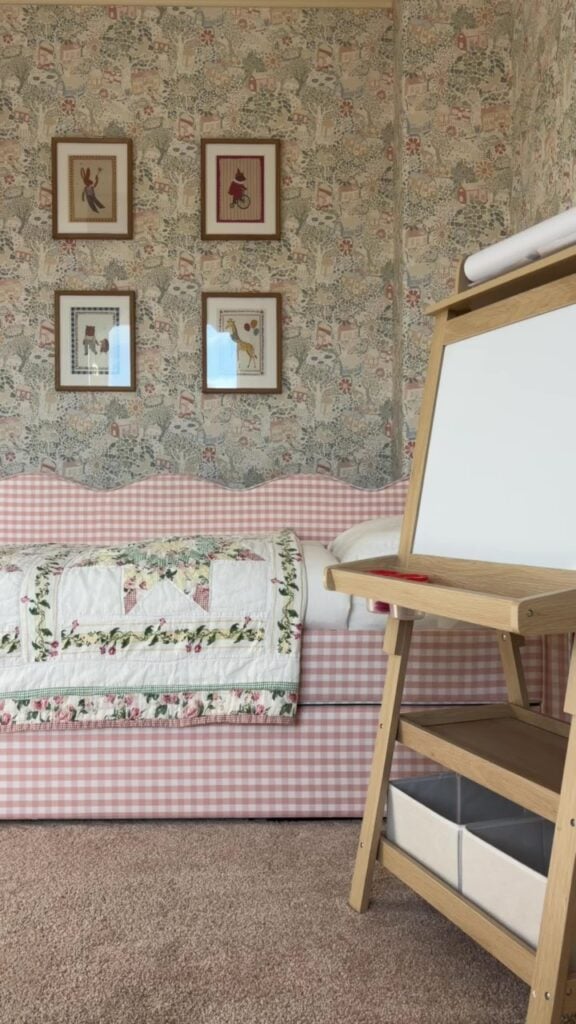
There are a few different versions of this bed (like this navy blue one with storage underneath). I picked the one with a trundle bed. This gives us an extra mattress/bed in this room which is always nice:
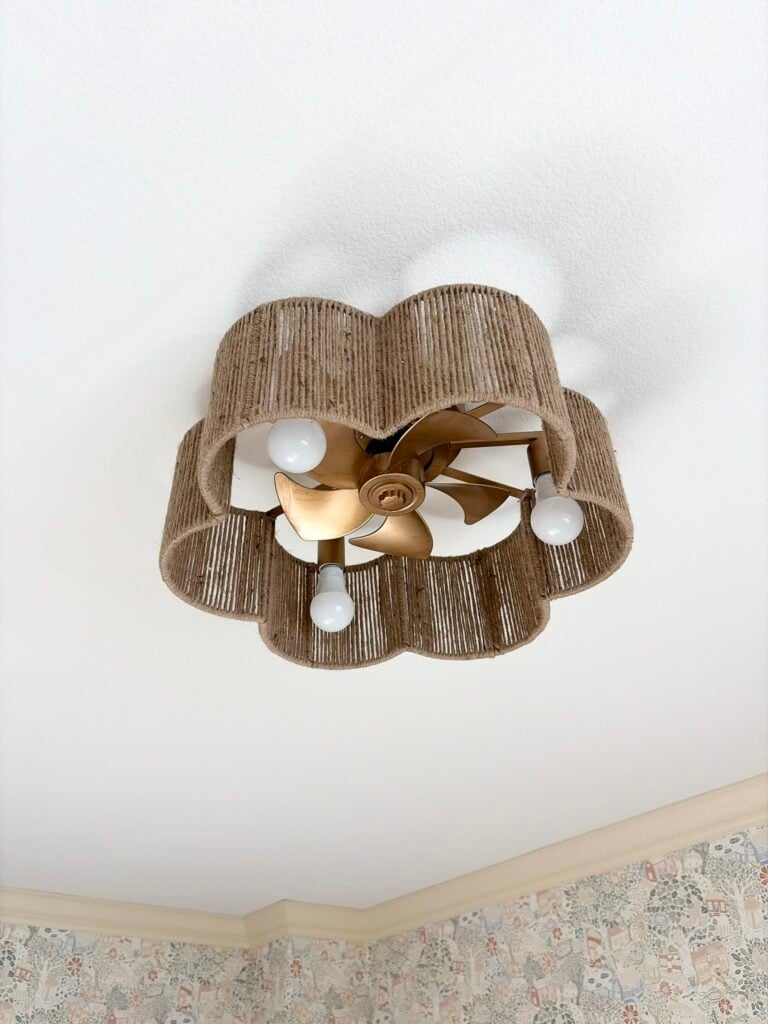
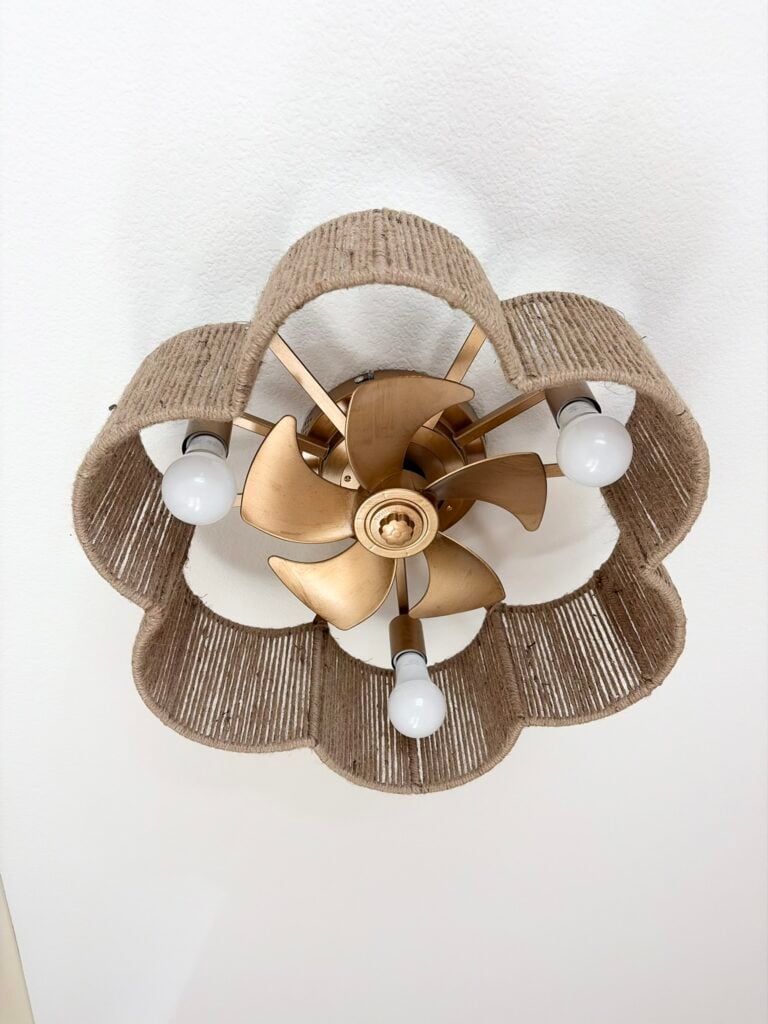
At first, I thought about getting a simple light fixture for my daughter. However, I came across this fandelier just in time and thought it would be perfect! It has the cute floral/scalloped shape but also serves as a fan:
Speaking of lights, another thing my daughter has been loving about her room are these battery-operated sconces:
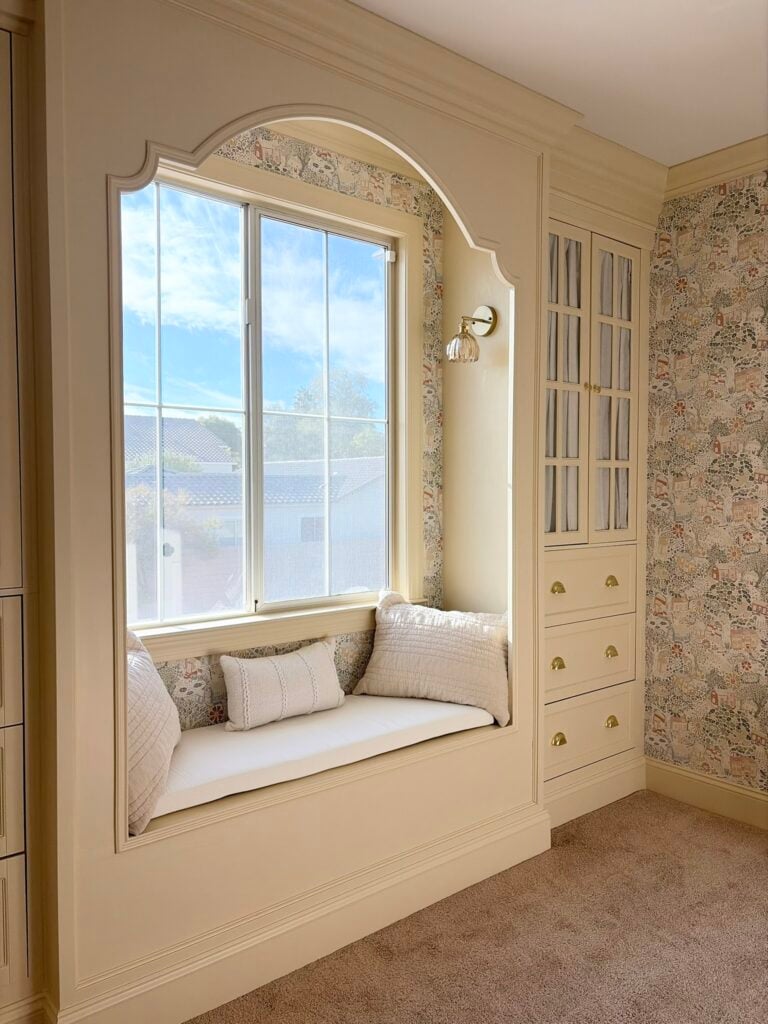
She loves being able to change the colors with a remote!
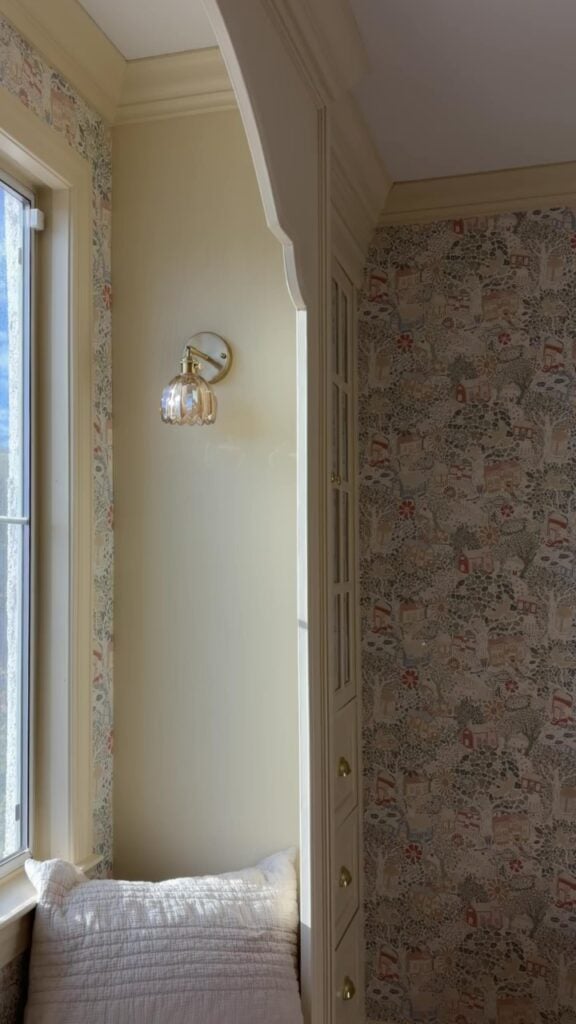
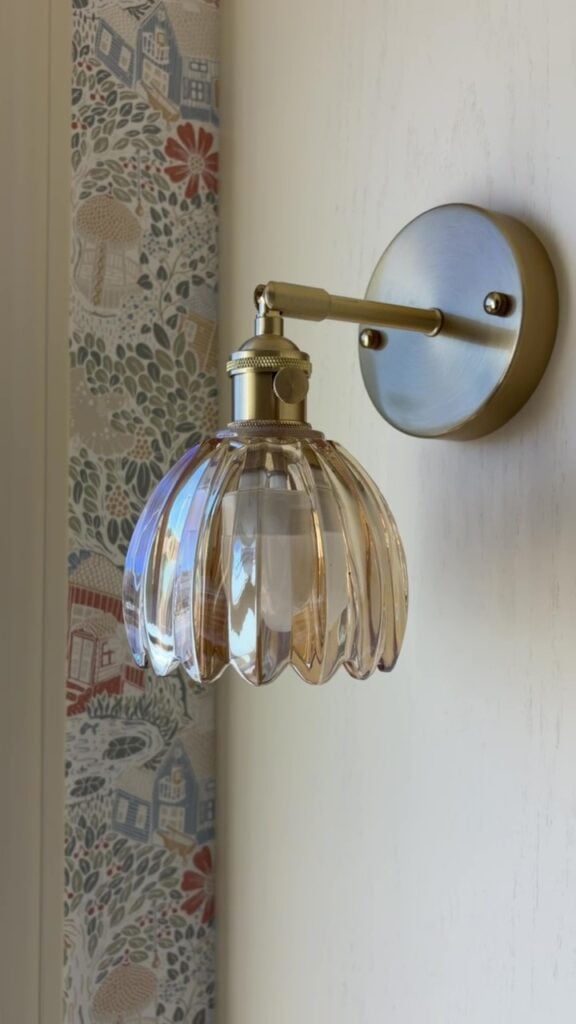
I also finally got to hang my embroidery piece and I think the colors work out perfectly in her room:
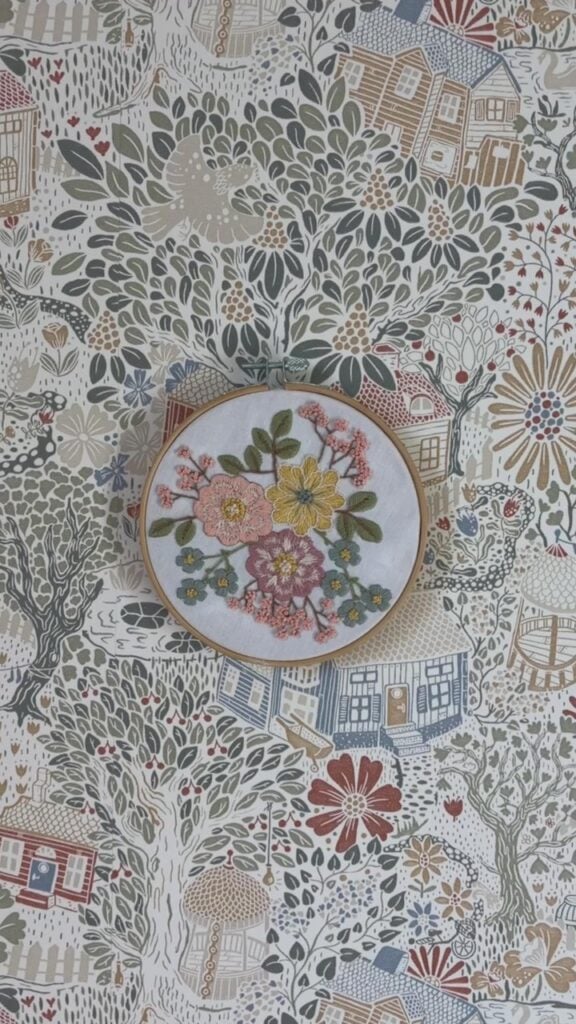
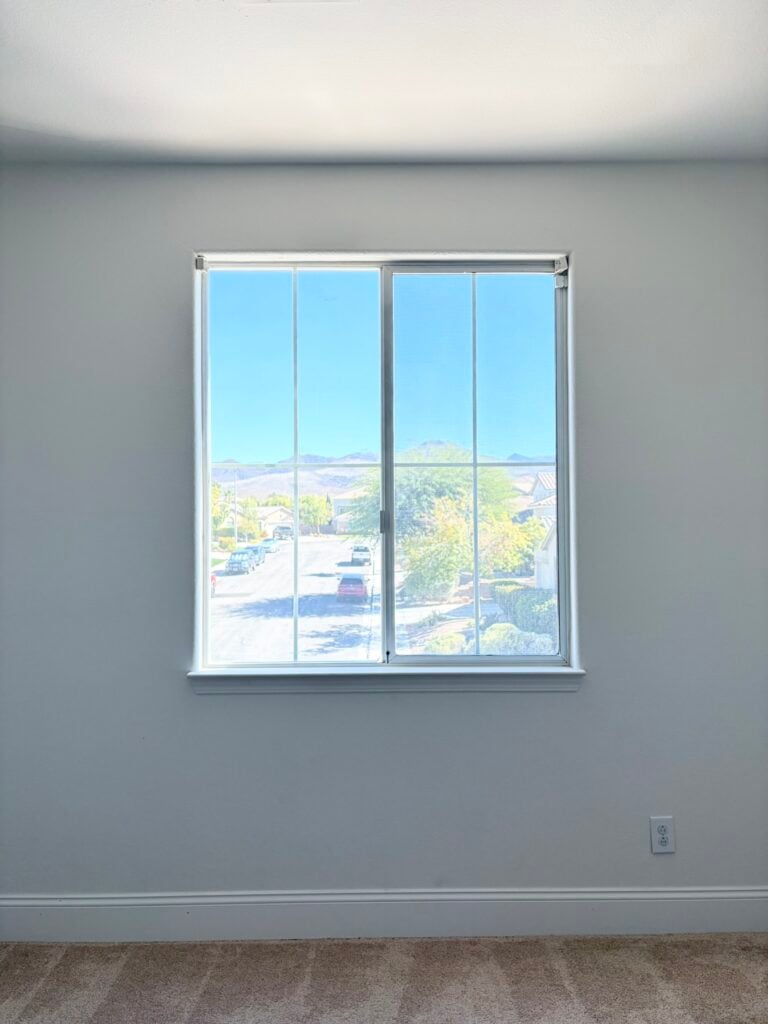
I’m waiting on the custom roman shades for this window and I’m thinking about switching the fabric behind the glass cabinet doors to one with a pattern:
I’ll update this post with a few more photos once the roman shades come in and I’ll let you know when the YouTube video is live!
In the meantime, let me know if you have any questions about this makeover.
Tina
Leave a Reply