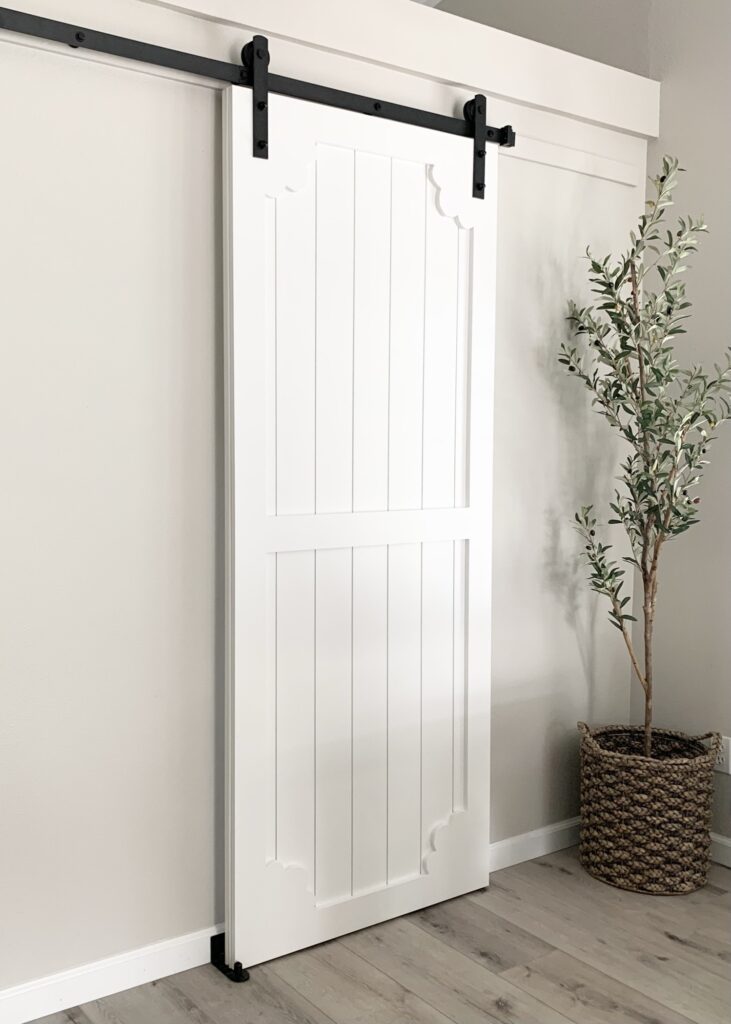
Learn how to build a custom DIY shiplap barn door with this step-by-step tutorial!
I built this easy shiplap sliding barn door with scalloped trim in one weekend for our home and in this blog post I’ll show you exactly how you can do the same. I love how this DIY shiplap door turned out and it’s so helpful to be able to easily close off the kitchen from the living room when needed!
Note: This post may contain affiliate links, you can find more information in my disclosures here.
My DIY shiplap barn door is inspired by Blooming Nest’s beautiful barn door with scallops.
Materials
- barn door hardware kit (I thought this was really nice quality especially for the price!)
- painted MDF shiplap (you can order these for pick up at your local store)
- painted MDF boards for the door frame
- dowels
- Behr Alkyd Satin Enamel paint (color matched to Sherwin Williams Pure White that I also used to paint our kitchen cabinets)
- liquid nails
- caulk
- caulk finishing tool (optional)
- spackling (I love this one with the dry time indicator!)
Tools
- tape measure
- miter saw
- circular saw
- jig saw
- brad nailer
- caulk gun
- painters pyramids
- tiny paint brush for shiplap gaps
- paint roller
- Handy roller cup
- paint gloves (optional but highly recommend if you don’t want to scrub your hands afterwards!)
- Old blanket, piece of fabric or similar to protect the surface you’ll be painting on
Step 1: Measure and plan barn door
The first step was to figure out the exact size of our new barn door. I wanted it to be large enough to cover the door opening between our kitchen and living room but with enough wall space left so it wouldn’t feel overwhelming for our space. Based on the approximate width needed, I then planned to have the door width for our barn door to be 7 shiplap boards wide to avoid having to trim down any boards. This saves additional work cutting and helps ensure more solid barn door in the end!
Your exact door size (door width and door height) will the depend on the space you have in mind for it.
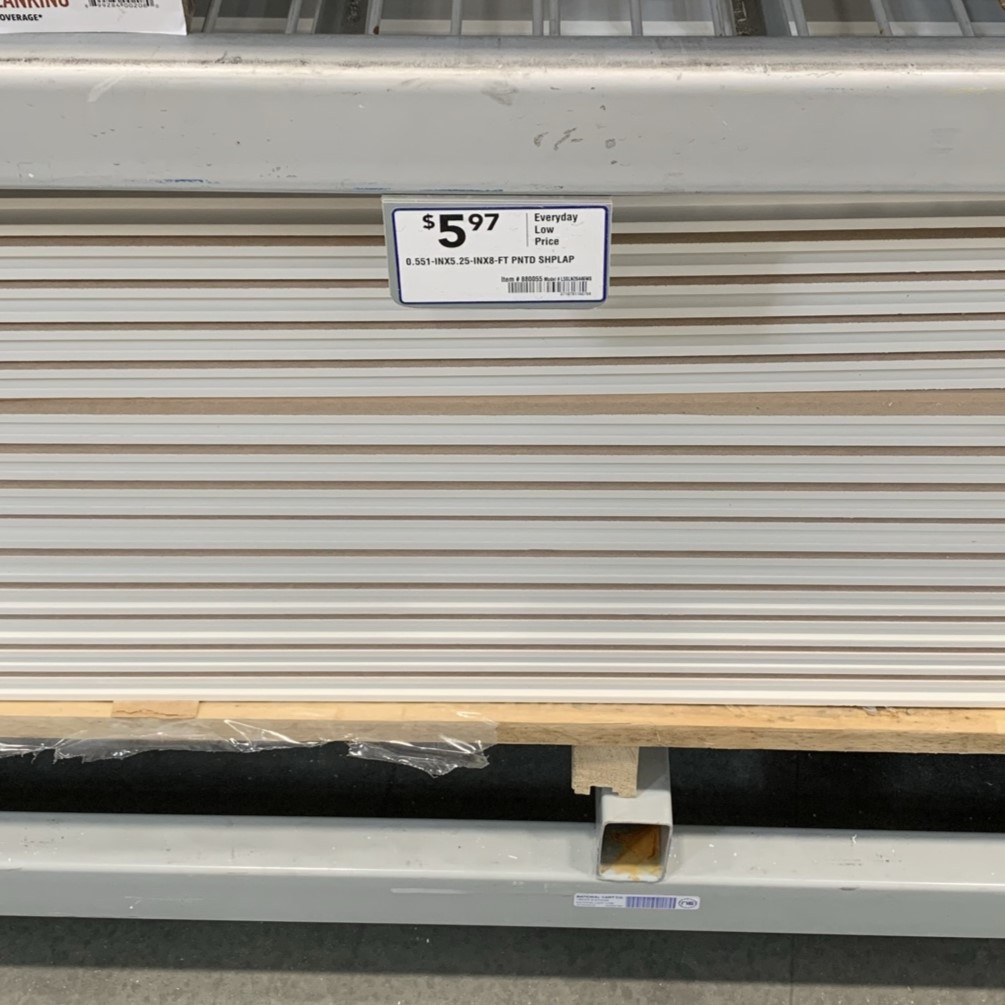
I went with these shiplap boards that I’ve also used on other DIY projects like the shiplap with wood trim in the primary bathroom or the scalloped shiplap paneling in the guest bathroom:
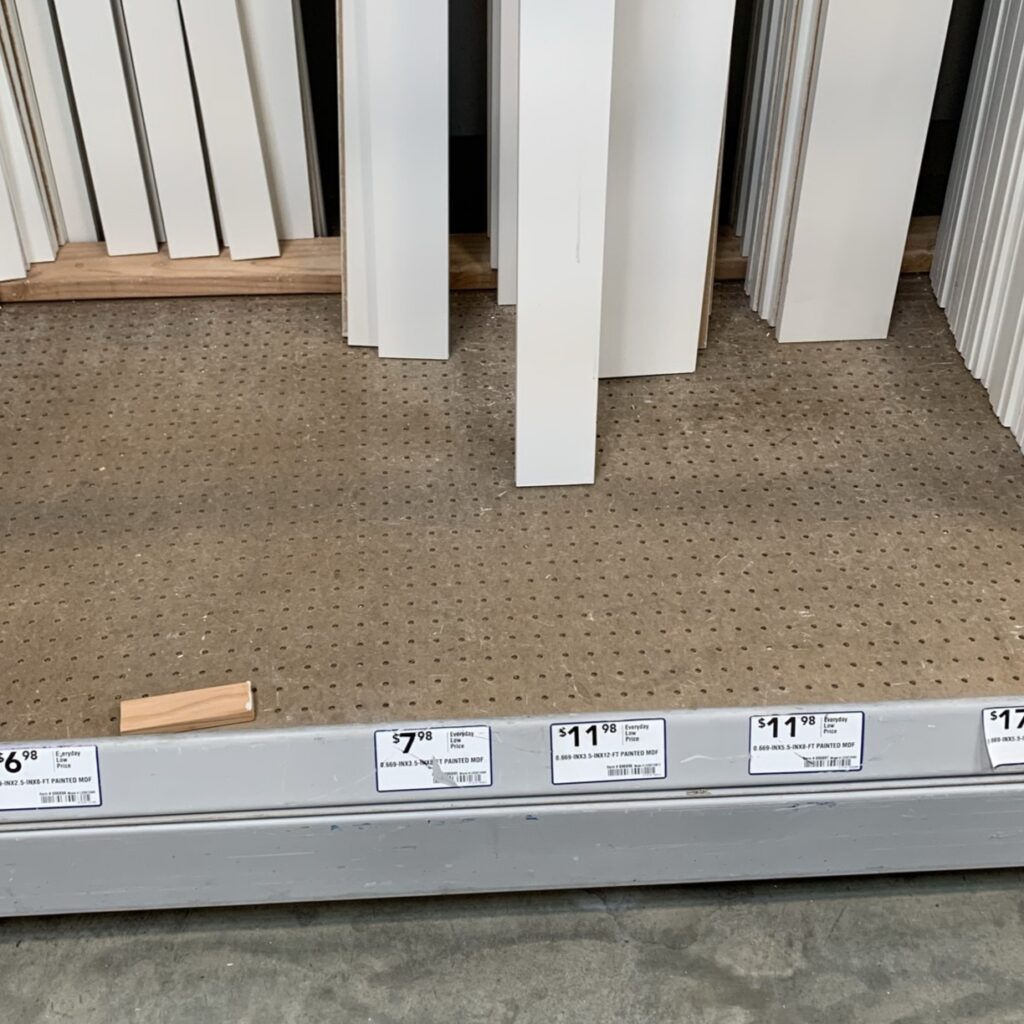
For the frame, I decided to go with these sturdy MDF boards which they sell in different sizes:
Step 2: Cut shiplap and MDF boards
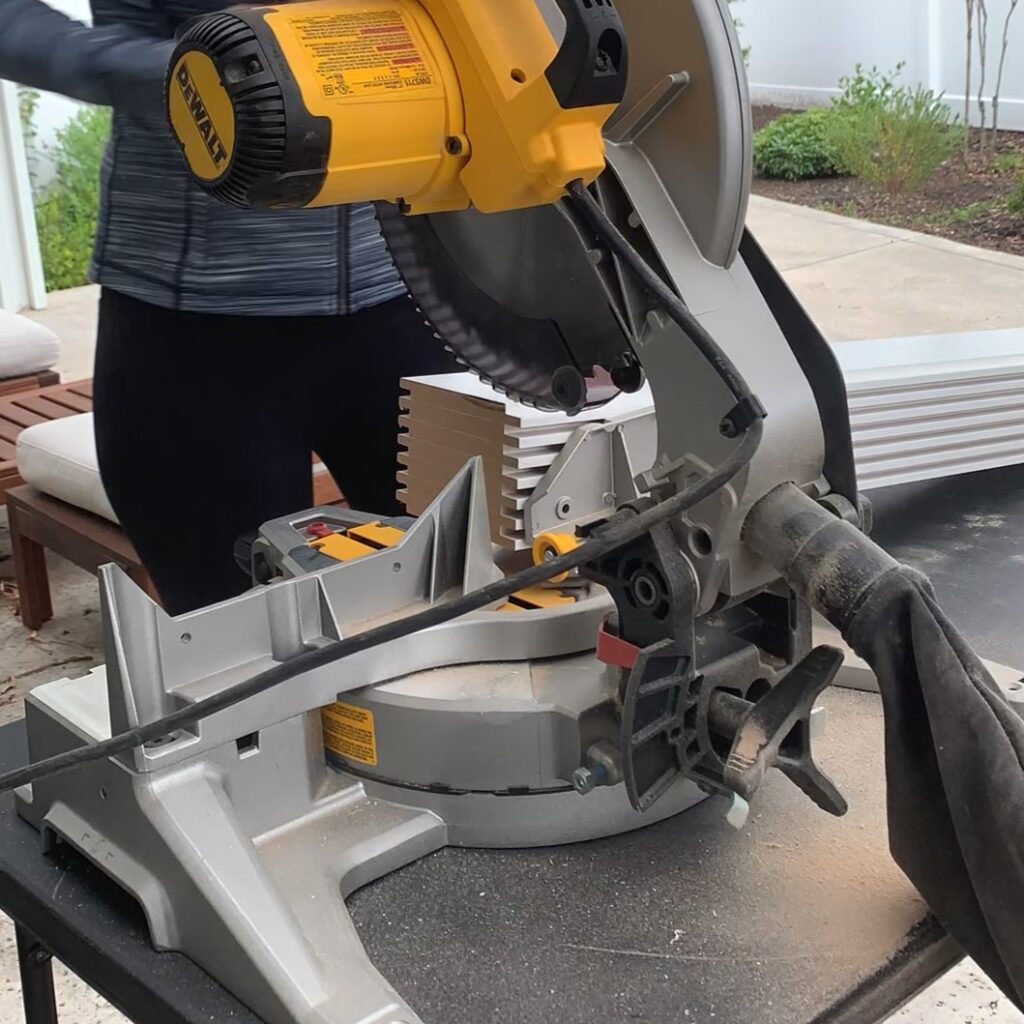
Next, I figured out the exact length of my shiplap boards based on the height of our opening for our sliding door and the barn door hardware kit requirements. I cut all the shiplap boards to be exactly the same length:

Then, I figured out the length needed for the MDF boards which would serve as the frame for the door. Each of those ends got a 45 degree cut.
Step 3: Arrange shiplap and MDF boards
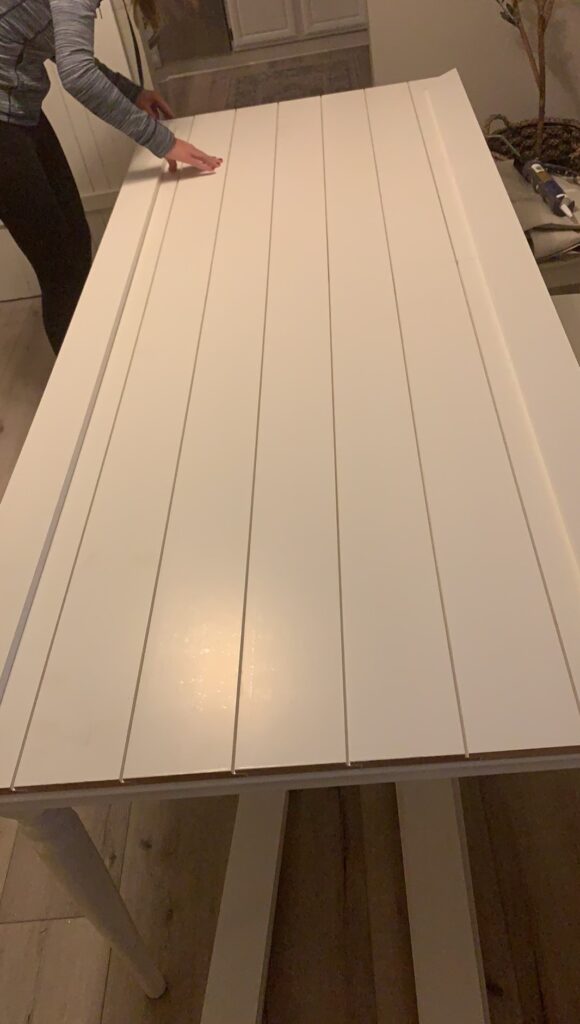
The next step was to arrange and dry fit all the shiplap panels and MDF boards on a flat surface. I started with the shiplap:
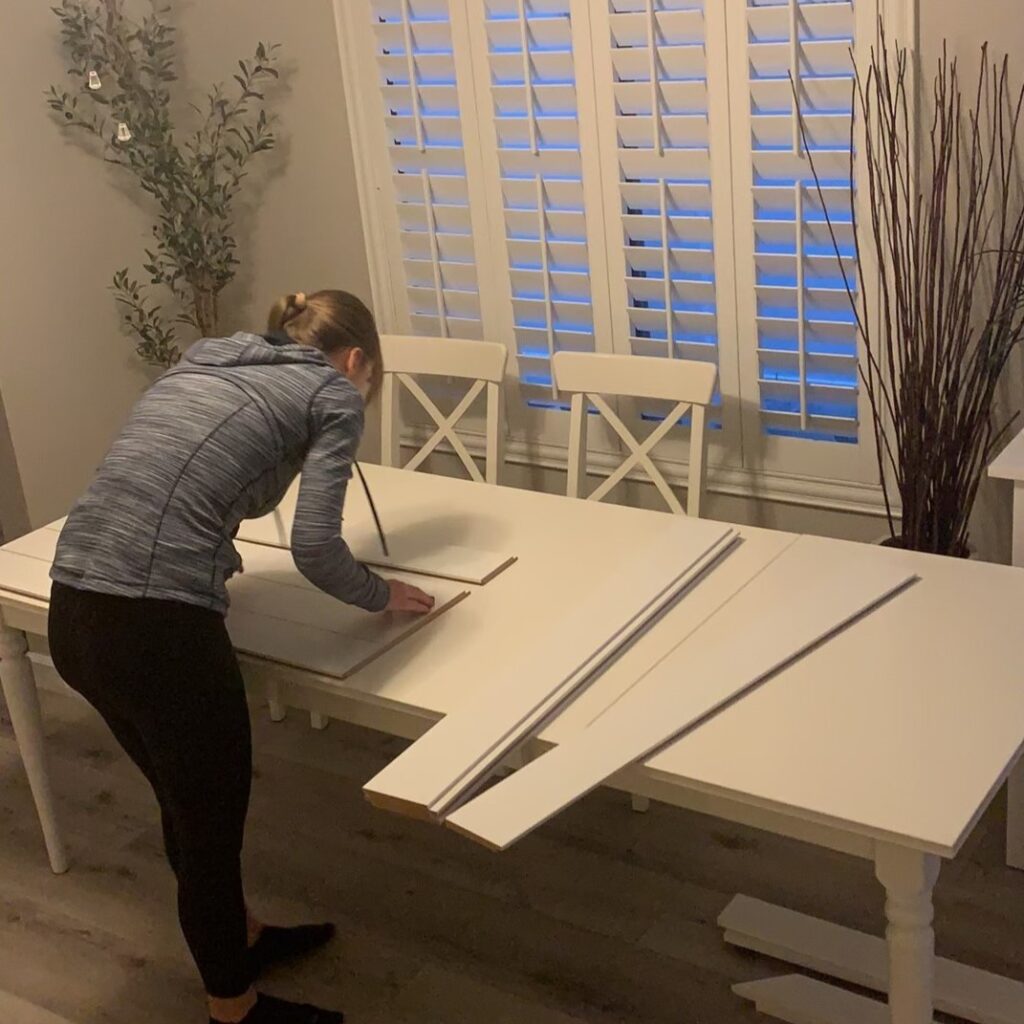
Note that I’m using shiplap boards that are 8′ long but I had to get them cut in half so they would fit into my car so this is definitely optional. Long boards that are not cut in half would be ideal and actually easier!
I’ll make the seam in the middle of the DIY barn door disappear, I’ll show you that part later!
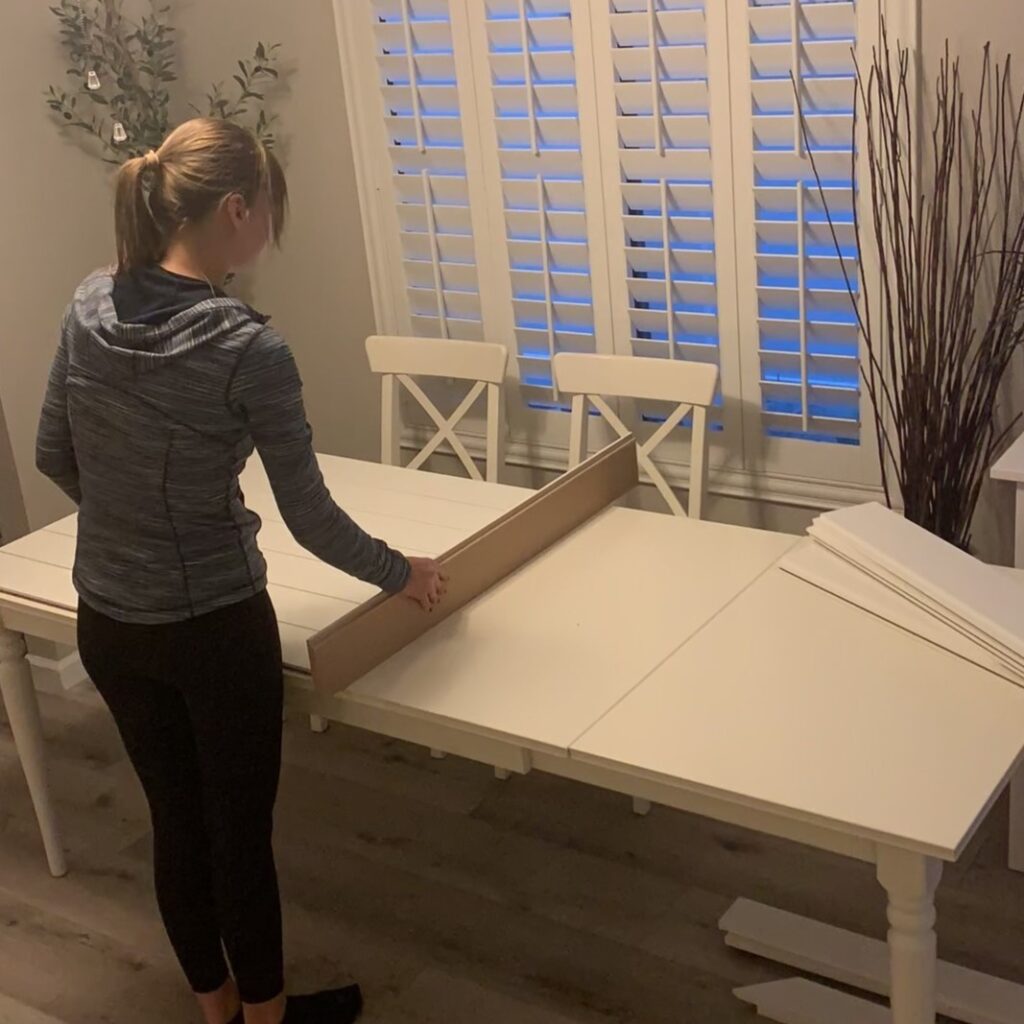
Here’s what it would’ve looked like if I just used long boards:
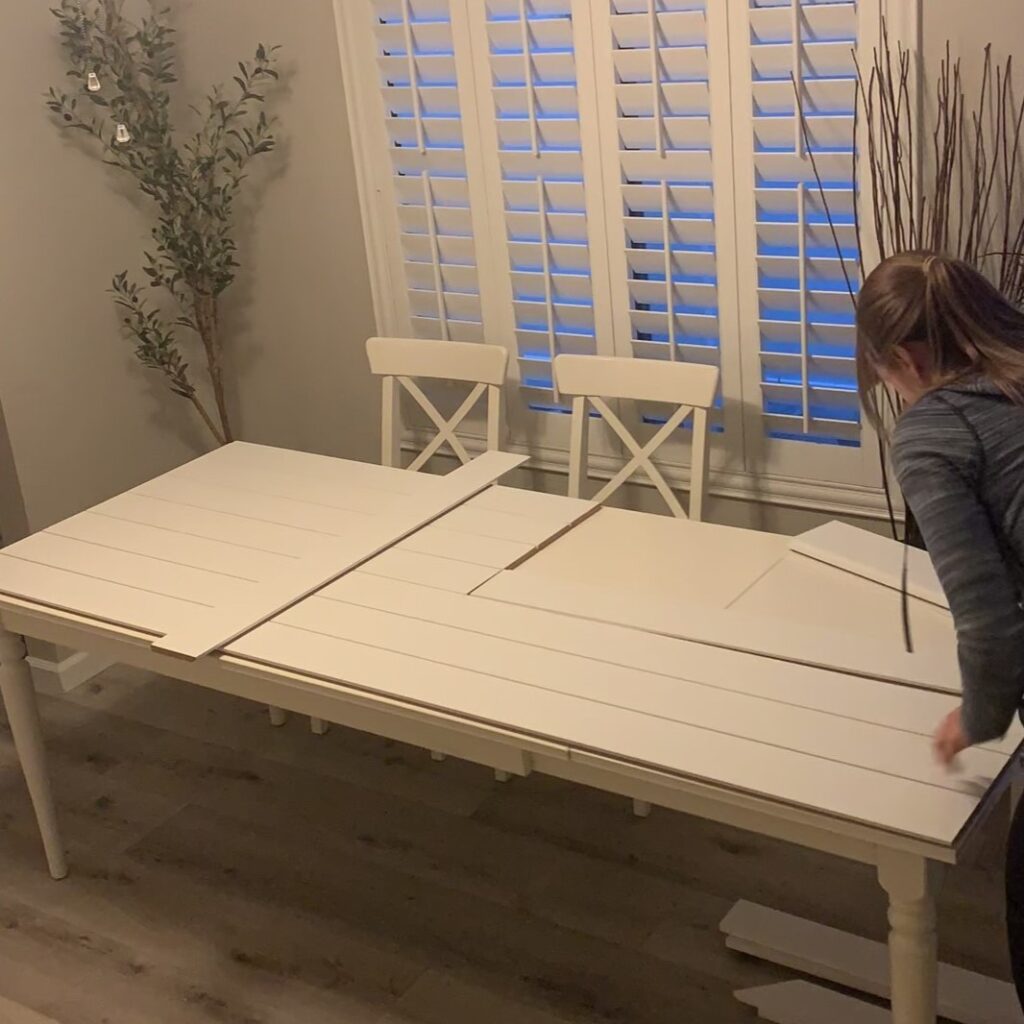
Once the seven rows of shiplap were arranged next to each other, I started adding the MDF boards to create an outer frame:

Step 4: Mount shiplap and MDF boards
After I arranged all the boards, it was time to get them mounted. For this first step I used liquid nails, which is essentially a heavy duty construction adhesive:
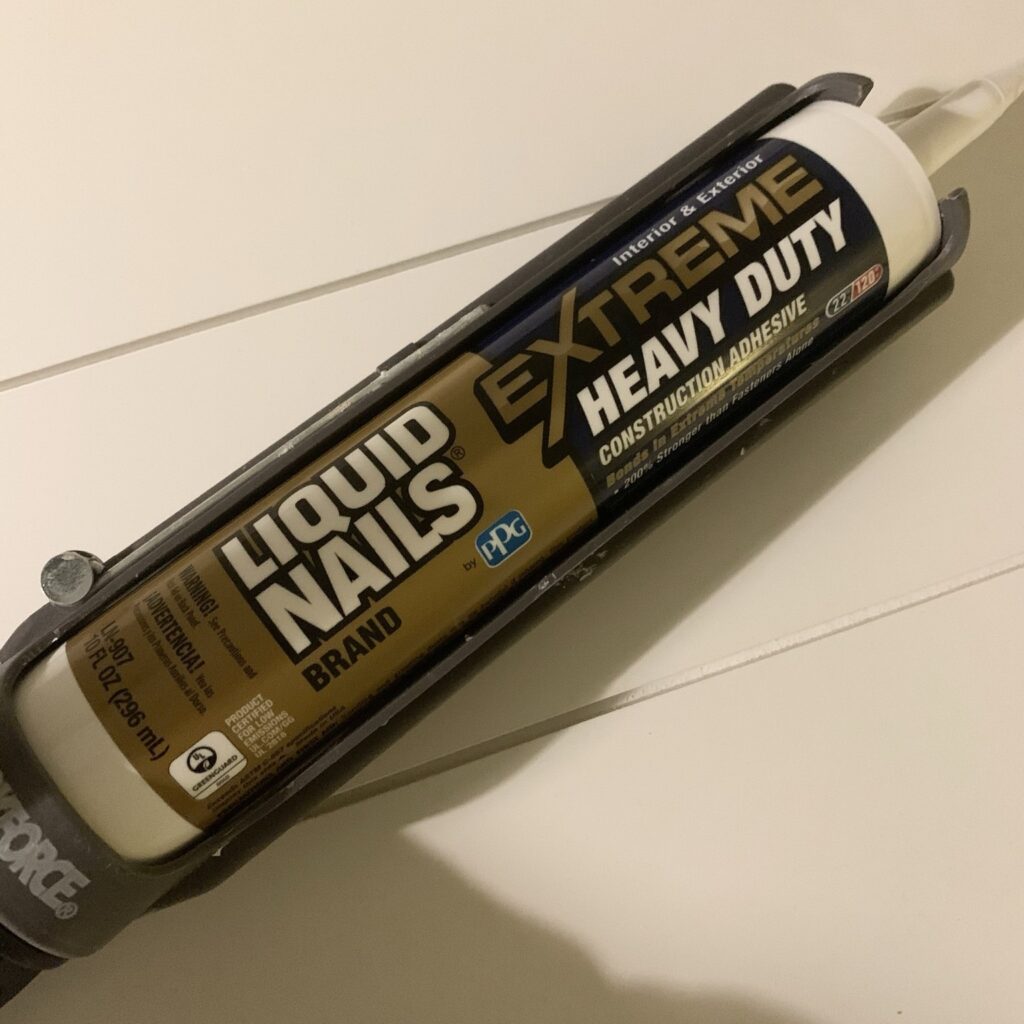
I prefer using liquid nails in this case over wood glue.
First, I attached the left and right pieces of the MDF frame with liquid nails:

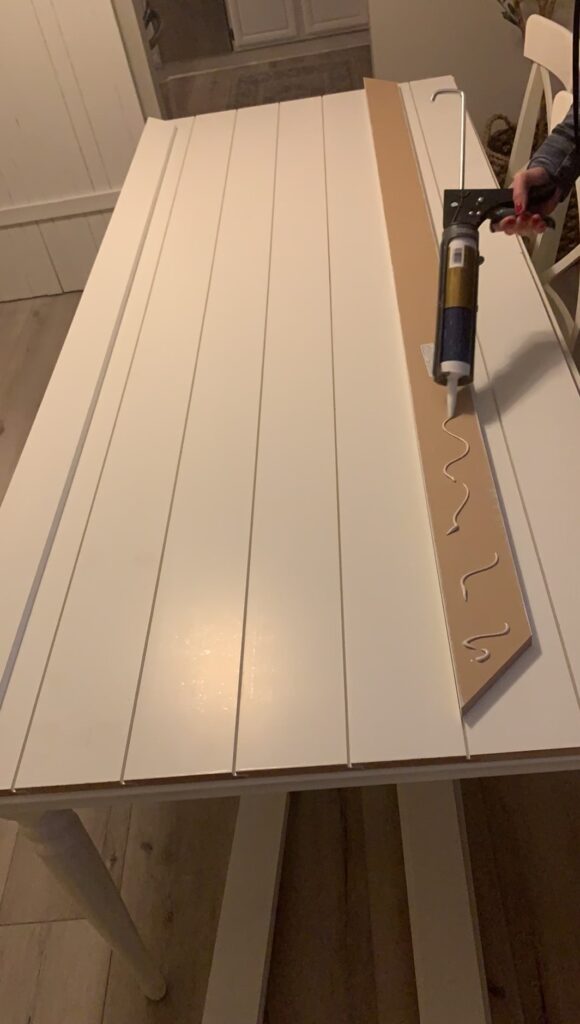
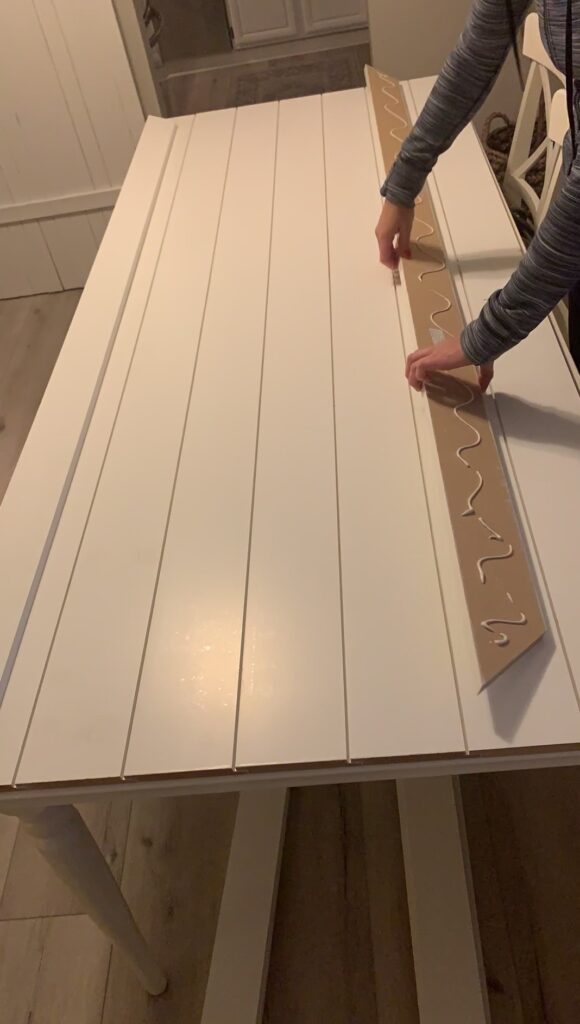
Then, I attached the top and bottom trim boards with liquid nails:
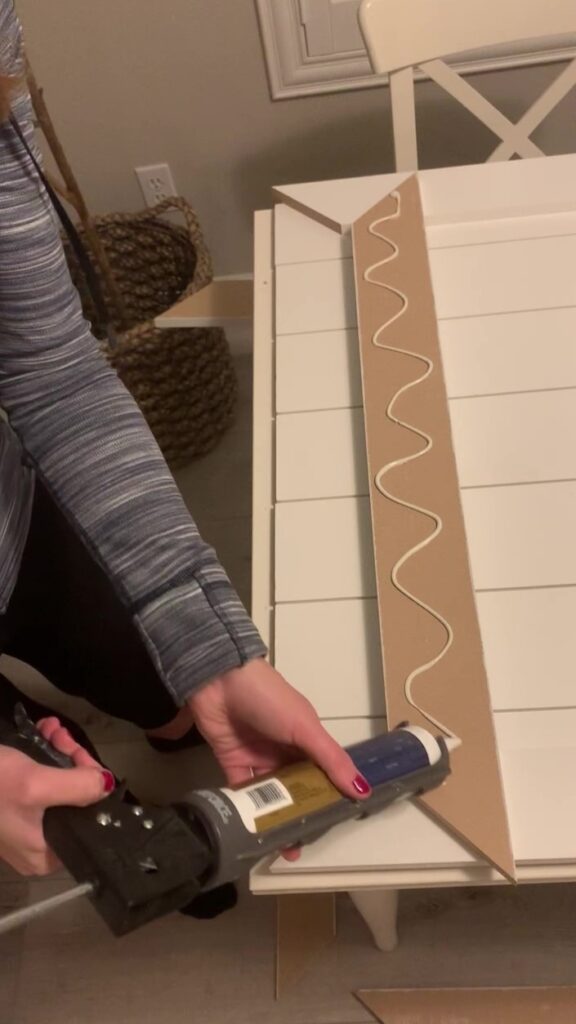
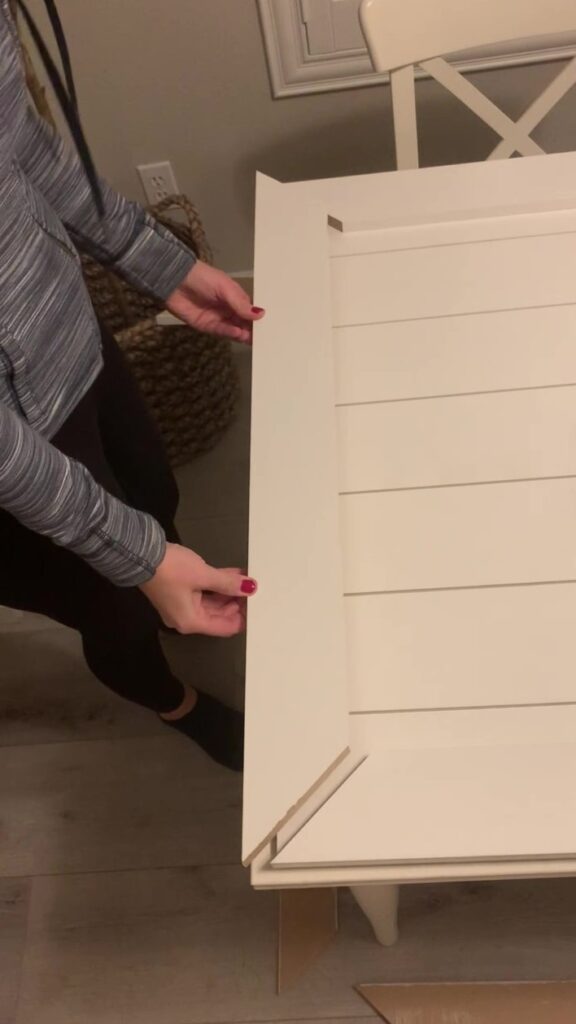
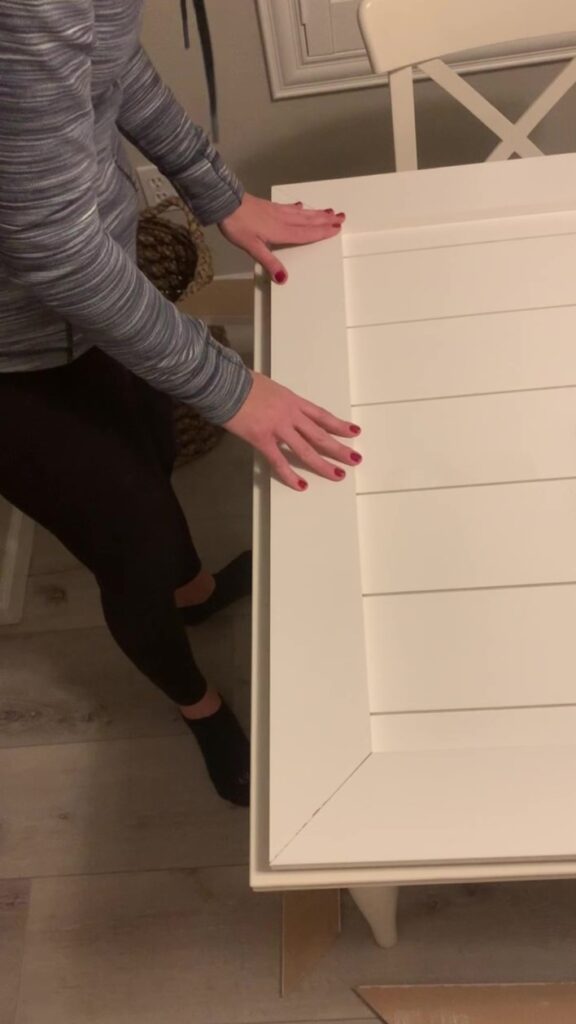
Then, I attached the final piece: the middle trim piece. Remember the seam I mentioned earlier caused by the shorter boards (that I had to cut to fit in my car)?


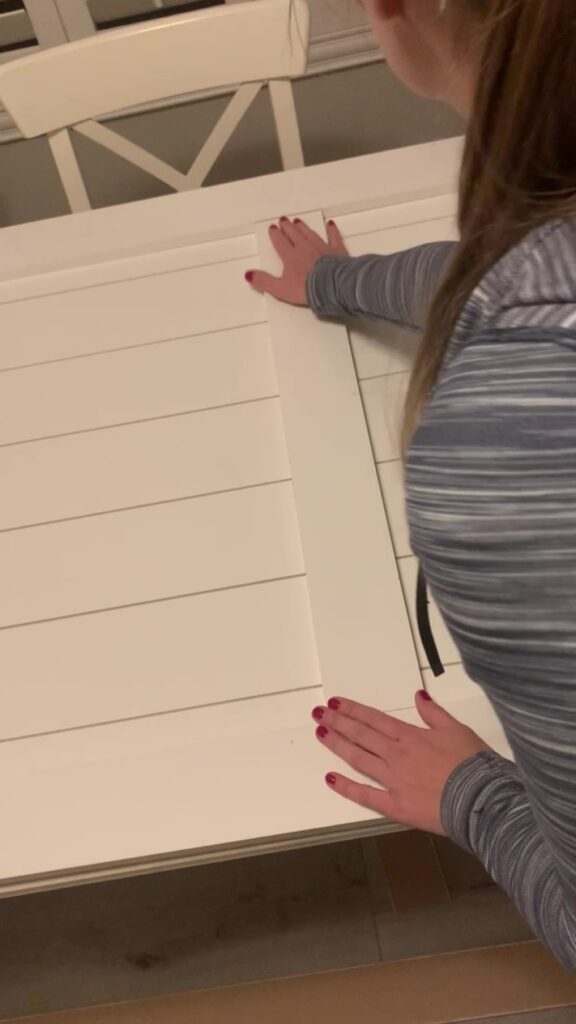
You would never be able to tell there was a seam there in the first place!
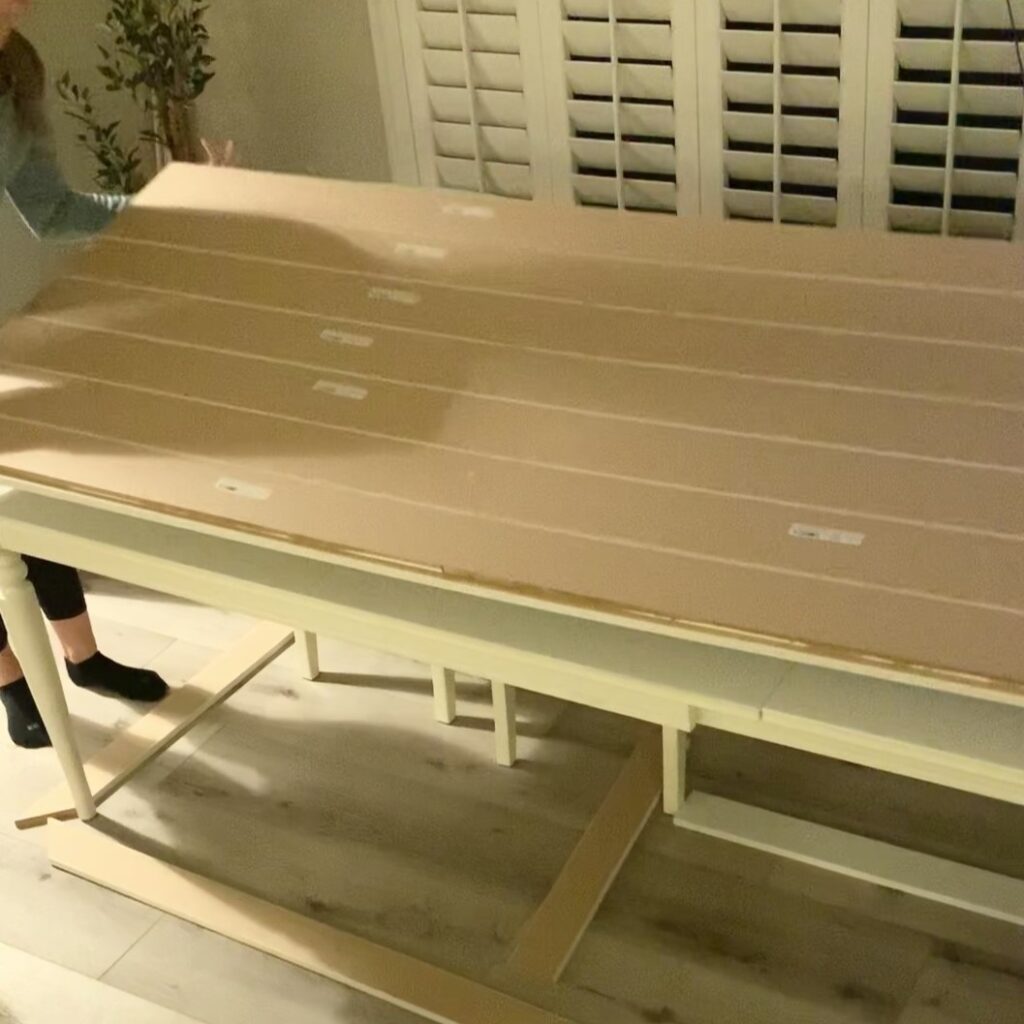
Once the front side of the DIY shiplap barn door was framed out, I let the liquid nails set and dry before flipping the shiplap sliding barn door to do the framing on the back of the door:



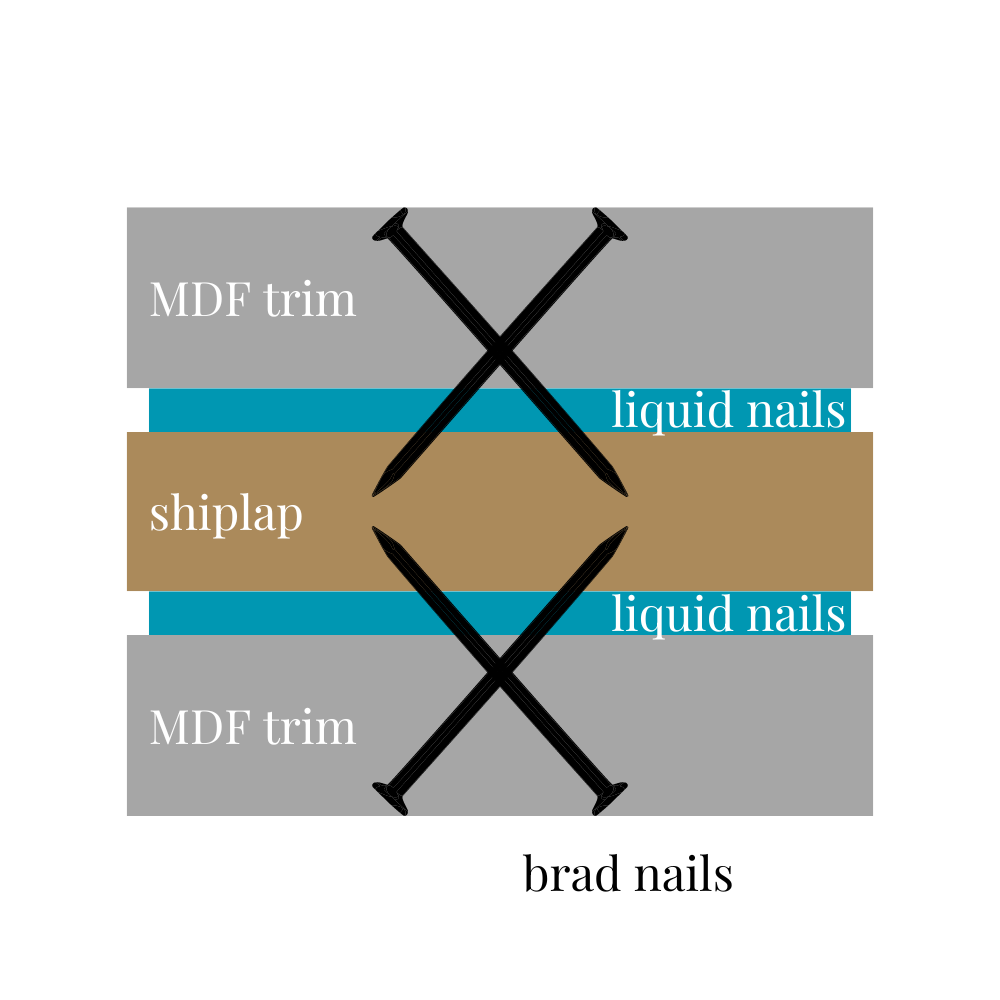
Once the liquid nails were fully set and dry, I used my brad nailer to attach the frame to the shiplap boards with brad nails:
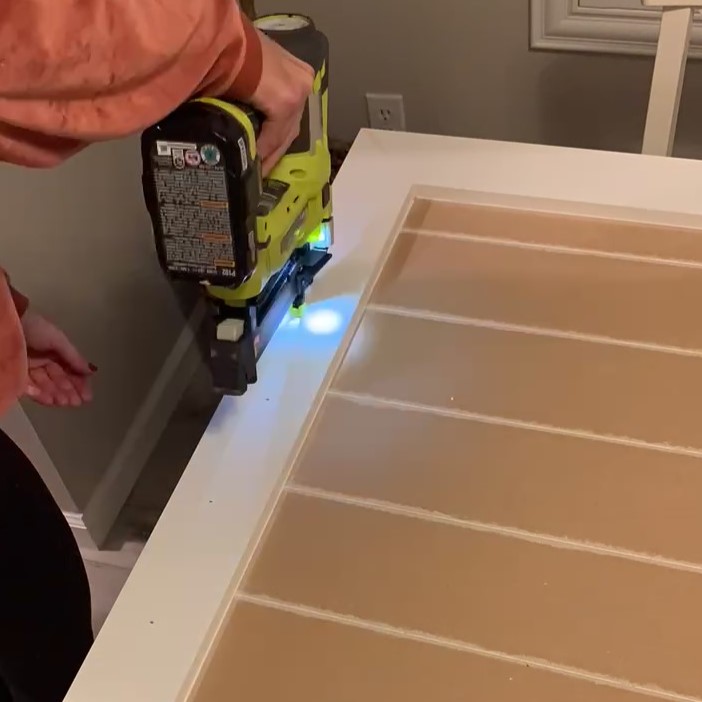
The liquid nails alone probably would’ve been enough but this step with the nail gun made the door extra stable. Here is a visual of how my DIY shiplap barn door is constructed:
Step 5: Add scalloped trim (optional)
This step is optional but I think it’s such a cute detail to add!
I added scalloped corners to my DIY shiplap door. I started out by mocking up the right shape:
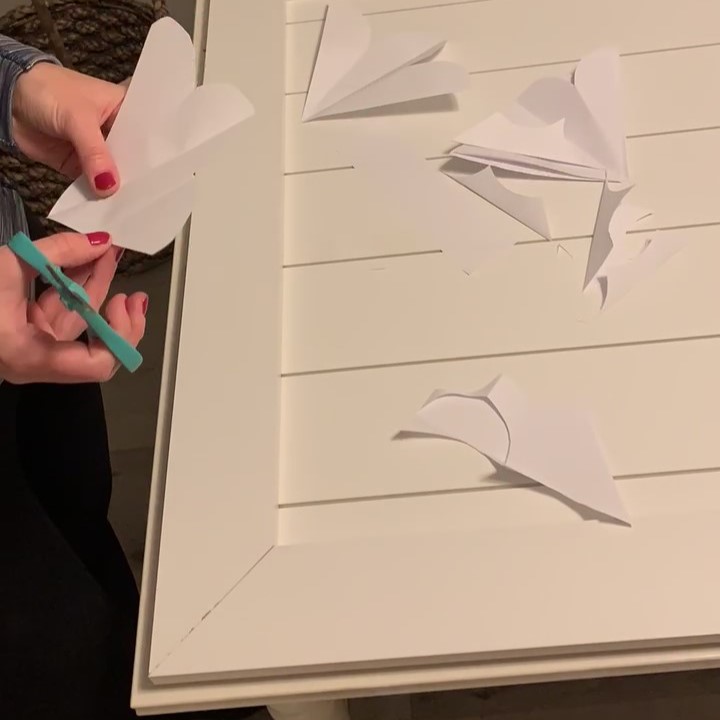
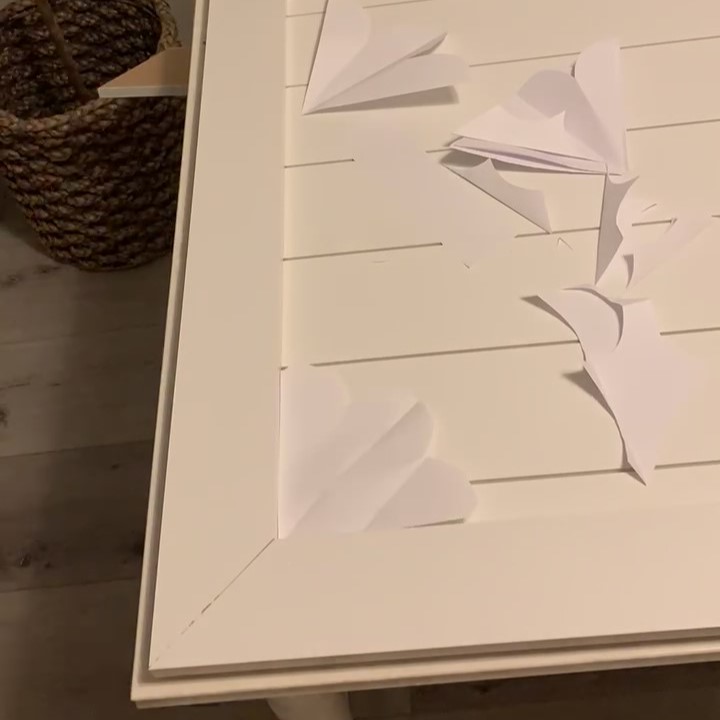
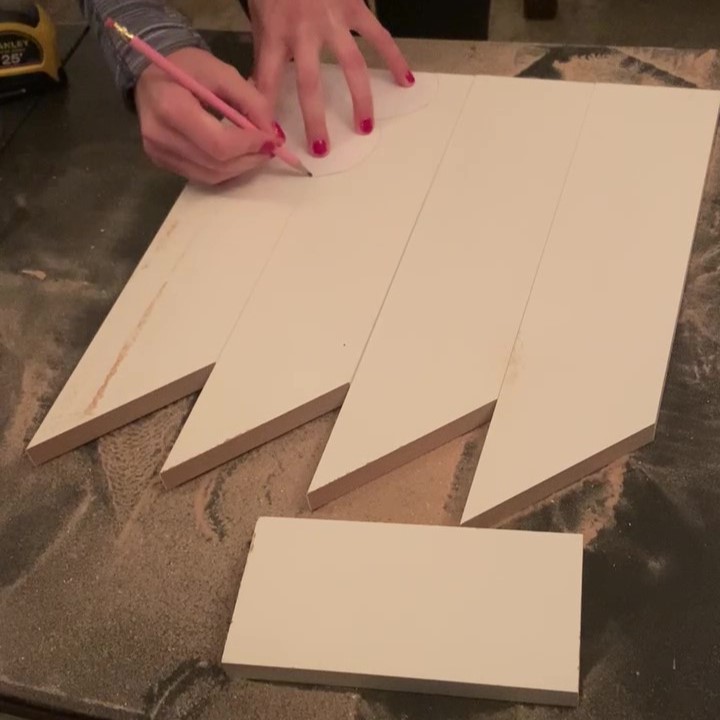
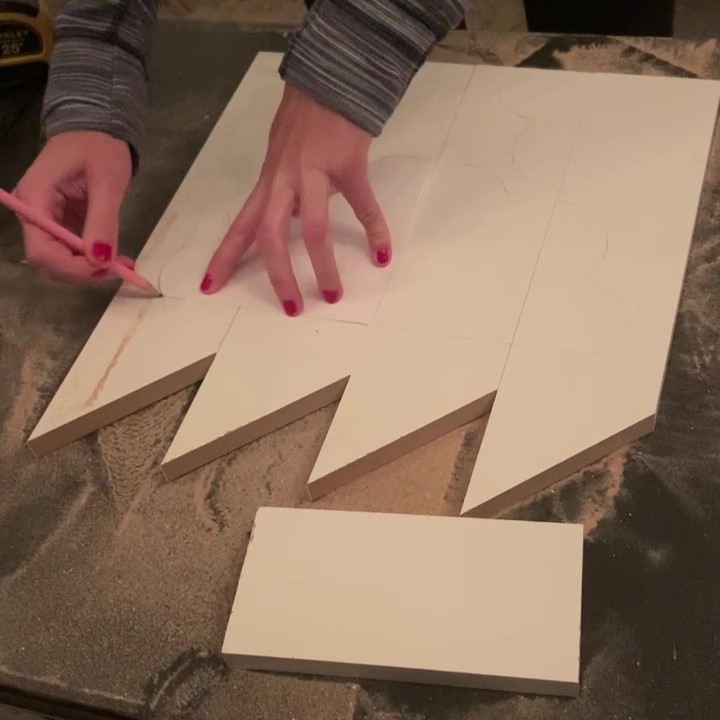
Then, I used some of the leftover MDF trim to trace the shape onto:
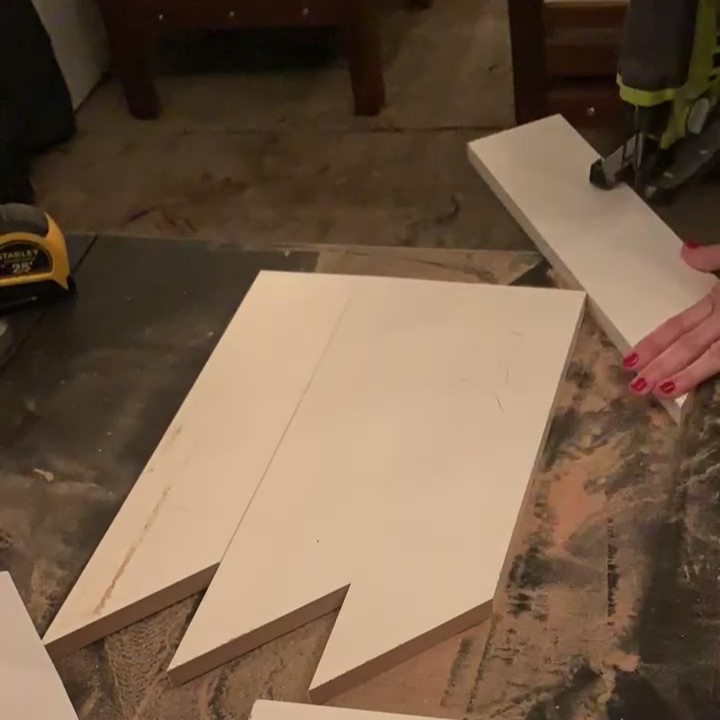
I then cut the shapes out using my jigsaw:
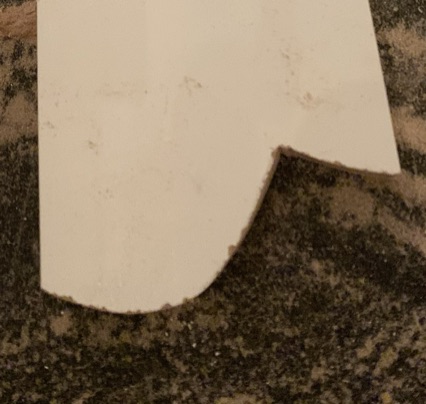
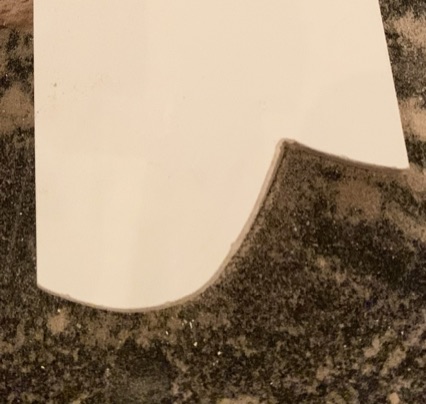
Once I had the shapes cut out, I sanded them lightly to smooth out the edges.
Here’s what it looked like before sanding:
And here’s what it looked like after sanding:
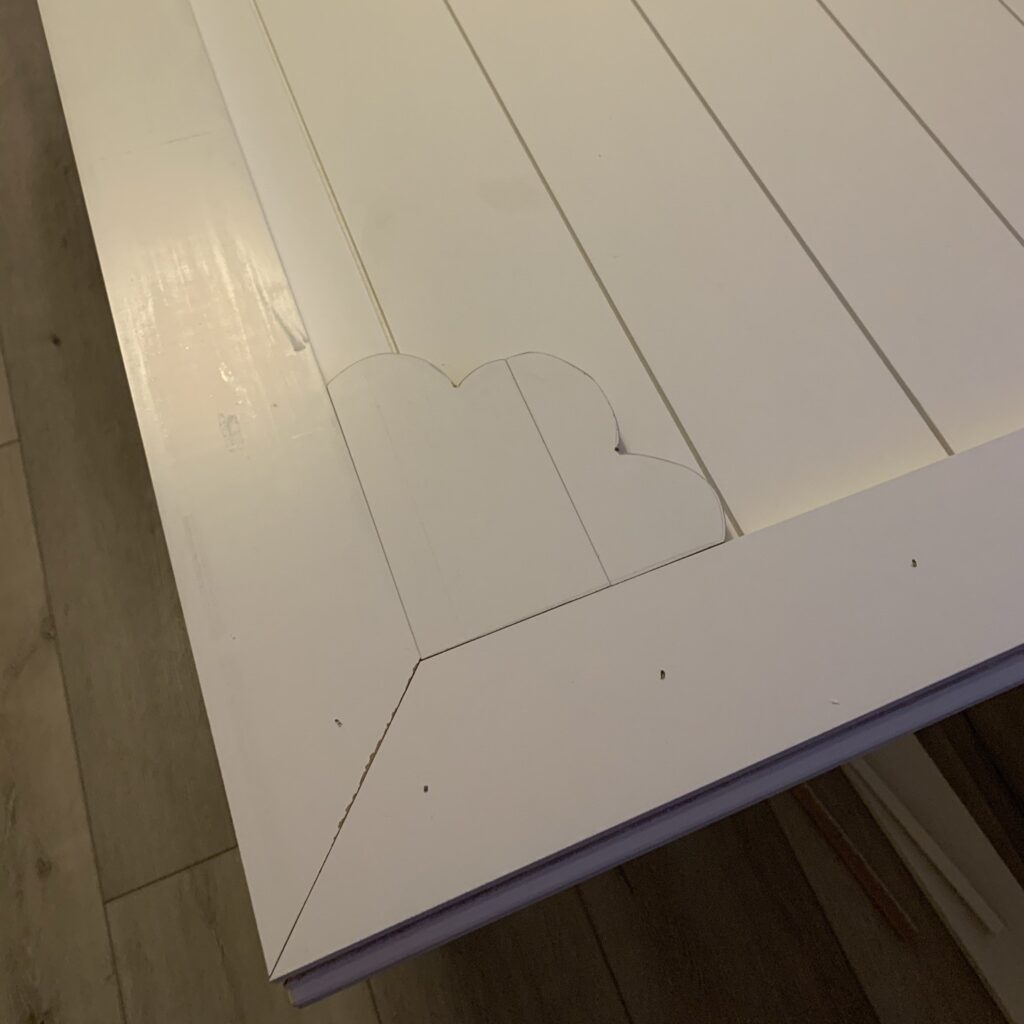
Then, I attached the scalloped corners to the front of the shiplap interior doors using liquid nails:
Step 6: Add dowels (optional)
I decided to add dowels around the door to fill the gap between the MDF frame in the front and back for an additional cute detail and clean edge:

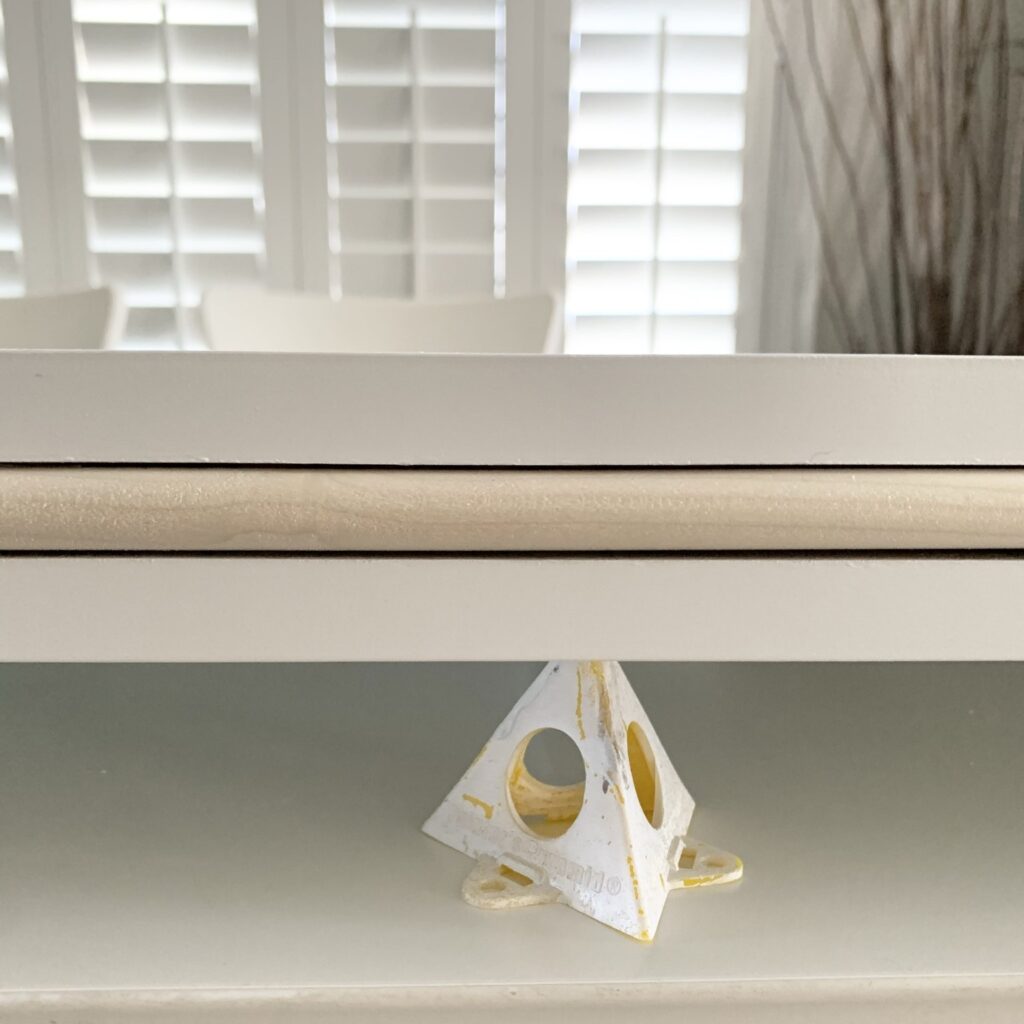
Note that I didn’t add the dowels to the bottom of the door or the top of the door since those wouldn’t be visible from any of the angles anyway.
This step is totally optional and instead, you could opt to have the sides/door frame just be flush and fill them with wood filler or leave them as is.
Step 7: Fill and caulk
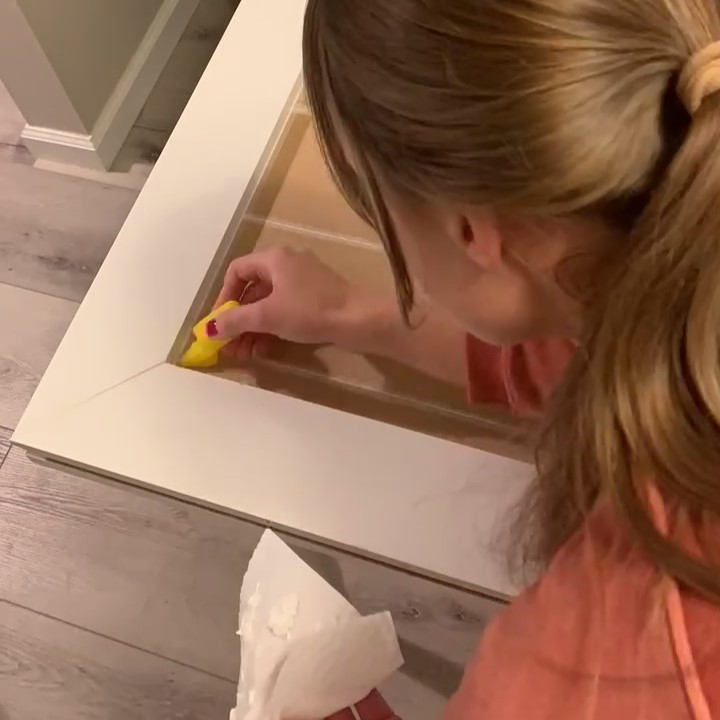
The next step were the finishing touches for a professional looking finish and clean look. I filled all the corners with caulk:
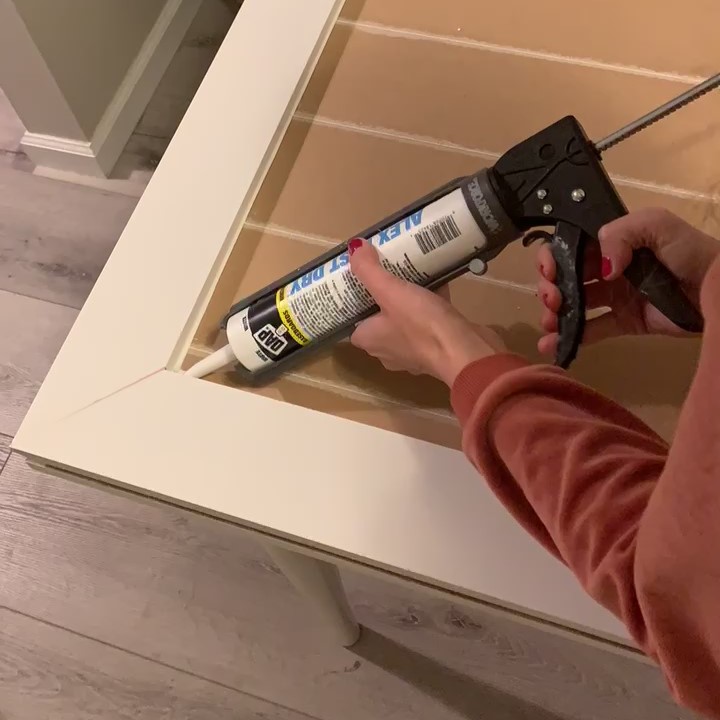
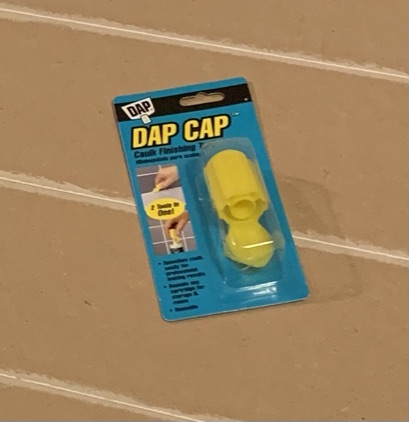
I actually found this caulk finishing tool that helps get really nice corners when caulking around the trim pieces and I thought it was really helpful:
Once I caulked all the corners, I used spackle to fill any gaps and nail holes:
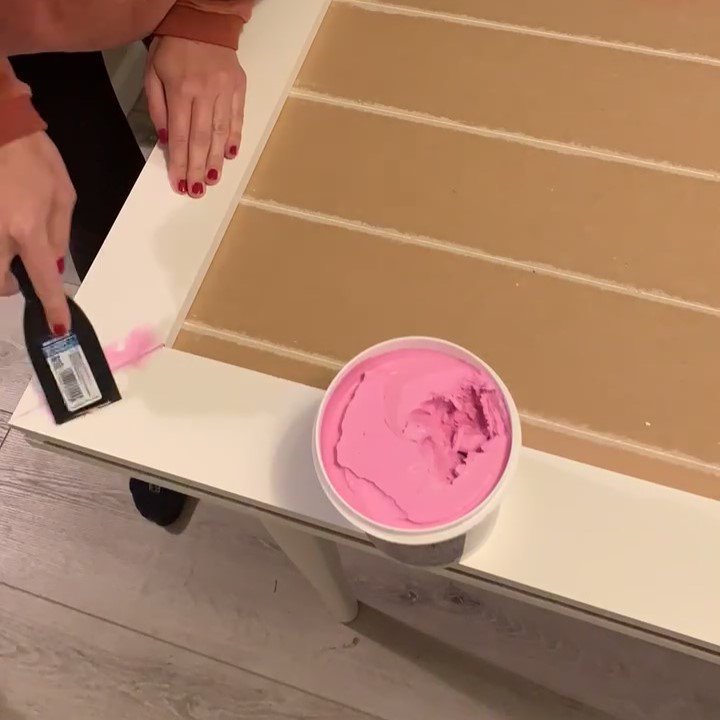
I really like this pink spackling because it’s easy to tell when it’s dry and ready for paint.
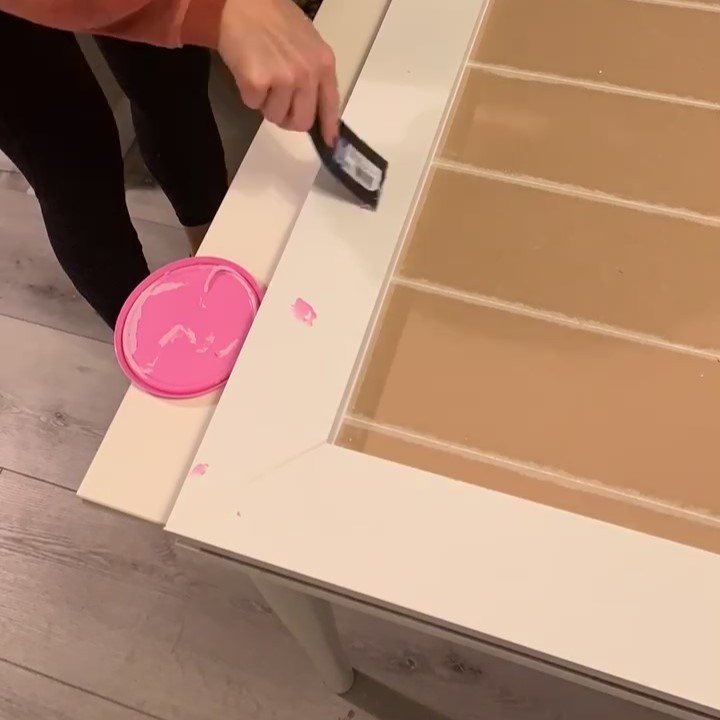

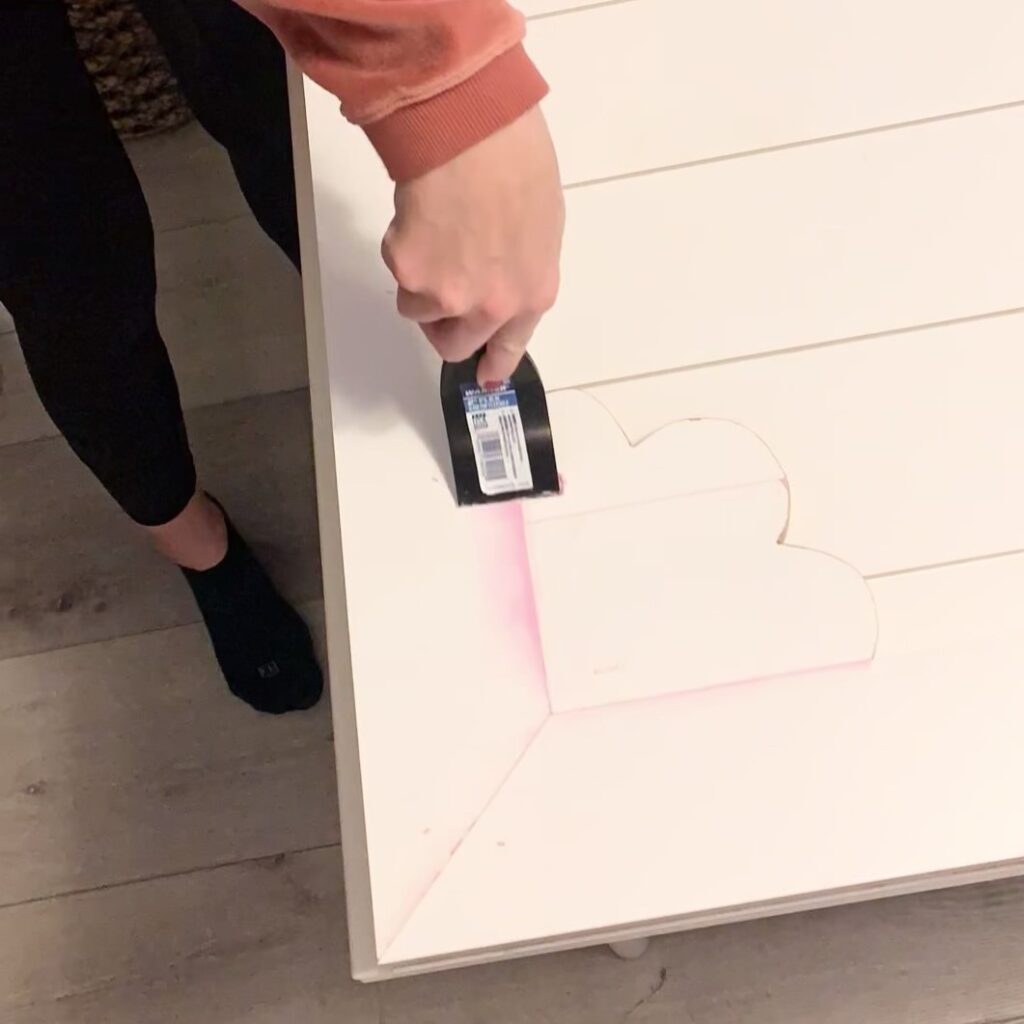
Once it was dry, I lightly sanded the filled spots.
Step 8: Paint barn door
The next step was to paint the DIY shiplap door. Here is my usual paint set up!
I highly recommend using gloves, it just saves so much time scrubbing your hands afterwards:
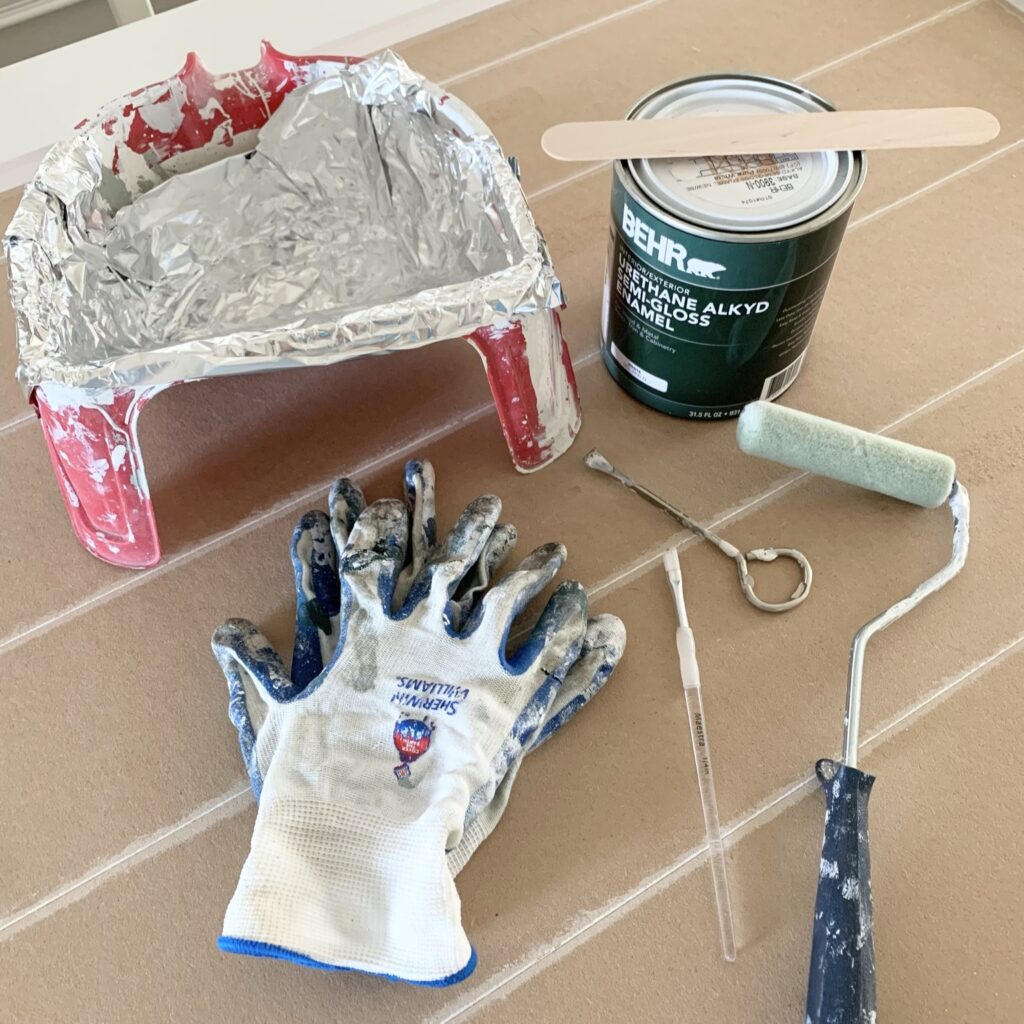
I used the tiny paint brush to get into the tiny shiplap gaps and rolled the rest of the paint:
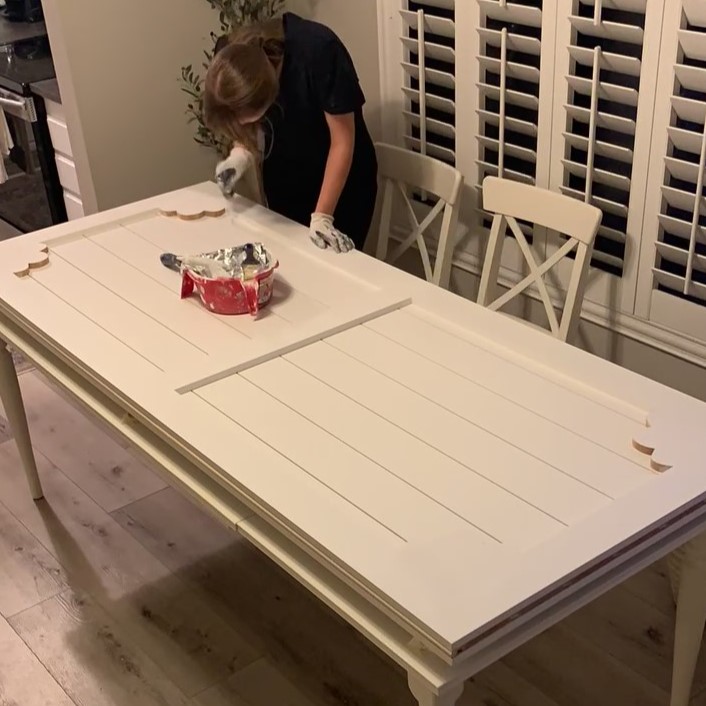
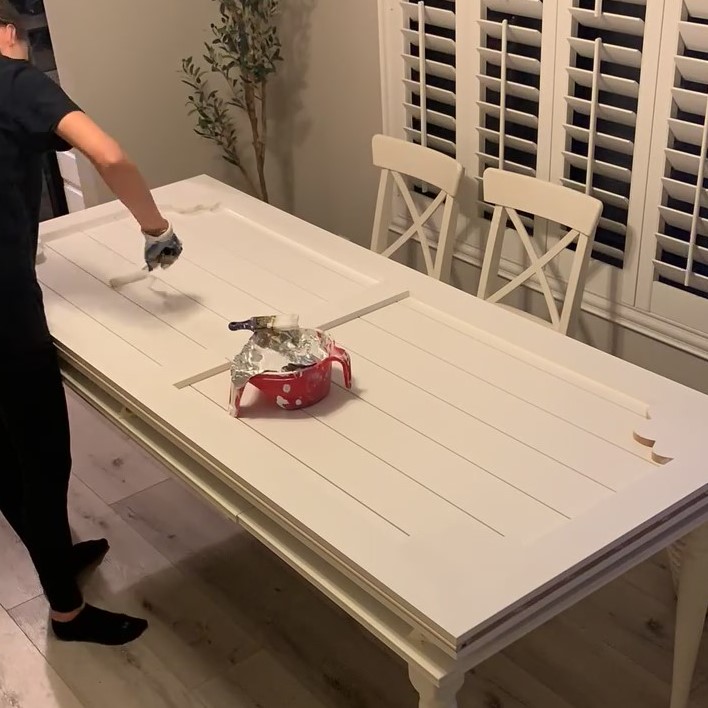
The color is Sherwin Williams Pure White, I love it because it’s a true white that isn’t too stark and it looks really nice against our Sherwin Williams Agreeable Gray walls!
Step 9: Hang your new shiplap barn door
The final step and last step is to hang the new DIY shiplap barn door! The instructions might vary for this based on the specific barn door hardware kit you might be using so I won’t go into detail here.
Finished DIY Shiplap Barn Door
Here is our finished DIY simple barn door!
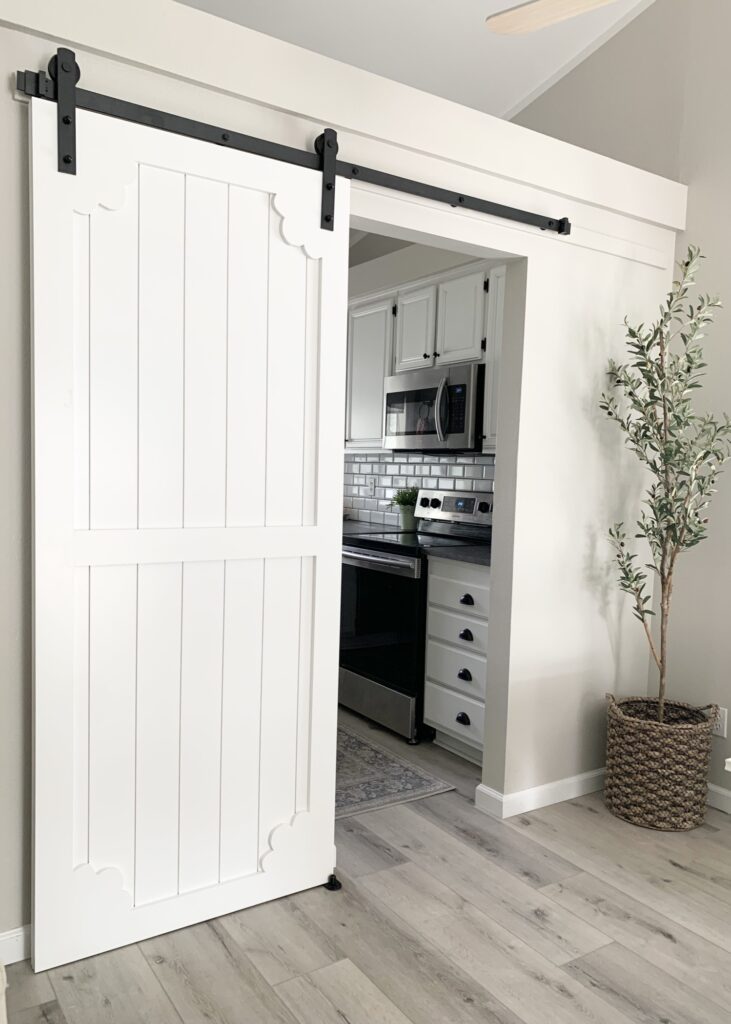
You could easily add a barn door handle if needed.
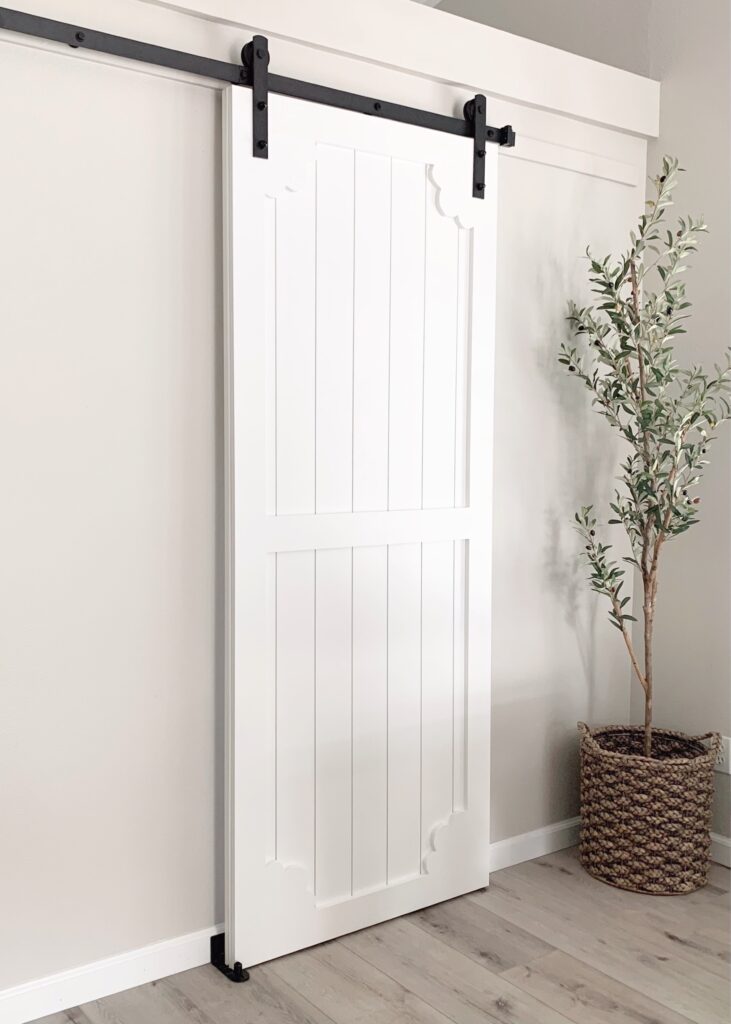
I think this is the ideal solution to close the kitchen off but it’s also a great space saver because I don’t think there would be a enough room for a traditional door.
This was such a fun sliding barn door project! I actually think you could use this tutorial for a double barn door or even for closet doors as well.
Let me know if you end up building your own DIY barn door or just sliding barn doors in general!
Tina

Leave a Reply