Do you want to learn how to paint a front door without removing it? In this post, I’ll show you how I repainted our front door without removing it in one afternoon! Repainting a front door doesn’t have to be complicated and in this step-by-step tutorial, I’ll show you my easy beginner-friendly process of painting a front door.

Note: This post may contain affiliate links, you can find more information in my disclosures here.
Repainting our front door had been on my list of things to do since we moved into our new home. I love our double entry door but I didn’t like the red color of it, it was faded and made the house look outdated on the outside:

Let me show you how I completely changed the look of our exterior door by painting it and adding some cute wreaths and a custom layered doormat! The best part: there’s no need to remove the front door!
Supplies to paint a front door
Tools to paint a front door
- Paint brush (this is my absolute favorite paint brush!)
- Paint roller
- Screwdriver
- Utility knife
How to paint a front door
How do you paint a front door without removing it? It requires some prep work but it’s pretty easy, here’s how to repaint a front door without removing it in a few easy steps:
Pick out the front door color
Picking out the front door color was easy for us. We weren’t ready to repaint the whole exterior of our house so we chose a neutral color that already existed in our exterior paint scheme: white.
Clean and prep the door
The first step was to get the door ready for paint without removing it.
I started out by dusting it off and then wiping it clean.
Once the door was clean, I removed the hardware, specifically the door lock and handle:

Is it possible to paint a front door without taking off the hardware? Yes, but I wouldn’t recommend it. The hardware was not taken off when our door was painted red so when I changed the door lock and handle after moving in I had to paint the spots red that were not longer covered. However, they applied the paint so thick that you can still see the outline of the old hardware. I recommend just taking off the hardware so you don’t run into this issue down the line!
Next, I started taping off the area with painters tape. First, I taped off the weather stripping:
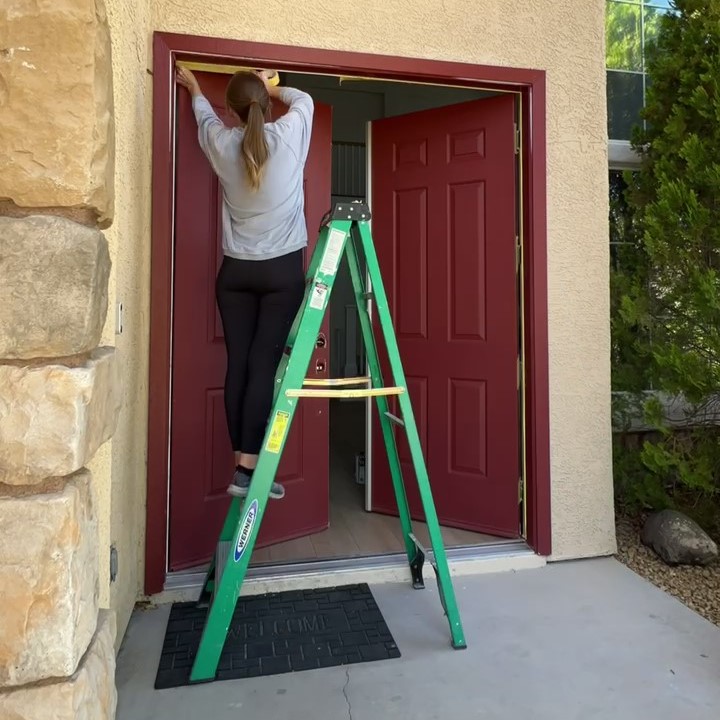
Then, I taped off the hinges. I actually saw our painters do this when they painted our interior doors, so I figured I could do the same on our exterior door!
I just used a big piece of painters tape to cover each door hinge:

Later, I came back to the door hinges and used a utility knife to cut off the excess painters tape around them so that the painters tape perfectly covers only the hinges themselves:

This is probably the most helpful trick I learned from the professionals on how to paint a door without removing it!
Lastly, I added painters tape around our exterior door frame to protect the stucco around it:
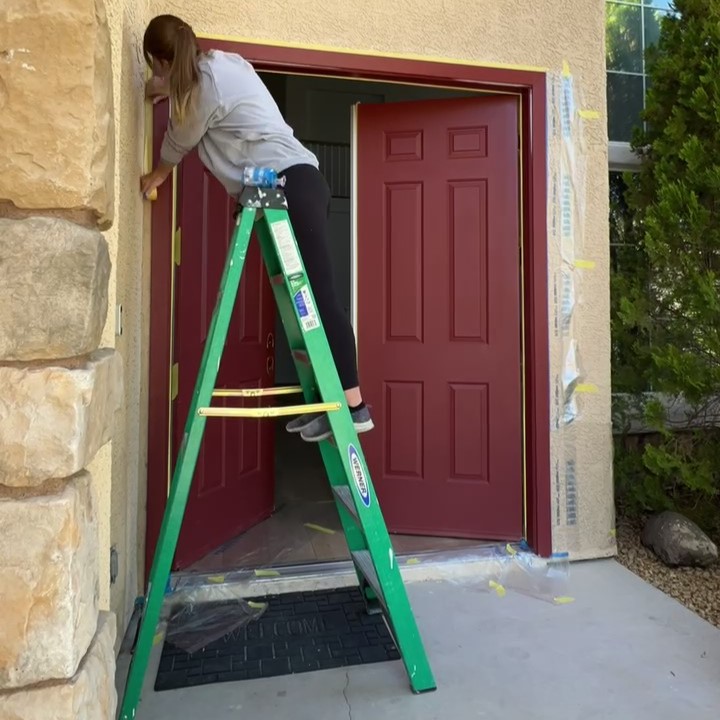
Paint the front door
This was the exciting part!
Is it possible to paint a door without sanding? My answer is yes! Between the cleaning and the primer, I was able to skip the messy and time-consuming step of sanding completely. I actually painted kitchen cabinets without sanding as well.
To paint the front door, I did one coat of my favorite primer and then three coats of paint in total to go from a dark red door to a crisp white door.

I started each coat by painting along the inside first so that this area had as much time to dry was possible in case I had to close the door at any point:
Then, I moved on to the door and the trim.
It usually get worse before it gets better! The door looked pretty scary after only that first coat of primer, ha!
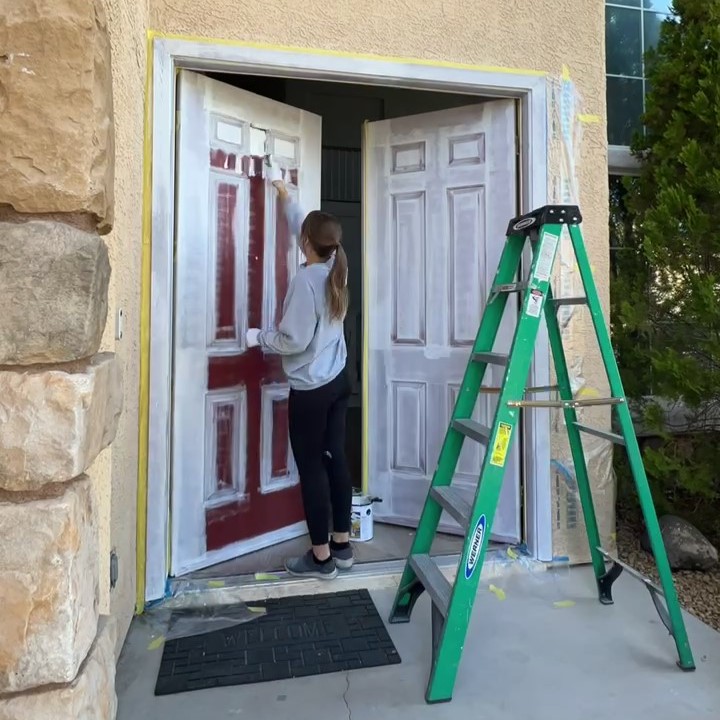
From there, I could see the vision come to life with the subsequent coats of actual paint:
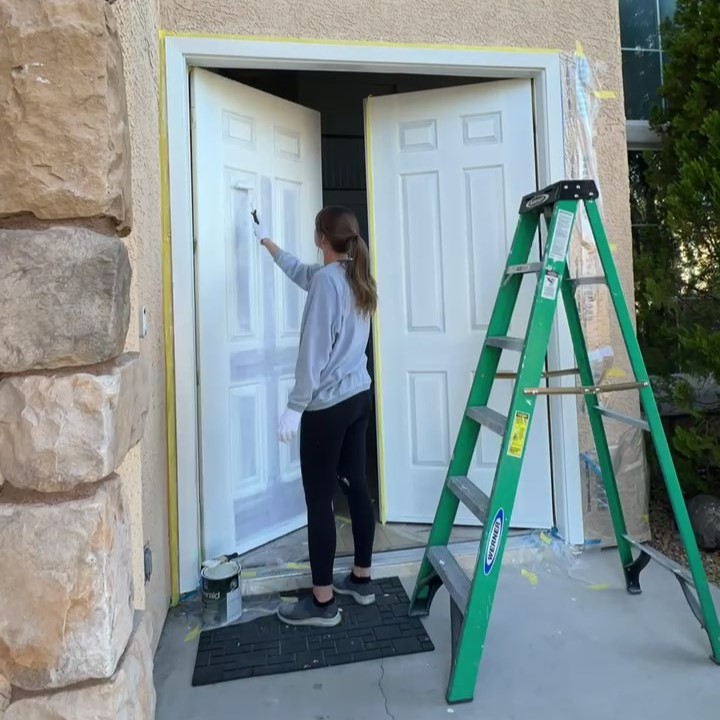

Decorate the front door
The final step in this front door transformation was to decorate it!
I ordered several wreaths online that I didn’t end up liking before I finally found wreaths that I loved. They look so realistic and I think the pop of color is perfect for our white front door!
The second thing I wanted to add to our exterior door was a layered doormat. I’ve been seeing them all over Pinterest lately. I ordered this outdoor rug and added a DIY doormat on top. This is the larger size plain doormat I used to paint during a fun girls craft night. I love how it turned out!
Finished front door
Here is our front door transformation! I can’t believe how much repainting the front door transformed the look of our entry:

I’m so excited about this layered doormat look with the outdoor rug and DIY doormat I made by using leftover exterior paint! The outdoor rug is neutral enough that I’ll be able to switch this look our seasonally:

I love how the new wreaths add a little bit of color and they look so realistic!

I hope this post helped show you that painting a front door can be a really easy and satisfying DIY project!
Let me know if you end up repainting your front door!
Tina

What white paint did you use? I have a red door & want to change to white.
Hi there, I used Alabaster by Sherwin Williams!