Today, I’m so excited to share with you how we transformed the Hills House primary bathroom!
This early 2000s bathroom was actually the last space we updated before we moved into our new house and it desperately needed an update. Let me walk you through the details!

Note: This post may contain affiliate links, you can find more information in my disclosures here.
One of the main things I noticed when we first walked through this bathroom was the unique wallpaper in here!
Did you know that all of the bathrooms at the Hills House had wallpaper?
If I had to rank all three wallpaper designs, this primary bathroom would rank second for me. It’s somewhere in the middle between the awful wallpaper in the hallway bathroom and the somewhat neutral wallpaper that we removed in the guest bathroom.
Like the rest of the bathrooms, the primary bathroom also had carpet in it.
Let’s start with some of the first pictures I ever took of this space, before we look at what the primary bathroom transformed into!
Before the bathroom remodel
Here’s what the primary bathroom looked like when we bought the Hills House!
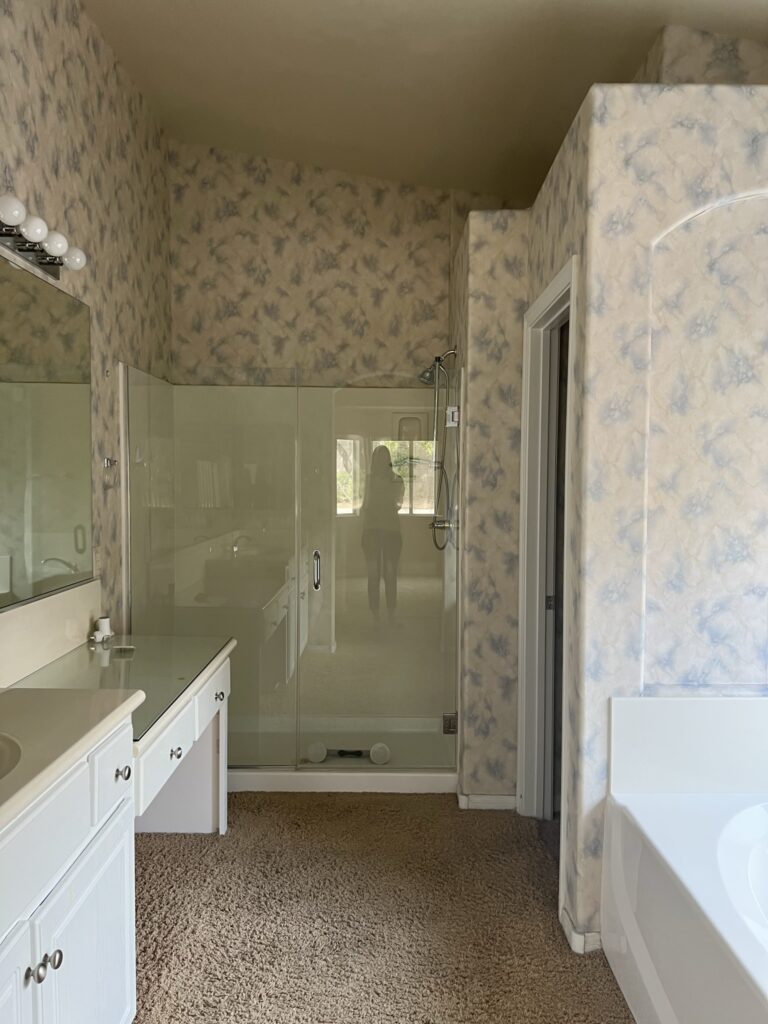
The showers and the bathtubs were in really good condition throughout the whole house, including this primary bathroom. We decided early on that we would keep those during any future remodels.
One thing that was always weird to me, were these unnecessary drywall structures. It seems like a lot of work for the builders but for worse aesthetics and a place for dust to collect?
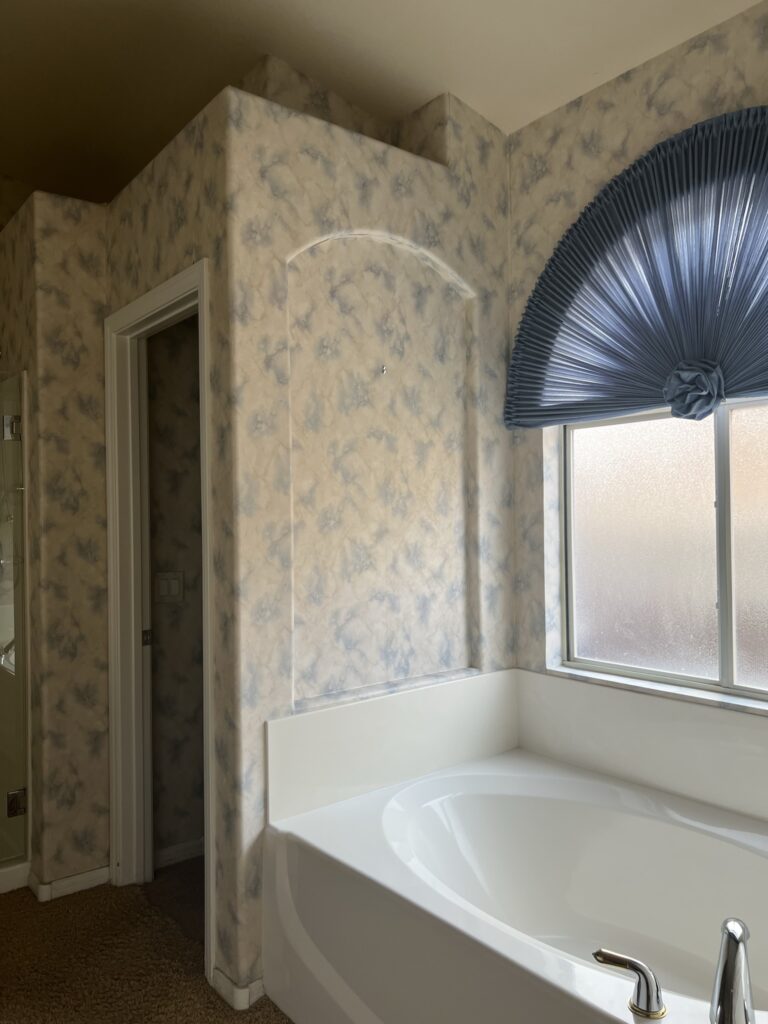
You might remember that we removed a lot of drywall structures during the kitchen remodel to simplify the layout and the walls.
Fun fact: All of the bathrooms had custom drapery that matched the wallpaper designs so I know a lot of thought went into each bathroom design. Our neighbor once mentioned that the previous owner had been featured in a magazine for her designs in past homes before moving into this house in the early 2000s.

The wallpaper was applied to all the walls in the Hills House primary bathroom, including the water closet:

Can you image how much work it was to install this wallpaper? But also, how much work it was to remove all the wallpaper? By far my least favorite task during this bathroom remodel!
Here’s a view of how the bathroom was connected to the bedroom:
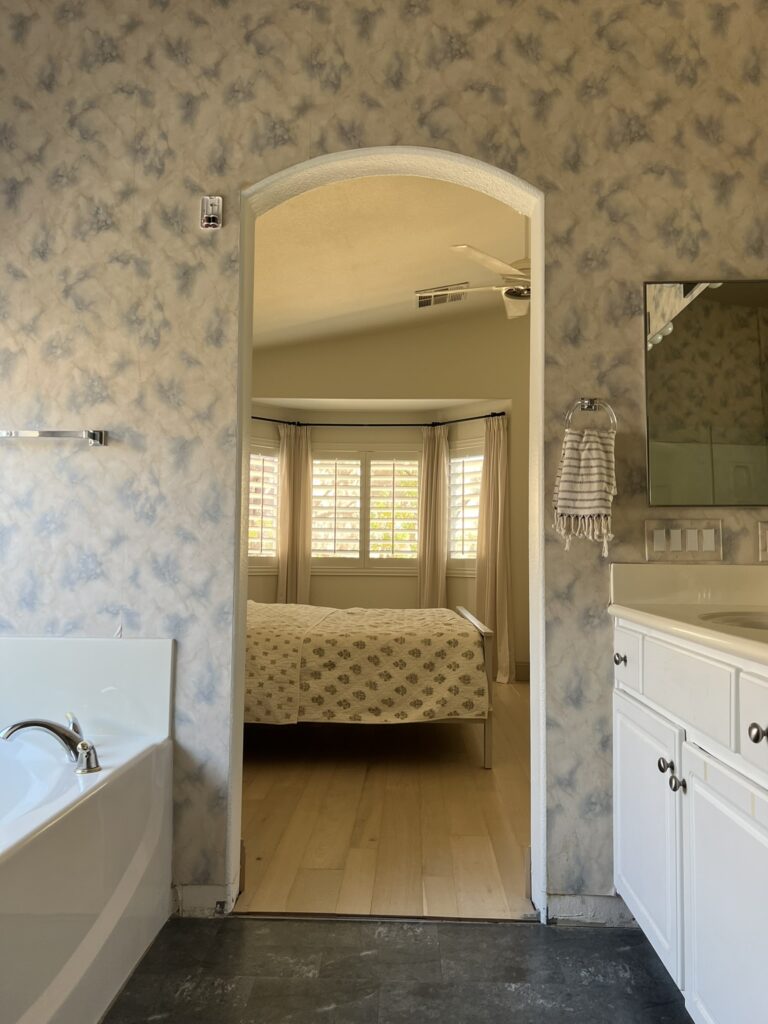
Just like the guest bathroom, this bathroom also didn’t have a door! Have you come across that before?
Bathroom remodel
Let’s get into what we did to transform this bathroom!
We started by removing the sink and vanity along with the old wallpaper:
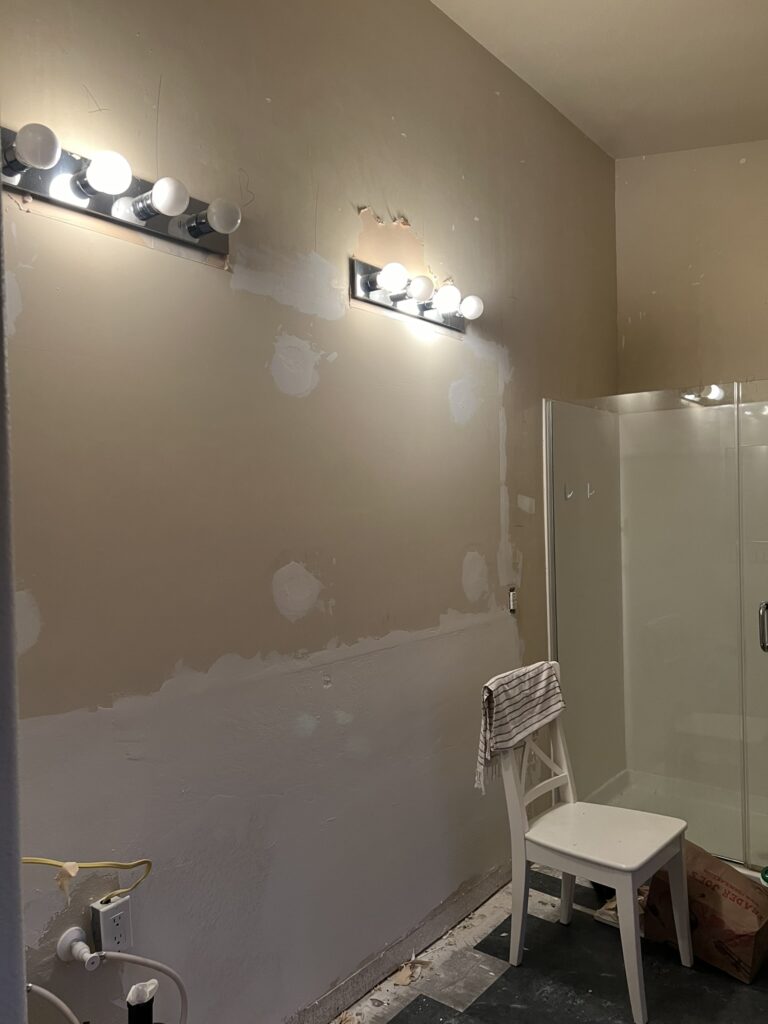
Removing the wallpaper was the most time consuming part of this remodel!
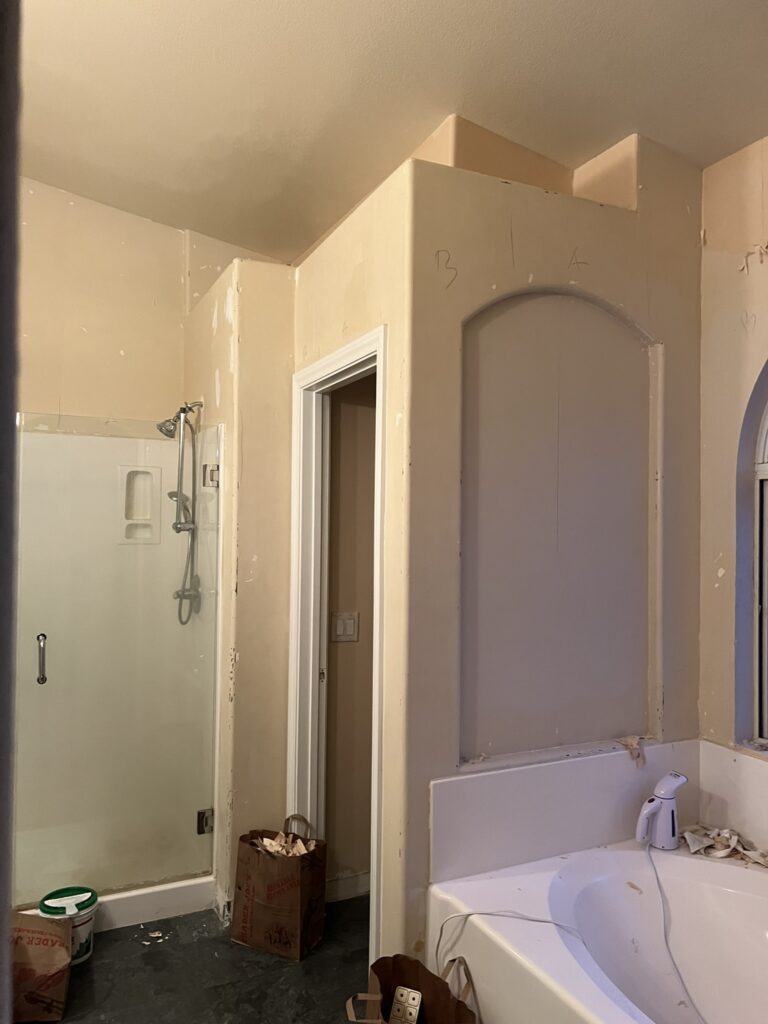

Next, our plumbers added another drain and waterlines because the previous vanity only had one. We also removed the temporary flooring to get ready for a new tile floor:

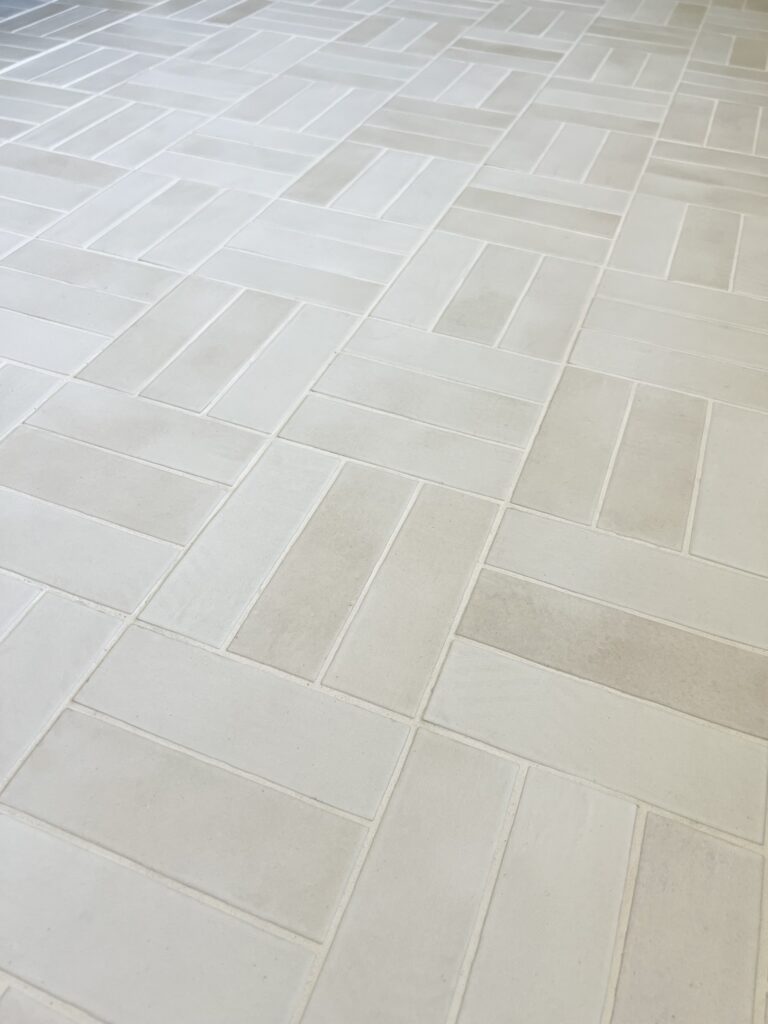
Then, we installed this beautiful Bedrosians Celine tile in a crosshatch pattern!
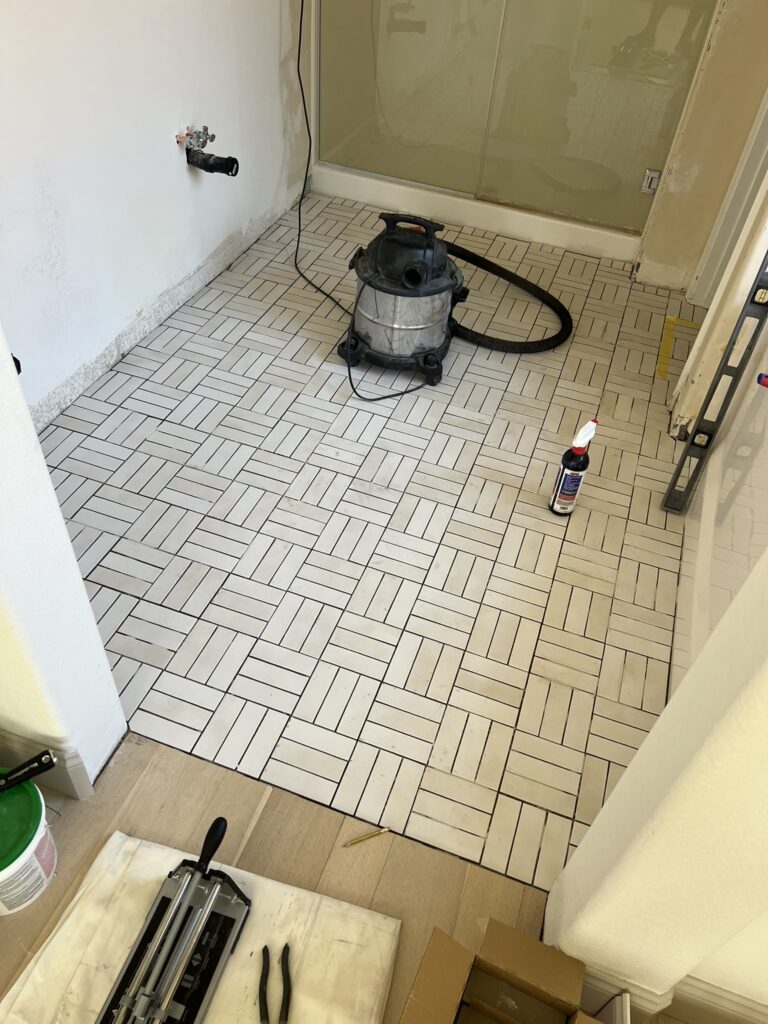
My husband spent so much time finishing this floor, I love how it turned out!


The vanity and wallpaper removal damaged some of the drywall so we had to patch a few spots to get the walls ready for paint!
We decided to hire out the paint in this bathroom:
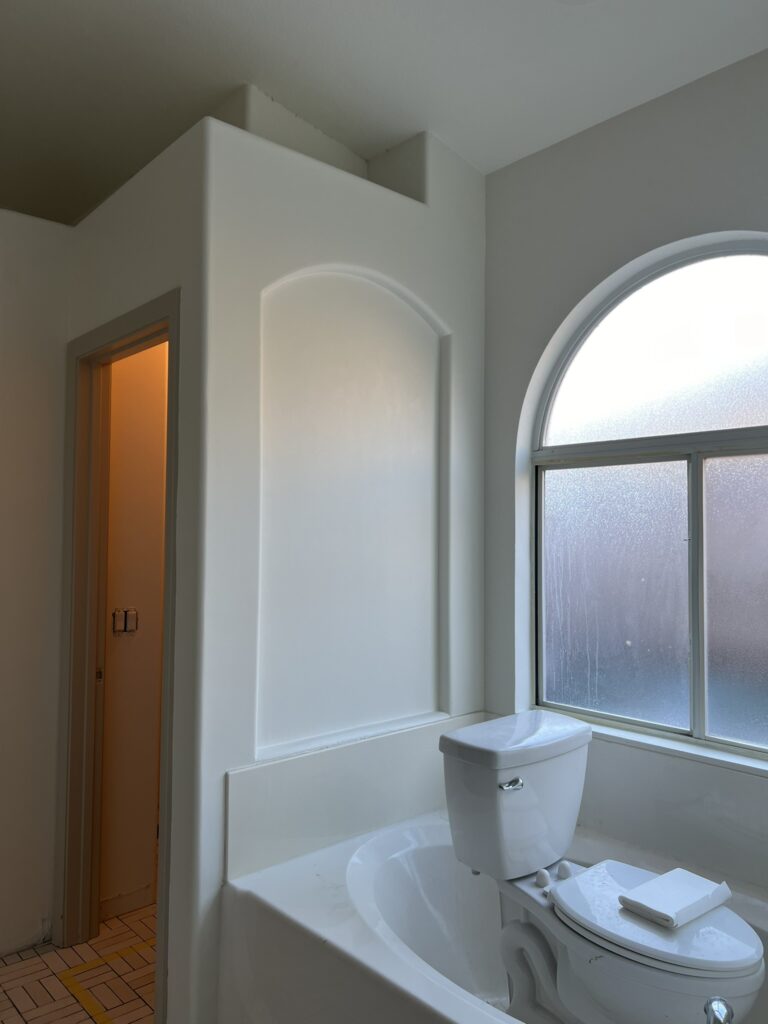
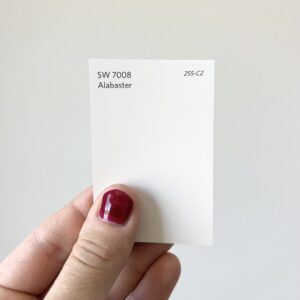
We used Alabaster on the walls and ceiling and Accessible Beige on the baseboards and door!
Once the painters were done, we installed the vanity lights:

Then, it was time to grout the floor!
Here’s what the floor looked like before the grout:
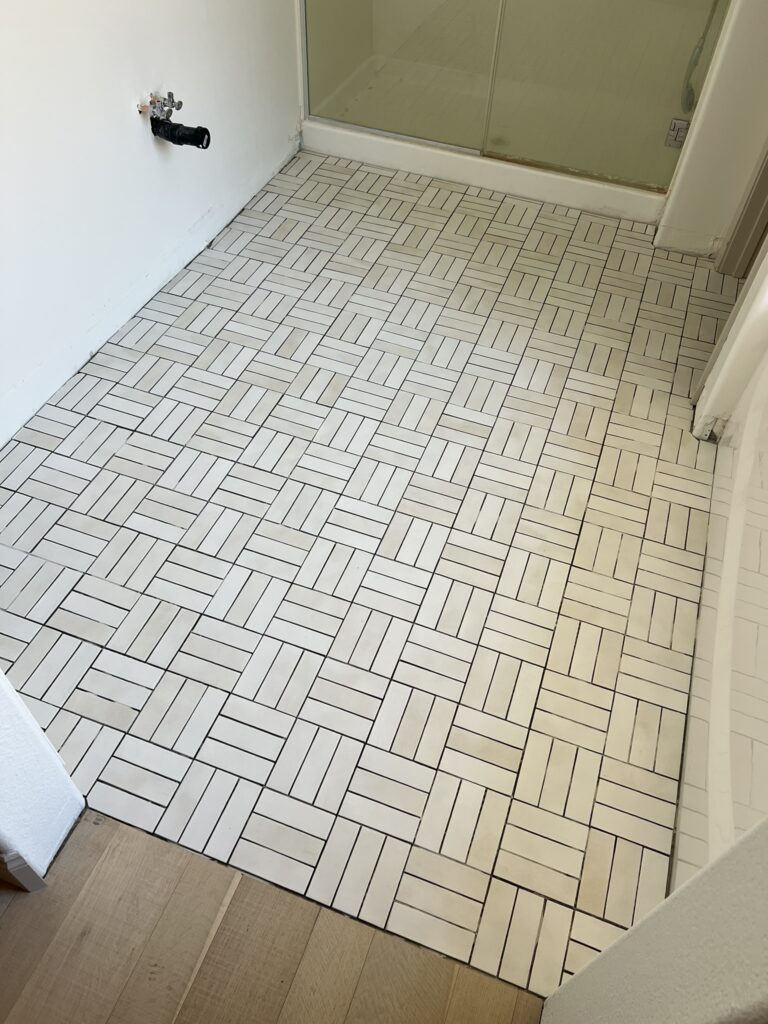
And here it is after applying my favorite grout:
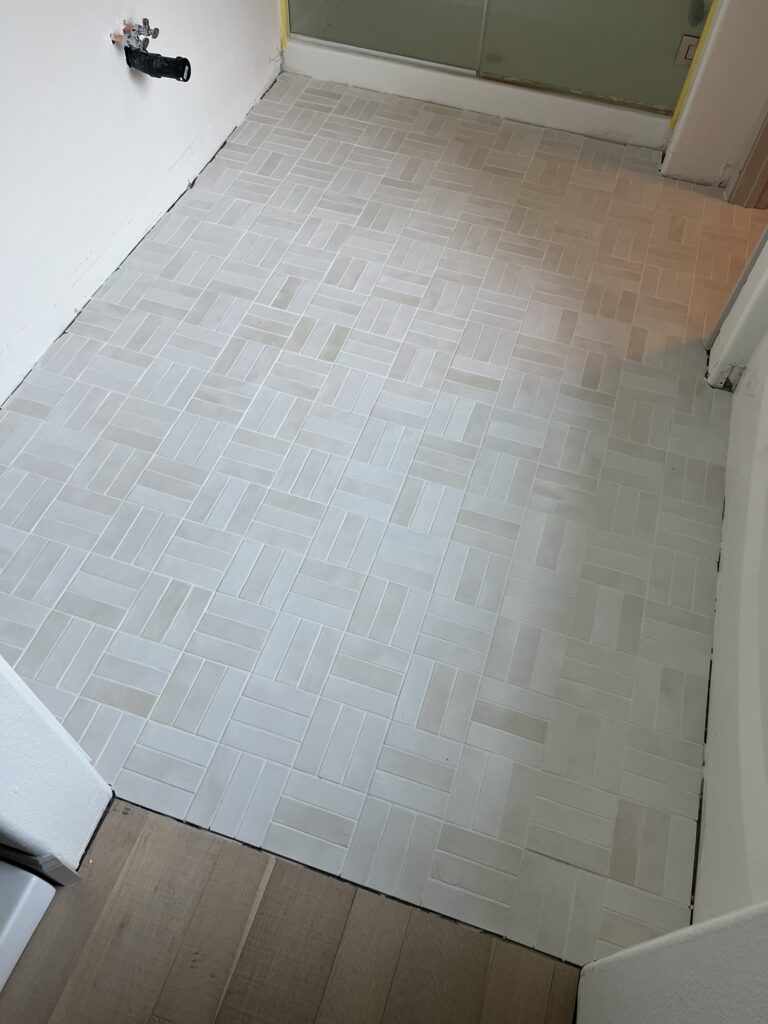
Doesn’t the grout make such a big difference?
At this point, the bathroom was really starting to come together!

Then we installed the finishing touches like the new vanity, sinks, faucets, mirrors, and baseboards and trim!
Note: We didn’t change out the existing shower or bathtub as those were still in good condition.
Finished bathroom remodel
I’m so excited to show you the finished primary bathroom!
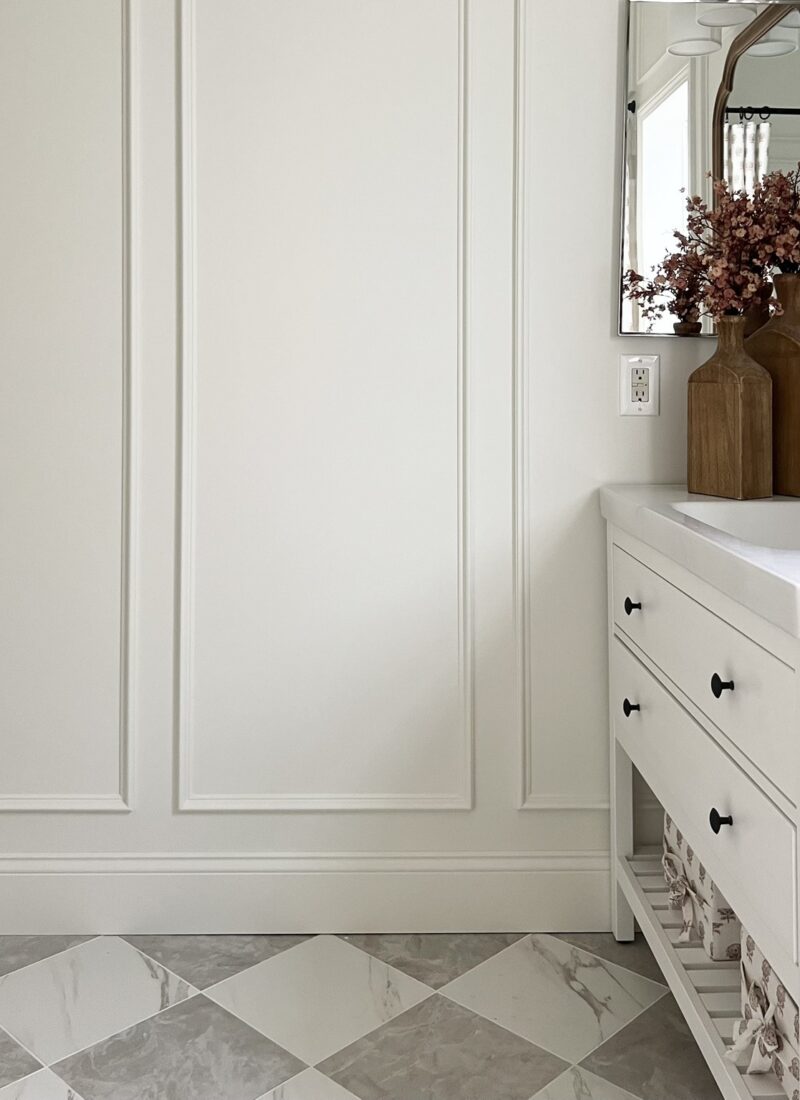
Here is the new vanity area:

We made a custom vanity out of three IKEA HEMNES vanities:

I painted them all Accessible Beige by Sherwin Williams just like our painted kitchen cabinets!

I also changed the color of the knobs that the vanities came with using Rub n Buff:


We used the IKEA EKBACKEN laminate countertop as one long countertop for the whole vanity with vessel sinks on top:

Here is the countertop up close:
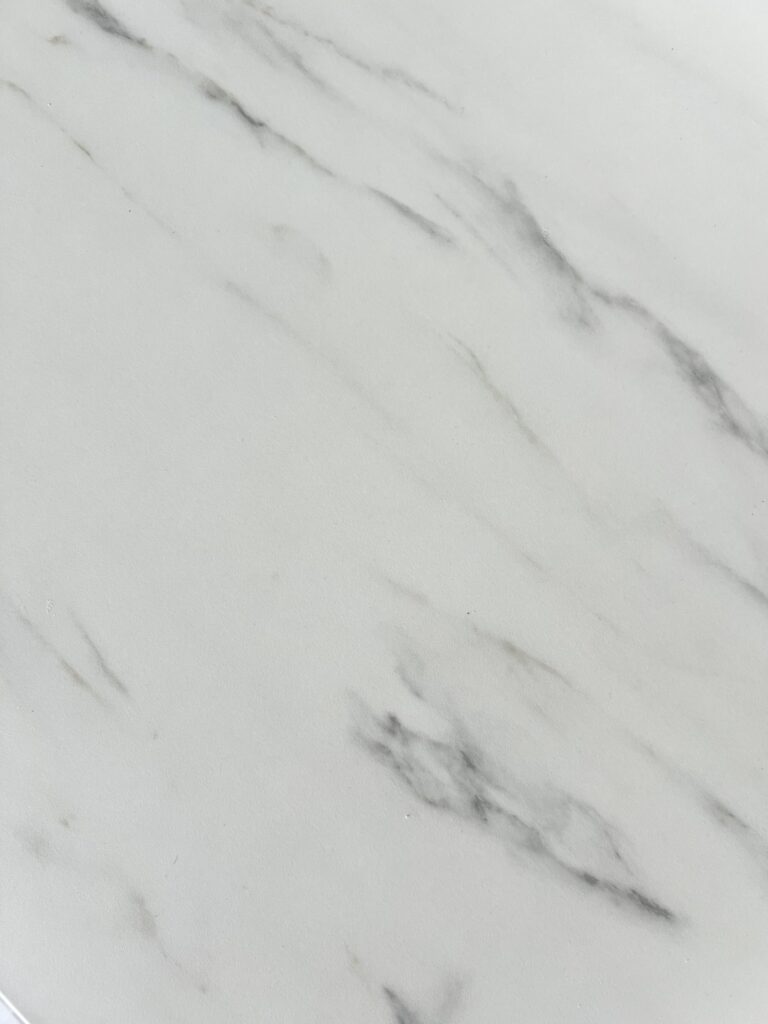
It resembled the look of our Silestone Calacatta Gold countertop in the kitchen a little bit!
I also added this decorative trim around the door.
The Hills House has textured walls throughout except in the bathrooms where the wallpaper was installed. The walls are smooth in all the bathrooms.
I was able to cover up the awkward transition between the smooth wall and the textured wall with this trim around the doorway! I love how it turned out and I think it completes this area:
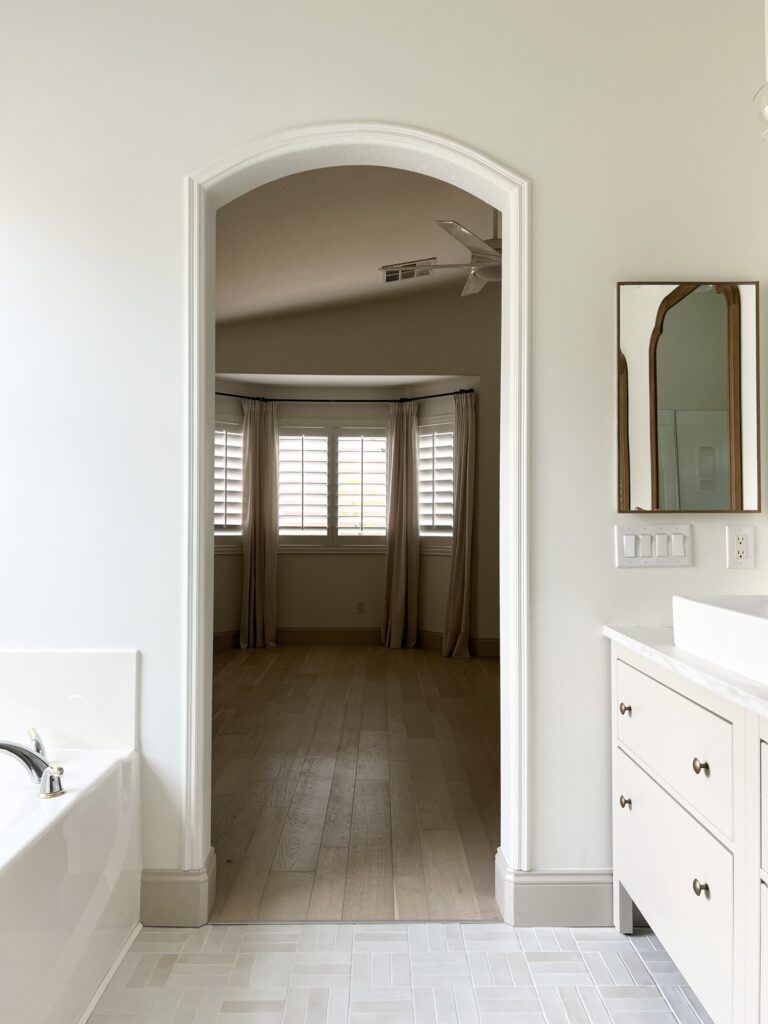
My favorite thing about this whole bathroom transformation is the tile floor!

This is the tile we used for the bathroom floor!
We used the Bedrosians Celine tile, which is similar to the Bedrosians Cloe tile that I used in this shower remodel and on this bathroom accent wall. They both have the variations in color and some texture. The Celine tile we used is matte though:
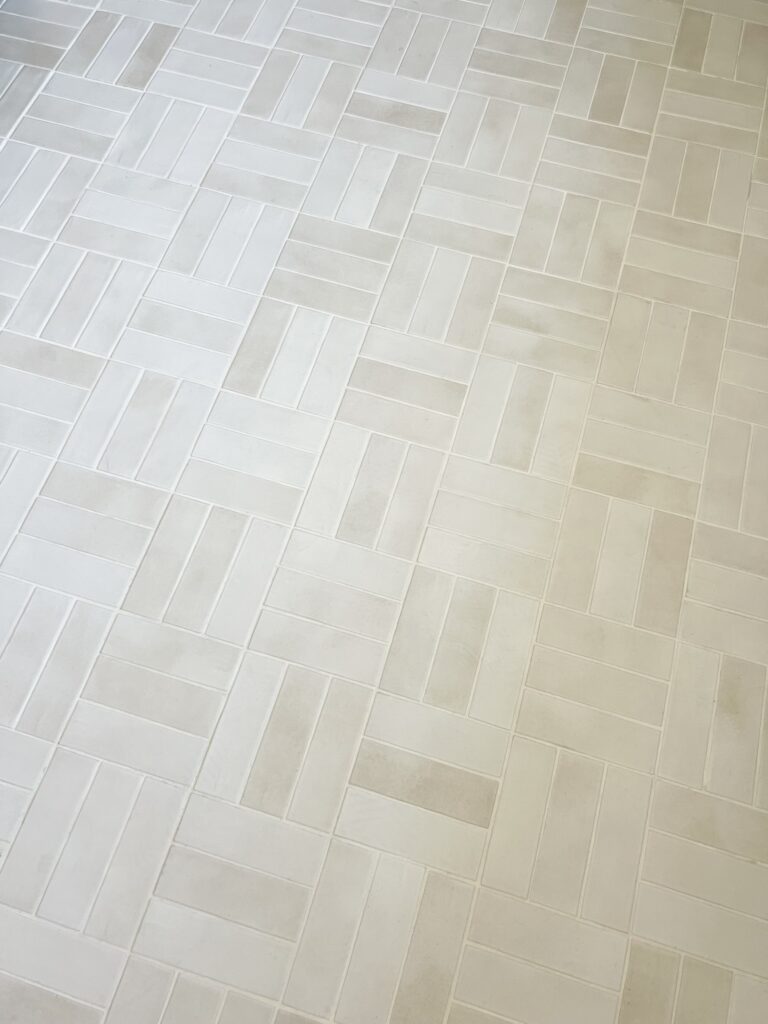
We installed the Bedrosians Celine tile in a crosshatch tile pattern and I love how it turned out:


Here is a close up of the Bedrosians Celine matte white tile with my favorite white grout, it’s called Avalanche!
I hope you enjoyed this tour of the finished Hills House primary bathroom!
Let me know if you have any questions at all,
Tina
Sources
Below are the products we used in this bathroom transformation!
Note: As mentioned in my post, the vanity was an IKEA hack where we combined three white IKEA Hemnes vanities with their EKBACKEN countertop. We also changed the color to Accessible Beige!

This looks beautiful. I have the exact same tile picked out for a bathroom floor in my house. I have been hesitating though because I worry it will be a pain to clean. How has the upkeep been on the flooring so far?
Hi Caitlin, we moved into our new house pretty shortly after installing the floor but I would say that any white/light tile and/or grout will typically be higher maintenance than something darker or an SPC floor. In our first home we had SPC floors in the bathrooms and those were super low maintenance but I do prefer the look of tile!