If you have a tight space with a door that feels too bulky or have a space that you want to be able to close off but aren’t able to go with a traditional door, I might have a solution! Let me start with a little bit of a back story:
I recently completed our laundry room makeover and the main reason why I wanted to renovate our laundry room was because it just wasn’t functional for our family. The door kept hitting the washer on our way in and the space felt really tight:
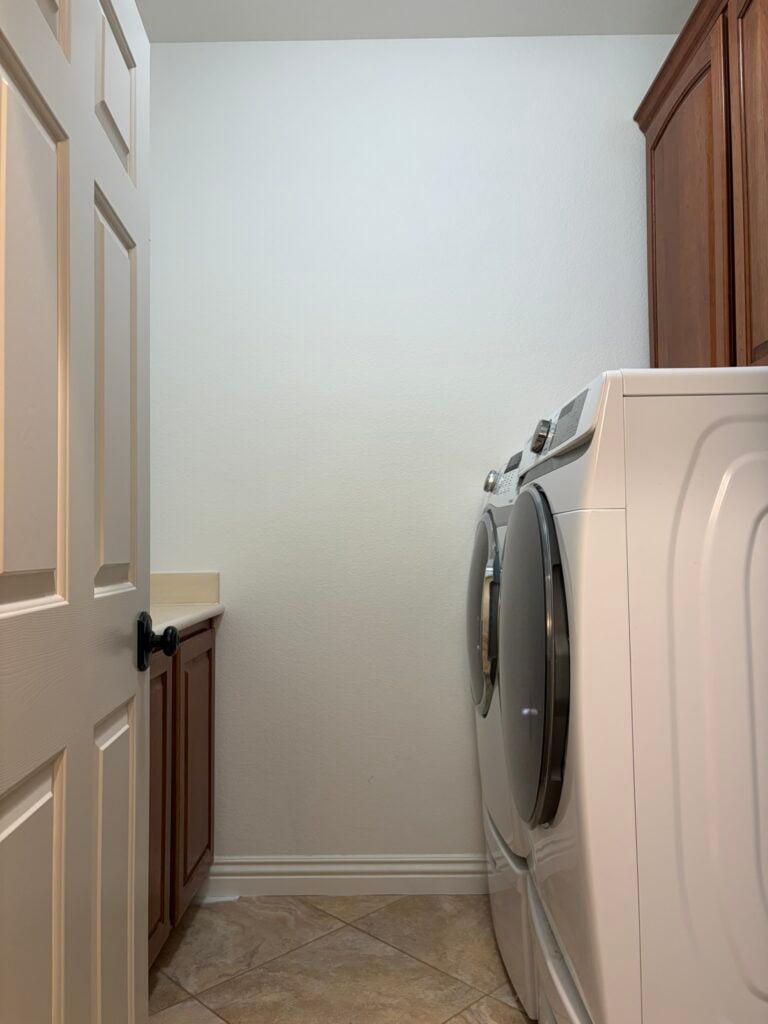
I took the door off and after remodeling and reconfiguring our laundry room I considered putting the original door back on but that would’ve meant that anytime I wanted to reach the cabinets on the left side here, I would need to close the door to get access to them:
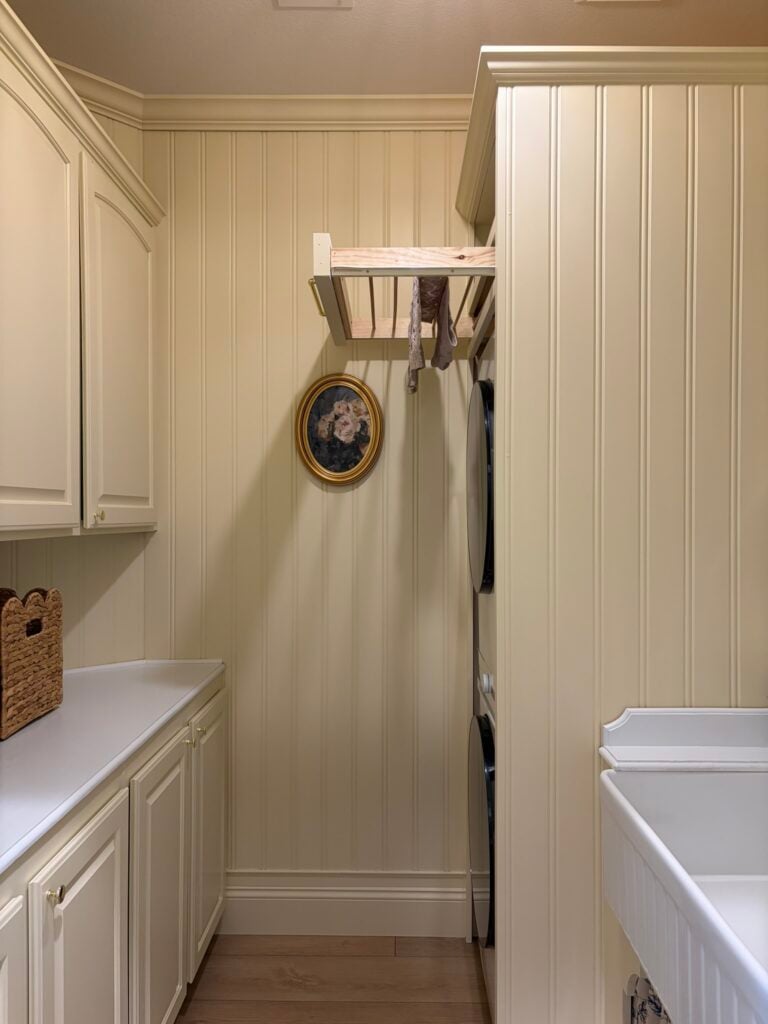
Then, I considered a pocket door but we have our AC control and the exterior doorbell on that wall:
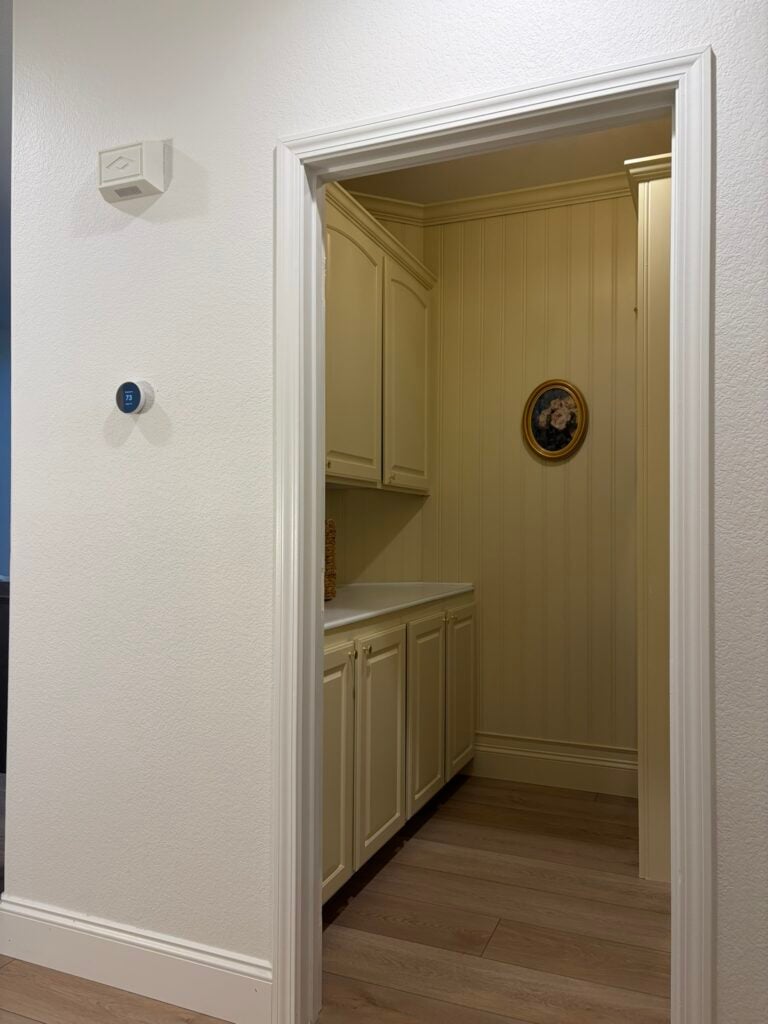
A pocket door seemed pretty complicated in this spot and so we lived without a laundry room door for a few months until I was introduced to the hidden barn door!
Note: This post is part of a paid collaboration with The Barn Door Hardware Store and may contain affiliate links, you can find more information in my disclosures here. All opinions are my own.
What is a hidden barn door?
There are two main parts needed to install a barn door:
- the barn door rollers
- the barn door track
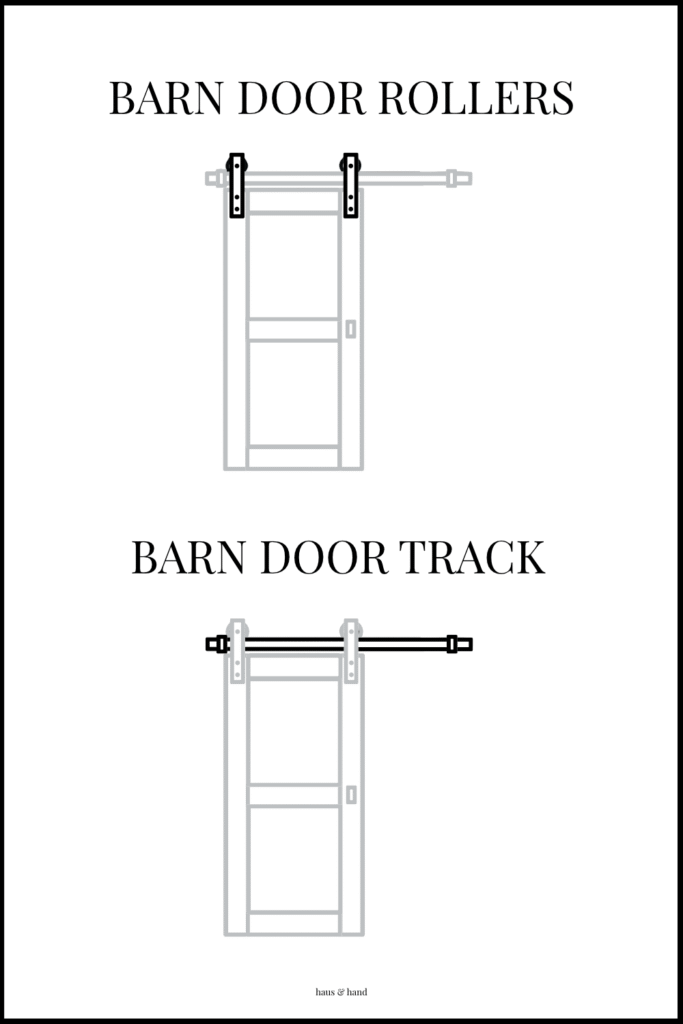
The main difference between a traditional barn door and a hidden barn door is in the barn door rollers:
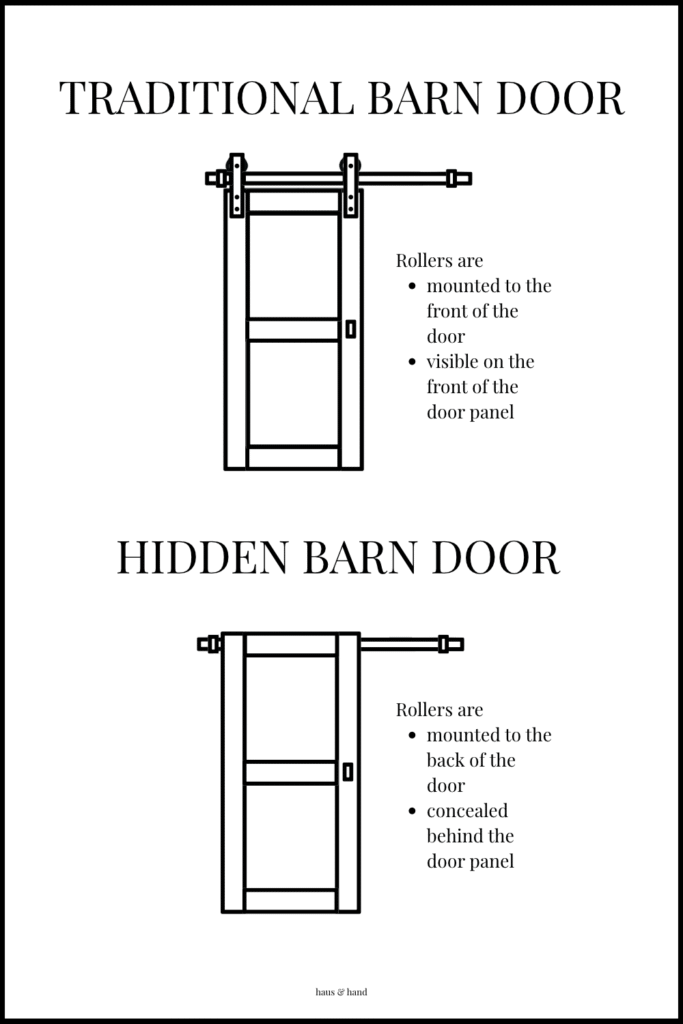
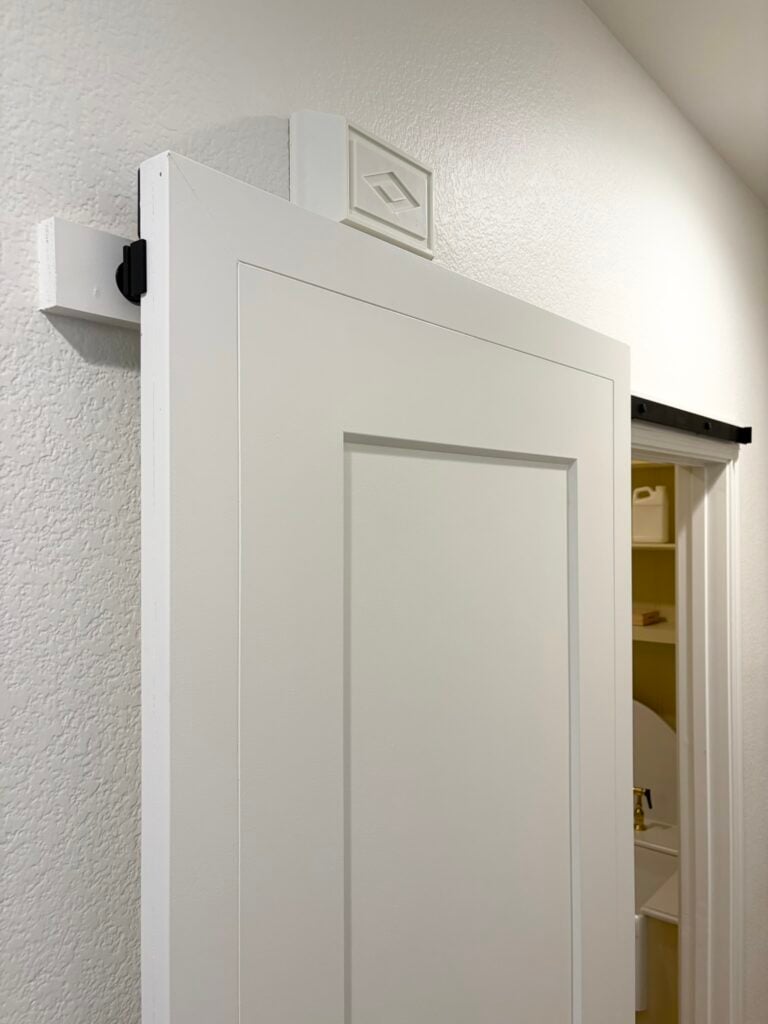
A hidden barn door hardware kit conceals the rollers behind the door panel because the two rollers are mounted to the back of the door instead of the front. When the door is installed and closed, there is no visible roller hardware on the door’s surface:
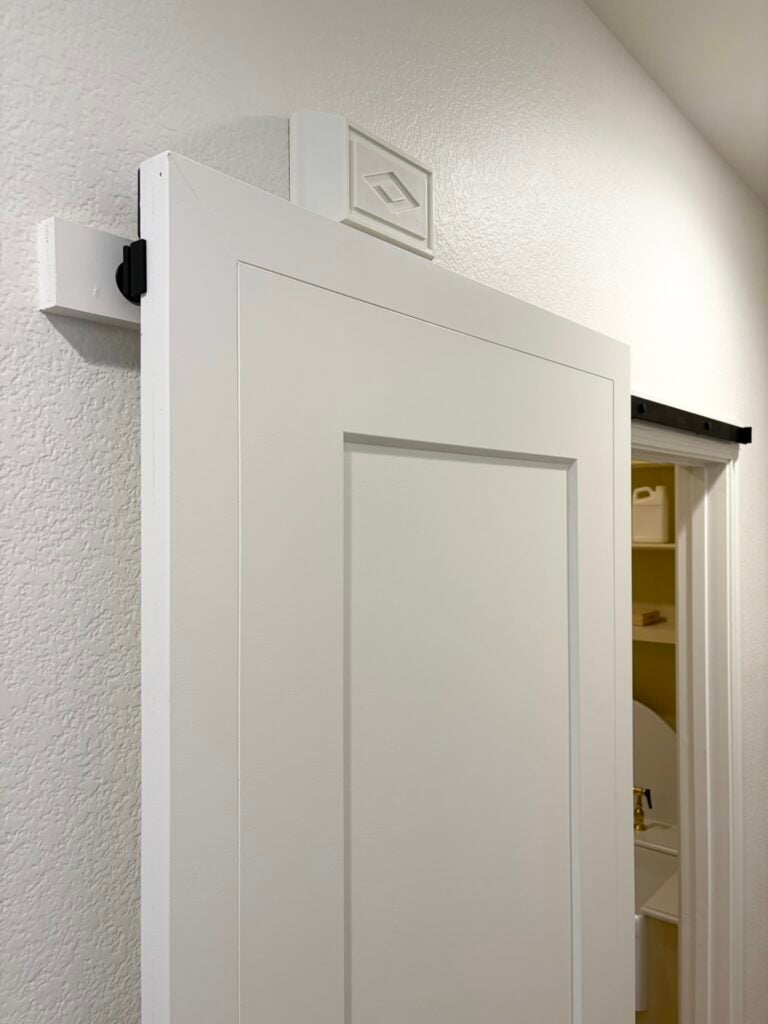
The track is still mounted to the wall like with a traditional barn door and the only things visible are the track face beyond the door’s width, the track stops, and the wall mounting hardware:
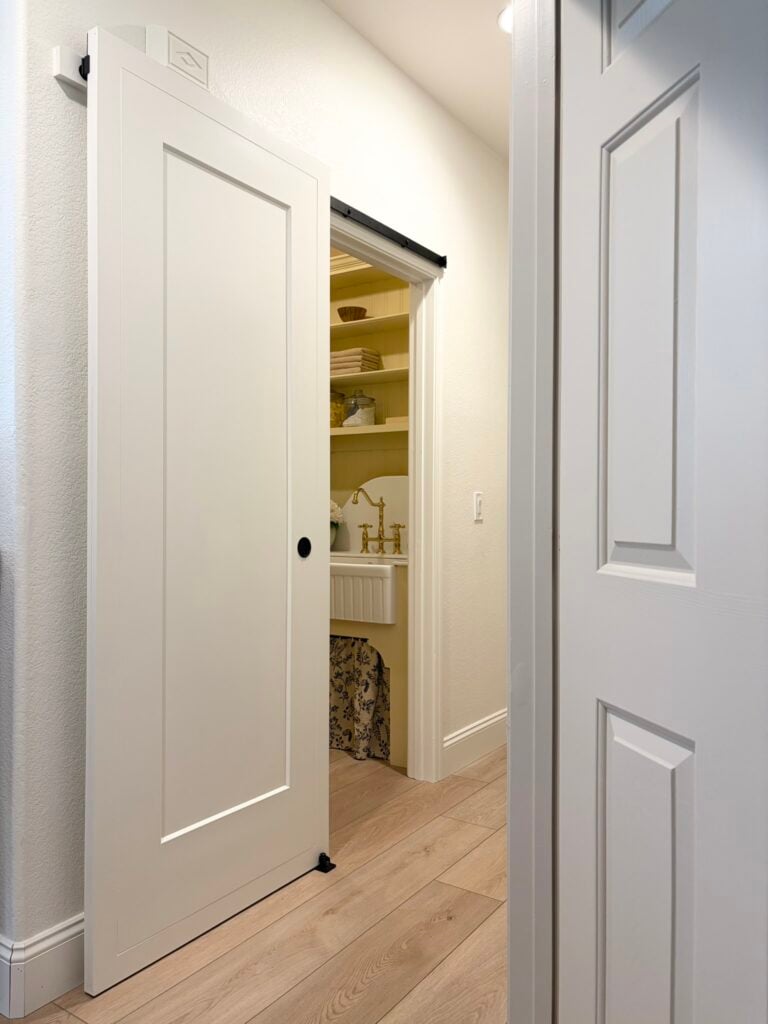
Hidden barn doors are perfect for spaces where you already have a lot of competing design elements or spaces where you just prefer to keep the barn door less intricate. A hidden barn door is the perfect barn door alternative for those spaces!
How I installed our hidden barn door
Installing a hidden barn door is very similar to installing a traditional barn door, let me show you!
Materials
- hidden barn door hardware kit
- barn door
- premium pine board
- screws
- wood filler
- caulk
- primer (optional)
- paint (optional)
Tools
- measuring tape
- level
- drill
- drill bits
- sand paper
- paint brush (optional)
Step 1: Measuring the space
The first step was to measure and mark where the barn door track would need to be installed:
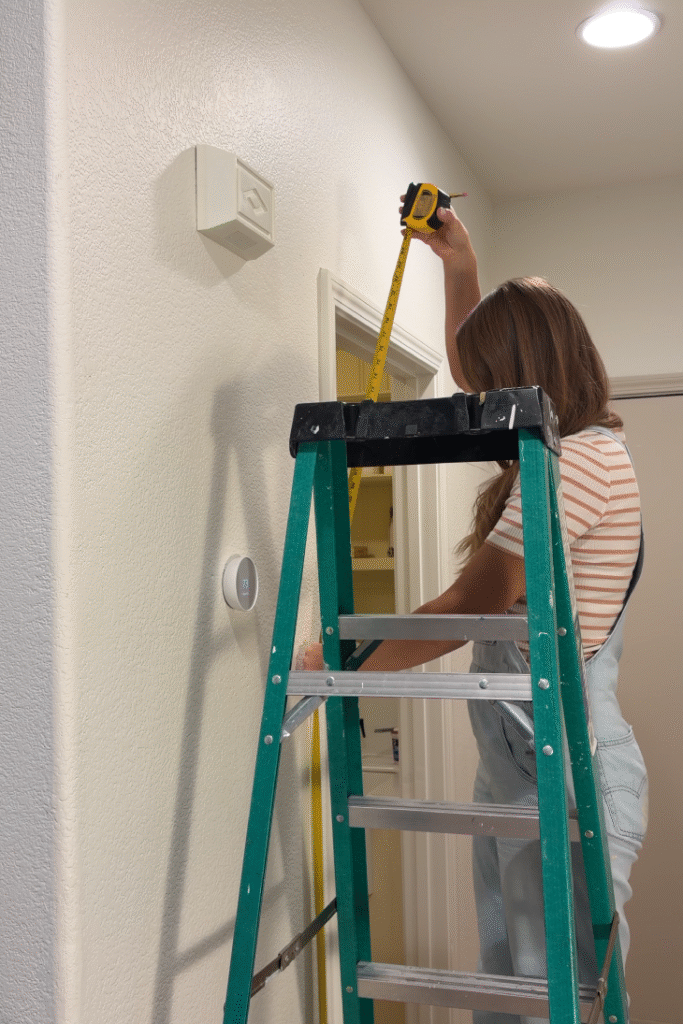
Note: I took a lot of the measurements before ordering my hidden barn door kit because they’re custom made to fit your space!
Step 2: Installing the header board
The next step was to install the header board. The Barn Door Hardware Store recommends a 1×6 hardwood header board (oak, maple, or poplar) for most installs. This is a wood board that is attached to the studs in the wall and it provides a secure mounting surface for the barn door track.
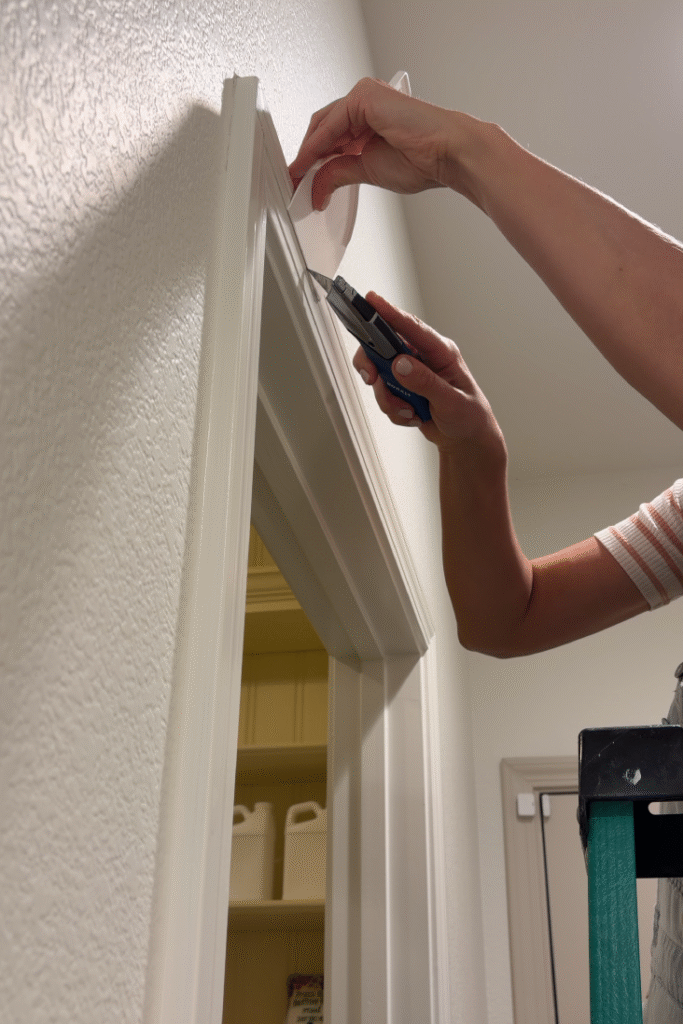
First, I removed some of the existing door trim:
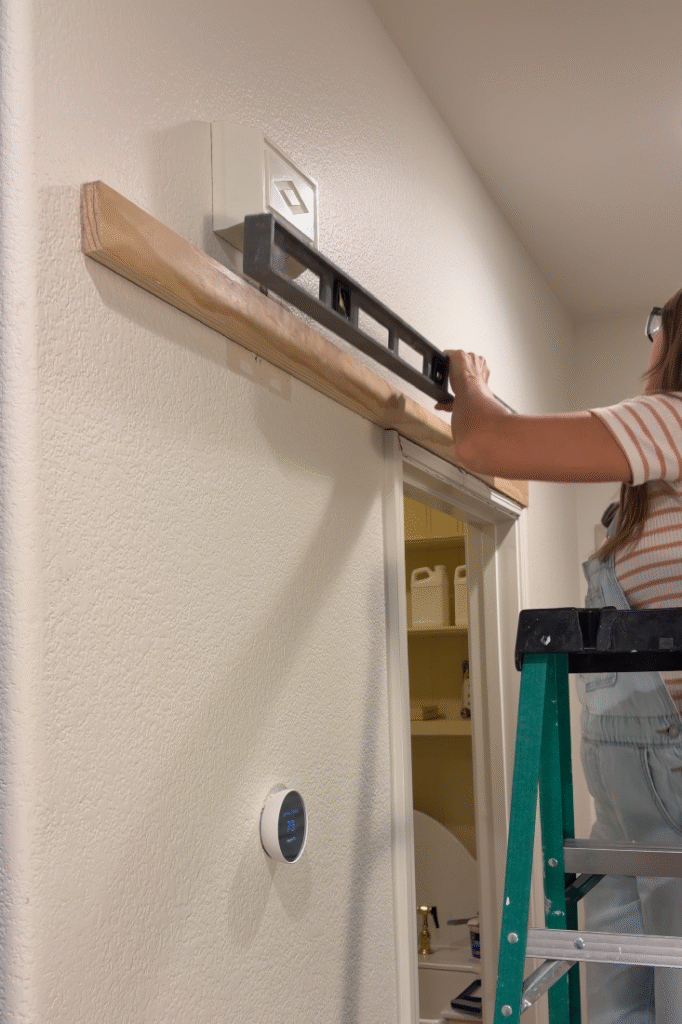
Next, I attached the header board to the wall and made sure that it was level:
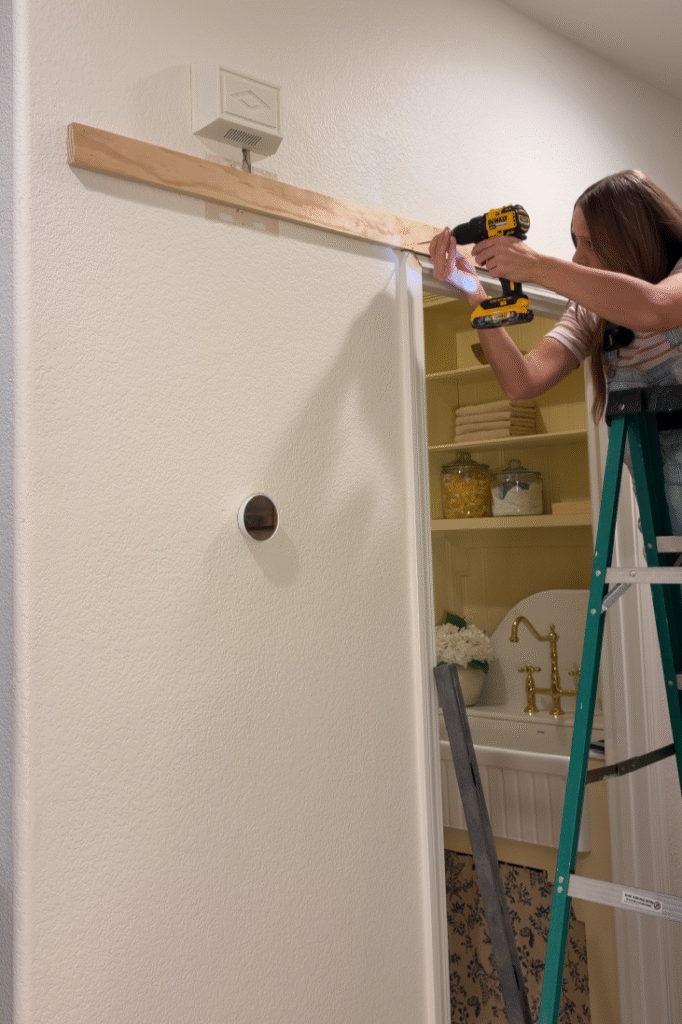
I drilled my screws into the header board, through the drywall behind it and into the studs:
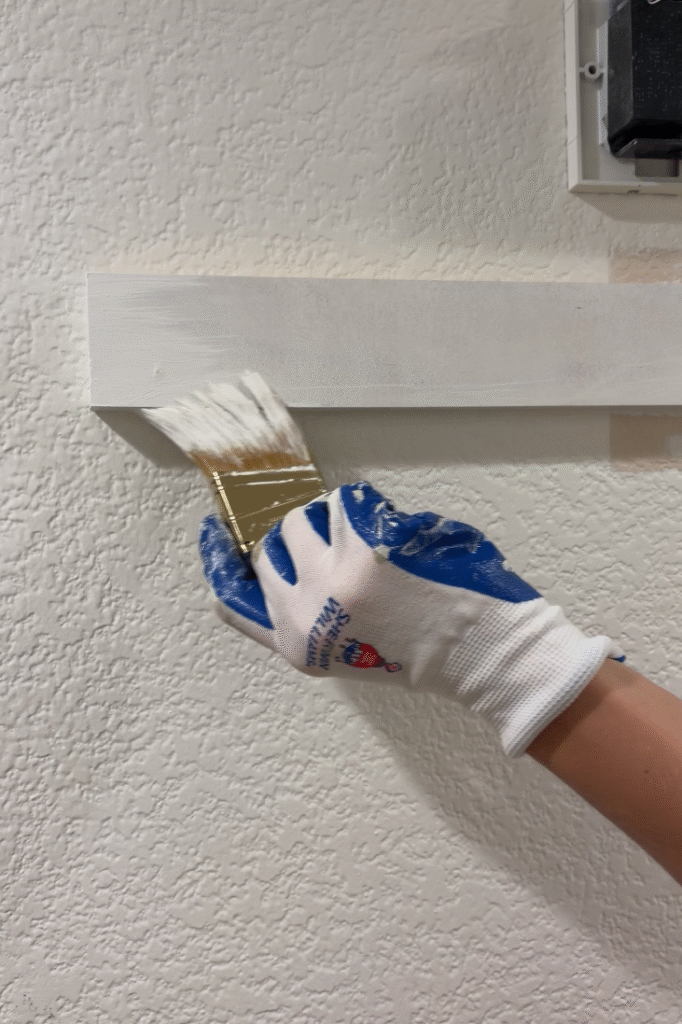
Then, I patched the holes and painted the header board white to match our walls!
Step 3: Mounting the barn door track
Once the header board was secured, it was time to install the barn door track!
I started by drilling pilot holes:
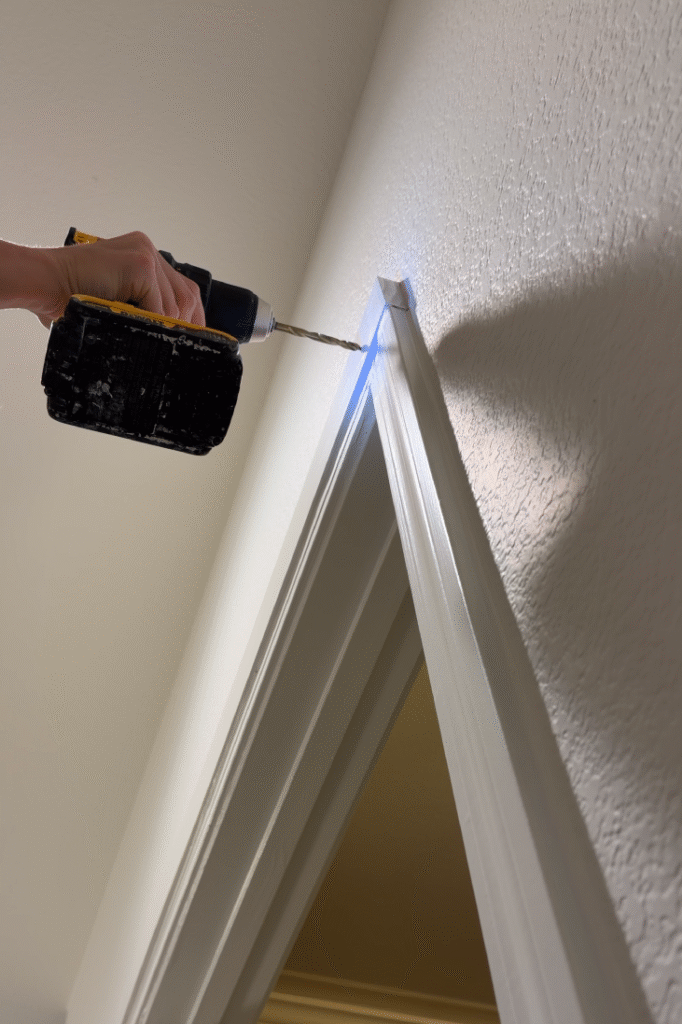
Then, I screwed the screws in a little bit by hand!
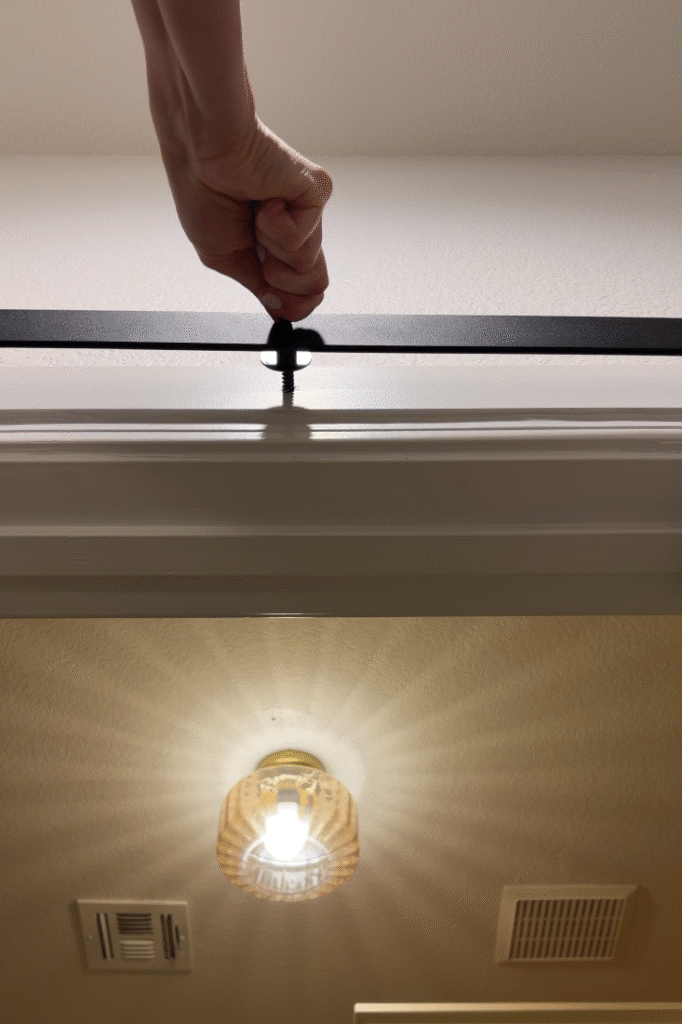
Once I had them all in place, I got a wrench and finished securing them:
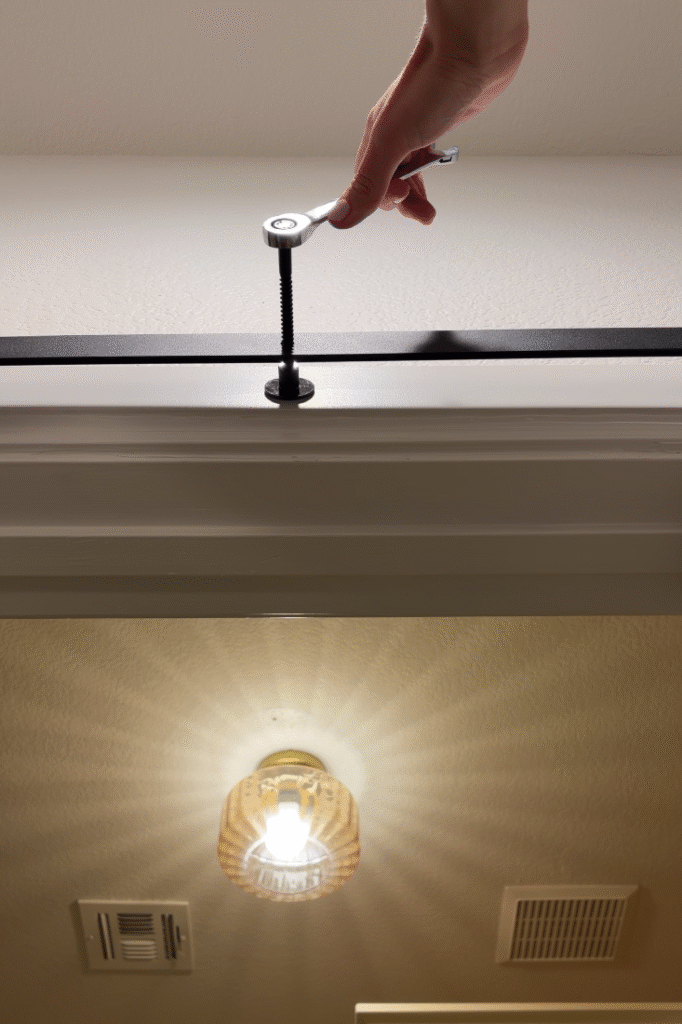
Step 4: Installing the barn door rollers
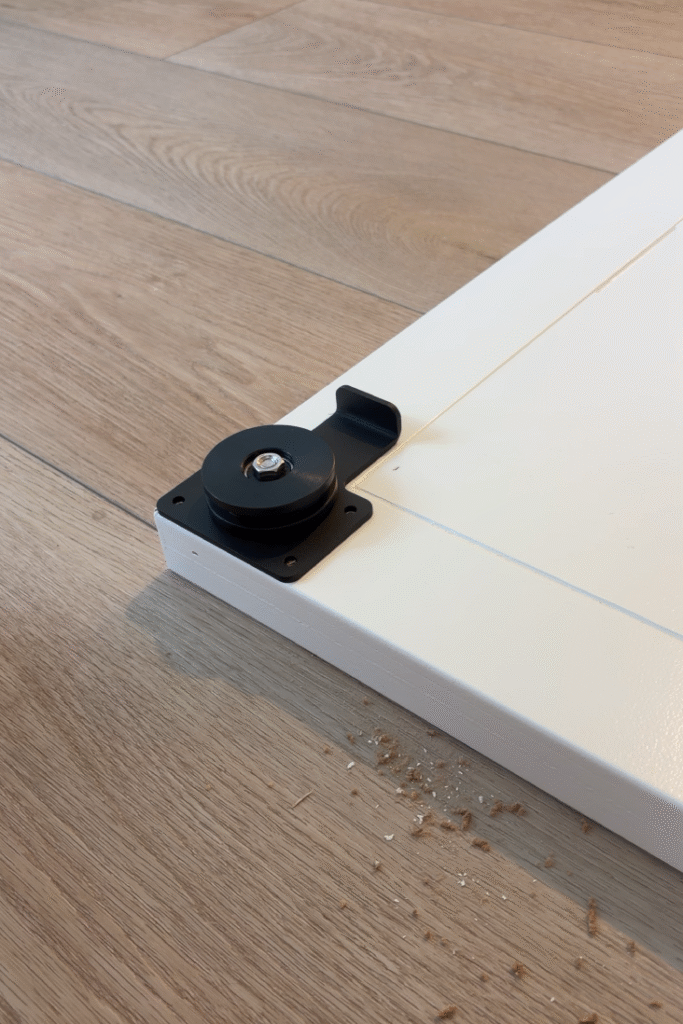
After that, I was ready to install the barn door rollers for our hidden barn door! This is the part that is special about a hidden barn door vs a traditional barn door. The rollers are mounted to the back of the door instead of the front.
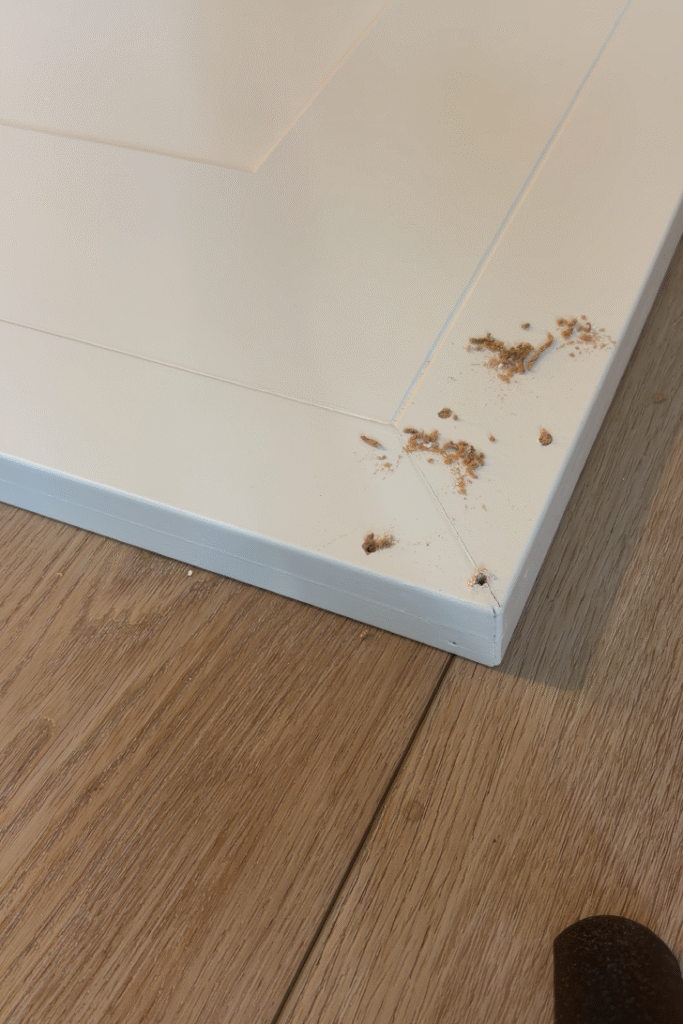
I started by drilling pilot holes into our new door:
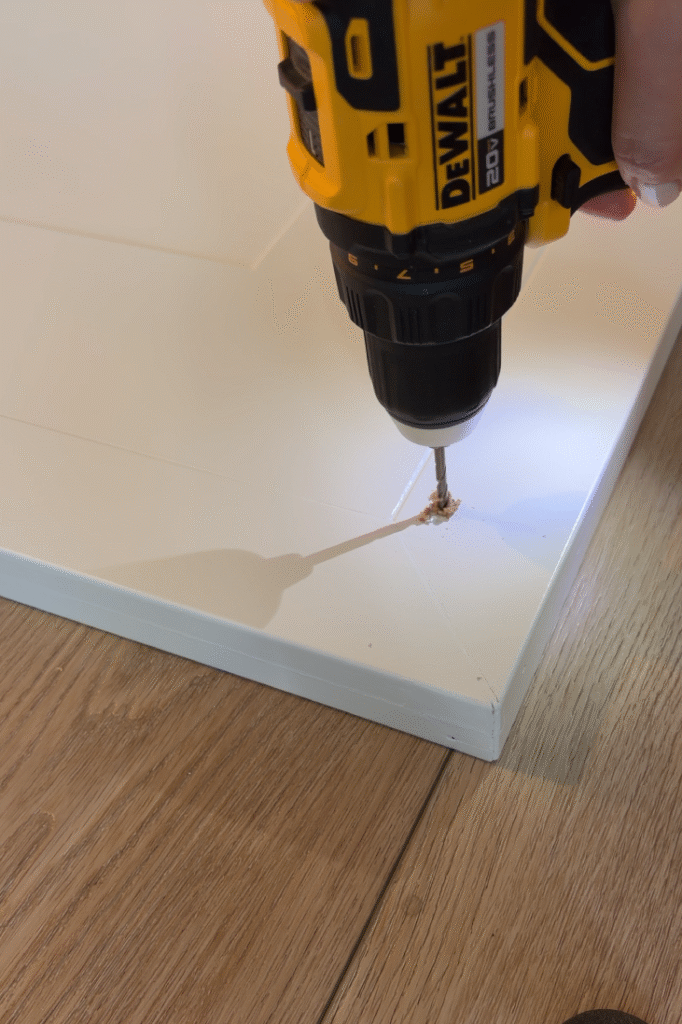
Then, I added the rollers:
Step 5: Attach the floor guide
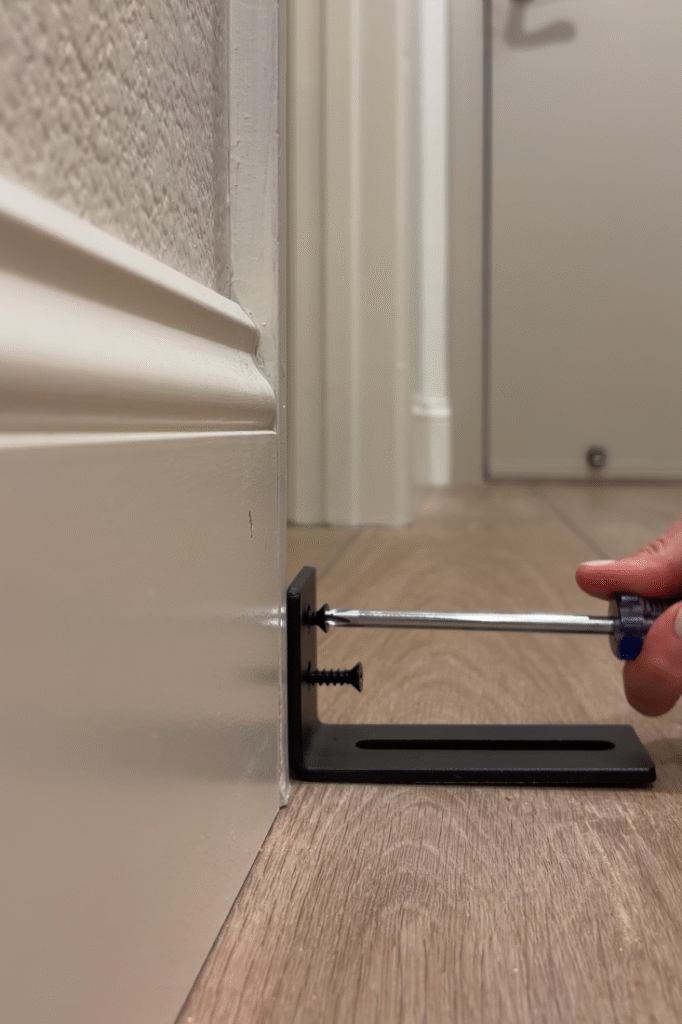
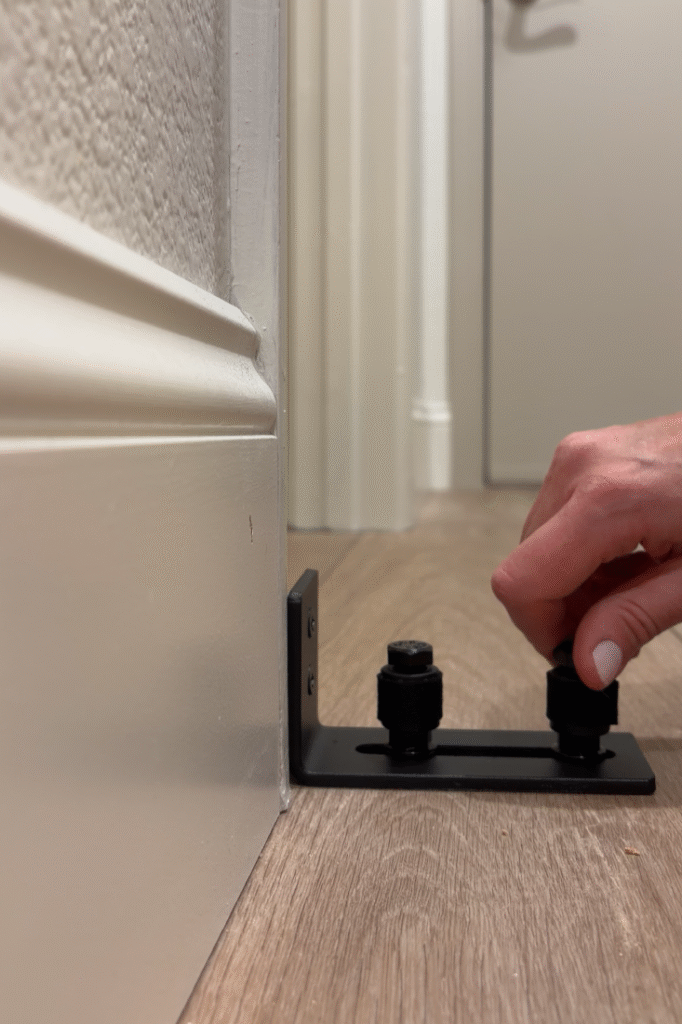
The last step before hanging the barn door was to install the floor guide. The floor guide helps keep the barn door in place and on track and it prevents it from swaying forward or backward.
I secured the floor guide:
After that, I added the rollers:
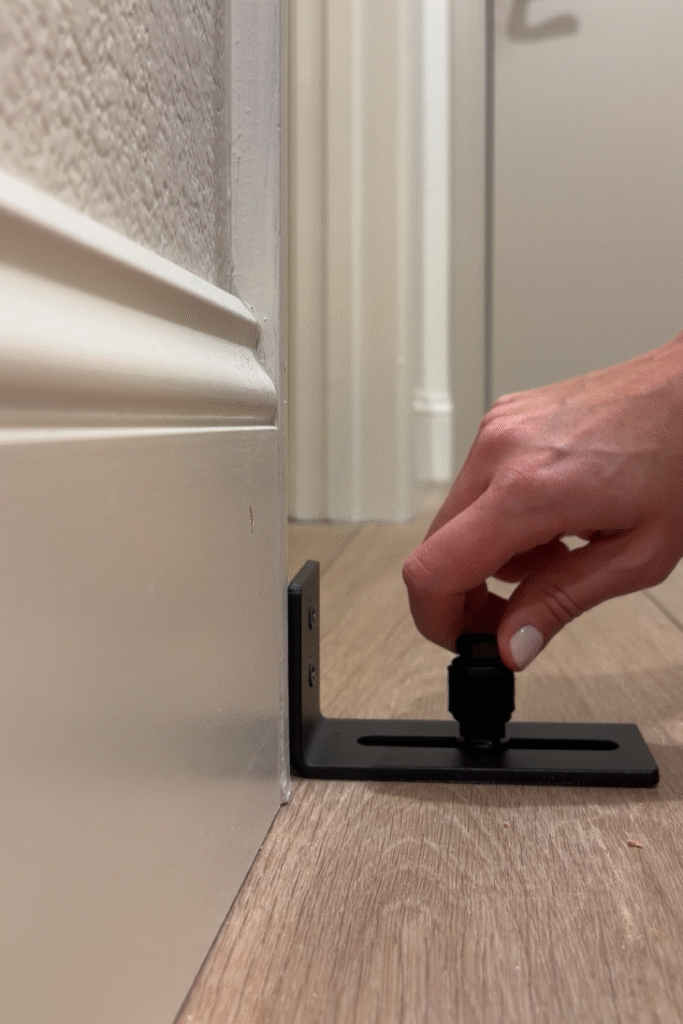
The rollers roll with the door as it glides between them and they are wrapped in a felt fabric to prevent scratching:
Step 6: Hang the barn door
The final step was to hang the barn door on the barn door track:
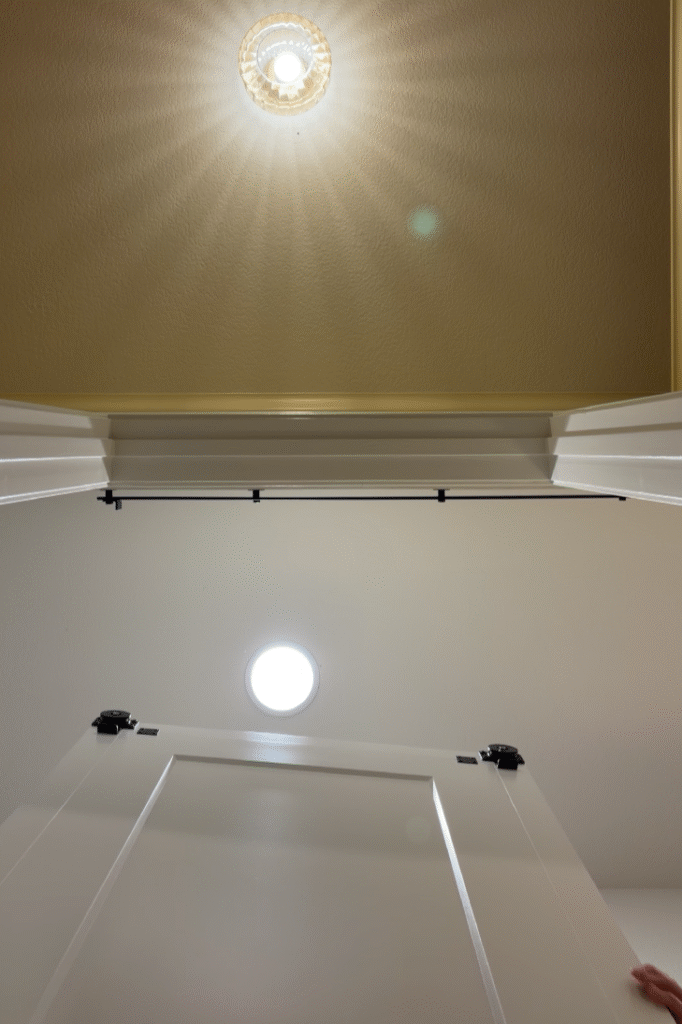
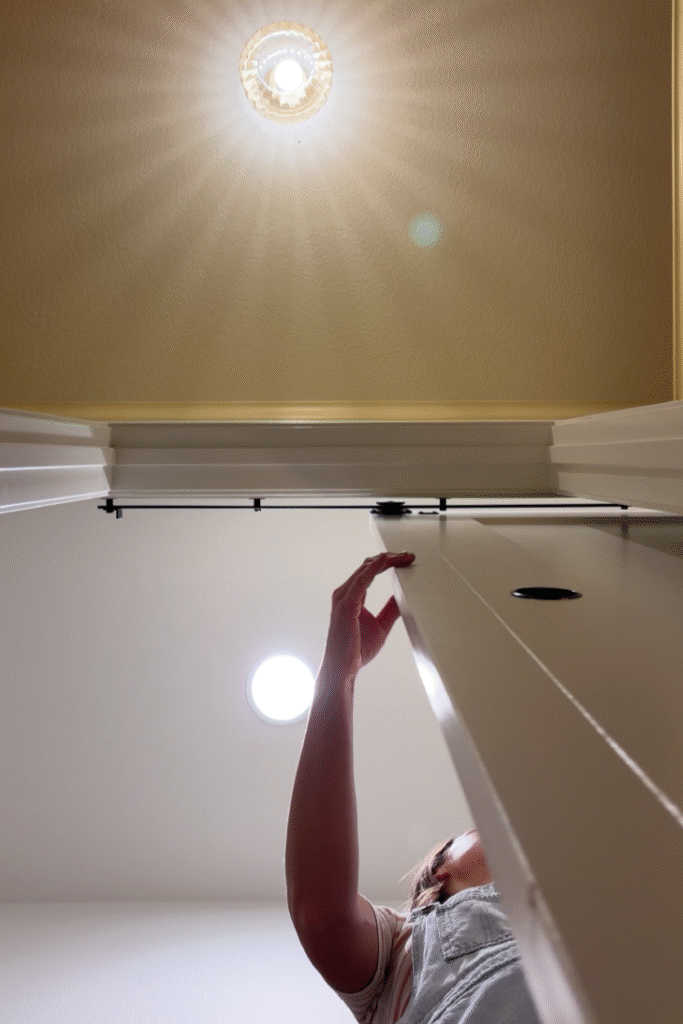
I lifted the barn door and hung it by lifting it over the track at an angle:
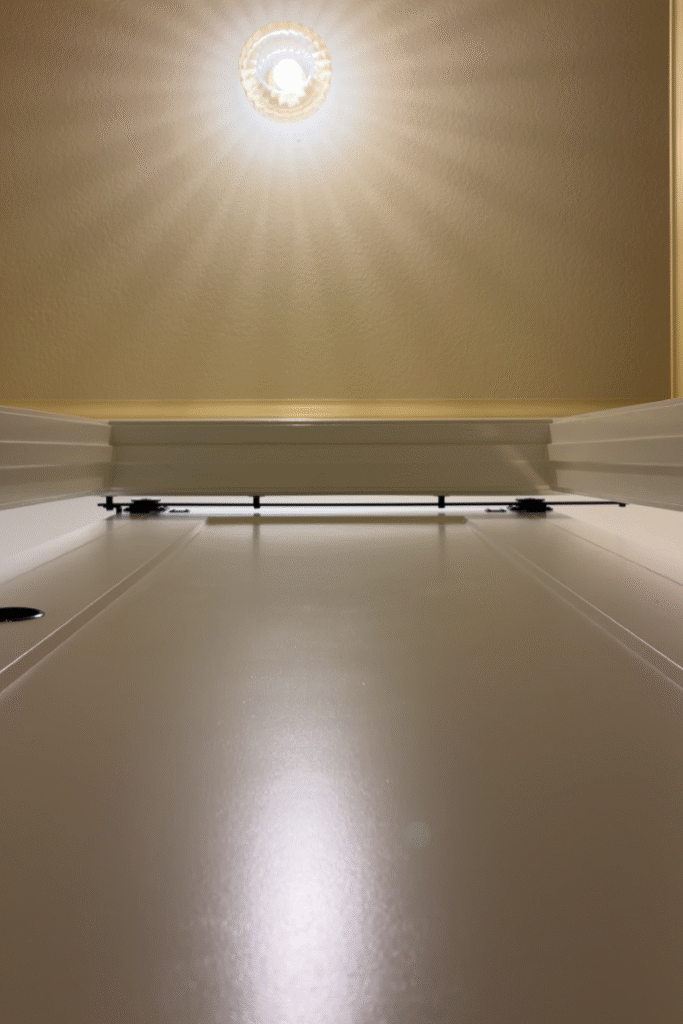
Then, I tested it out and I was able to move it down the track like butter!
Our finished hidden barn door
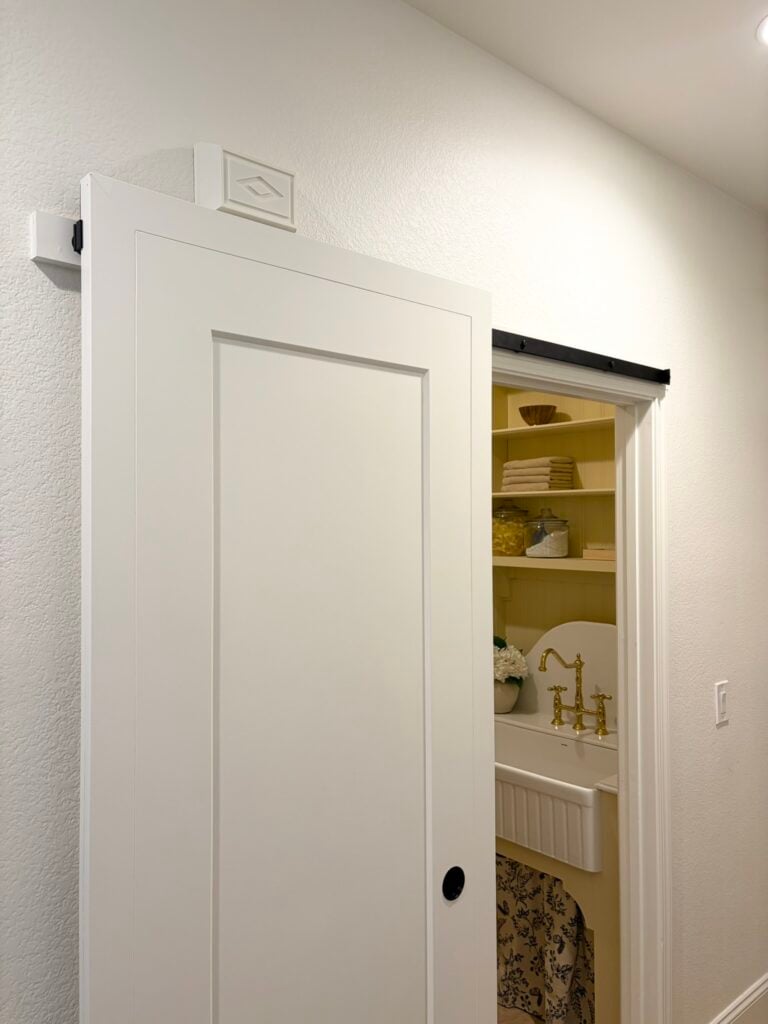
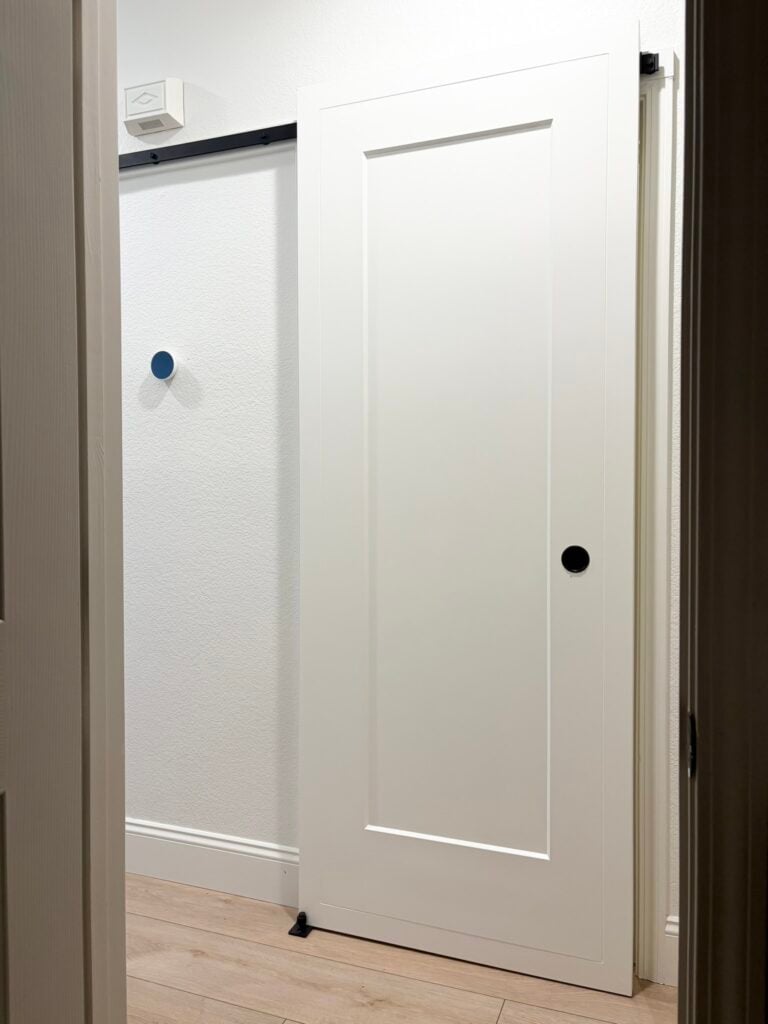
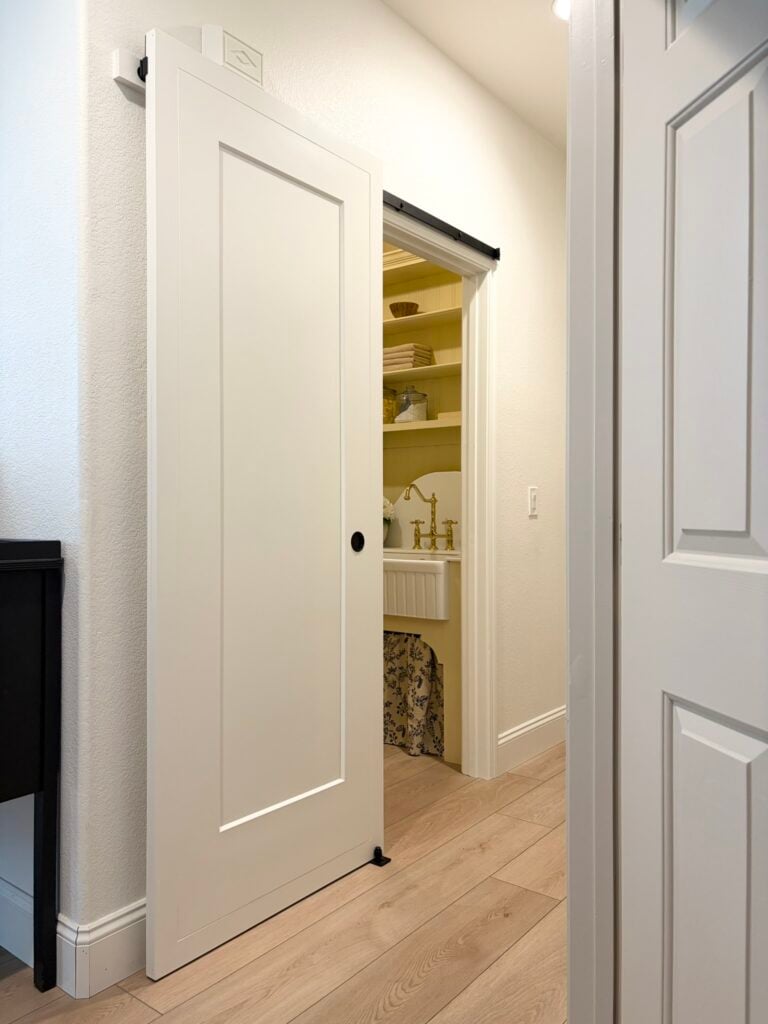
Here is our finished hidden barn door, I love how this turned out!
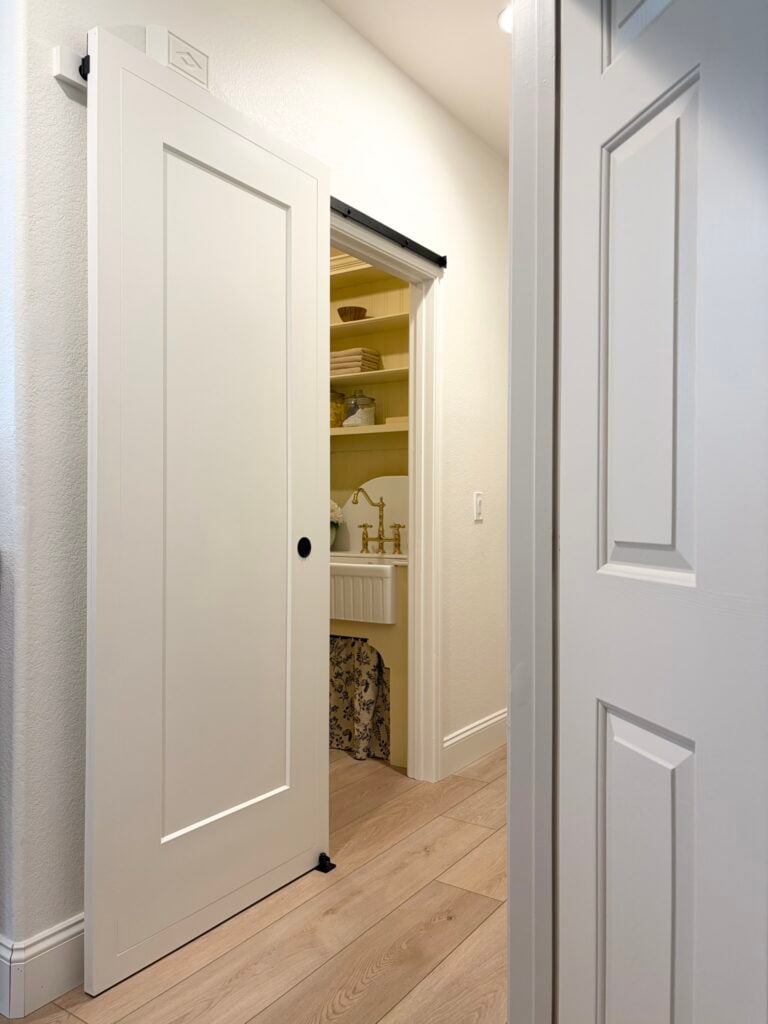
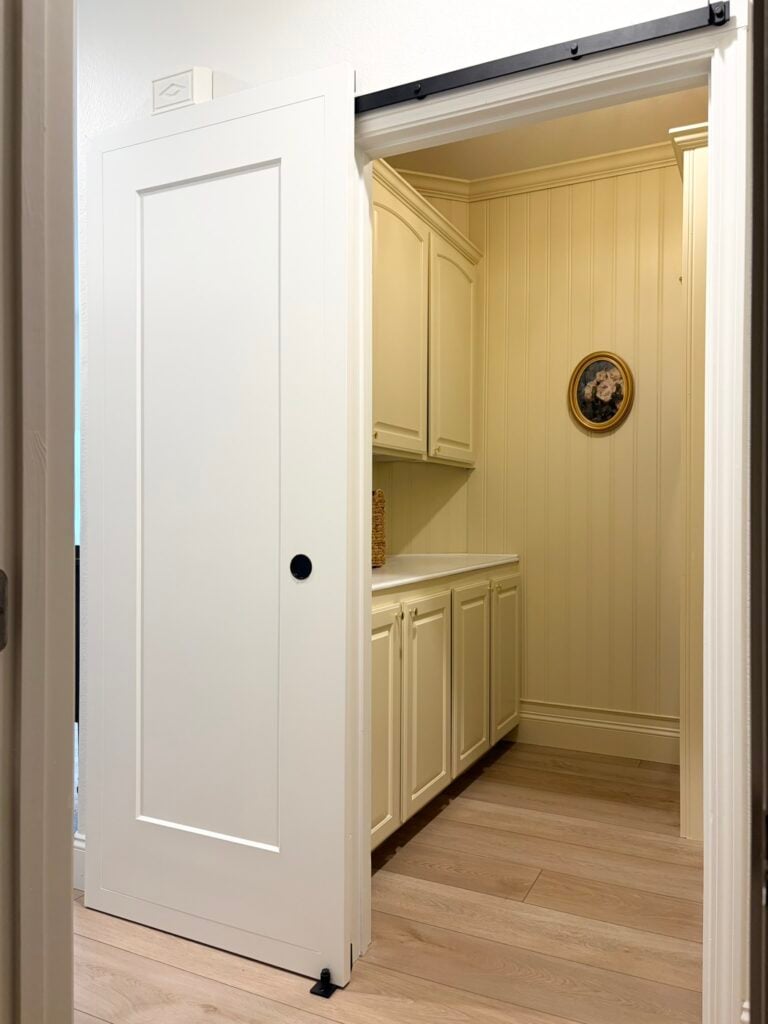
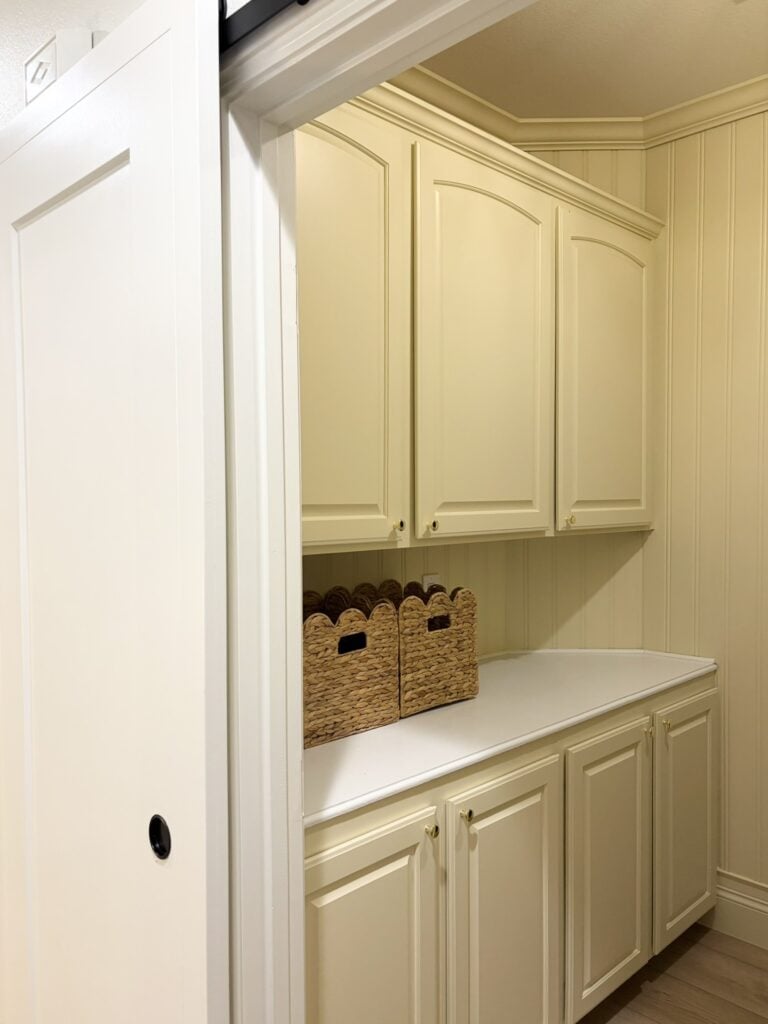
The hidden barn door from The Barn Door Hardware Store is the perfect solution for this space: we get full unobstructed access (and view!) to the whole laundry room but we also have a way to close it off if needed!
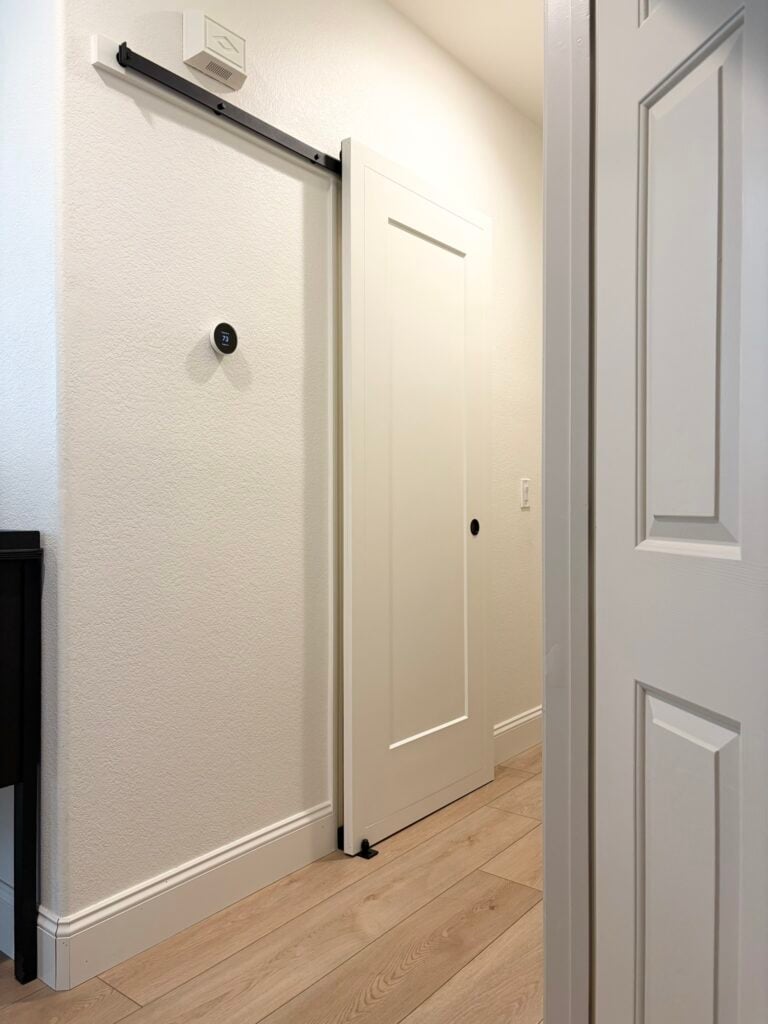
I especially like that the hidden barn door has little visible hardware, it helps keep the hallway design simple:
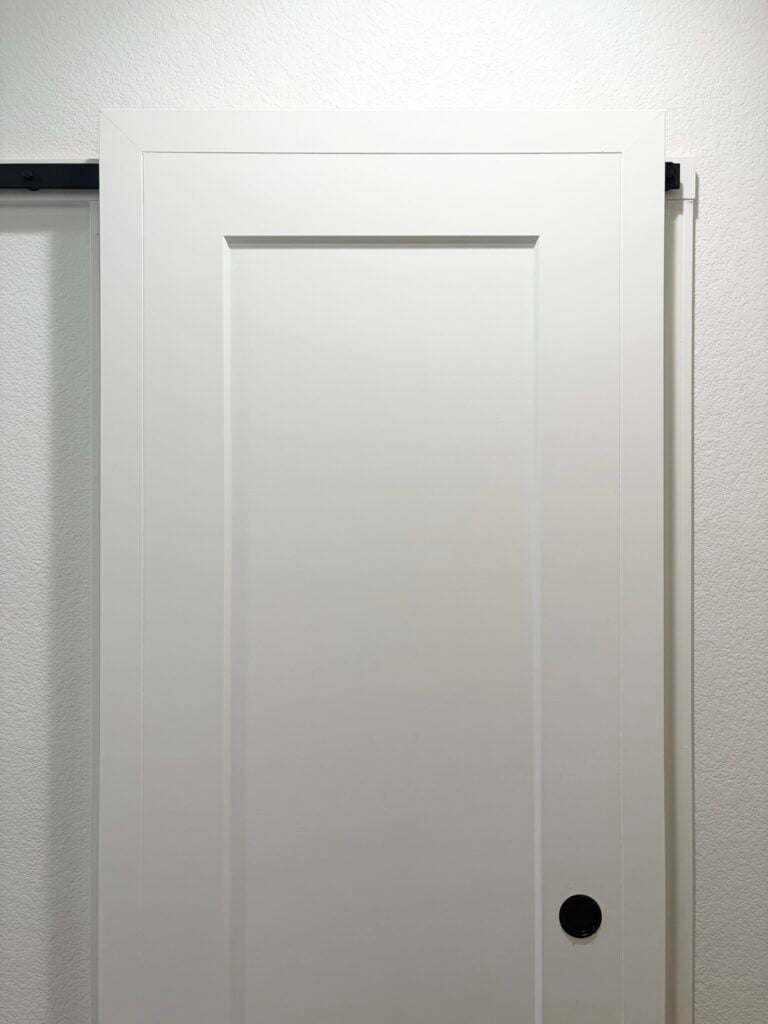
This is a close-up of the floor guide, it keeps the door in place and prevents it from swinging:
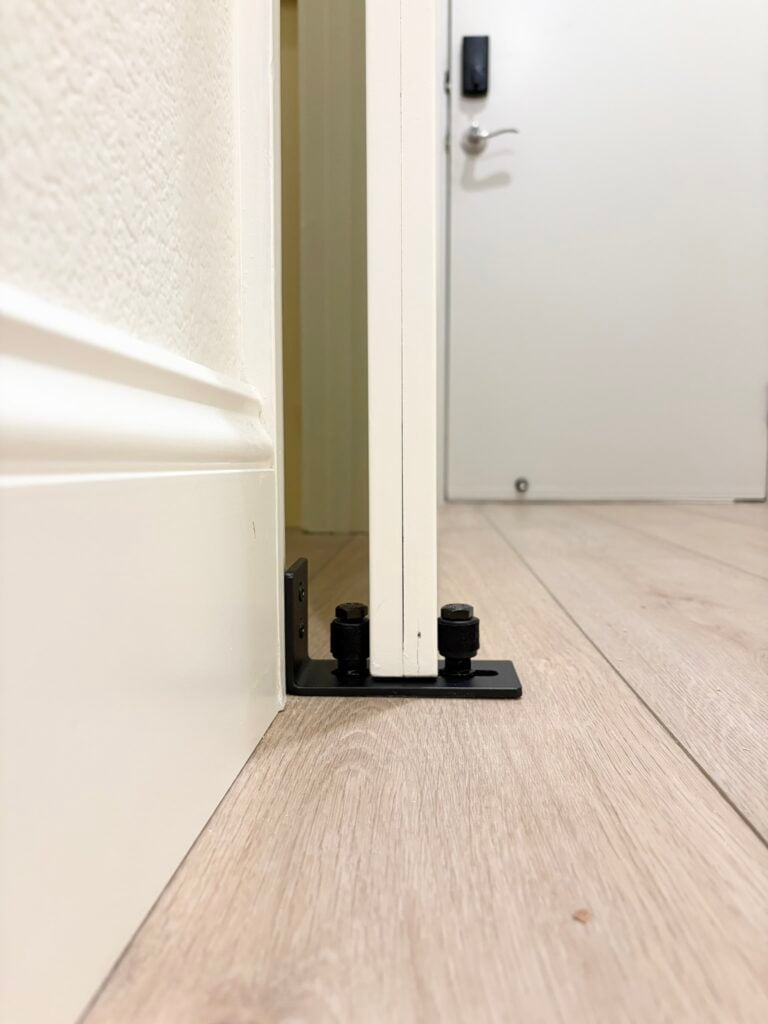
Like I mentioned earlier, this floor guide came with felt strips to prevent scratches on the door and it also helps the door open and close super smoothly!
I hope this was helpful and feel free to reach out with any questions!
Tina
Leave a Reply