Are you considering using Musselbound to install tile in your home? You’ve come to the right place! In this post, I’ll share with you how I installed tile in our bathroom using the Musselbound adhesive tile mat and I’ll share some Musselbound tips with you that I learned along the way!
Note: This post may contain affiliate links, you can find more information in my disclosures here.
After tiling our guest bathroom shower the traditional way using mortar, I was excited to try a different method for this DIY shower remodel using Musselbound for the first time.
The videos I kept seeing made this method using Musselbound Adhesive Tile Mat look so much easier than traditional mortar that even a beginner could tackle a backsplash or bathroom tile project with it. It seemed like a great option to install new tile!
What is Musselbound?
Musselbound is an adhesive tile mat that can be used instead of traditional mortar to attach tile to the wall.
It reminds me of really strong double-sided sticky tape that replaces messy mortar with “peel and stick simplicity”.
Musselbound can be used on shower walls when it’s installed along with their waterproofing tape, so I decided to give it a try in our primary bathroom!
Here’s a before picture of our bathroom to give you an idea of what we started with:
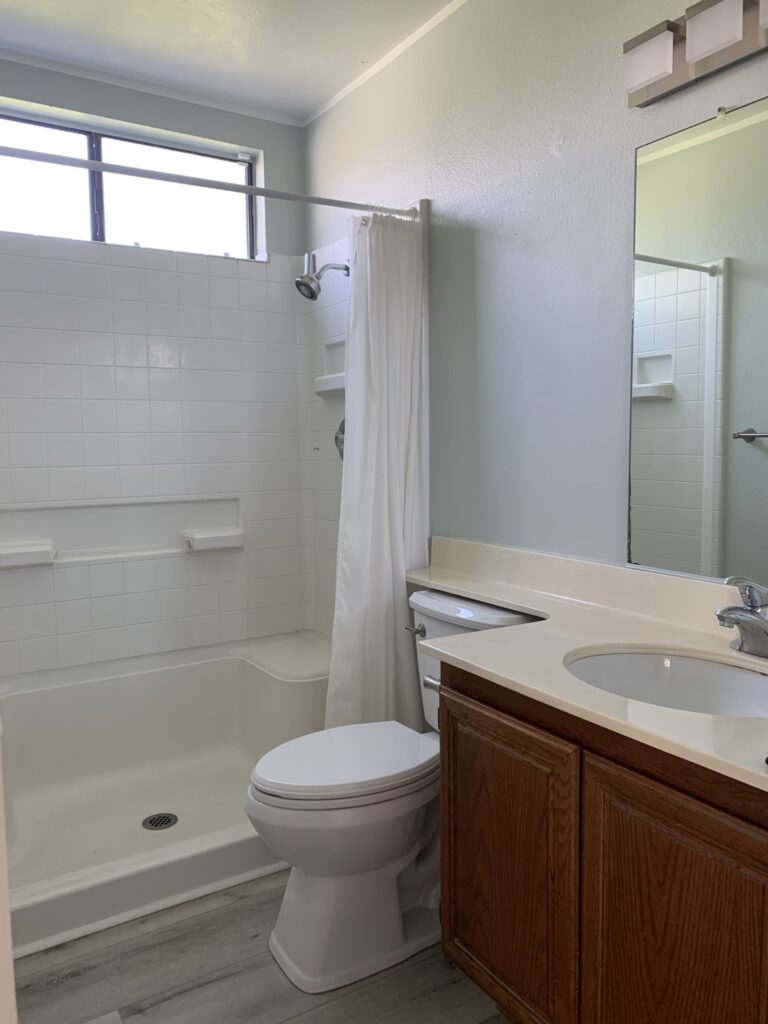
We had a pretty standard set up for walk-in showers. The only thing we really ended up keeping was the bathroom floor since we just switched it out a couple years prior and it matches the rest of the house.
Materials
- Bedrosians Cloe White tile (similar)
- Bedrosians Cloe White border tile (similar)
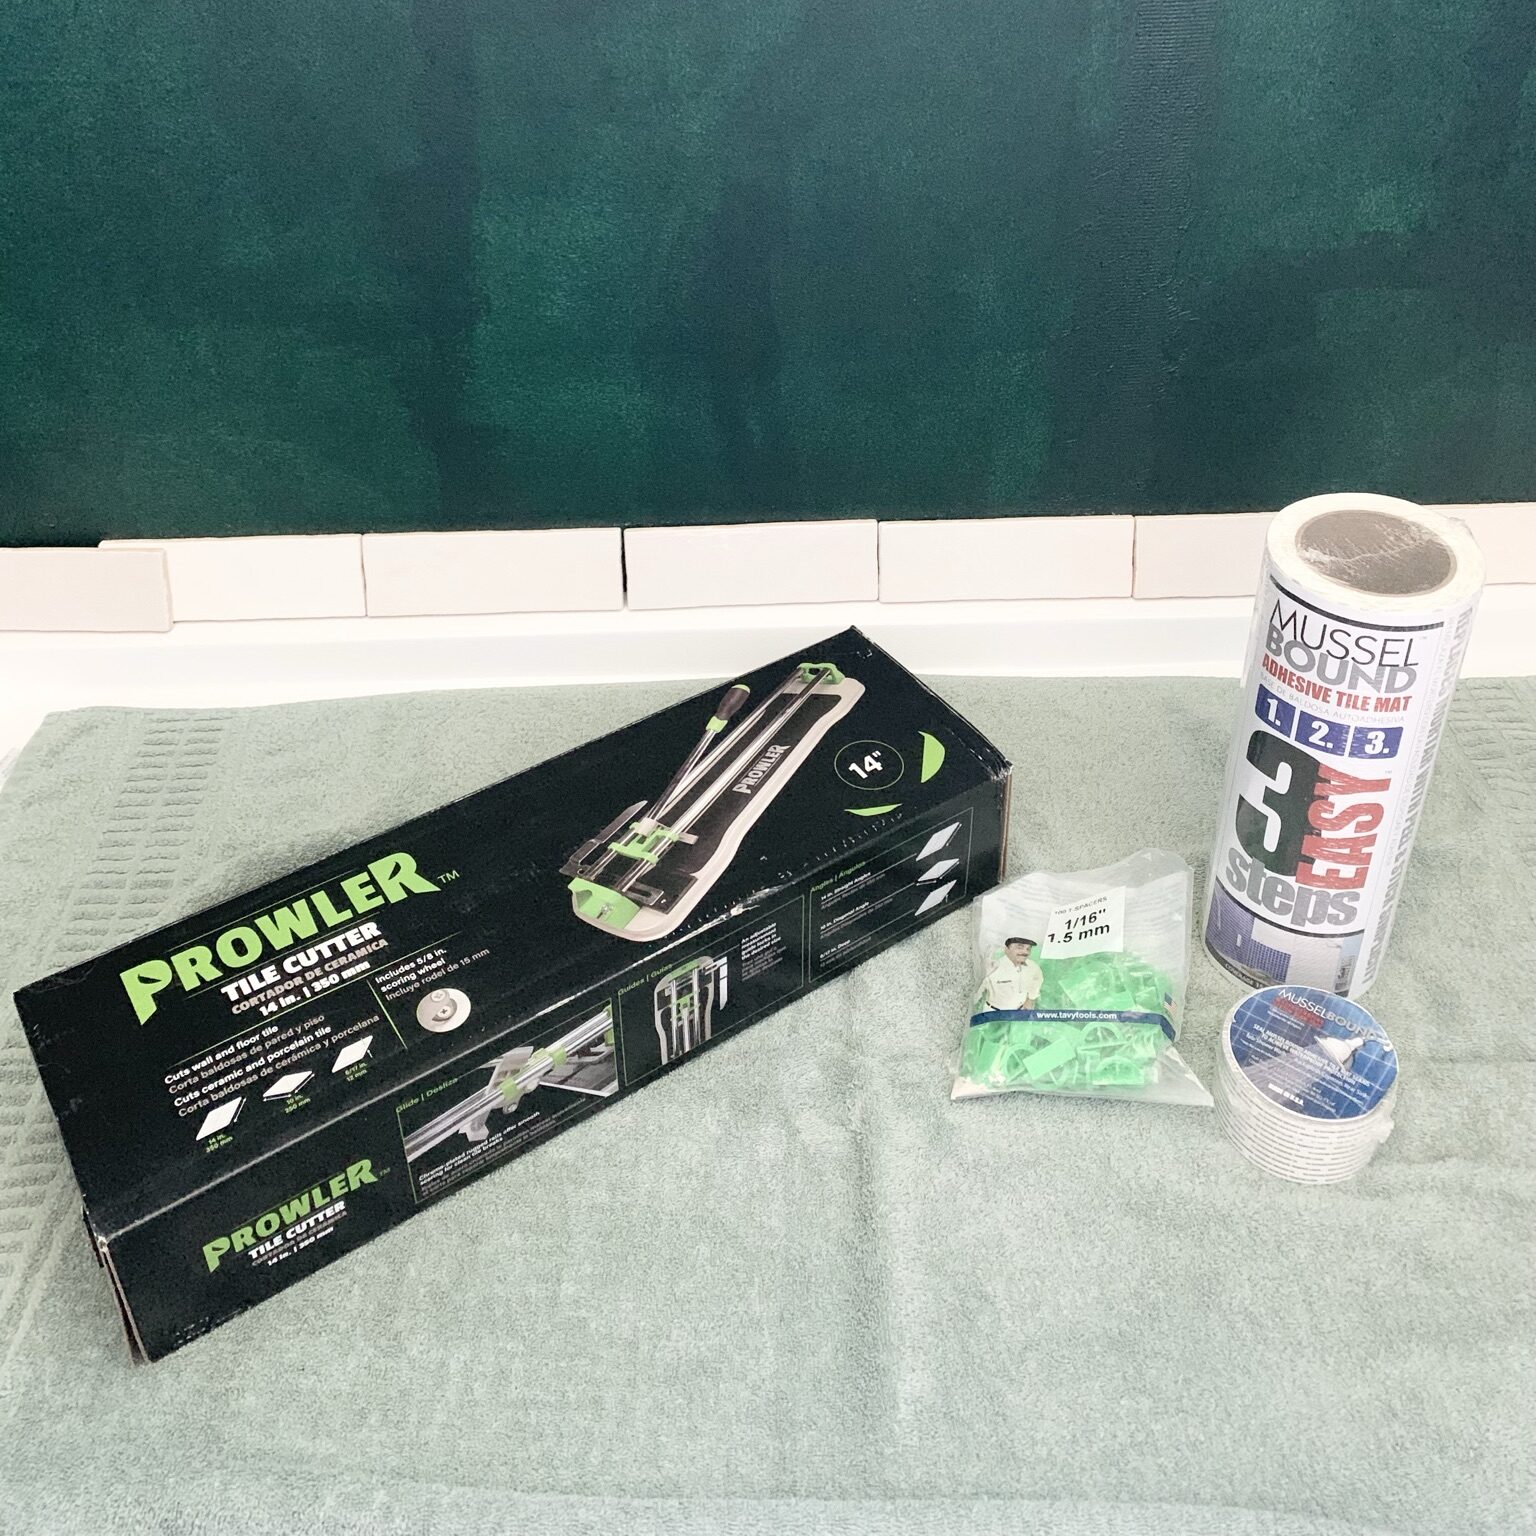
- MusselBound Adhesive Tile Mat
- MusselBound Waterproofing System Seam Tape
- Mapei AquaDefense
- Grout
- Caulk
- Silicone
- Masking tape with plastic
- Old blanket or something similar (to protect tub and floor)
Tools
- Snap and score tile cutter (this is my new one)
- Tile nippers
- Tile spacers
- Scissors
- Grout float
- Grout sponge
- Small bucket
Step 1: Waterproof the shower walls (Optional)
Even though the Musselbound adhesive tile mat and the seam tape are supposed to be waterproof, I wanted to add an extra layer of peace of mind when it comes to water damage on bathroom walls.
As the first step, I waterproofed the shower walls (which are cement board) with Mapei AquaDefense like I did during our first DIY bathroom remodel in our guest bathroom as part of my Musselbound wall prep.
This time, it was a slightly larger area but still really easy. Mapei AquaDefense can be applied with a roller and brush like regular paint. To me, Mapei AquaDefense resembles liquid rubber.
It acts as a moisture barrier to prevent water from penetrating into the wall or its cracks later. You can think of it as a greenish rubber glove that protects your walls!
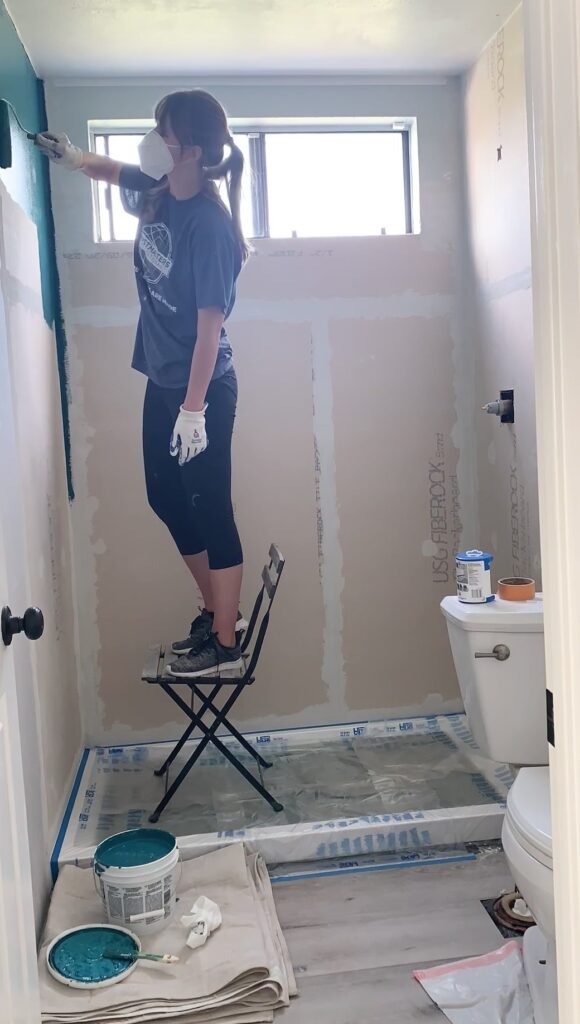
By the way, we decided not to do floor tile in the shower and opted for a shower pan from Home Depot instead. It’s easier for a DIY project and easier to clean in the long run! Easier maintenance is always a good idea in my book!
Step 2: Plan and dry fit your tile layout
It’s so important to plan out and dry fit your tile layout as the first thing before getting started.
Especially if you have obstacles to keep in mind such as soap dishes, a shower head or other shower fixtures. I recommend trying to avoid awkward cuts or tiny slivers of tile and ensuring the layout is nice and symmetrical. Here’s an example of what to avoid:
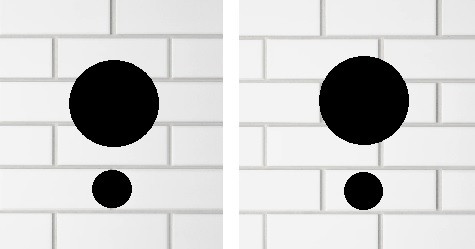
Planning things out and dry fitting beforehand helps a lot!
Step 3: Tiling the shower wall
I HIGHLY recommend taking your time with this first row and not rushing it. I believe the first row is the most important step because it all starts with that first row of tile! Ensuring that first row is perfectly level and placed correctly is key because the rest of the shower will be based on this first row.
Applying Musselbound
I started by applying the Musselbound tile mat first. The instructions say to use a grout float to smooth out the mat but I preferred using a putty knife because it felt like it was more precise and I had better control over it.
Note that removing Musselbound from your wall is very difficult. I had a couple small spots where I wanted to try removing Musselbound to reposition it and I ended up pulling off part of the waterproofing.
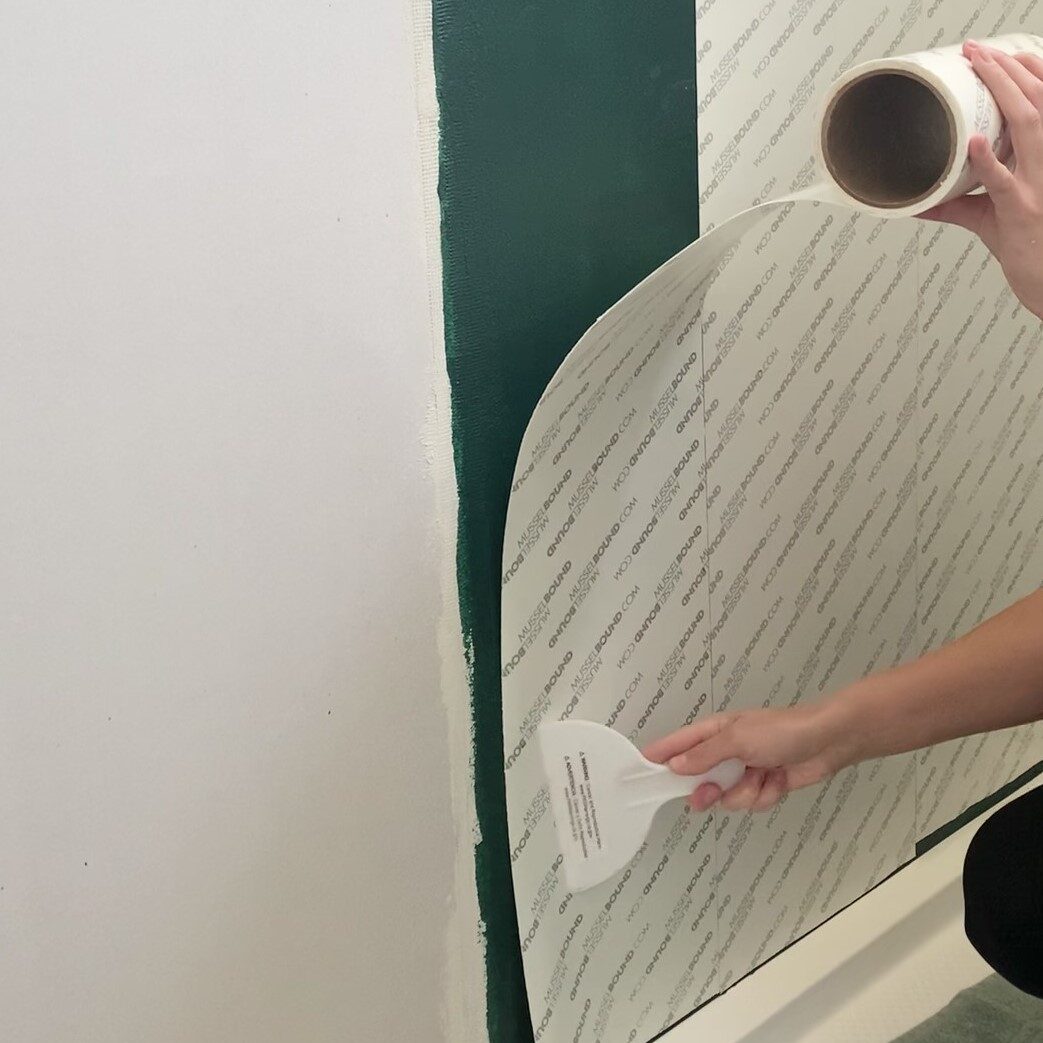
The rolls can be cut to width and I used a miter saw to do that, it worked great!


Applying Musselbound seam tape
Once the Musselbound tile mat was up in the whole shower, I measured the length needed for the musselbound seam tape and prepped it. Here’s my little set up:
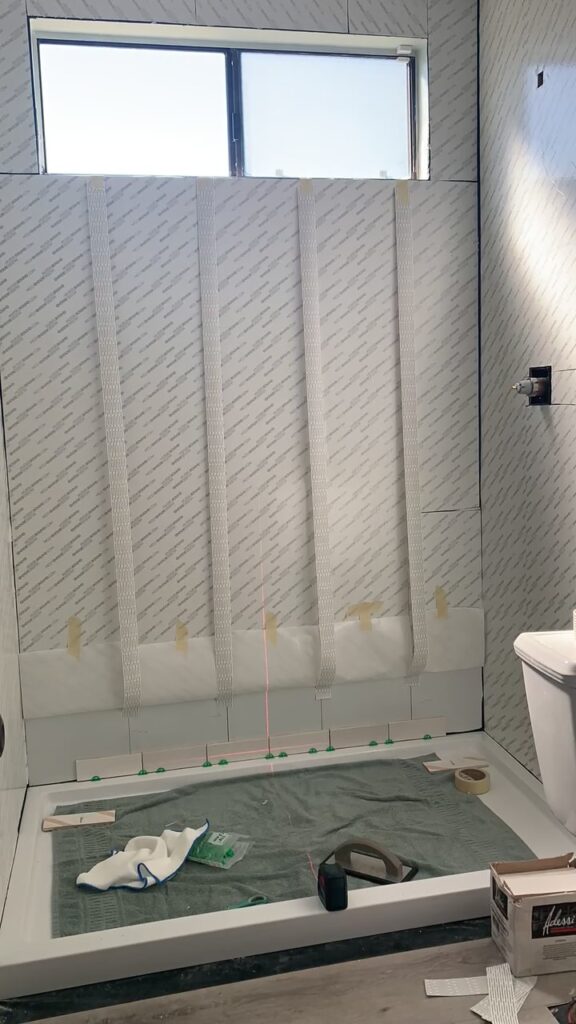
Doesn’t this set up with the Musselbound seam tape remind you of suspenders?
I like working in sections and not feeling rushed so I was peeling back the protective layer as I went to expose the sticky side on both the tile mat and the waterproofing seam tape.
The image below shows me peeling back the tile mat:
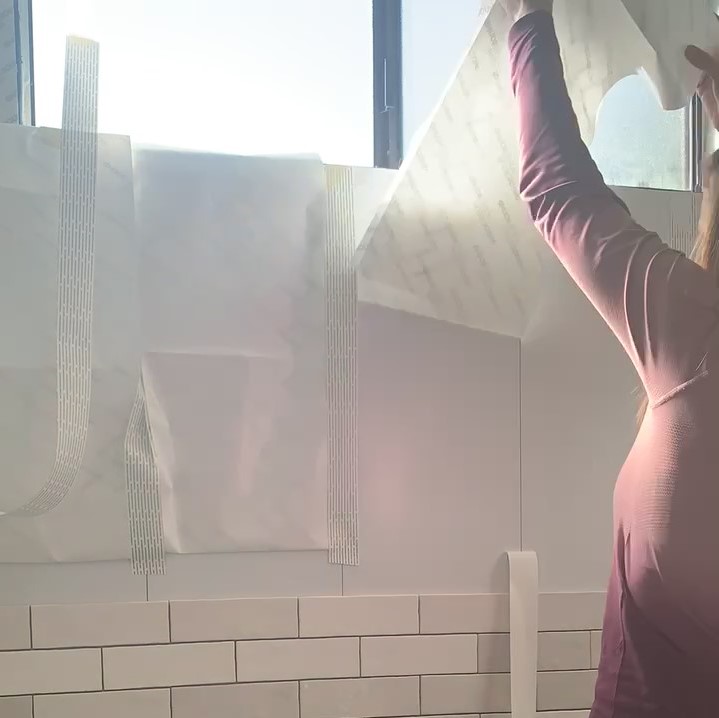
In the image below you can see that the seam tape still has the protective layer on both sides above the tile:
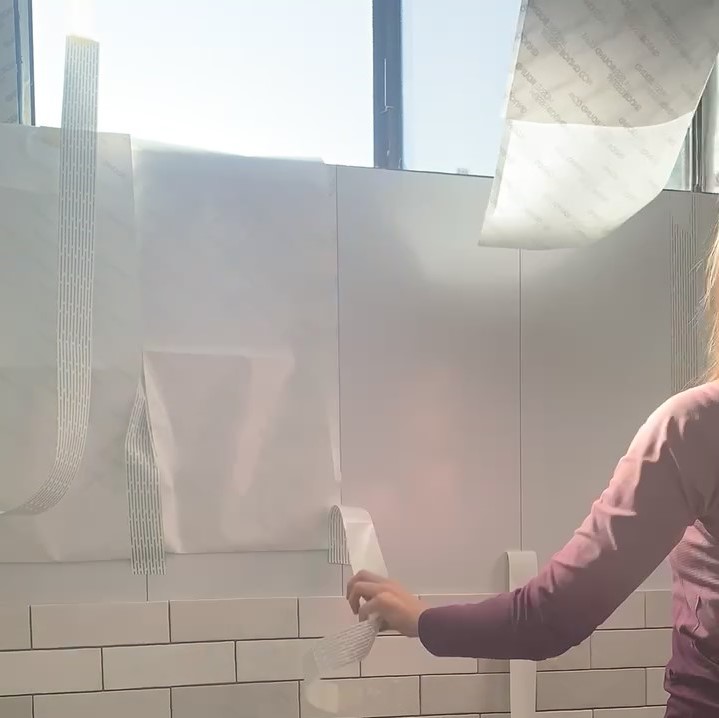
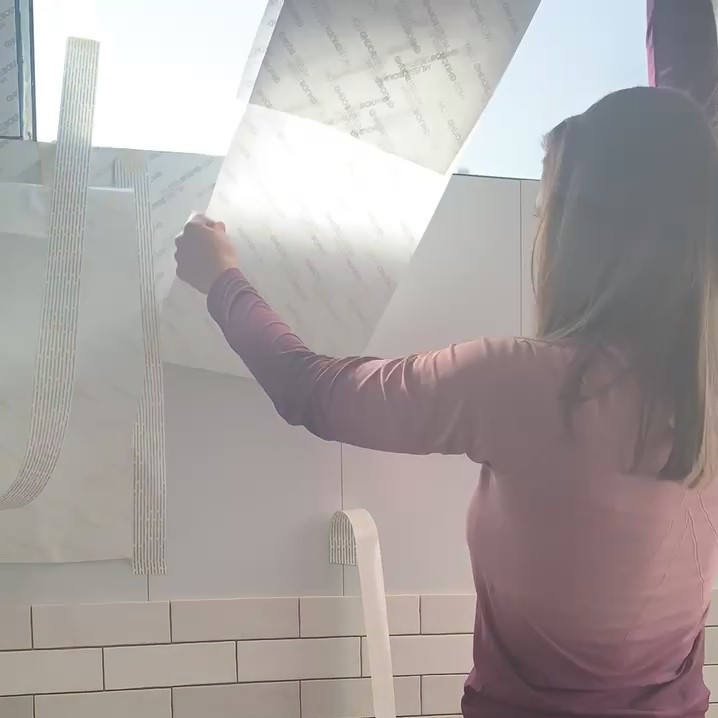
Once I peeled back the protective layer off the tile mats, I stuck the seam tapes to them to cover the gaps:

Next, I removed the protective layer from the seam tapes and this section was ready for tile!

Applying the wall tile
First, I wiped any dust/debris off each ceramic tile with a microfiber cloth to make sure I wouldn’t compromise the stickiness of the tape with dust.

I used 1/16 T inch spacers but I’d say that pacers are optional with this type of tile because it’s naturally imperfect.
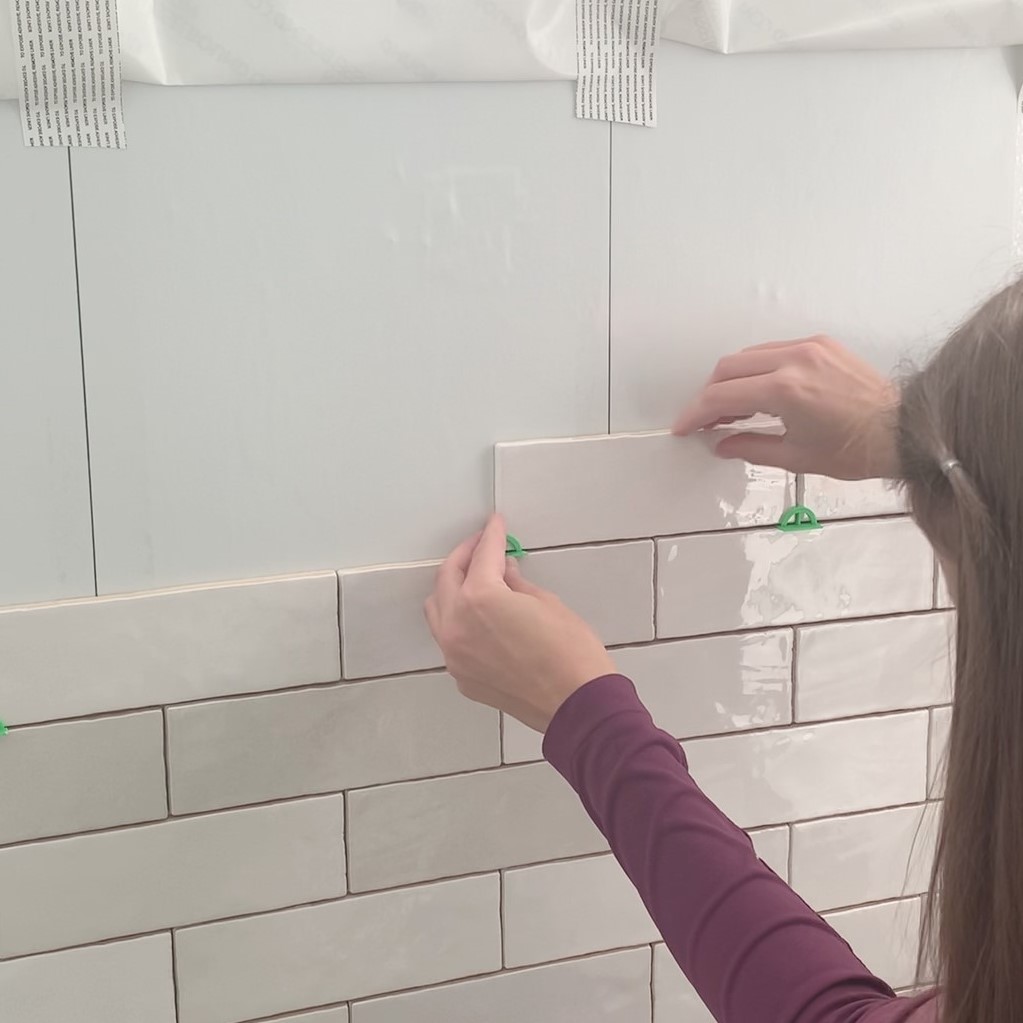
I pressed the tile on lightly at first before committing to a position. Once it’s pressed on, it’s very hard to remove. To “activate” the full stickiness of Musselbound and to adhere the tile onto the wall you have to press for 5 seconds on each tile.

I tried to match the colors of the tiles in the corners so they kind of looked like they’re wrapping around:

Cutting tile
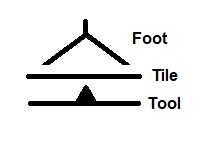
The cuts in this shower were pretty simple so I decided to use a score and snap tile cutter again, which is less messy than a traditional wet saw and it worked great! This tool cuts tile by scoring the tile with a little wheel first

then applying pressure with the foot

and snapping it.

Here’s a quick visual of how it works:
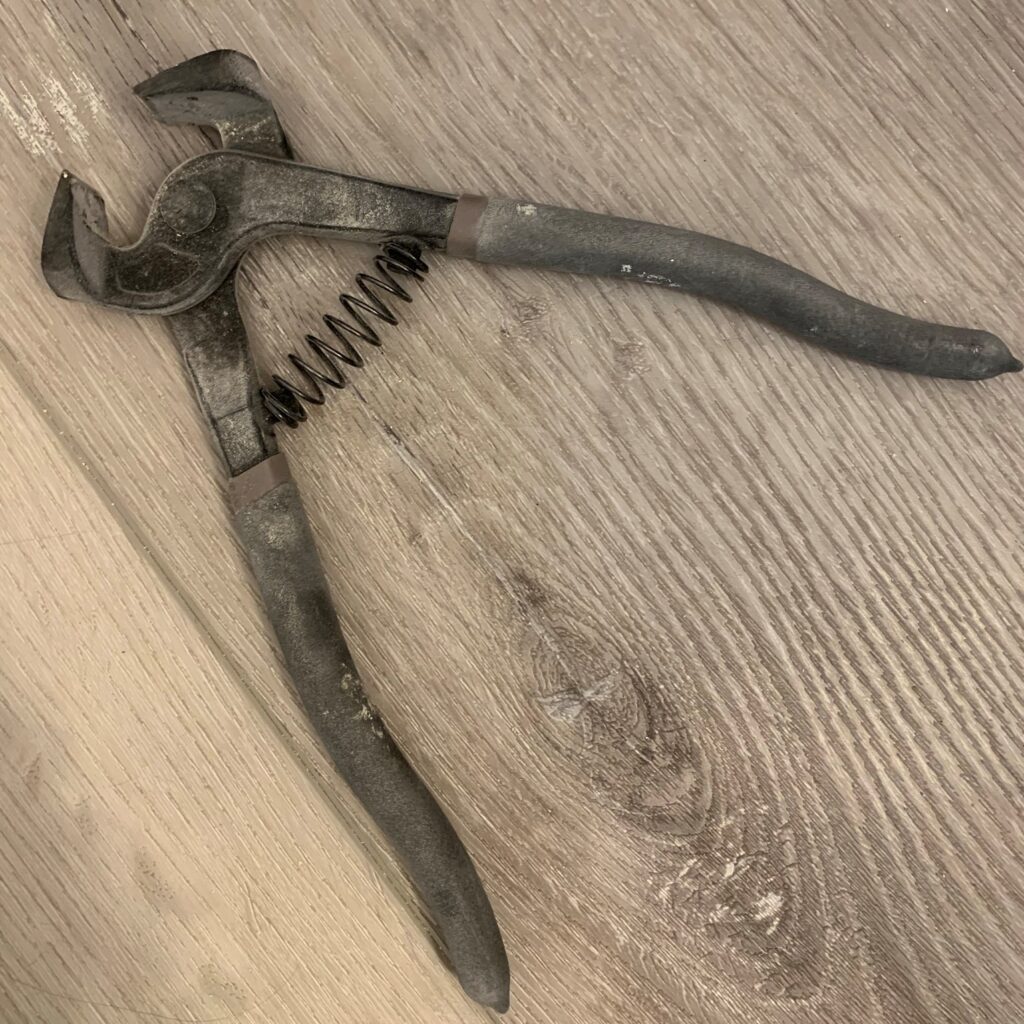
I used the nippers below to cut the tile around obstacles.
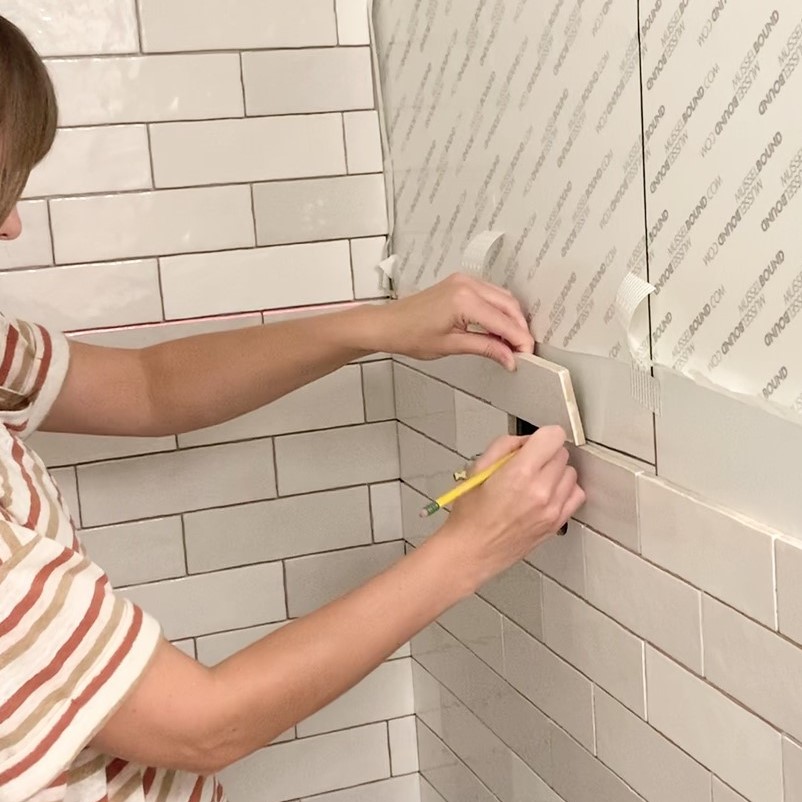
I marked the approximate width and height of the obstacle with a pencil and then outlined the cut roughly.
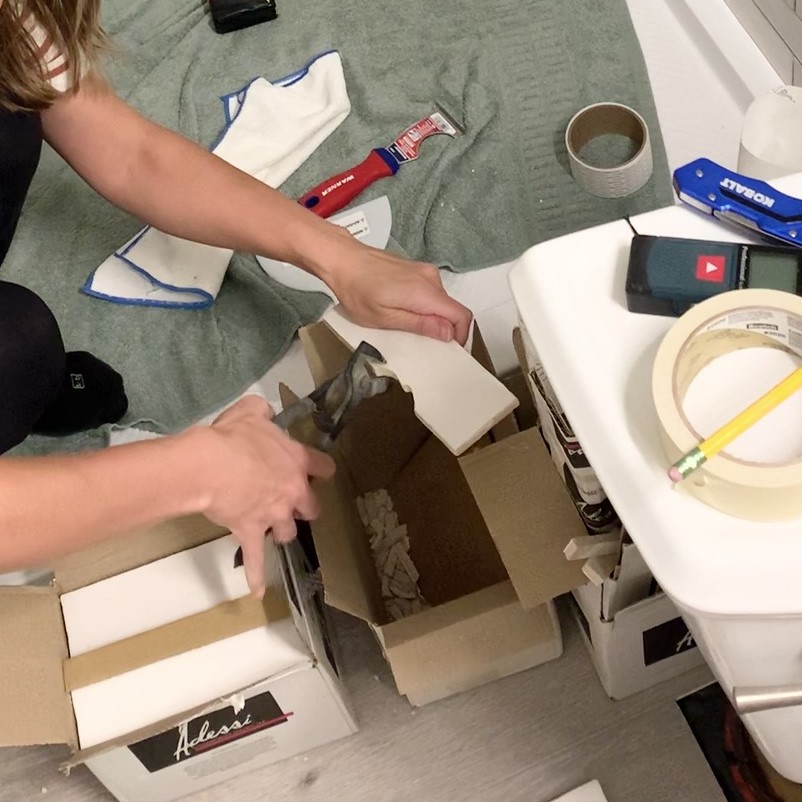
Then, I used the tile nippers to snap little pieces off until I reached the desired shape:
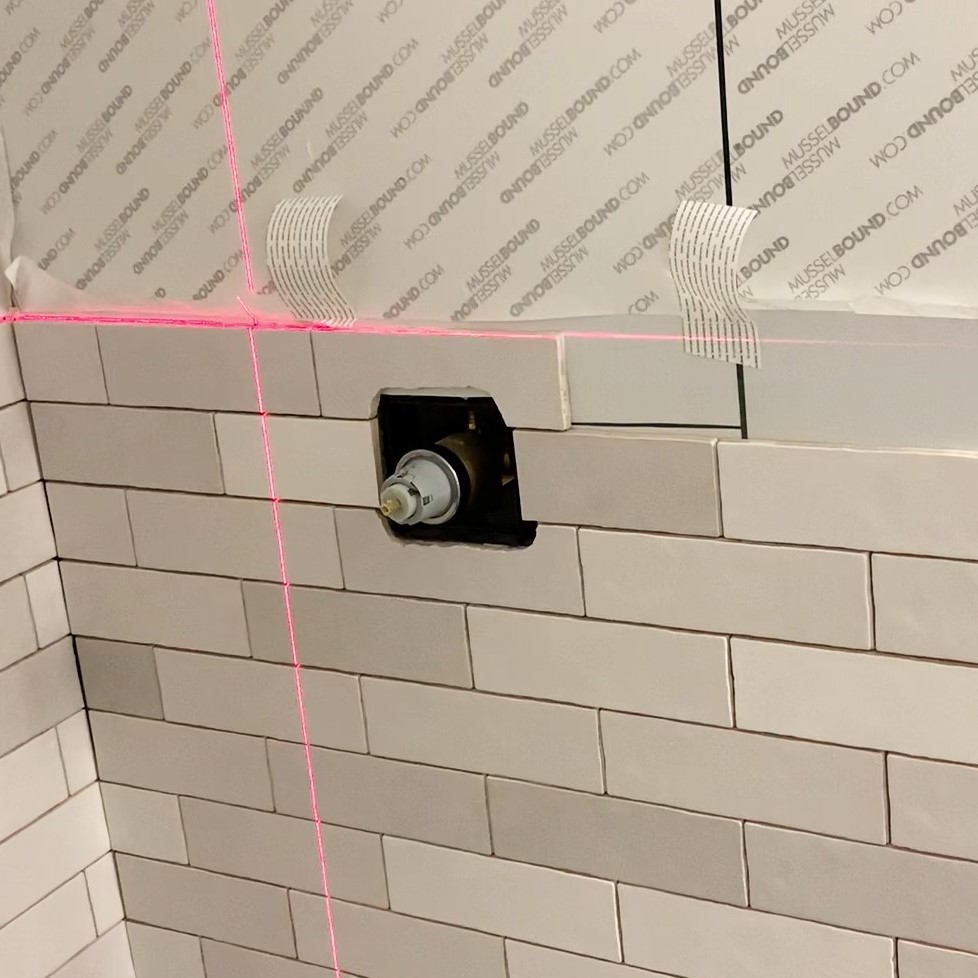
The tile cuts around obstacles don’t need to be perfect because they’ll ultimately be covered up by the shower hardware.
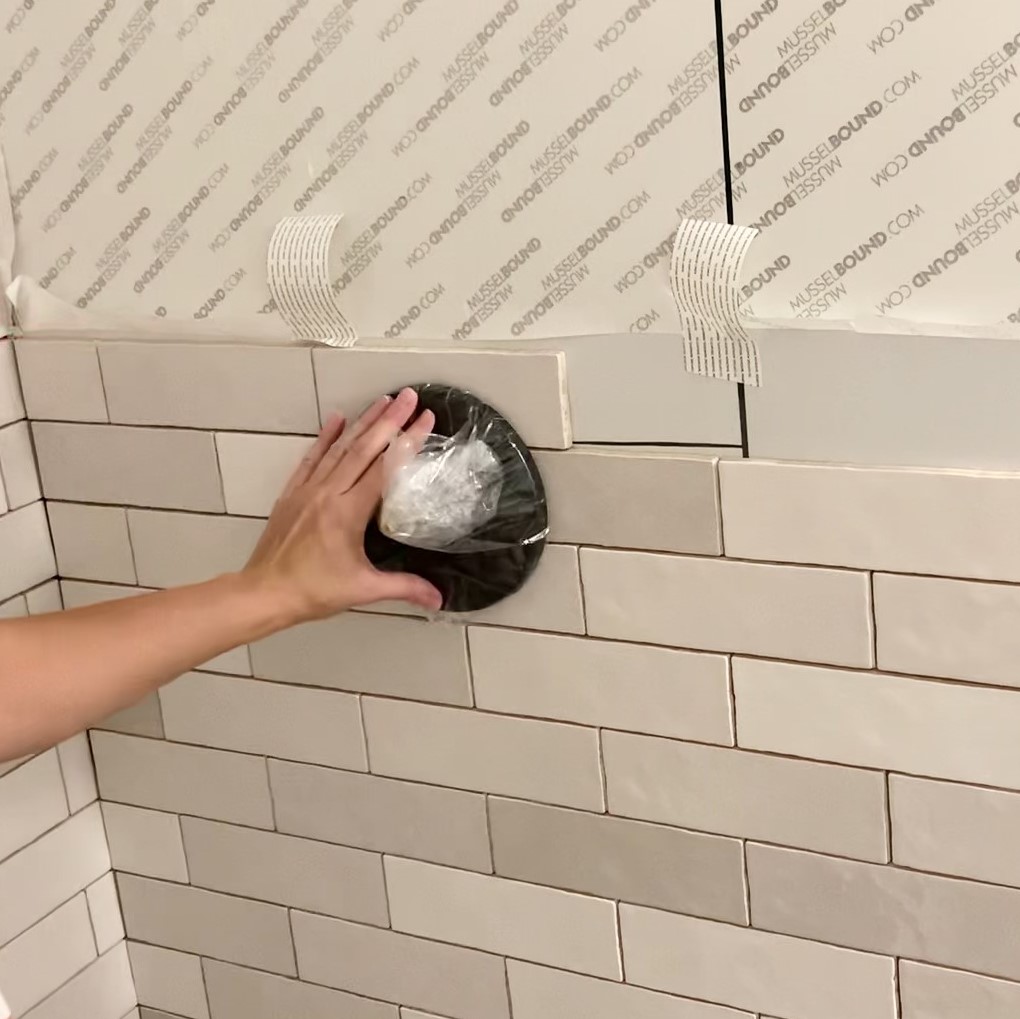
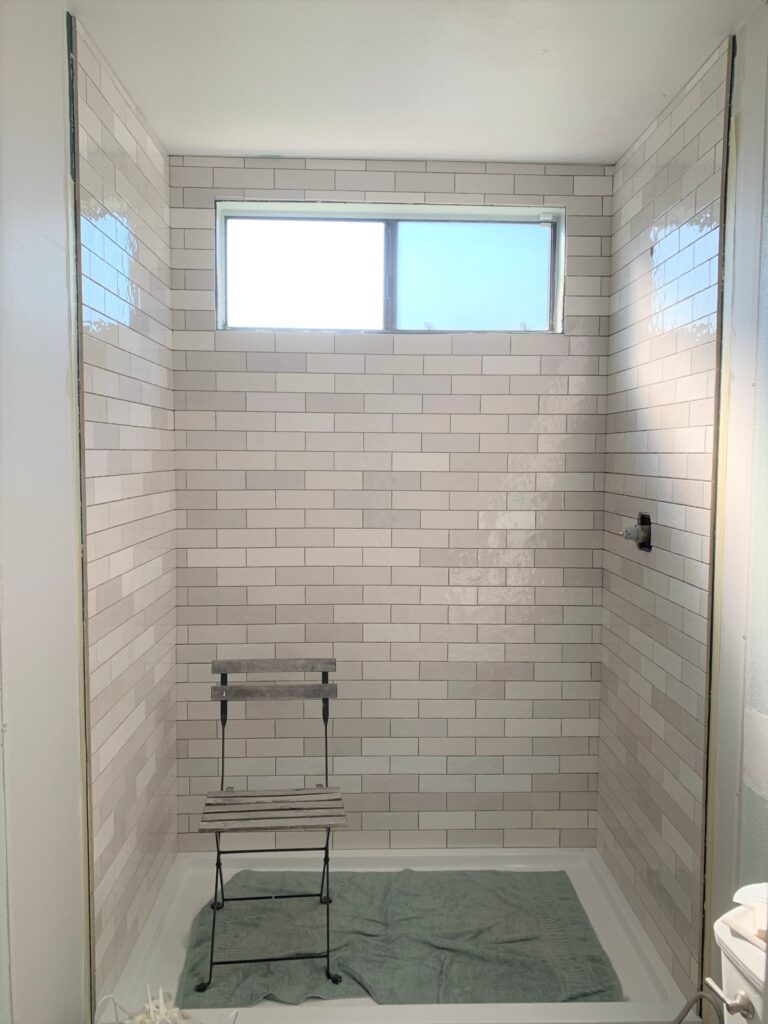
I only had to use a wet saw to cut the two tiles right above the window during this project:
Adding trim
I used ceramic border tile (similar) for the edges to create a nice border around the shower:
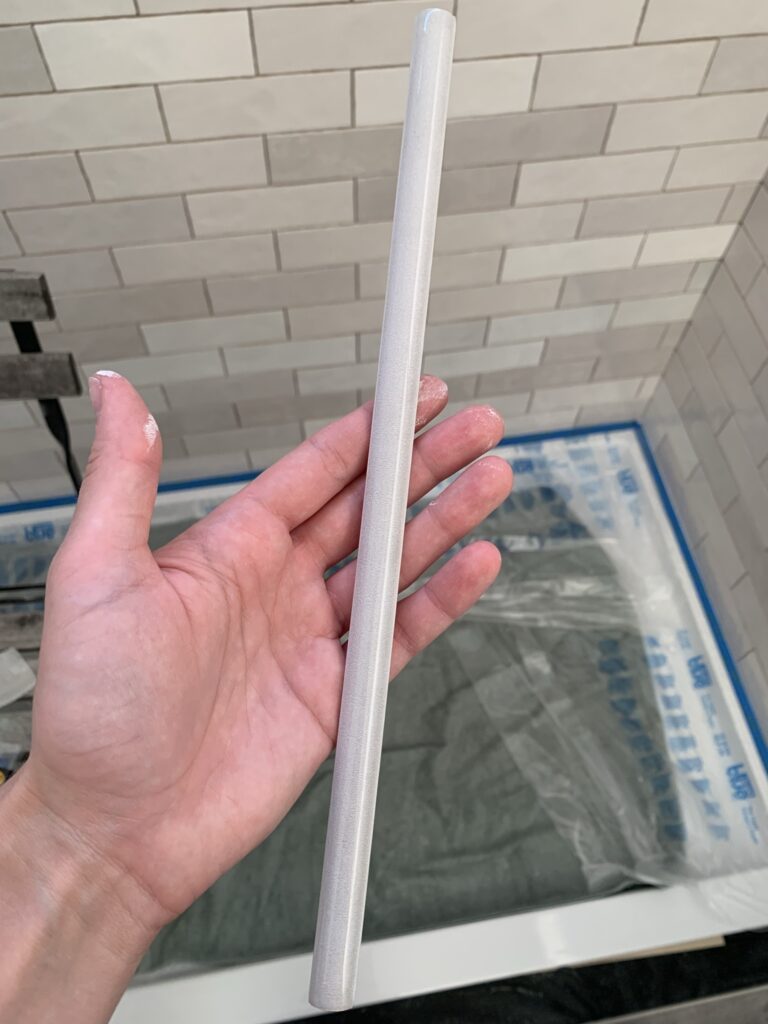
This was the only place where I decided to use mortar because of the shape of the tile. I wanted to fill the empty space between the trim and the tile while providing something for it to adhere to.

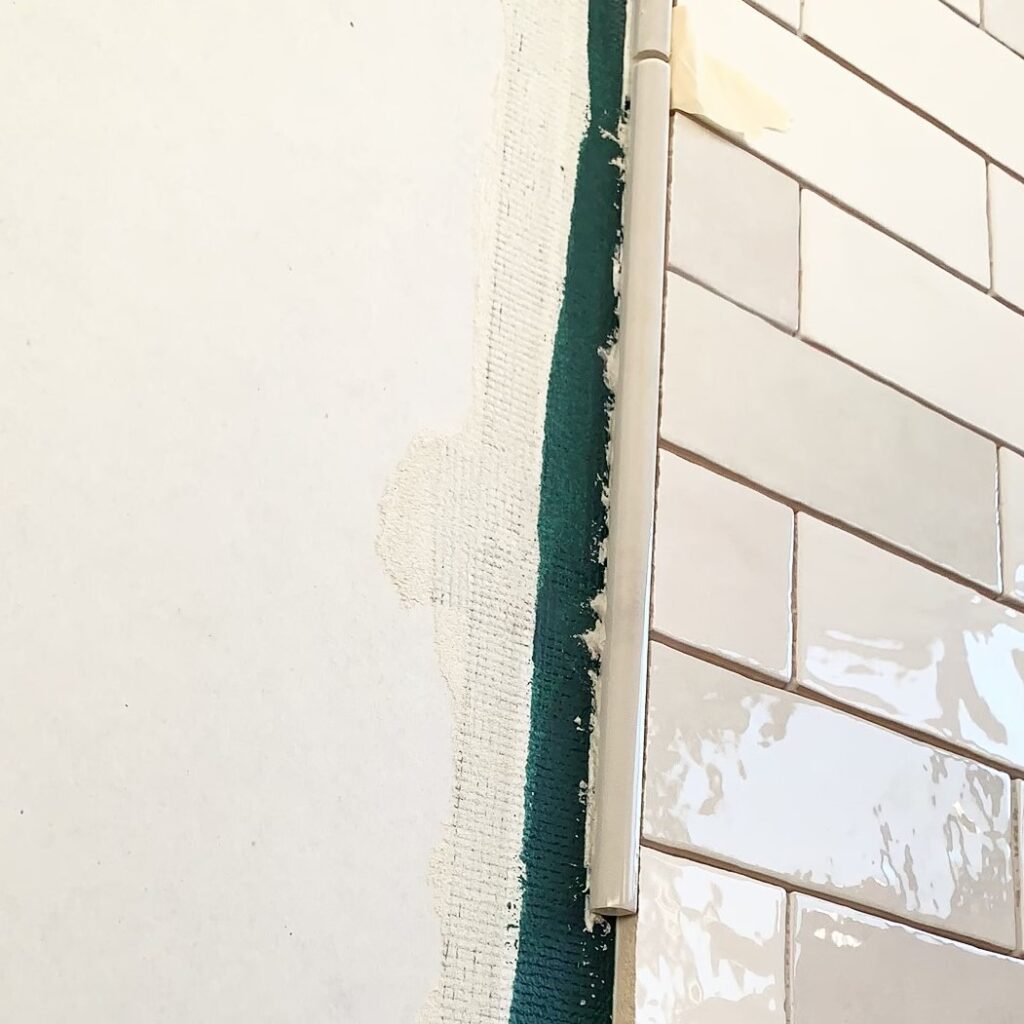
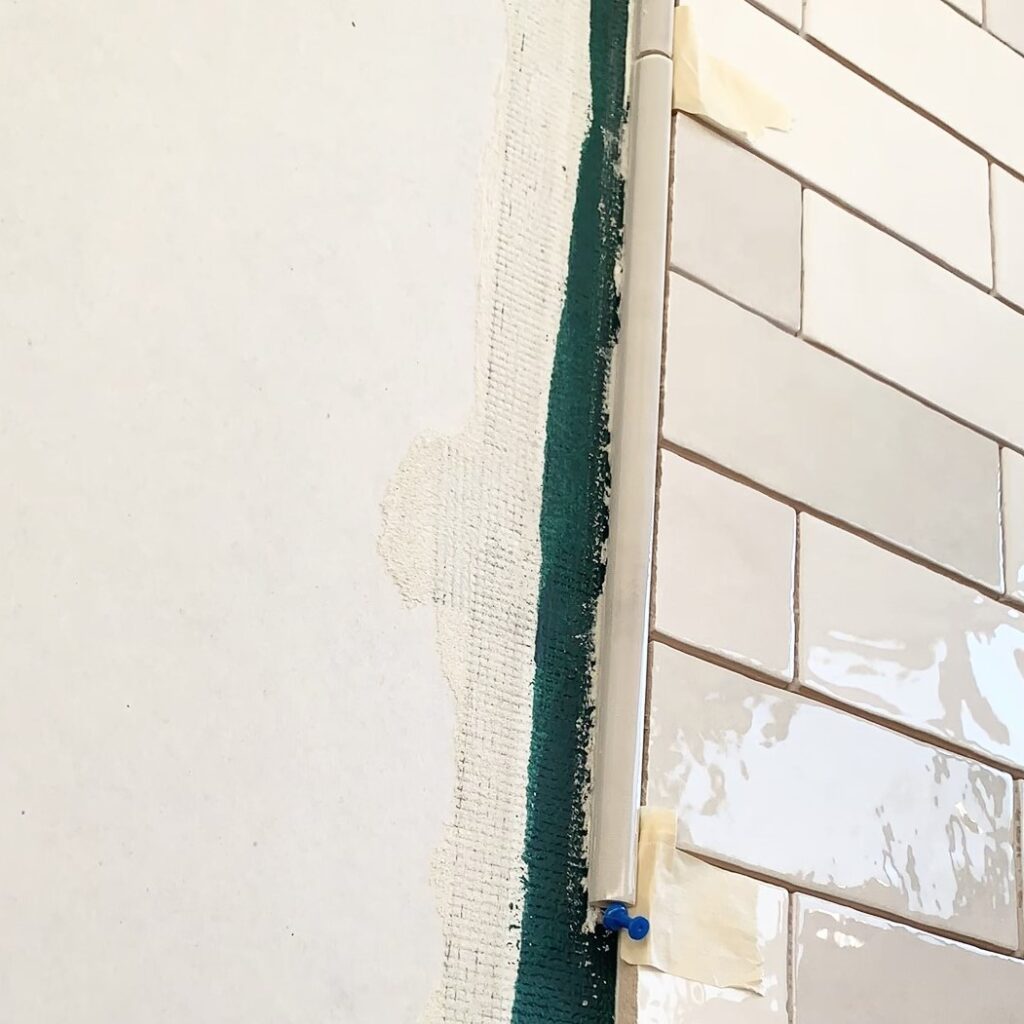
Tape and push pins worked great to hold these in place while the mortar set!
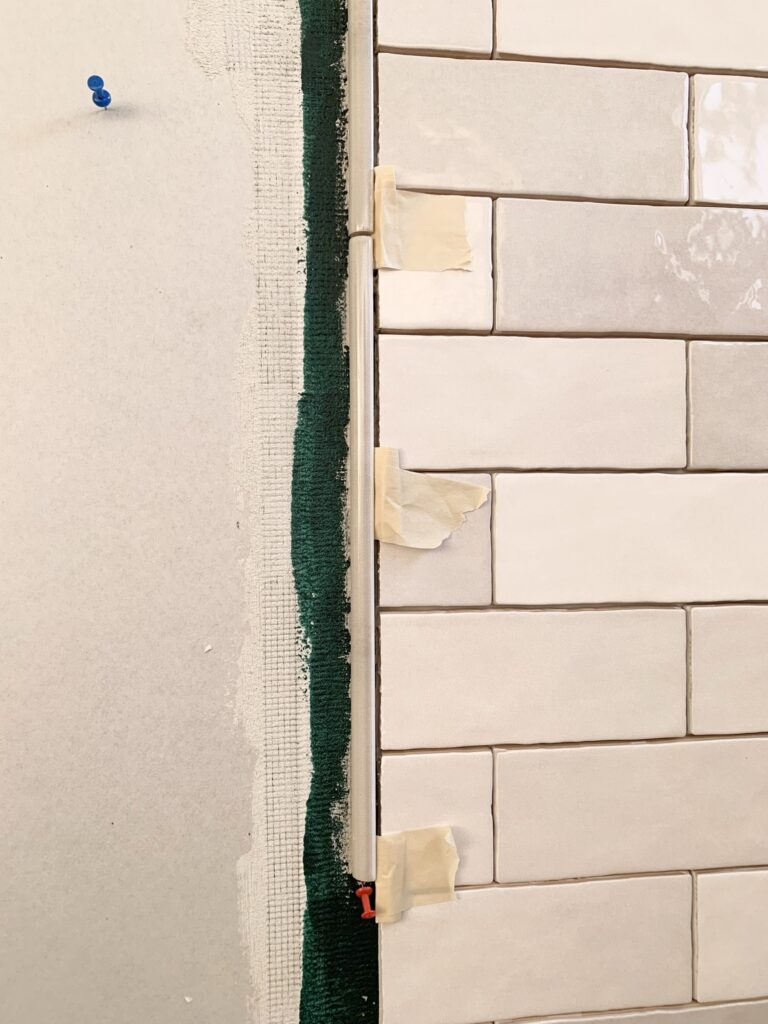
I’m only okay using push pins here (and compromising the waterproofing) because I don’t think water will be a problem on this border.
Step 4: Applying grout
I mixed up the grout in small batches so I could take my time without having to rush the process. I went with Mapei’s Avalanche color.
First, I spread the grout with a grout float.
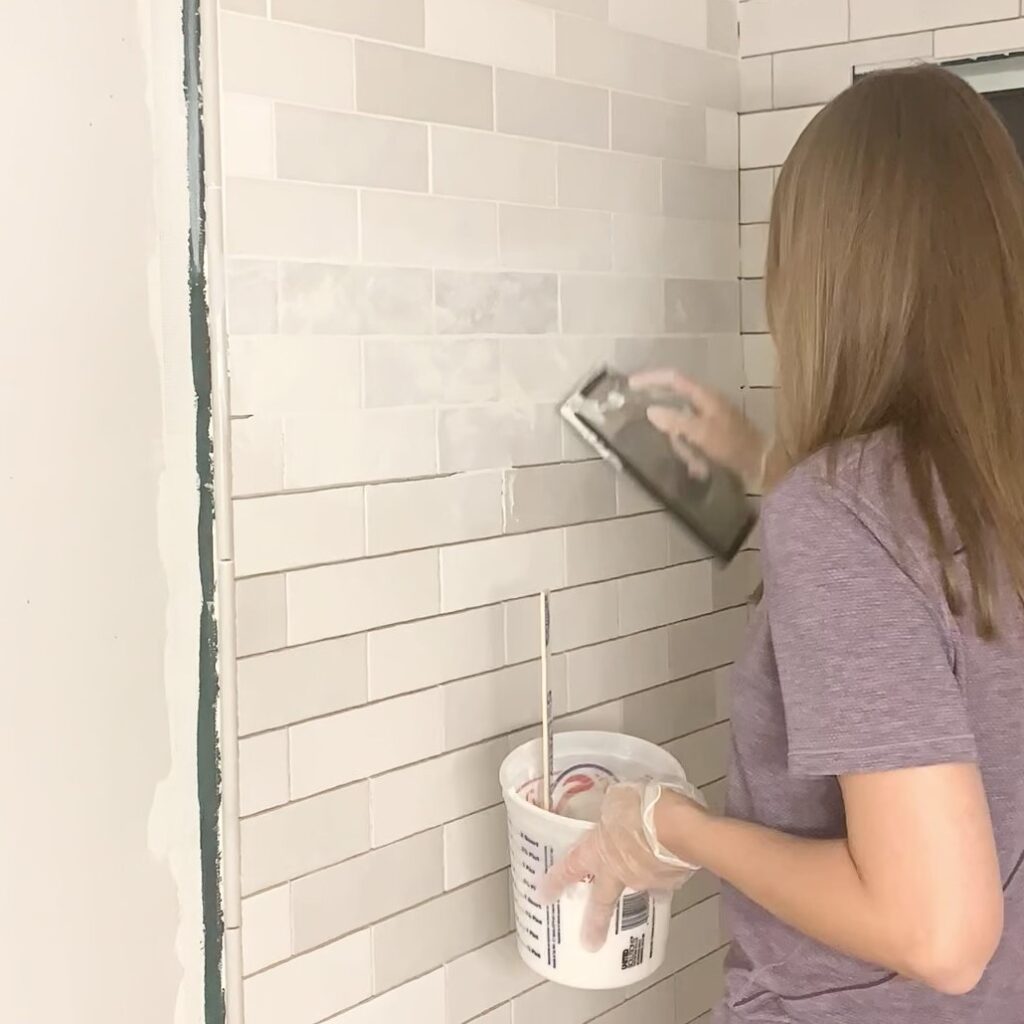
Then, I let it set for a few minutes before wiping the excess off with a damp sponge.

Take a look at what a difference grouting makes! The grout totally changes the look and completes it, I love this tile!

Step 5: Finishing work
As the next step, I filled the gap between the tile and the ceiling with caulk for a nice finish:

It always amazes me how much of a difference this little finishing step can make. Here’s a before and after:


I’m using caulk here because I’ll be painting the ceiling soon and this caulk is paintable.
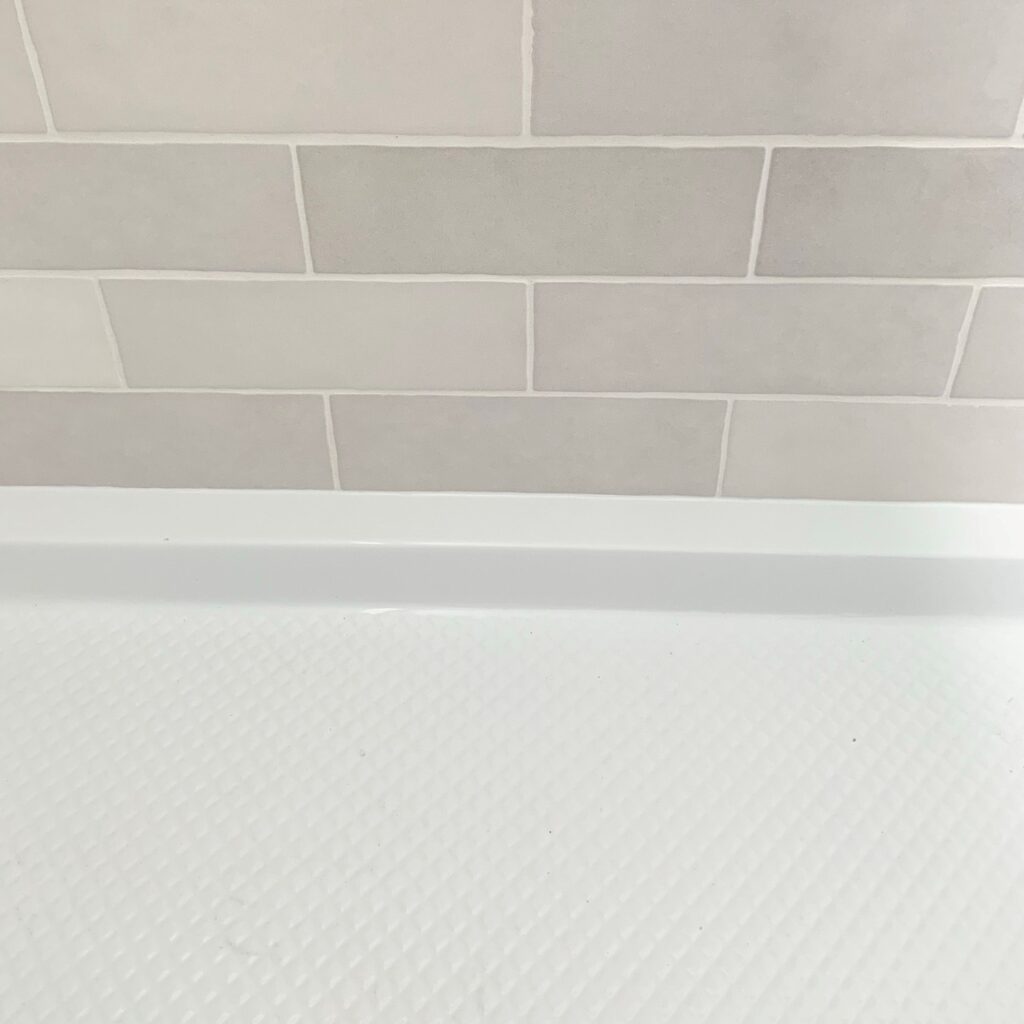
Next, I taped off the area where the tile meets the shower base and filled it with silicone!
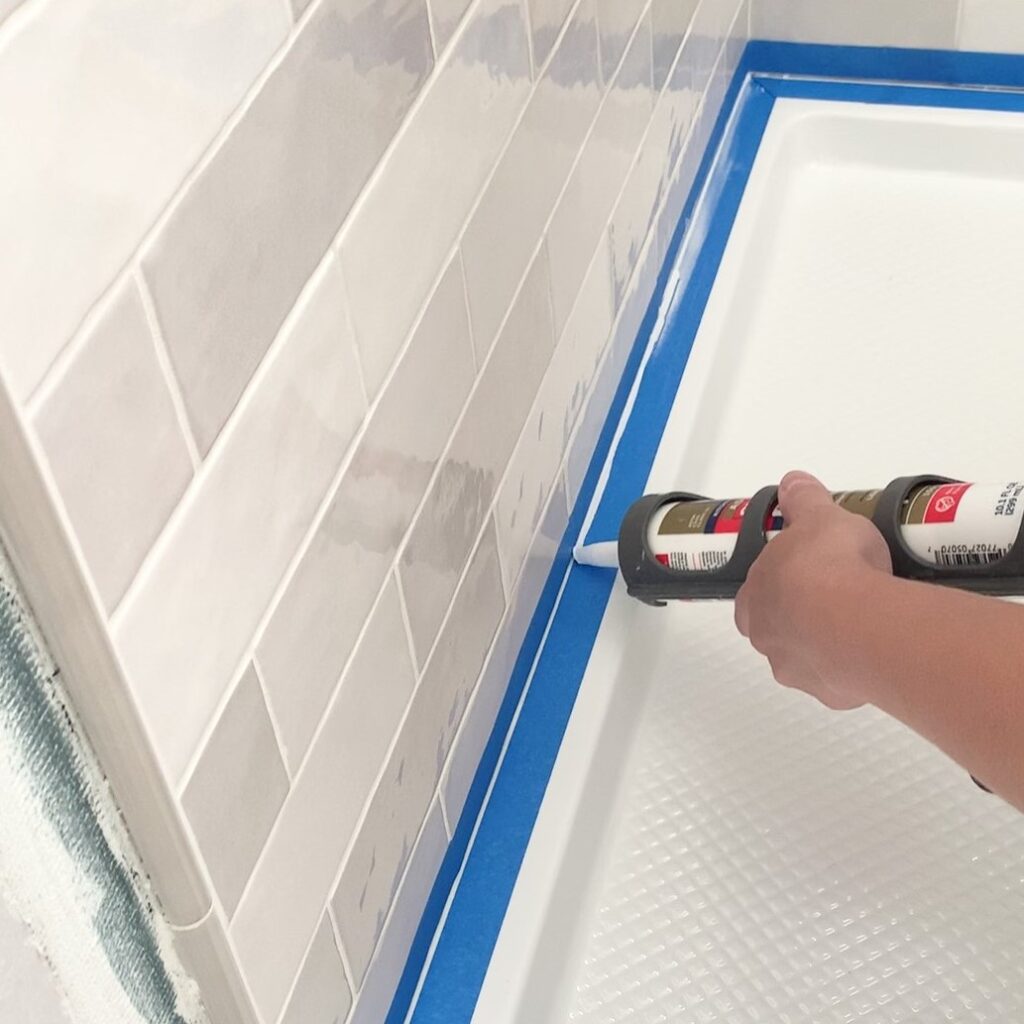
Taking the tape off was so satisfying! The silicone matched the shower base perfectly, you can’t even tell where the silicone ends and where the shower base begins.
The last step was to add nice window trim and I will share a separate post about the process.
Finished shower tile
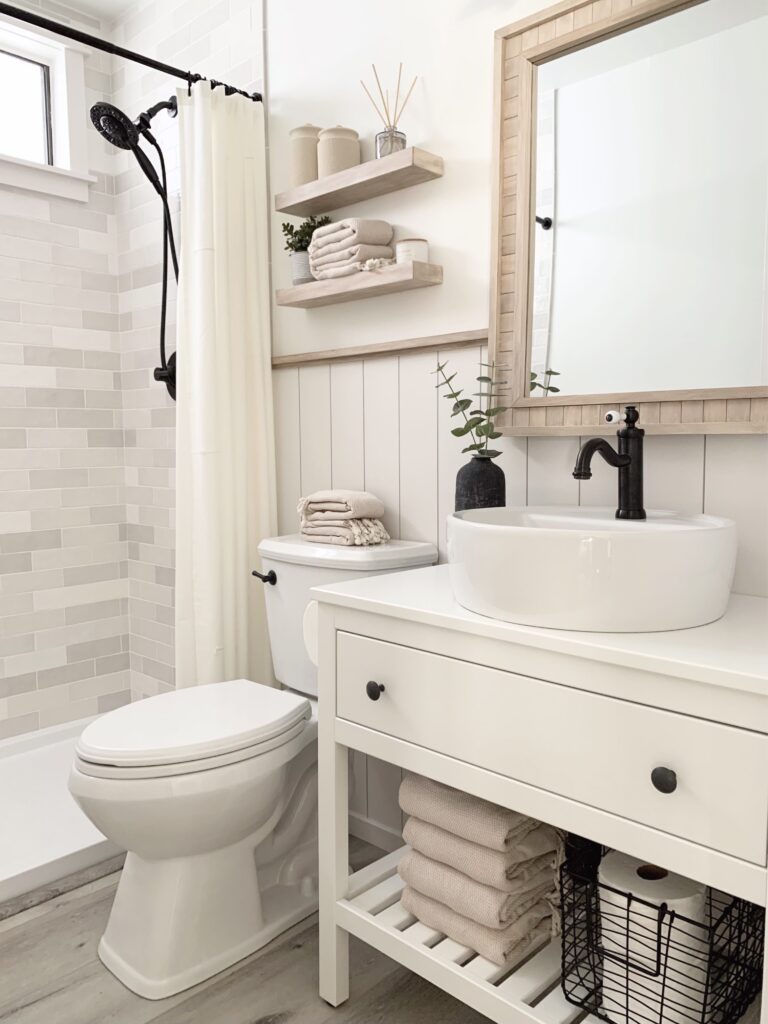
I love how this DIY shower remodel turned out! I think the tile shower is so beautiful and it totally transformed this small space and gave it a fresh look. I’m so excited about how it looks with the rest of the bathroom!
The tile installation was so easy and I would imagine installing backsplash with Musselbound would actually be a fun project, it’s that easy!

Also, how cute is our family member Leia?
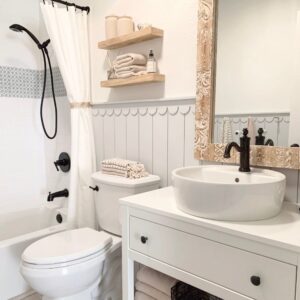
New fixtures are a great way to upgrade a bathroom (even if you’re focusing more on home decor not doing a full bathroom remodel including a tiled shower). I’m so glad I went with black new fixtures, they make it look like a new home!
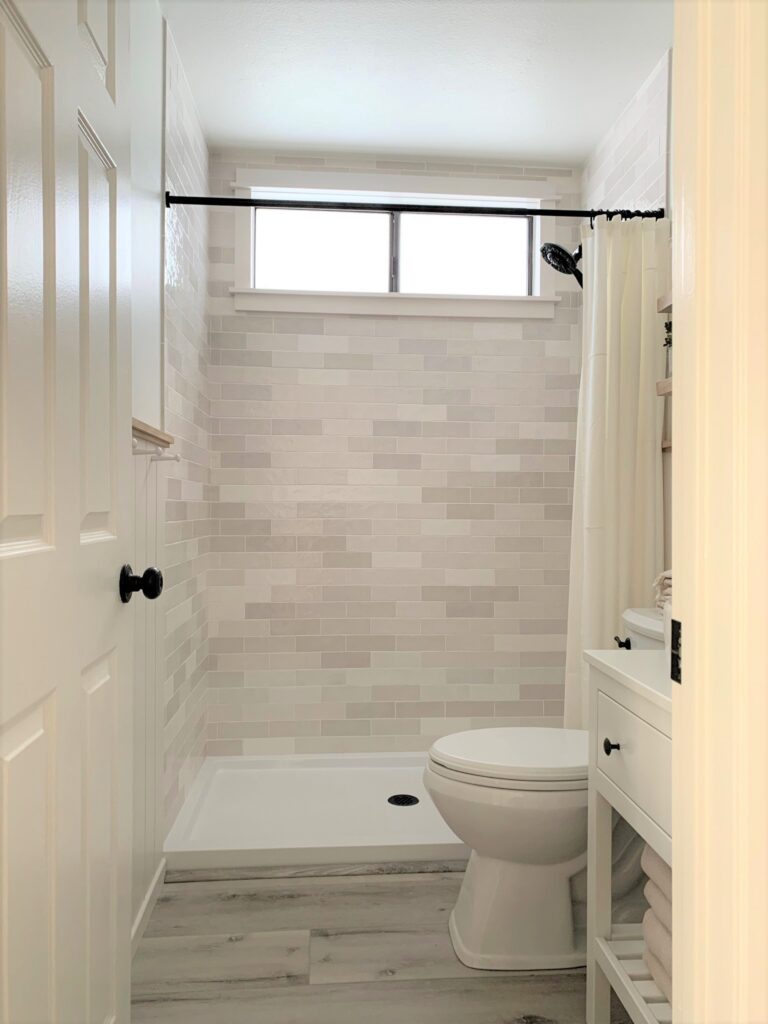
We decided to do a shower curtain instead of a glass shower door to keep this project more budget friendly. We figured, we could always add a shower door down the line!


The new shower is one of my favorite elements of our DIY primary bathroom remodel and made a huge difference!
Check out my DIY tutorials for the floating shelves and the bathroom mirror!
I really enjoyed tiling our shower with Musselbound and I’m so happy about the savings on labor costs! I have a post comparing tiling with Musselbound to tiling with traditional mortar, you can check out my pros and cons of each here if you’re trying to decide between Musselbound vs mortar!
If you want to see all the details, you can check out my post on our DIY bathroom renovation here.
Let me know if you have any questions!
Tina

Leave a Reply