Would you like to make a cute outdoor playhouse for your little ones without having to build one from scratch? I just finished a DIY playhouse makeover for our kids using an old wood playhouse that we got for free from our neighbor. I completely transformed it using paint and a few other supplies! I’m excited to share the exact steps of this budget-friendly playhouse makeover with you so that you too can create a DIY playhouse for your kids without breaking the bank.

Note: This post may contain affiliate links, you can find more information in my disclosures here.
How we got our playhouse
We have a neighborhood Facebook group and last summer one of our neighbors posted that he had an outdoor playhouse to give away. I immediately messaged him and was lucky enough to be the first one!
He messaged me his address and added that the playhouse was a little aged and needed some love.
Say no more! What a perfect match for us, ha! I was so excited to be able to customize a DIY outdoor playhouse without having to build one from scratch and having to follow complicated DIY childrens playhouse plans.
We’re actually (at least) the third family to own this playhouse in our neighborhood, how fun is that?
We picked up the kids playhouse and then it spent some time on the side of our house. I finally found time to tackle this project over the last few weeks.
Our two toddlers are now both walking so it seemed like the perfect time for them to start enjoying it!
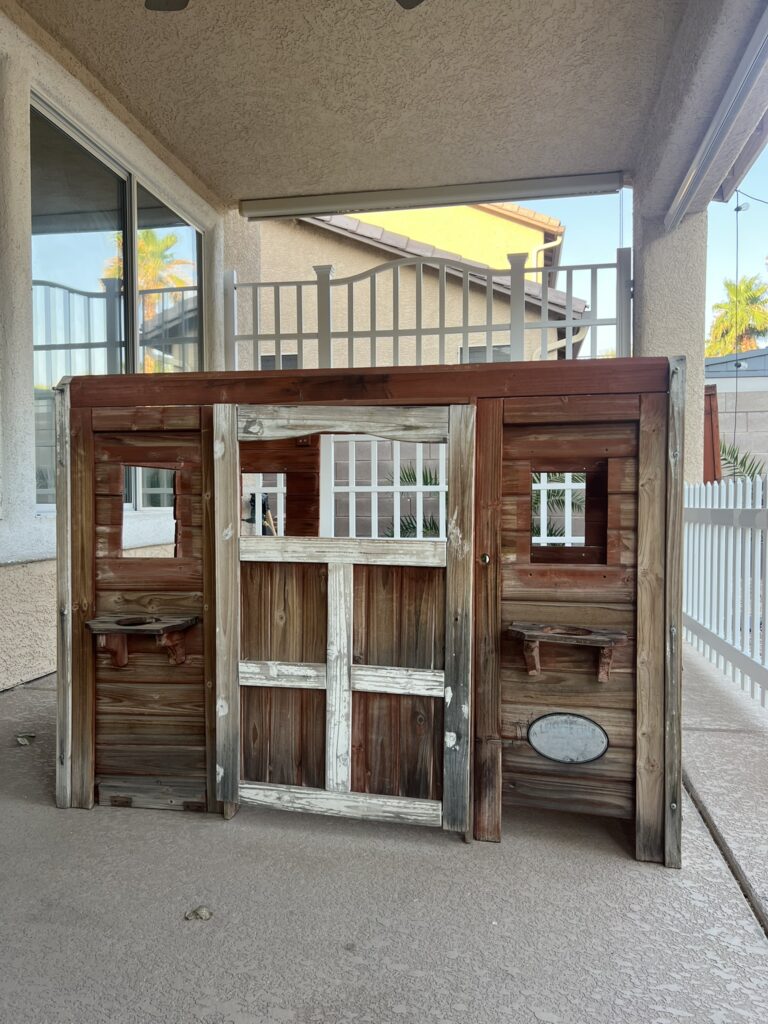
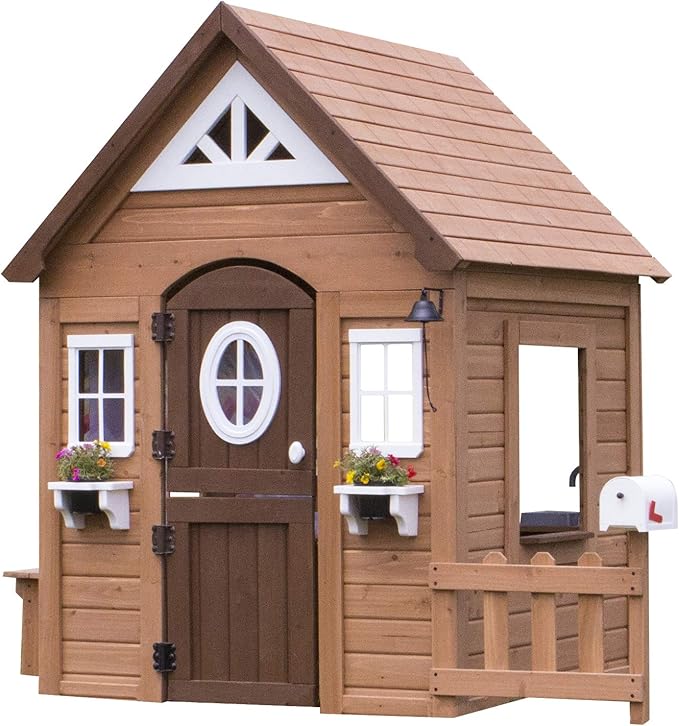
Here is what the playhouse looked like before I did any work on it:

You can see it looked a little rough and the wood was definitely aged. There were some pieces that needed to be replaced or were just missing to begin with.

I’m excited to show you how I transformed this cute little playhouse!
Materials
Tools
- Paint brush
- Caulk gun
- Screw driver
Here are the steps I took to update this old wood playhouse:
Step 1: Replace screws, damaged and missing pieces
First, I took the playhouse apart and replaced all the screws. I also removed all the plastic windows:
This step also included taking out the little kitchen sink and stove that were both on the inside. I’ve removed them for now because the wood was pretty damaged and I also wanted to create a blank slate inside the DIY outdoor playhouse. However, I plan on reusing parts of them during a future phase 2 makeover that will focus on the interior.
Next, I replaced any damaged pieces of siding. I suspect that water got the best of it at some point.
There were also some pieces of the wood siding missing so I replaced those as well.
Step 2: Clean the playhouse
As the next step, I dusted off the wooden playhouse and lightly cleaned the wood.
I also cleaned the plastic windows with a garden hose. That worked surprising well! Though the dried out spiders in the corners were an unpleasant surprise.
Step 3: Paint prep
Once the structure of the playhouse was back intact and clean, it was time to get the playhouse prepped for paint.
I started by priming the whole house:

This helped reveal any areas that still needed more attention:
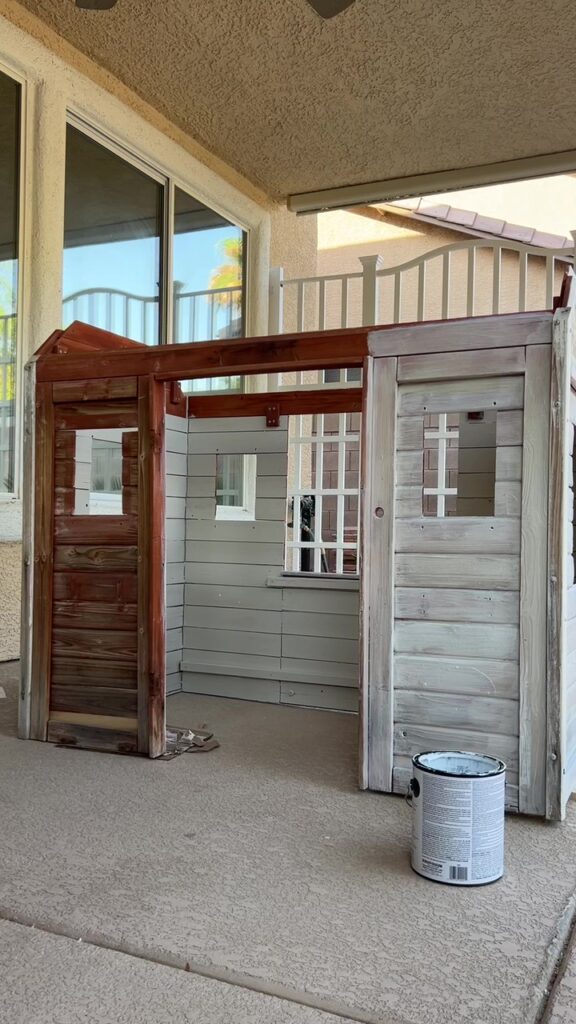
Wood can conceal some of the imperfections pretty well.
Next, I filled any major gaps and holes and caulked all the edges of the trim to create a smoother surface.
Note: I didn’t caulk between the siding and the trim, those gaps were bigger and looked more intentional.
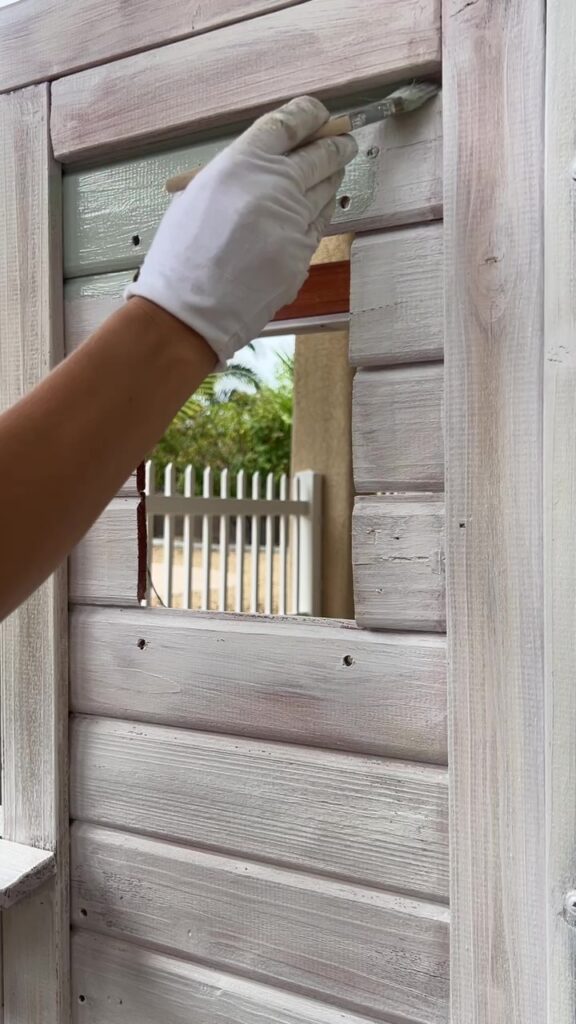
Step 4: Paint
This was the really exciting part of the playhouse makeover where I finally got to paint it.
I decided on the color scheme a while ago. I really wanted to pay tribute to our first house, the California Cottage:

We used Sherwin Williams Oyster Bay on the siding and Sherwin Williams Pure White on the trim there.
I still have a lot of leftover Sherwin Williams Accessible Beige paint left so I decided to just use that on the interior.
I started painting the inside while the roof was still off to make it a little easier.
Then, I moved on to the exterior by painting the siding Oyster Bay:
I really love that color, it’s such a pretty green gray with hints of blue!
Once all of the siding was painted, I painted all of the trim Pure White. I think the two colors pair perfectly.
I also decided to spray paint the doorbell, door hinges and door magnets (that help the door stay closed) a glossy bright white to freshen them up.
Step 5: Put the playhouse back together
I started by putting the plastic windows back on:

Then, I added the roof:

This was a little trickier than I anticipated, it was hard to line all the old screw holes back up but it worked out in the end!
Once the roof was back on, I did fill a few more spots with caulk and did some paint touch ups:

I also put the front door back on, this was such a major step!
Lastly, I added these new scalloped window boxes and put some faux lavender stems in them:

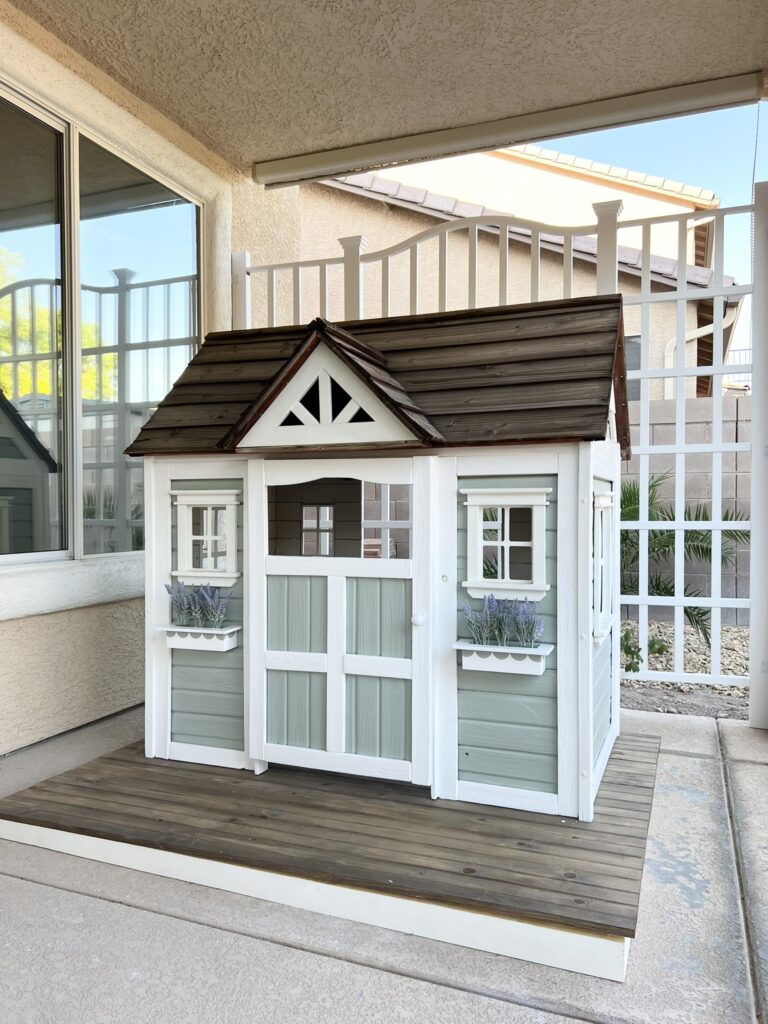
Finished playhouse makeover
Here it is, the finished playhouse makeover for our little ones!

I’m so excited to them to enjoy it for years to come.
This full wooden playhouse makeover was pretty easy because I didn’t have to build it from scratch. Building one myself definitely would have taken a lot more time!
I love that this kids playhouse with the exterior colors and the scallops resembles our first house that holds such a special place in my heart!

Be sure to check out my video of this playhouse makeover on Instagram!
Eventually, I would like to add:
- a front porch with a little fence
- a mail box
- some curtains
- furniture on the inside
- kids kitchen supplies
Maybe we could even add some exterior lights and a fun little sign at the front to make it look like a real home?
I hope you enjoyed this DIY childrens playhouse transformation blog post and got inspired to tackle your own DIY playhouse makeover using a wood playhouse!
While we got ours for free from a neighbor, I have seen these types of playhouses on Facebook marketplace at reasonable prices. You could just search for “playhouse” if you’re looking to buy a used playhouse.
There are also great options for new wood playhouses you can shop that wouldn’t require any fixing. You could just assemble the and focus on decorations or some paint to make it your own!
I’ve put together some of the best budget-friendly ones I could find here for sale:


Indoor/outdoor wood kids playhouse


Gray outdoor kids playhouse with sink, stove, cookware, flowerpot holders and doorbell
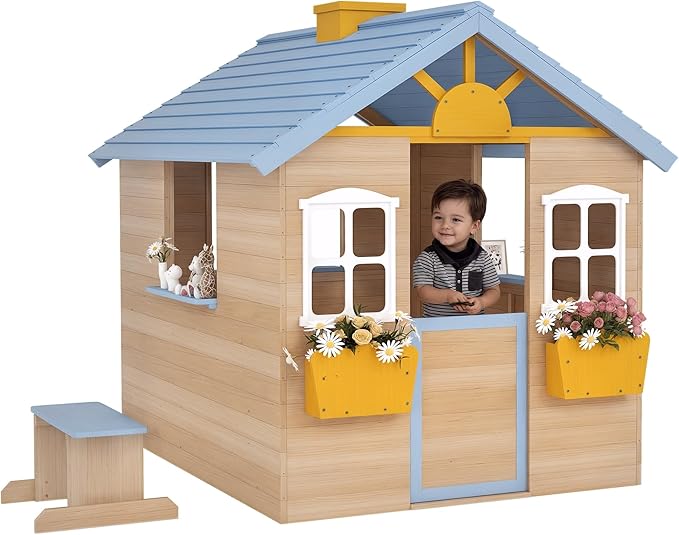
Wooden playhouse with door, windows, bench, service station, and flowers pot holders

Little Tikes cottage plastic playhouse, perfect if you’d like to tackle a DIY plastic playhouse makeover!
Let me know if you end up tackling a fun DIY kids playhouse, I’d love to see your transformation!
Tina


Leave a Reply